
When the air turns crisp and the leaves begin their golden descent, the wedding world undergoes a transformation. But for many couples, that seasonal magic comes with a hefty price tag, especially when it comes to floral arrangements. As a seasoned pro in the trash-to-treasure movement, I am here to let you in on the industry’s best-kept secret: the humble apple. Yes, that crisp fruit from your local orchard is the key to creating an atmosphere of rugged elegance and masculine-elegant charm that will leave your guests breathless. In this masterclass, we are going to bypass the thousand-dollar florist quotes and dive into the craft of DIY Floating Candle Apple Centerpieces. This isn’t just a craft; it is a budget-savvy maneuver that combines the organic beauty of the harvest with the romantic flicker of candlelight. Whether you are a frugal bride, a handy dad helping with decor, or a creative gift-giver looking to style an event, this guide will show you how to turn $1.50 worth of fruit into a centerpiece that looks like it cost $150.
The Orchard Selection: Choosing the Perfect Foundation
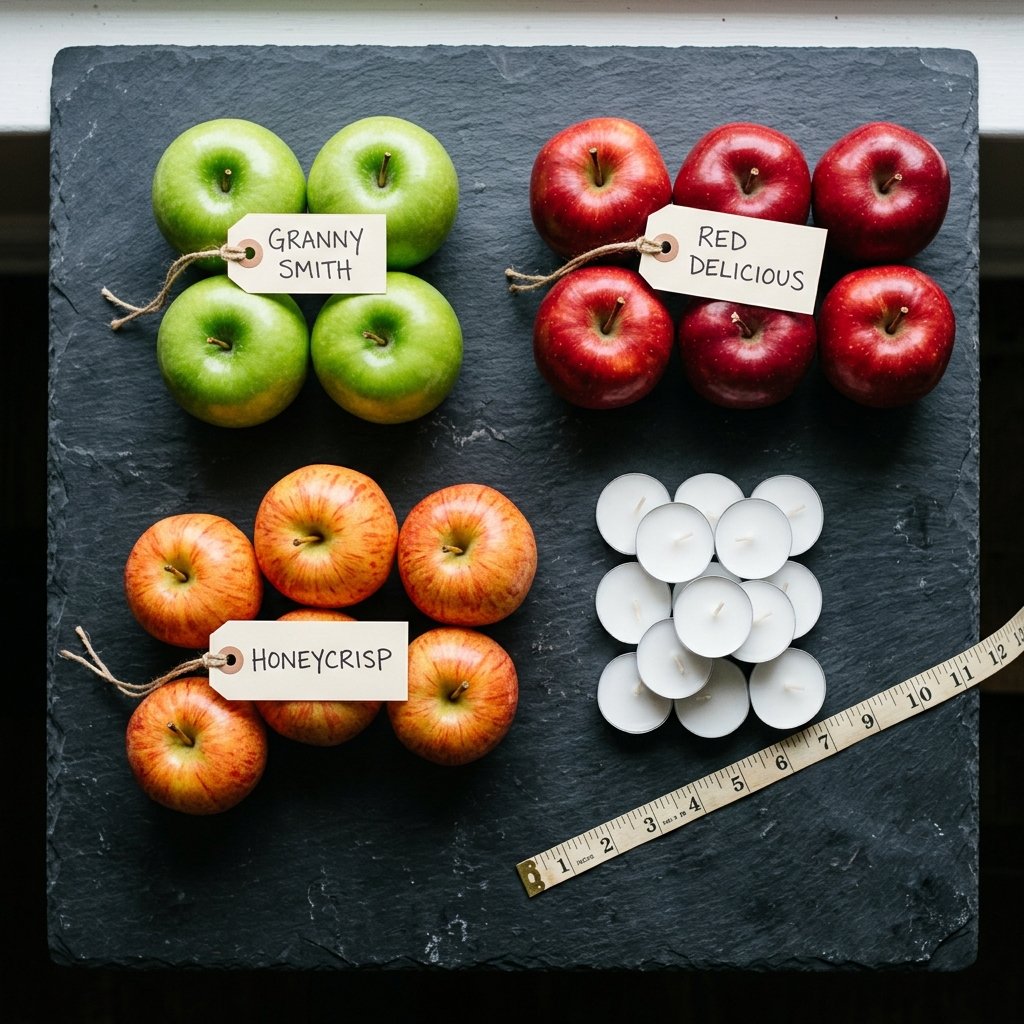
Not all apples are created equal when it comes to buoyancy and aesthetics. To achieve that high-end look, you need to think like an architect and a stylist. You want fruit that is symmetrical, vibrant, and capable of floating perfectly upright. If the apple is lopsided, your candle will tilt, leading to uneven burning or, worse, a sunken centerpiece. For a classic fall palette, look for Honeycrisp or Gala apples for their variegated reds and yellows. If you want a modern, monochromatic look, the Granny Smith offers a striking, neon-green pop that looks incredible against white linens.
| Apple Variety | Color Profile | Best Use Case |
|---|---|---|
| Granny Smith | Vibrant Green | Modern, clean, high-contrast themes |
| Red Delicious | Deep Crimson | Traditional, romantic, or gothic fall weddings |
| Honeycrisp | Red/Yellow Mottled | Rustic, farmhouse, or orchard-style events |
| McIntosh | Soft Red/Green | Vintage or cottage-core aesthetics |
When shopping, bring a tea light candle with you to the grocery store or orchard. You need to ensure the diameter of the apple is significantly wider than the candle to provide enough ‘deck space’ for the fruit to stay afloat once carved. Aim for apples that are roughly 3 to 4 inches in diameter.
The Master Carver’s Technique: Precision Fitting
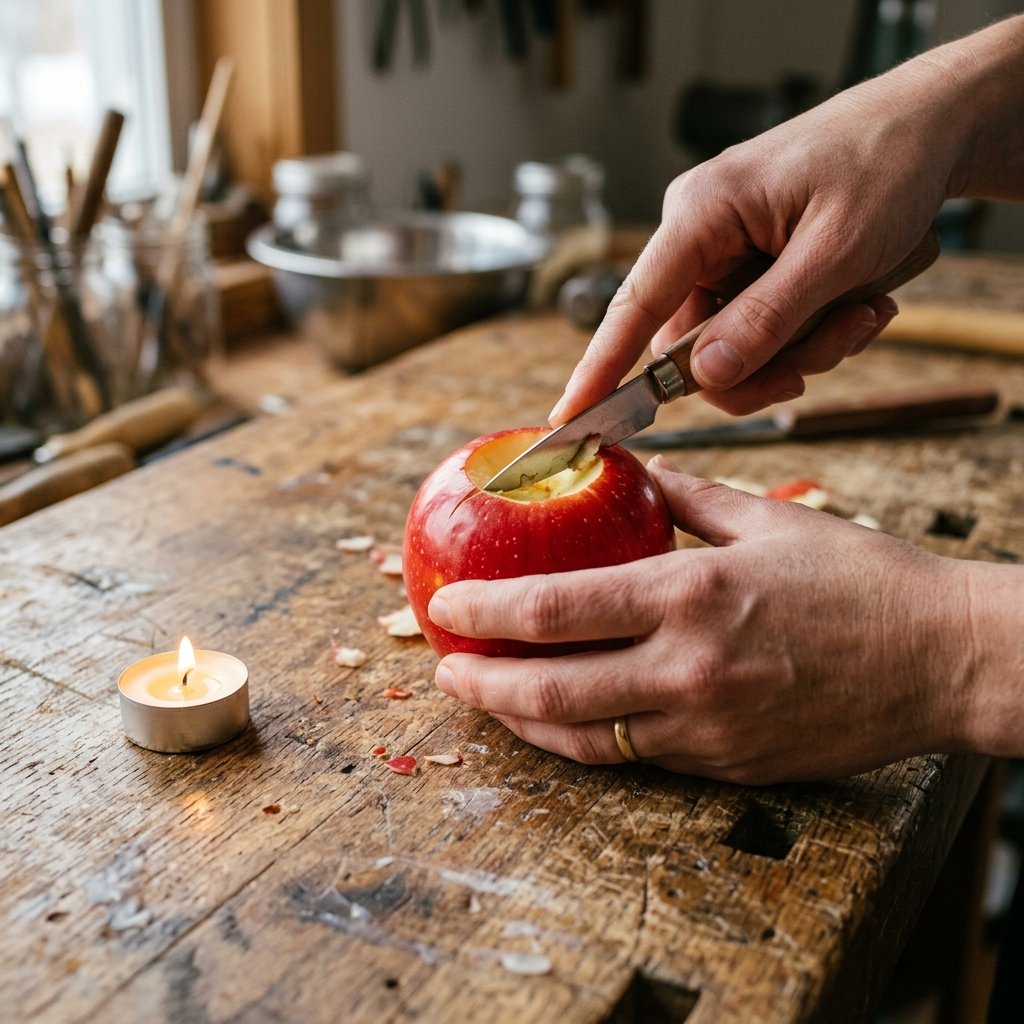
The secret to a professional-looking apple candle is the fit. You want the candle to sit flush with the top of the apple, looking as if it grew there. To do this, you will need a few basic tools from your kitchen. A metal apple corer is your best friend here, but a sharp paring knife and a small spoon will also do the trick. The goal is to create a 1.5-inch wide hole that is exactly the depth of your tea light.
The Carver’s Mantra: Measure twice, cut once, and always keep your blade angled toward the center to avoid puncturing the skin of the apple where it will be visible.
- Place the tea light upside down on the top of the apple (the stem side).
- Use a toothpick or the tip of your knife to trace a circle around the candle.
- Remove the candle and use your corer or knife to cut along the traced line to a depth of about 1 inch.
- Scoop out the flesh with a spoon until the tea light fits snugly inside.
- Pro Tip: If the candle sits too high, shave a little more from the bottom. If it sits too low, drop a small piece of the removed apple back in to act as a shim.
The Anti-Oxidant Shield: Preventing the Brown
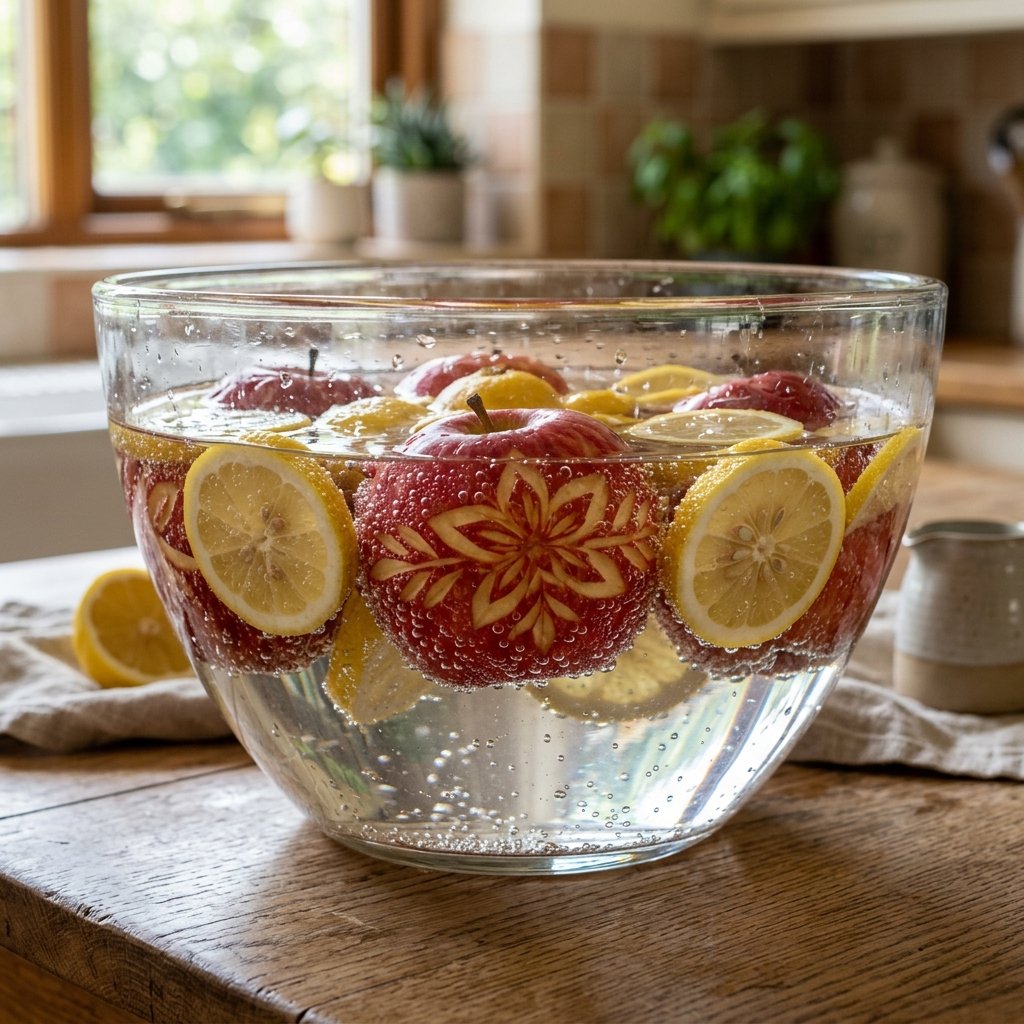
Nothing ruins a centerpiece faster than an apple that looks like it has been sitting in a lunchbox for a week. Once you expose the flesh of the apple to oxygen, it begins to brown. To keep your centerpieces looking fresh and crisp for the duration of your 6-hour reception, you must treat them with a simple chemical barrier. This is the ‘secret sauce’ of professional event stylists.
| Preservation Method | Ingredients | Effectiveness |
|---|---|---|
| The Lemon Bath | 1 cup Lemon Juice to 4 cups Water | High (Lasts 6-8 hours) |
| The Salt Soak | 2 tbsp Salt to 1 quart Water | Moderate (Lasts 4-5 hours) |
| Citric Acid Powder | 1 tsp Citric Acid to 2 cups Water | Superior (Lasts 12+ hours) |
Immediately after carving, submerge the entire apple in your chosen solution. Let it soak for at least 10 minutes. This ensures the solution penetrates the carved area. Once removed, pat the outside dry but leave the interior slightly damp before inserting the candle. This trick allows you to prep your centerpieces the morning of the wedding without worry.
Styling the Tablescape: From Simple to Sublime
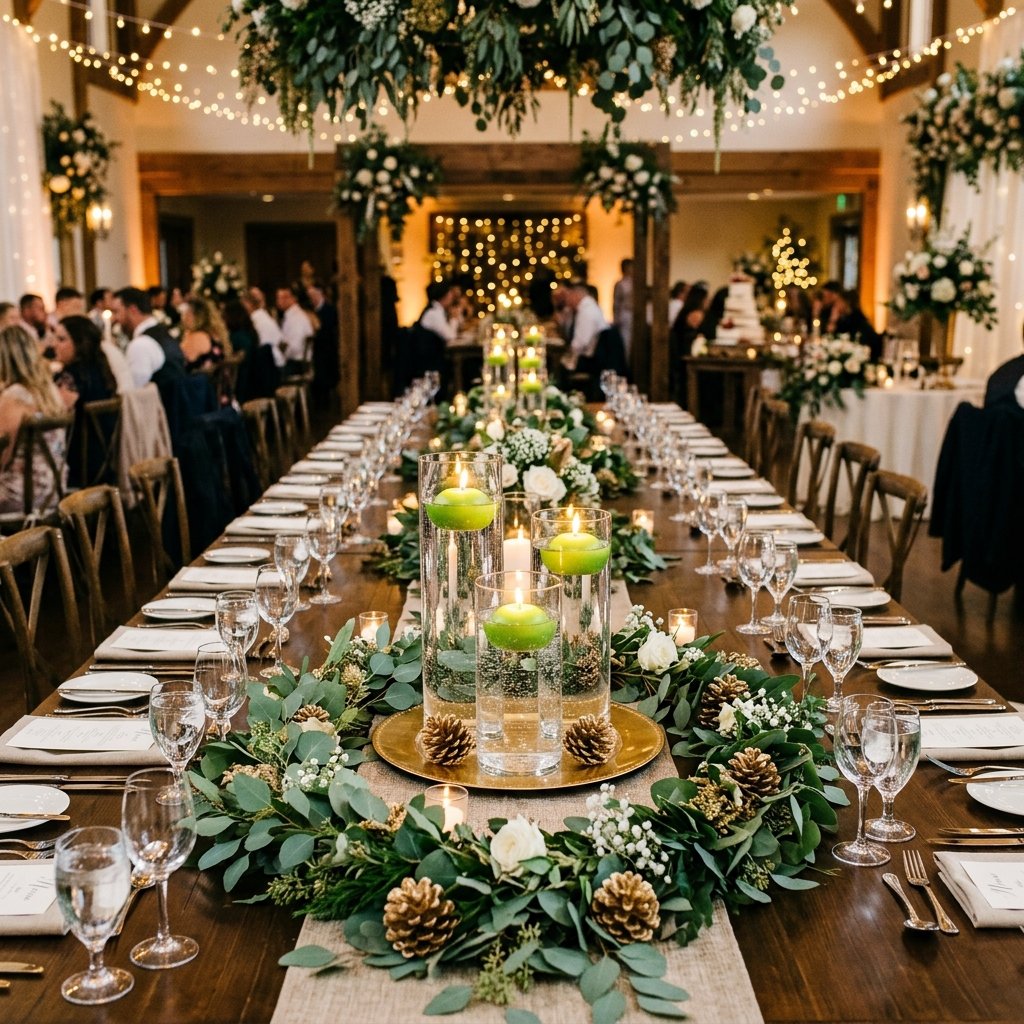
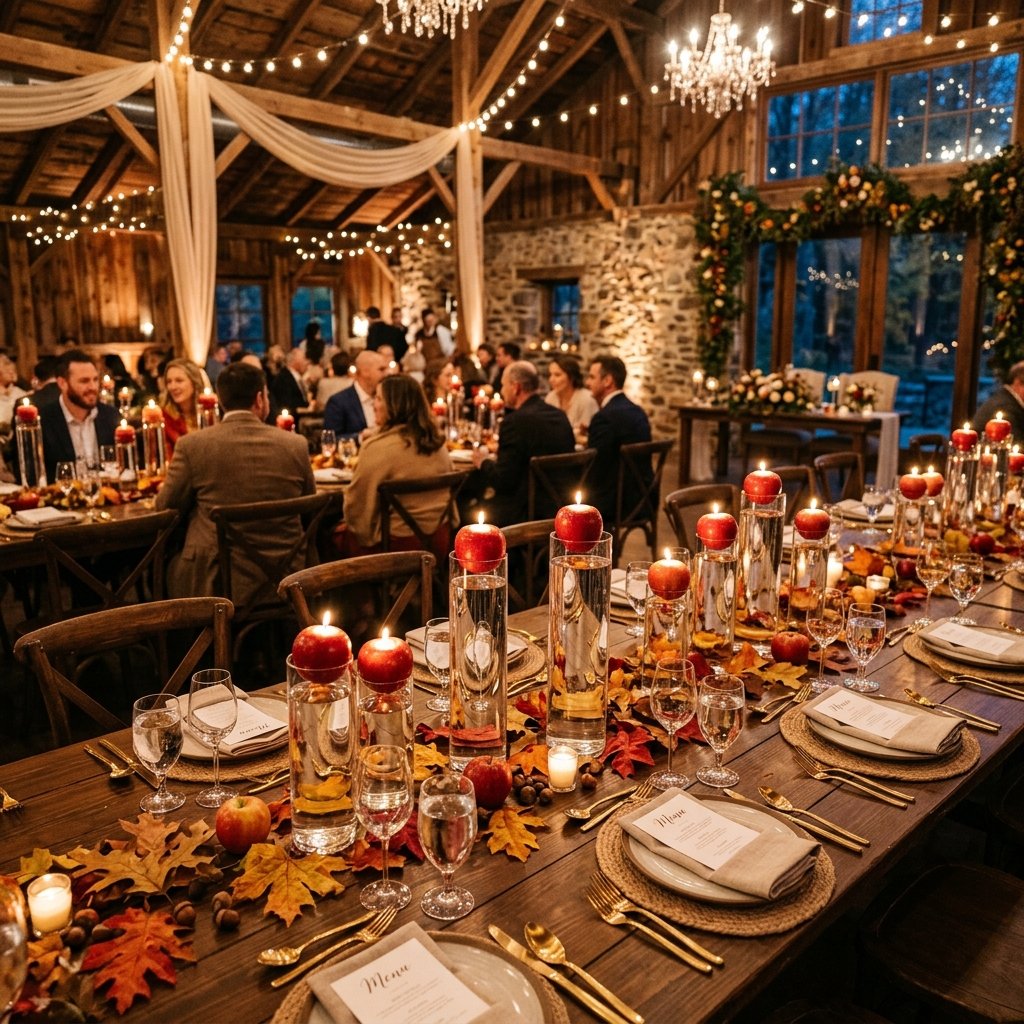
Now that your apples are prepped, it is time to assemble the scene. The floating element is what creates the ‘wow’ factor. Use clear glass vessels—think cylinders, fishbowls, or even recycled mason jars for a frugal DIY touch. Fill the vessels with water, leaving about two inches of headspace. Gently place your apple on the surface; it should float effortlessly.
Elevating the Look with Greenery
To take this from a ‘craft project’ to ‘designer decor,’ add layers. Surround the base of your glass vessels with seeded eucalyptus, pine branches, or dried oak leaves. The contrast between the organic greens and the polished red of the apples creates a masculine-elegant vibe that is perfect for autumn.
- For Height: Use three cylinders of varying heights (6″, 9″, and 12″) in the center of the table.
- For Texture: Add a handful of cranberries or small acorns to the water before placing the apple. They will sink to the bottom, creating a beautiful underwater landscape.
- For Glow: Use long-burning tea lights (8-hour rated) so you don’t have to worry about them extinguishing before the cake cutting.
The Financial Breakdown: DIY vs. Professional
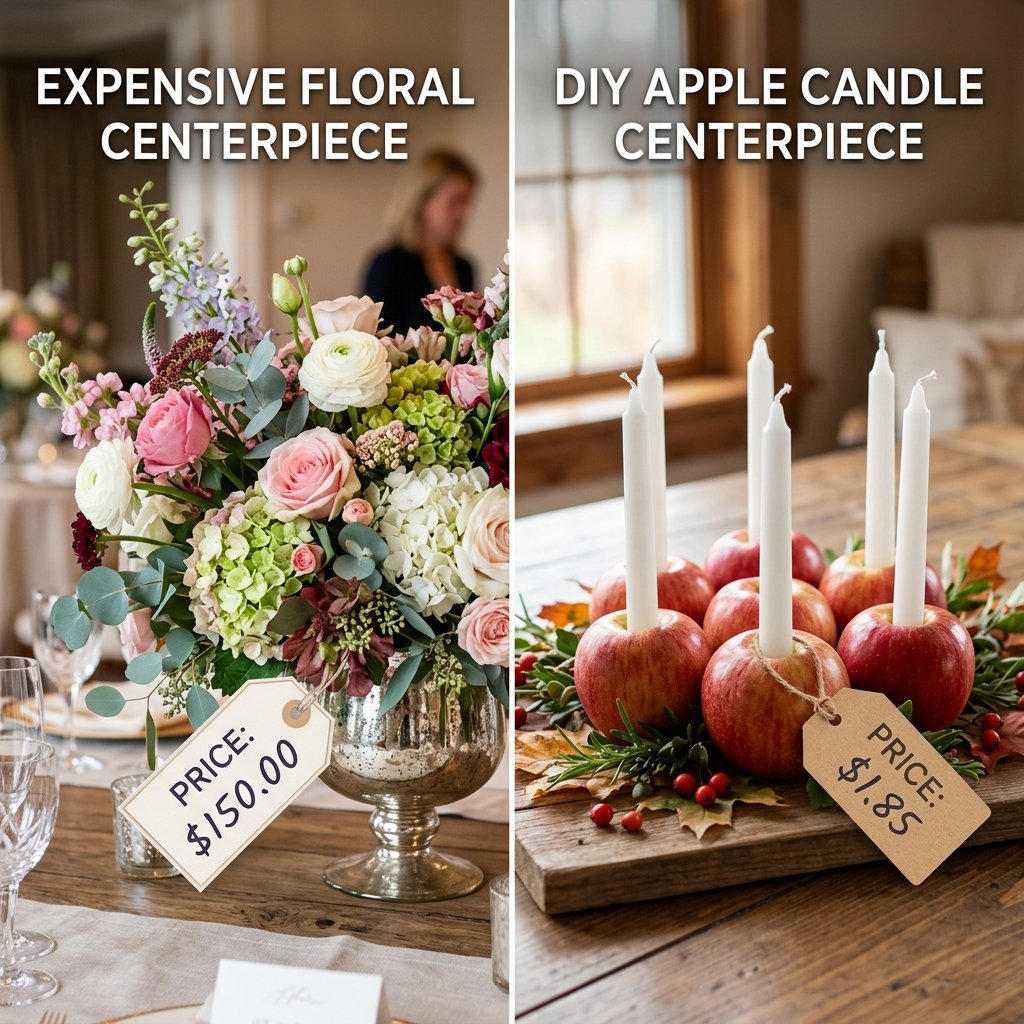
Let’s talk numbers. The beauty of this project isn’t just in the aesthetics; it is in the massive savings. When you hire a florist, you are paying for the blooms, the labor, the transport, and the markup. By sourcing your own apples and candles, you are reclaiming your wedding budget for things like the honeymoon or a better open bar.
| Item | Retail/Florist Cost | DIY Cost (Bulk) |
|---|---|---|
| Glass Cylinder Vase | $15.00 (Rental) | $1.25 (Dollar Tree) |
| Floral Arrangement | $85.00+ | $0.50 (1 Apple) |
| Candle | $2.00 | $0.10 (Bulk Pack) |
| Labor/Setup | $50.00 per table | $0.00 (DIY) |
| Total Per Table | $152.00 | $1.85 |
By choosing the DIY route, you are saving over 98% on your centerpiece costs. For a wedding with 20 tables, that is a total savings of over $3,000. That is the power of being a resourceful and clever crafter!
Conclusion
Creating a breathtaking wedding doesn’t require a royal budget; it requires a bit of crafty expertise and the willingness to see the potential in everyday objects. These floating apple candles offer a sensory experience that flowers simply cannot match—the faint scent of crisp fruit, the warm glow of the flame, and the organic beauty of the harvest. As you prepare for your big day, remember that the most memorable details are often the ones you poured your own creativity into. So, grab your corer, head to the orchard, and start carving your way to a stunning, budget-savvy fall celebration. You’ve got the secret; now go make some magic!

Makenzie is the founder and lead writer at MoneyHackTips.com — a personal finance blog dedicated to delivering street-smart financial wisdom for real people on real budgets. With 300+ published articles covering everything from debt management to investing fundamentals, Makenzie’s mission is to make every dollar work harder. When not writing about money hacks, Makenzie is testing frugal living strategies, optimizing side hustles, and helping readers build financial freedom from scratch.