
The Art of the High-End Thrifted Wedding
Planning a wedding often feels like a battle between your Pinterest dreams and your bank account reality. But what if I told you that the most talked-about element of your reception could be found in the dusty aisles of a local thrift store for less than $5? Enter the vintage teapot centerpiece. This isn’t just about placing a pot on a table; it is about resourceful creativity and tactical upcycling. By sourcing porcelain treasures from estate sales and charity shops, you can create a ‘Mad Hatter’ meets ‘English Garden’ aesthetic that looks like it cost thousands in floral design fees. Whether you are a budget-savvy bride, a handy groom looking to contribute a rugged-yet-elegant touch, or a frugal crafter helping a friend, these 15 ideas will prove that luxury is about vision, not price tags.
Budget Mantra: A designer’s eye sees the potential in the weathered, the value in the forgotten, and the beauty in the bargain.
Tactical Sourcing: How to Score Porcelain Gold on a Budget
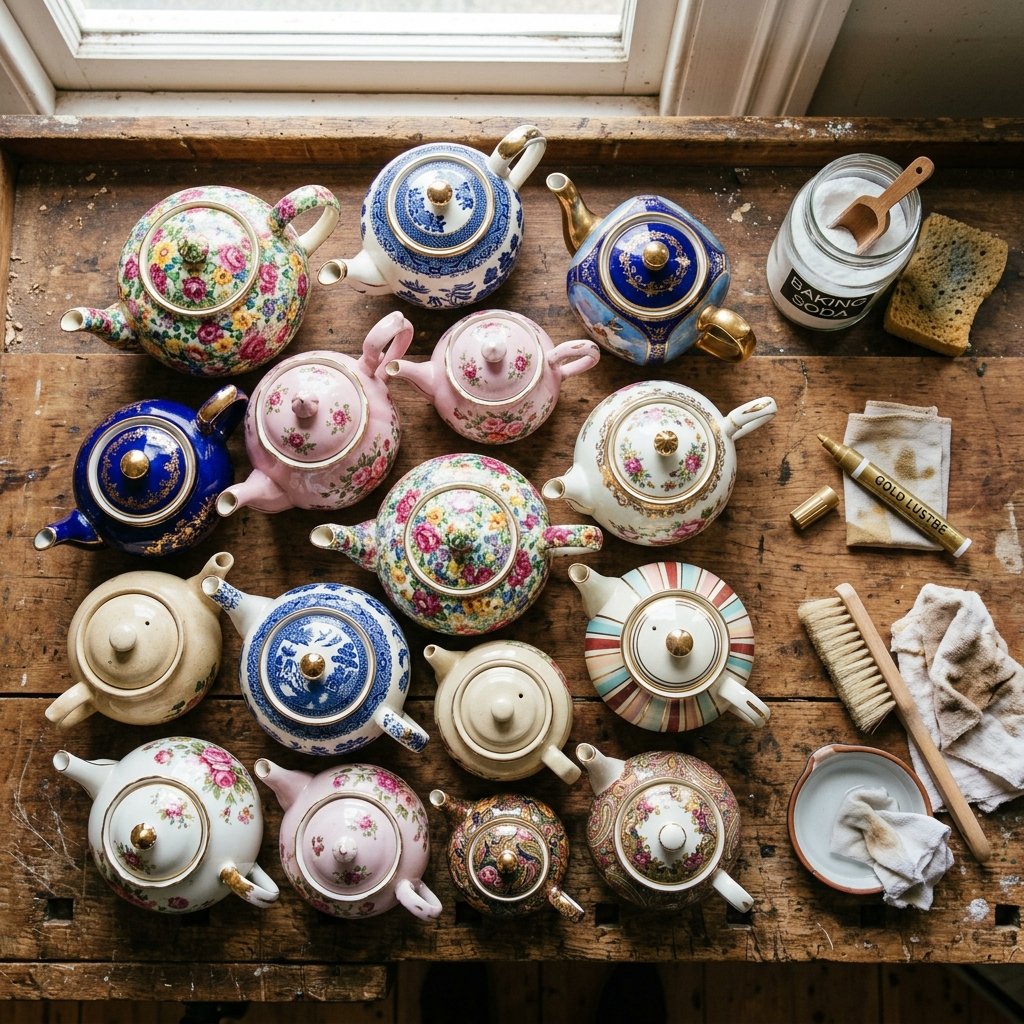
Before we dive into the designs, you need your raw materials. A crafty-expert knows that the best teapots aren’t found in department stores; they are found in the wild. Focus your search on Goodwill, Salvation Army, and local estate auctions. Look for pieces with interesting silhouettes rather than perfect patterns. Even a stained or chipped teapot can be salvaged with the right techniques.
Cleaning and Prep Hacks
- Denture Tablets: Drop two tablets into a tea-stained pot with hot water and let sit for 30 minutes to erase decades of tannin buildup.
- Baking Soda Paste: For stubborn exterior scuffs, a simple paste of baking soda and water acts as a gentle abrasive.
- Gold Leaf Touch-ups: If the gilding is rubbing off the handle, use a $3 gold paint pen to restore that high-end shimmer.
| Source Type | Expected Price | Pro Tip |
|---|---|---|
| Thrift Stores | $2.00 – $7.00 | Visit on ‘Color Tag’ discount days for 50% off. |
| Estate Sales | $1.00 – $5.00 | Go on the final day for the deepest clearances. |
| Facebook Marketplace | Free – $10.00 | Search for ‘bulk porcelain’ or ‘grandma’s dishes’. |
Styles 1-5: The Floral Masterpieces
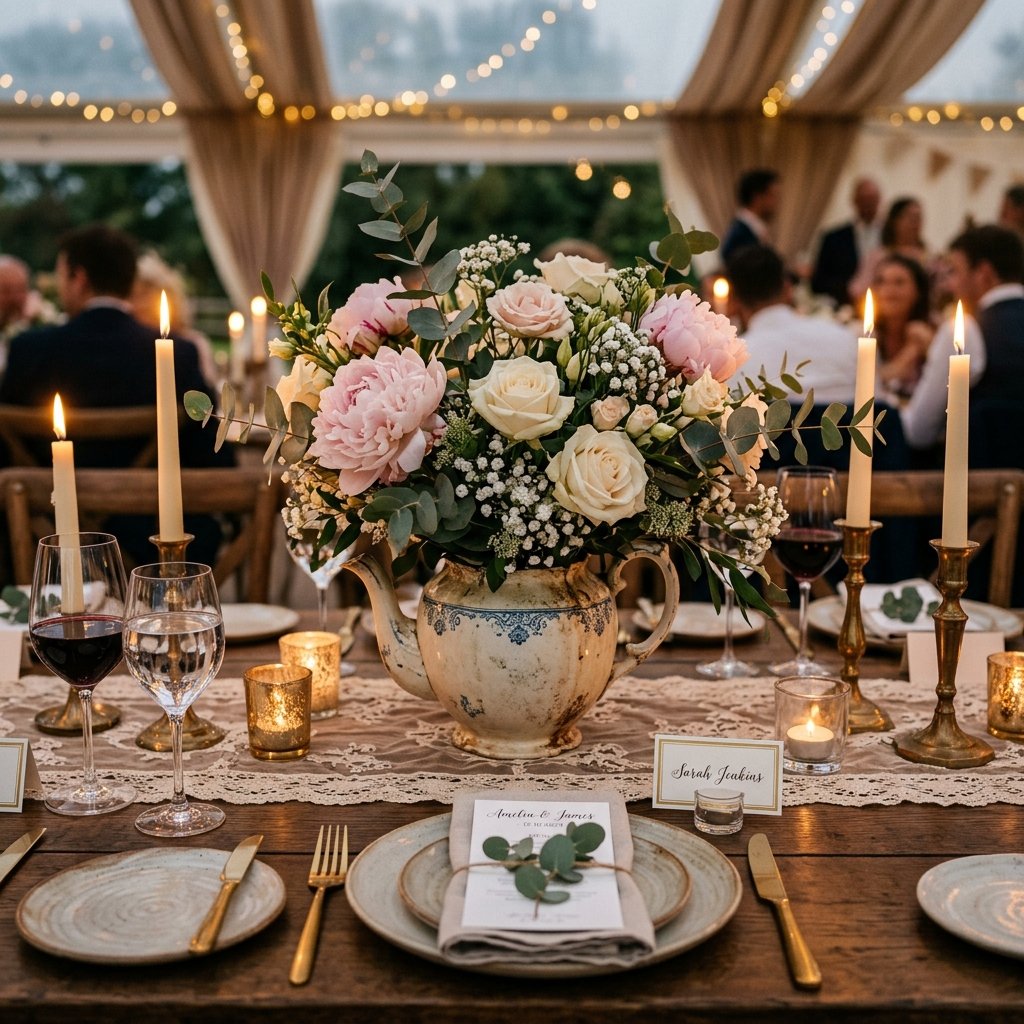
1. The Classic Victorian Overflow
This style uses the teapot as a traditional vase. The secret is to use a floral frog or a grid of clear tape across the opening to keep stems upright. Focus on blush roses, ranunculus, and silver dollar eucalyptus. The contrast between the rigid porcelain and the soft petals creates a masculine-elegant balance.
2. The ‘Something Blue’ Willow Arrangement
Utilize the iconic Blue Willow pattern. Pair these with stark white hydrangeas for a crisp, clean look. This is a budget-savvy way to incorporate the ‘something blue’ tradition into every table.
3. The Wildflower Meadow
Perfect for outdoor weddings. Use affordable ‘filler’ flowers like Queen Anne’s Lace and Chamomile. This look relies on a resourcefully-creative use of height—let the stems grow tall and chaotic.
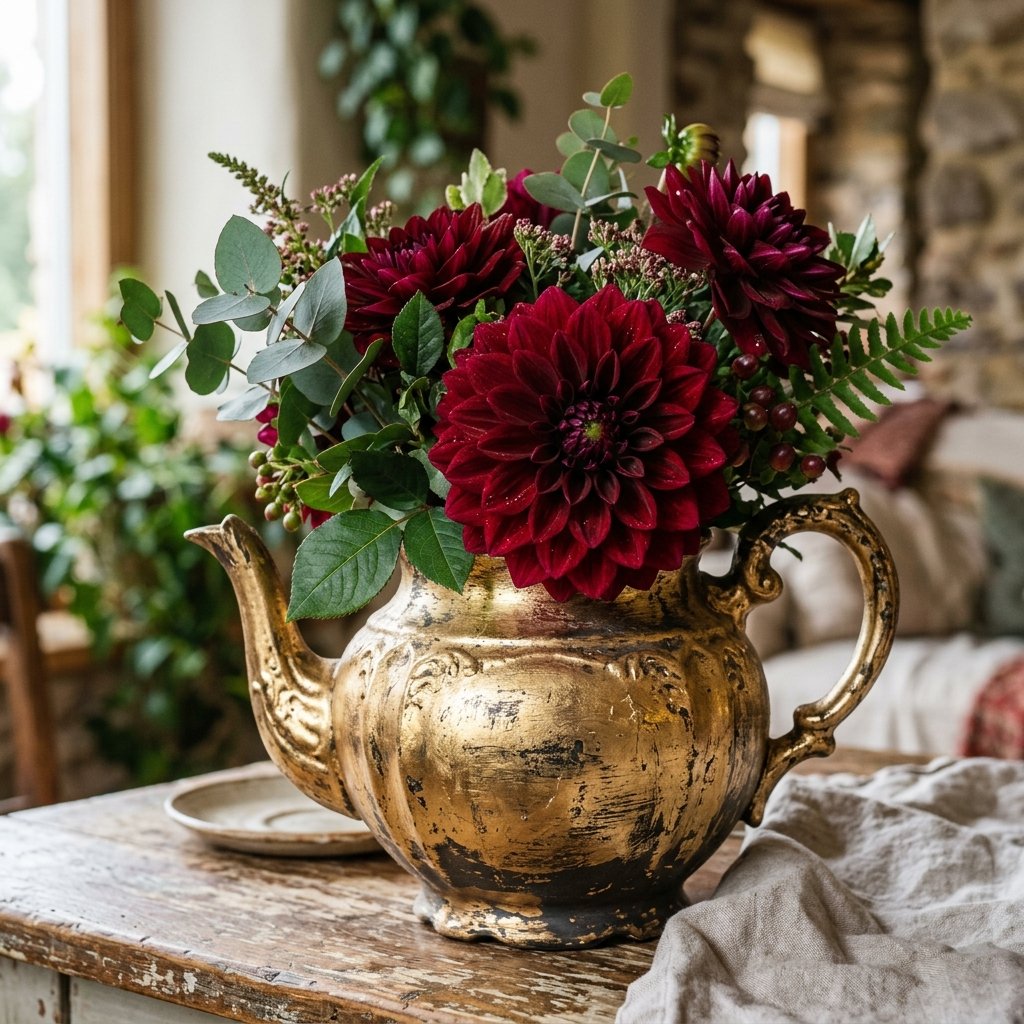
4. The Gilded Spout
Spray paint a mismatched teapot in matte metallic gold. This unifies different styles of pots and makes them look like a cohesive set of designer vessels. Fill with deep burgundy dahlias for a moody, sophisticated vibe.
5. The Dried Lavender Bundle
For a scent-focused centerpiece, use dried lavender and wheat. This is a zero-maintenance option that can be assembled weeks in advance, saving you precious time on the wedding morning.
Styles 6-10: Structural Marvels and Gravity-Defying Designs
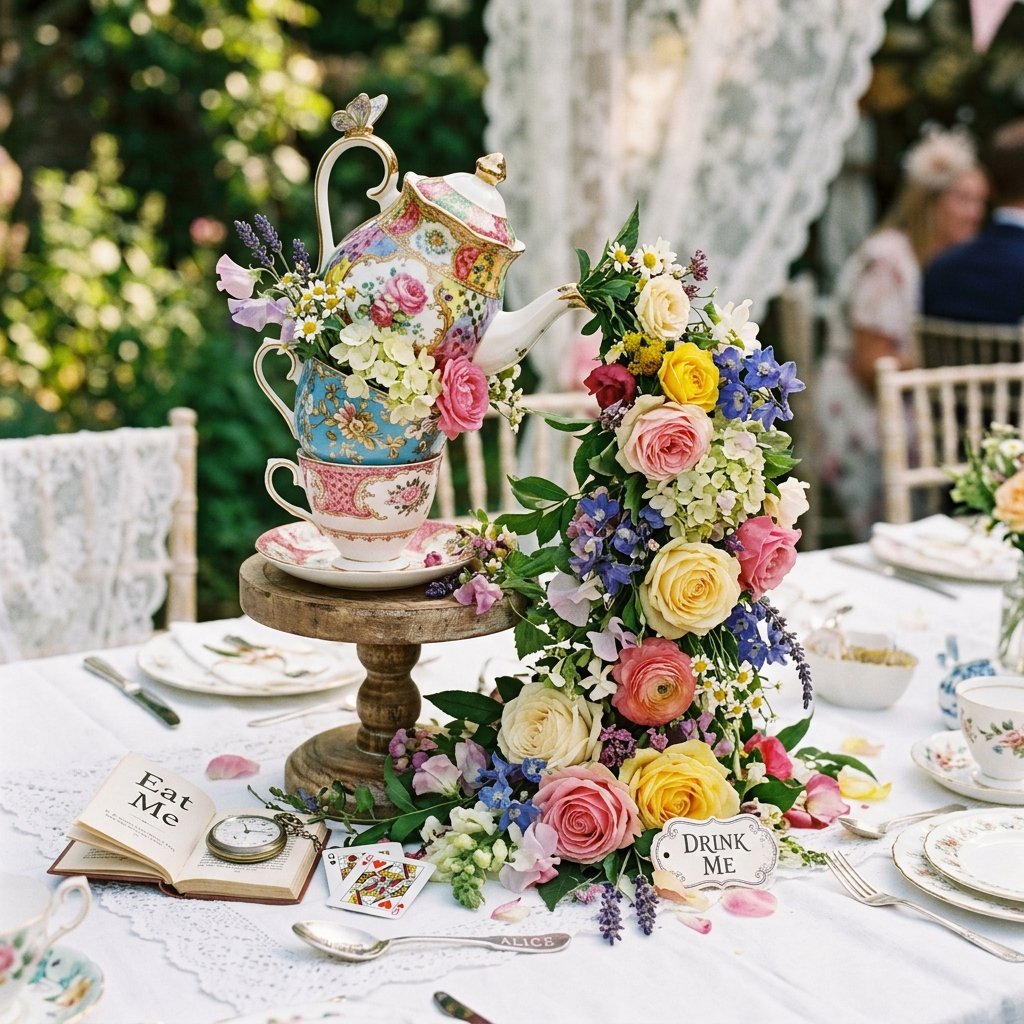
6. The Floating Teacup Illusion
This is the showstopper. By using a heavy-gauge wire or a bent fork glued to the spout and a saucer, you can create the illusion of flowers ‘pouring’ out of the teapot into a cup below. It requires precision engineering but costs less than $10 in materials.
7. The Stacked Wonderland Pillar
Stack a teapot on top of two upside-down teacups and saucers using E6000 industrial adhesive. This adds height to your tablescape without the cost of expensive tall vases.
8. The Bookworm’s Brew
Place your teapot on a stack of 3-4 vintage hardcover books (found for $0.50 each). Wrap the books in twine for a rugged, academic feel. This adds verticality and character to long banquet tables.
9. The Mossy Spout
Stuff the teapot with floral foam and cover the top with preserved reindeer moss. Place small succulents emerging from the spout. It looks like a piece of forest floor brought to the table.
10. The Bird’s Nest Teapot
Remove the lid and nestle a small, craft-store bird’s nest inside. Add a few speckled faux eggs. This is an encouraging and whimsical choice for spring weddings.
Pro Tip: When stacking items, always allow the adhesive to cure for a full 24 hours before transporting them to the venue. Safety first!
Styles 11-15: Alternative Fillers and Modern Twists
11. The Fairy Light Lantern
Instead of flowers, stuff the teapot with a $2 string of battery-operated LED fairy lights. The light glowing through the porcelain (especially fine bone china) creates a magical evening ambiance.
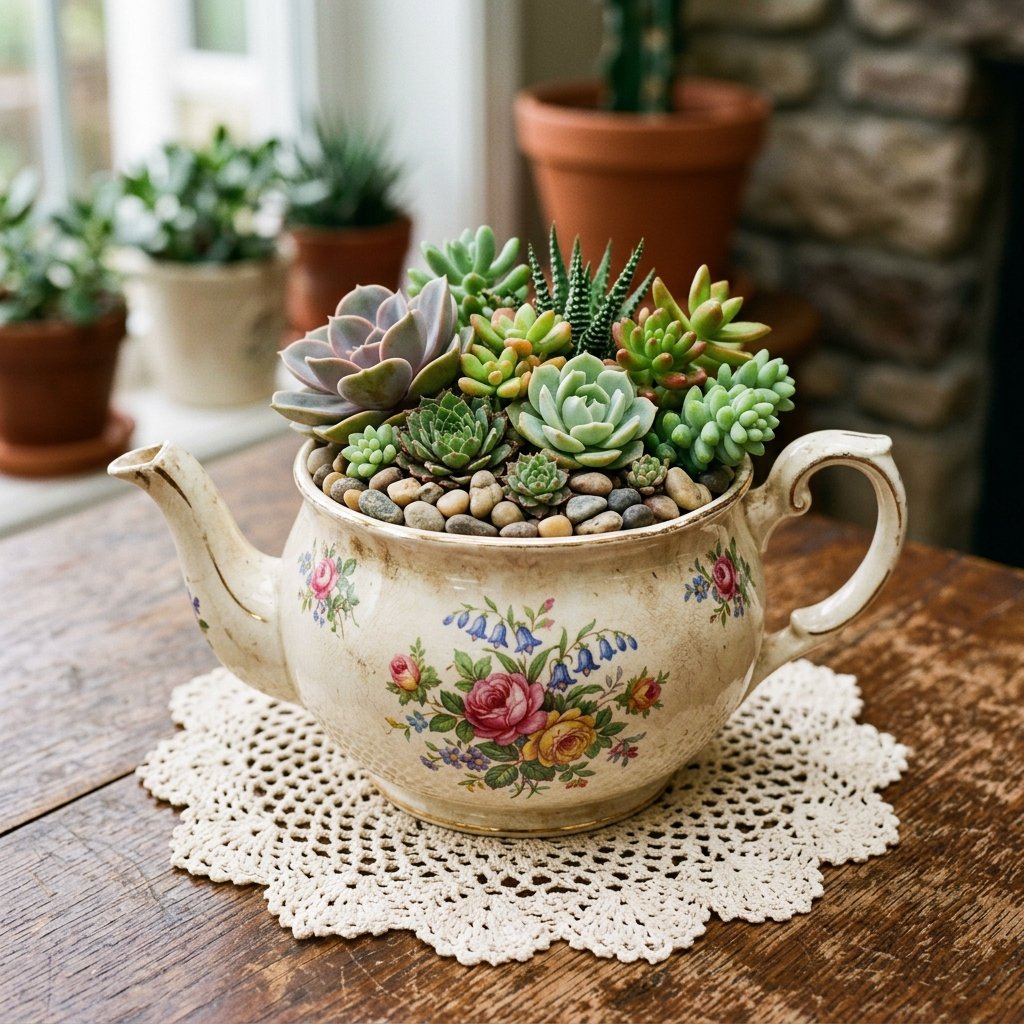
12. The Succulent Sanctuary
Succulents are the handy parent’s best friend. They won’t wilt. Fill the pot with cactus soil and a variety of Echeveria. Guests can even take these home as favors!
13. The Herb Garden Centerpiece
Plant live rosemary, thyme, or mint in the teapots. Not only is this frugal, but the scent will be incredible as guests brush against them during dinner.
14. The Pearl and Lace Drape
For a shabby-chic look, drape a strand of faux pearls out of the spout and wrap the base in a scrap of vintage lace. This uses crafty-expert textile skills to soften the porcelain edges.
15. The Floating Candle Pot
If the teapot has a wide opening, fill it with water and a single floating white candle. It is simple, practical, and provides a romantic flicker that reflects off the glaze.
The Budget Blueprint: DIY vs. Professional Florist
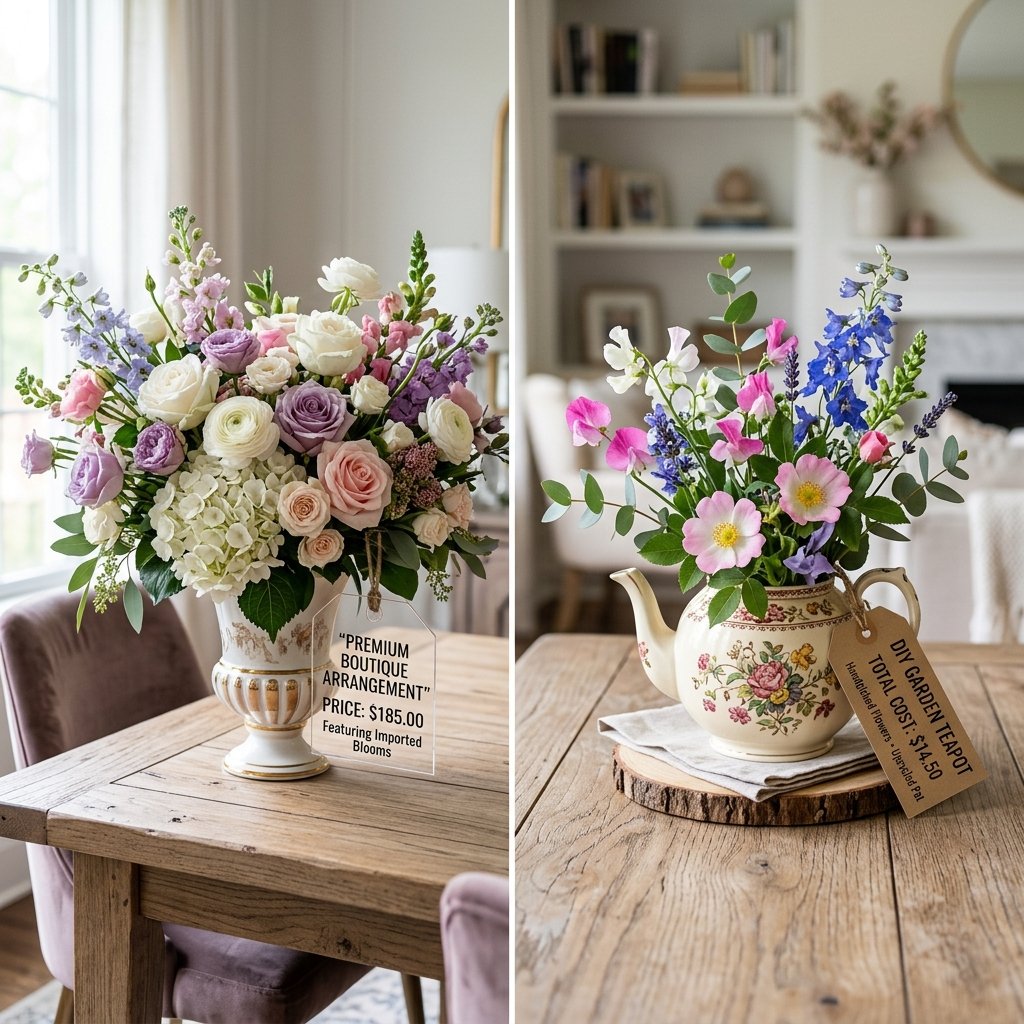
Let’s talk numbers. A professional floral centerpiece typically ranges from $75 to $250 per table. By taking the DIY route, you are reclaiming your budget for other essentials like the honeymoon or a better photographer.
| Expense Item | Professional Florist | DIY Vintage Teapot |
|---|---|---|
| Vessel/Base | $25.00 (Rental) | $4.00 (Owned) |
| Main Flowers | $80.00 | $15.00 (Wholesale) |
| Labor/Design | $50.00 | $0.00 (Your Skill) |
| Total Per Table | $155.00 | $19.00 |
By choosing the DIY teapot method, you save approximately $136 per table. For a wedding with 15 tables, that is a total savings of $2,040!
Masterclass: Assembling the ‘Floating Flower’ Pour
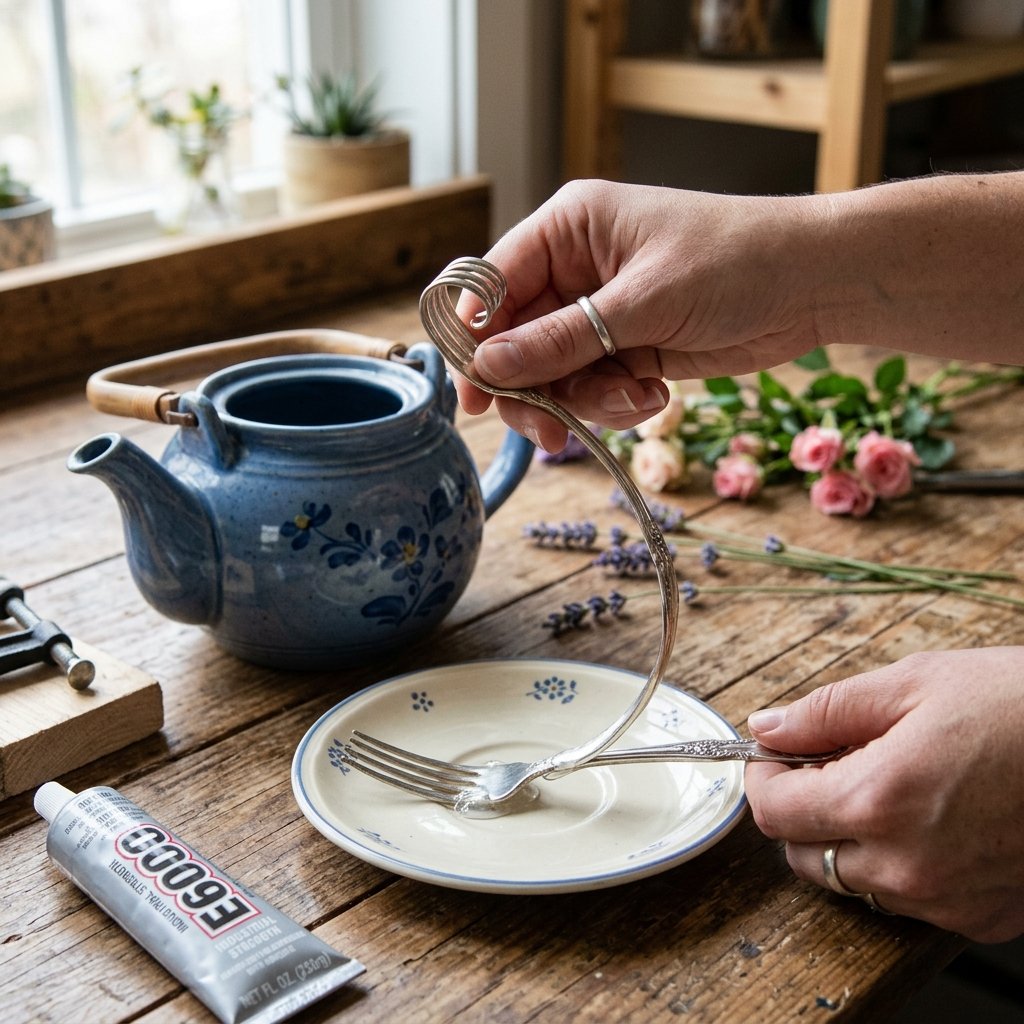
This specific design is the most requested by frugal DIYers. Here is how to engineer it for success.
- Select your base: You need a sturdy saucer and a lightweight teapot.
- The Skeleton: Take a heavy-duty fork and bend the tines to fit inside the teapot spout. Bend the handle of the fork into an ‘S’ shape so the other end sits flat on the saucer.
- The Bond: Use hot glue for a temporary hold, then reinforce with epoxy putty or E6000. Let it dry completely.
- The Camouflage: Use floral tape to cover the fork. Begin gluing your ‘heavy’ flowers (like large roses) to the base and the spout to hide the metal.
- The Flow: Fill the middle section with smaller ‘filler’ flowers like baby’s breath to create the illusion of a continuous stream of liquid.
Safety Note: When using industrial adhesives like E6000, always work in a well-ventilated area to avoid inhaling fumes. Wear gloves to prevent skin irritation.
Conclusion
Your Wedding, Your Vision, Your Savings
Creating gorgeous DIY vintage teapot centerpieces is more than just a craft project; it is a statement of resourceful elegance. You don’t need a massive budget to create a day that your guests will obsess over. You just need a bit of crafty-expert intuition, a few weekends spent thrifting, and the willingness to see the beauty in the old. These 15 ideas provide a roadmap to a bespoke wedding that reflects your personality and your budget-savvy smarts. Now, grab your glue gun, head to the nearest thrift store, and start building your porcelain masterpiece!

Makenzie is the founder and lead writer at MoneyHackTips.com — a personal finance blog dedicated to delivering street-smart financial wisdom for real people on real budgets. With 300+ published articles covering everything from debt management to investing fundamentals, Makenzie’s mission is to make every dollar work harder. When not writing about money hacks, Makenzie is testing frugal living strategies, optimizing side hustles, and helping readers build financial freedom from scratch.