
The Art of the High-End Hustle
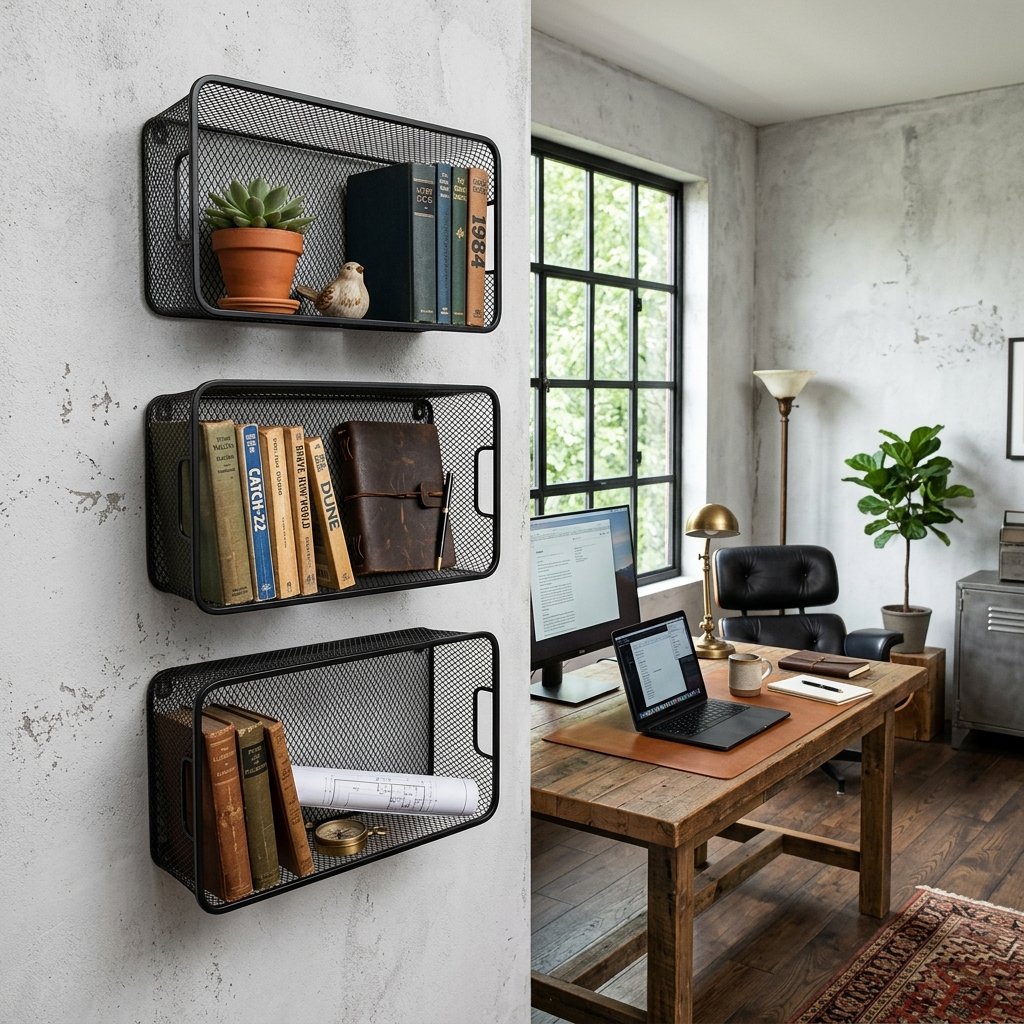
Listen, you don’t need a four-figure interior design budget to capture that coveted industrial-chic aesthetic. If you’ve been eyeing those heavy iron wall baskets at high-end retailers like Pottery Barn or Restoration Hardware, only to be deterred by the $60 to $120 price tags, this guide is for you. As a seasoned trash-to-treasure guru, I’ve discovered that the humble $1.25 wire wastebasket from the Dollar Store is actually a structural masterpiece waiting to be liberated from the floor. By applying a bit of rugged ingenuity and a few coats of matte finish, we can pivot these utilitarian bins into sophisticated wall shelving that screams masculine elegance. This isn’t just about saving money; it’s about the thrill of the hunt and the satisfaction of a resourceful transformation. We are going to take basic mesh and wire and turn it into a functional piece of art that looks like it was salvaged from a 1920s factory. Let’s roll up our sleeves and get to work on a project that costs less than a cup of coffee but adds immense value to your home office, entryway, or workshop.
The Blueprint: Materials and Cost Breakdown
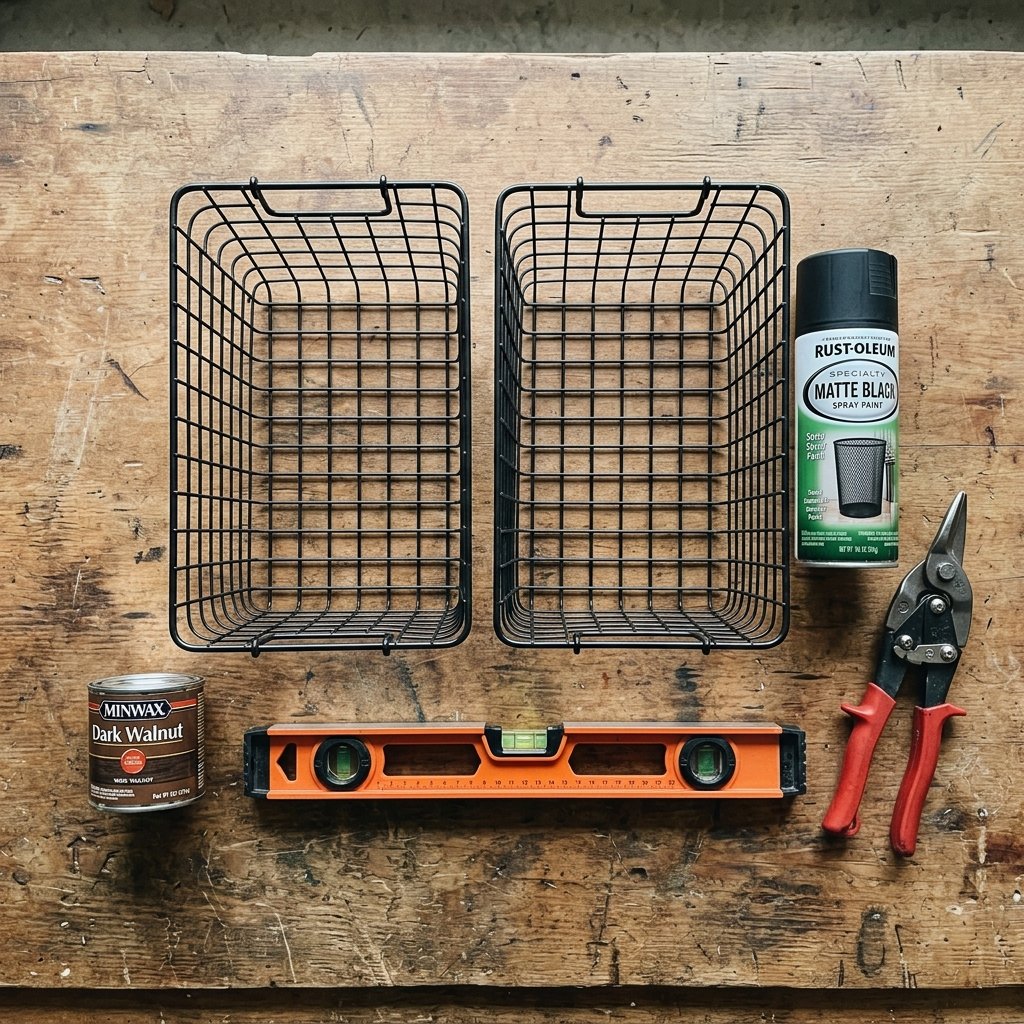
Sourcing Your Supplies Like a Pro
Before we start snipping wire, we need to gather our materials. The beauty of this hack lies in its simplicity. You are looking for the round or rectangular wire mesh wastebaskets typically found in the office supply aisle. For a truly high-end look, I recommend finding the ones with a slightly thicker rim, as this provides better structural integrity when mounted. We aren’t just looking for ‘cheap’; we are looking for ‘potential.’ Pair these with some scrap wood or affordable pine slats to create a solid base for your items to sit on. This adds that rugged, masculine-elegant contrast between cold metal and warm wood grain.
| Item | Source | Estimated Cost |
|---|---|---|
| Wire Wastebaskets (2) | Dollar Store | $2.50 |
| Matte Black Spray Paint | Hardware Store | $6.00 |
| Scrap Pine or Plywood | Workshop Scraps | $0.00 |
| Wall Anchors & Screws | Toolbox | $0.00 |
| Total Project Cost | – | $8.50 |
Compare that to the retail alternative:
| Feature | Store-Bought Industrial Shelf | DIY Wastebasket Hack |
|---|---|---|
| Price | $45.00 – $85.00 | $4.25 per shelf |
| Customization | Limited | Infinite (color/size) |
| Build Time | 0 mins | 45 mins |
| Satisfaction | Low | Extremely High |
The Modification: Cutting and Shaping for Utility
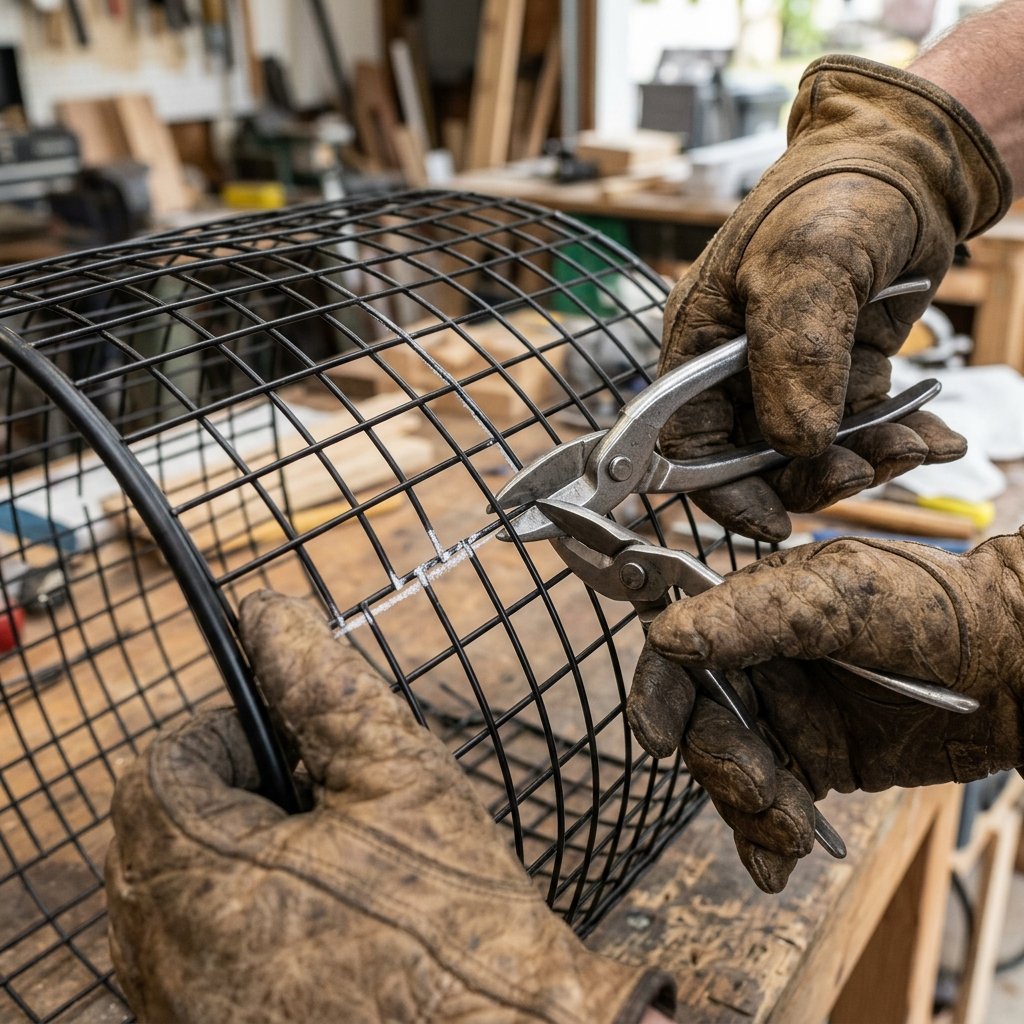
Precision Sniping for a Clean Profile
The first step in our transformation is to alter the silhouette of the wastebasket. Most industrial wall baskets have a ‘half-moon’ or ‘open-front’ design to allow for easy access to mail, tools, or towels. To achieve this, you’ll need a pair of heavy-duty wire snips or a rotary tool. We aren’t just hacking away; we are engineering a new form. You want to mark a line approximately halfway down the basket, or at a slight diagonal if you want a more aggressive, modern look. Once you cut, you’ll be left with raw edges that are sharp and unsightly. This is where the crafty-expert touch comes in.
“The difference between a ‘cheap craft’ and a ‘bespoke piece’ is in the finishing. Always sand your metal burrs until they are flush with the frame. A smooth edge is the mark of a pro.”
Use a metal file or a high-grit sandpaper to smooth down every single cut point. This ensures that your shelf won’t snag your clothes or scratch your hands. If you are using the rectangular bins, you can actually cut them in half to create two shallow shelves from a single dollar-store find, doubling your value instantly.
The Finish: Achieving the ‘Iron Age’ Aesthetic
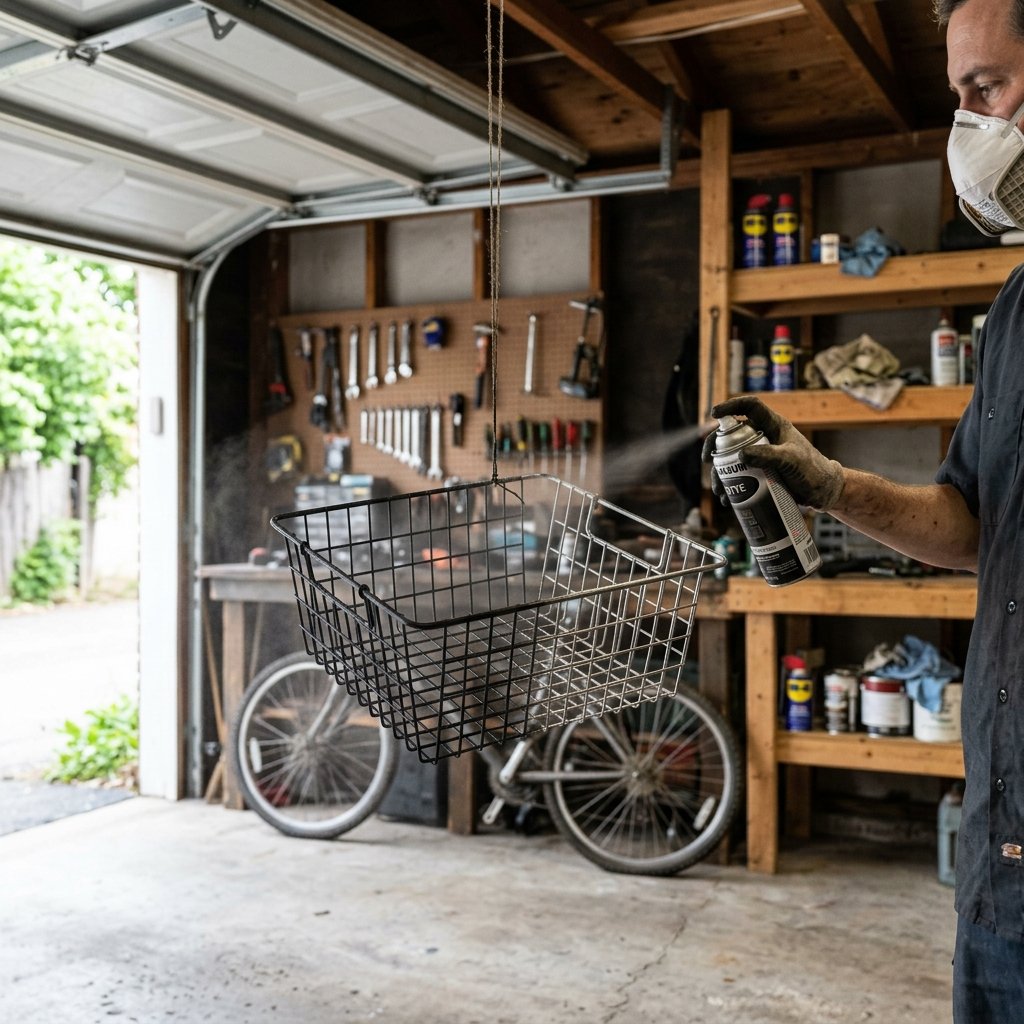
The Power of Matte and Texture
Raw dollar store wire usually comes in a shiny silver or a cheap-looking white coating. To get that Pottery Barn dupe, we need to go dark. I highly recommend a Matte Black or an Oil-Rubbed Bronze spray paint. This instantly adds weight and perceived value to the metal. When painting, the secret is multiple thin coats. If you spray too close or too heavy, you’ll get drips that ruin the industrial illusion. Hold the can 8-10 inches away and use a sweeping motion.
- Step 1: Clean the wire with rubbing alcohol to remove any warehouse oils.
- Step 2: Apply a light primer if the wire is particularly slick.
- Step 3: Apply 2-3 coats of matte black, allowing 15 minutes of dry time between each.
- Step 4: For a ‘distressed’ look, lightly buff the edges with steel wool after the paint is dry to let a hint of the silver peek through, mimicking aged iron.
This process takes a $1.25 item and gives it the visual density of a piece that weighs 10 pounds and costs 20 times the price.
The Masculine-Elegant Upgrade: Adding Wood Inlays
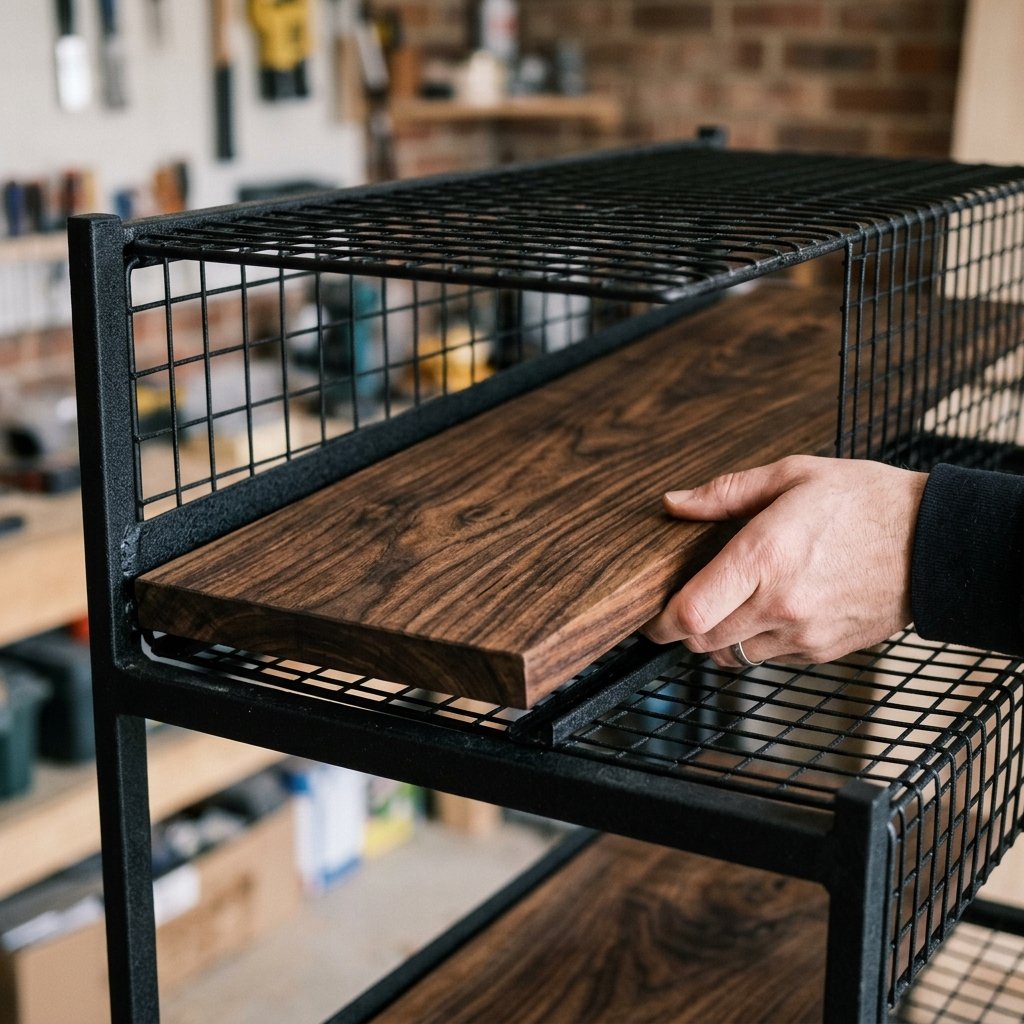
Warmth Meets Industrial Coldness
To truly elevate these shelves from ‘clever hack’ to ‘designer furniture,’ we need to add a wood base. This provides a flat surface for smaller items and introduces a rugged, sophisticated texture. Measure the bottom dimensions of your modified basket. Use a piece of 1/4-inch plywood or even thick cardboard wrapped in wood-grain contact paper if you are on a strict zero-budget. However, for the best results, use a thin piece of pine stained with a ‘Dark Walnut’ or ‘Ebony’ finish.
Stain and Seal Ratio Table
| Wood Type | Stain Color | Vibe |
|---|---|---|
| Pine | Dark Walnut | Classic Industrial |
| Oak | Weathered Gray | Modern Farmhouse |
| Cedar | Natural/Clear | Rugged Outdoorsman |
| Plywood | Ebony | Minimalist Sleek |
Once the wood is stained and dried (usually 2-4 hours), simply drop it into the bottom of the basket. You can secure it with a small dab of heavy-duty construction adhesive or let gravity do the work. This simple addition makes the shelf look like a custom-built unit rather than a repurposed office supply.
Installation: Secure Mounting for Heavy Utility
Engineering for Stability
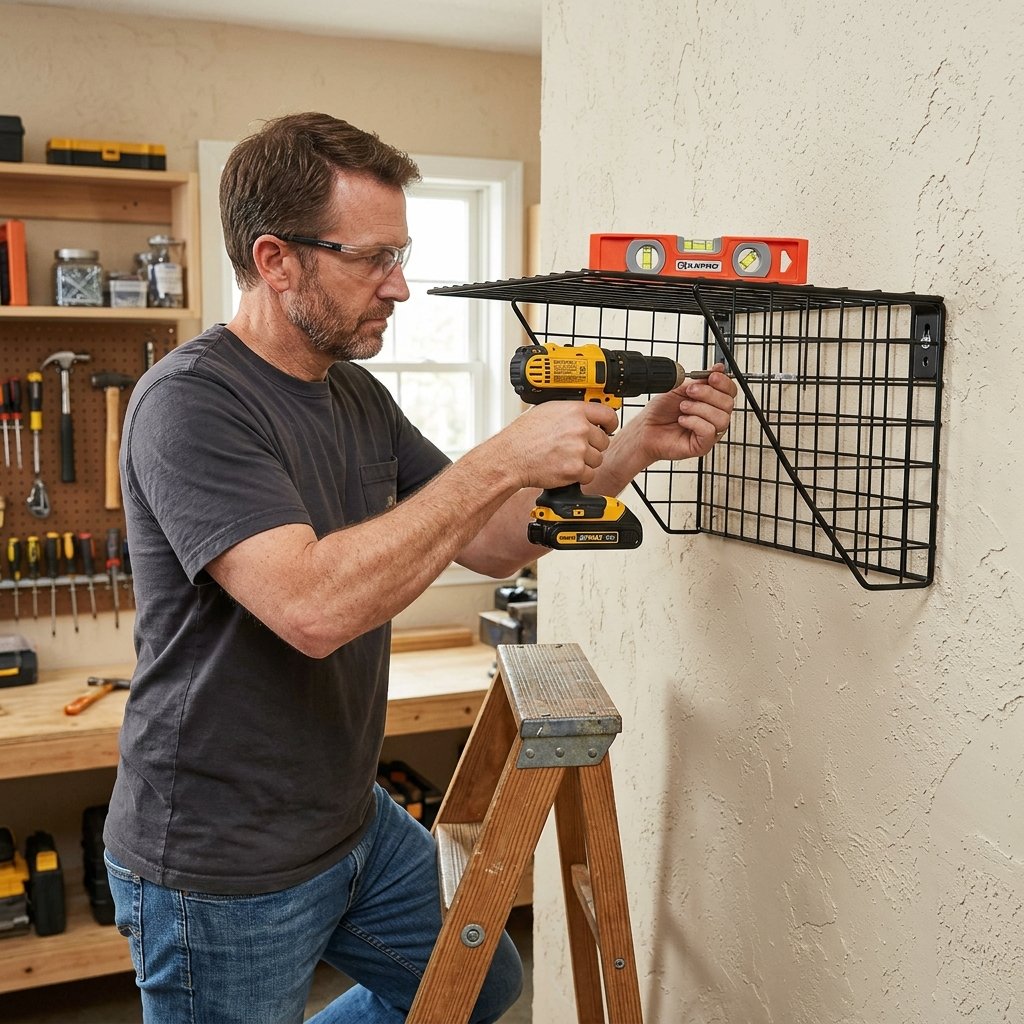
These shelves aren’t just for show; we want them to hold our gear. Whether it’s your collection of vintage cameras, heavy succulents, or everyday carry (EDC) items like keys and wallets, the mounting must be rugged and secure. Since the back of the basket is a mesh grid, you have multiple points of contact. I recommend using black drywall anchors and screws that match your paint finish. This keeps the hardware ‘invisible’ and maintains the clean lines of the shelf.
- Leveling: Hold the shelf against the wall and use a small spirit level to ensure it’s perfectly horizontal.
- Marking: Use a pencil to mark two points near the top rim of the basket where the wire is strongest.
- Drilling: Set your anchors into the drywall or, ideally, find a stud for at least one screw.
- Securing: Drive the screws through the mesh. If the screw head is too small, use a black washer to bridge the gap and provide a wider grip on the wire.
“A shelf is only as good as its anchor. Don’t let your hard work end up on the floor because you skipped the 50-cent wall plug.”
Styling Your Industrial Masterpiece
The Final Touch: Curation
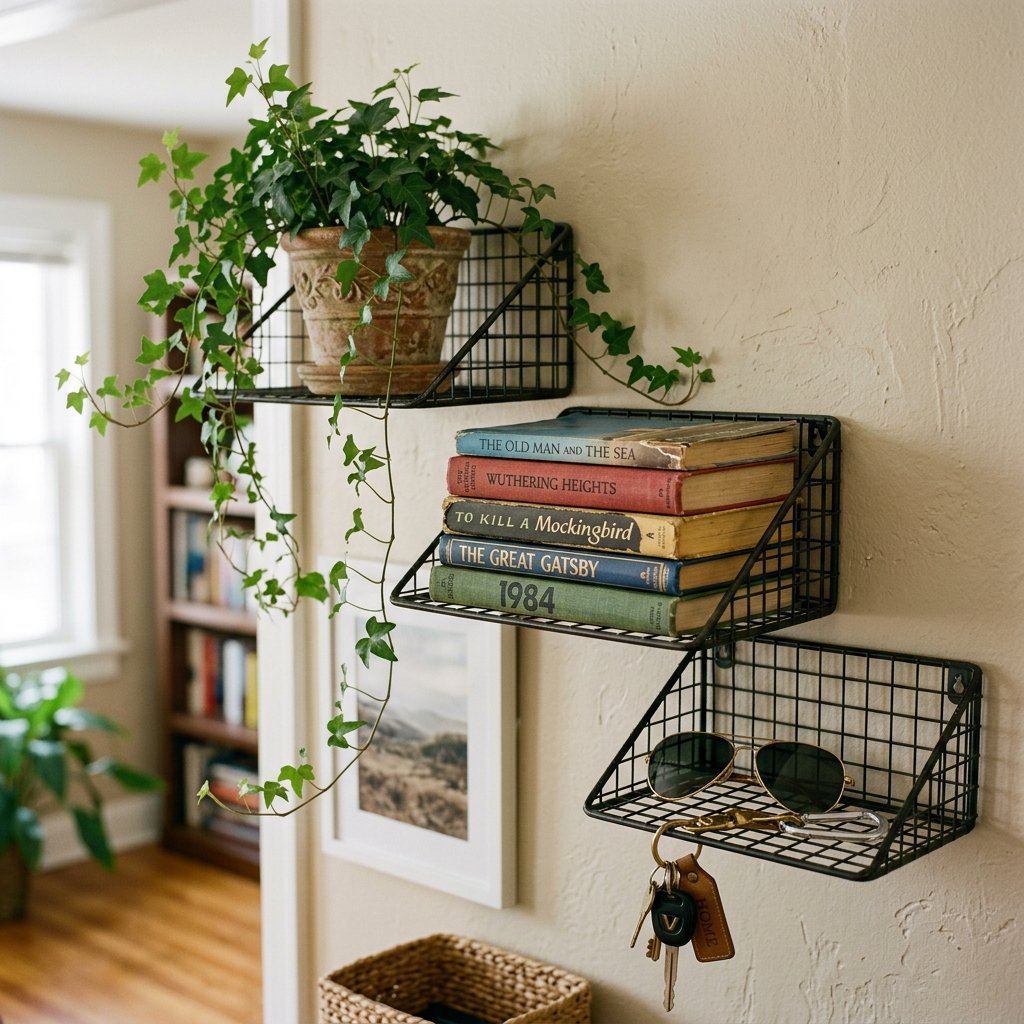
Now that your budget-savvy shelves are mounted, it’s time to style them. The industrial look thrives on a mix of ‘hard’ and ‘soft’ elements. Think metal, leather, glass, and greenery. These shelves are perfect for a variety of rooms:
- The Home Office: Store journals, a brass stapler, and a small clock.
- The Entryway: A perfect landing pad for mail, sunglasses, and a leather valet tray for your keys.
- The Bathroom: Rolled hand towels and glass jars filled with cotton swabs or bath salts.
- The Kitchen: An ideal spot for your favorite spices or a small herb garden in terracotta pots.
By grouping two or three of these shelves in a staggered vertical pattern, you create a focal point that looks intentional and high-end. You’ve successfully turned $5.00 worth of materials into a wall feature that would easily retail for $150.00 in a boutique furniture store. That is the power of the frugal guru!
Conclusion
Victory for the Frugal Maker
There you have it—a genius Dollar Store hack that proves style isn’t bought, it’s built. By looking at a common wire wastebasket through the lens of a resourceful upcycler, you’ve created a trendy, industrial storage solution that is as functional as it is beautiful. You’ve mastered the art of metal modification, the finesse of the matte finish, and the elegance of wood integration. This project is a testament to the fact that with a little bit of rugged creativity and a few bucks, you can transform any space into a high-end sanctuary. Now, go forth and scan those dollar aisles with new eyes—your next masterpiece is likely sitting right there on the bottom shelf, waiting for a crafty expert like you to bring it to life. Stay creative, stay budget-savvy, and keep building!

Makenzie is the founder and lead writer at MoneyHackTips.com — a personal finance blog dedicated to delivering street-smart financial wisdom for real people on real budgets. With 300+ published articles covering everything from debt management to investing fundamentals, Makenzie’s mission is to make every dollar work harder. When not writing about money hacks, Makenzie is testing frugal living strategies, optimizing side hustles, and helping readers build financial freedom from scratch.