
The Quest for Backyard Solitude
We’ve all been there. You step out onto your patio, coffee in hand, ready to enjoy a moment of Zen, only to lock eyes with your neighbor, Bill, who is currently power-washing his driveway in his socks. Your outdoor space should be your sanctuary, not a stage for the neighborhood to watch. But if you’ve priced out professional privacy fencing or high-end outdoor dividers lately, you know they can easily run you $300 to $800. That is not the frugal way.
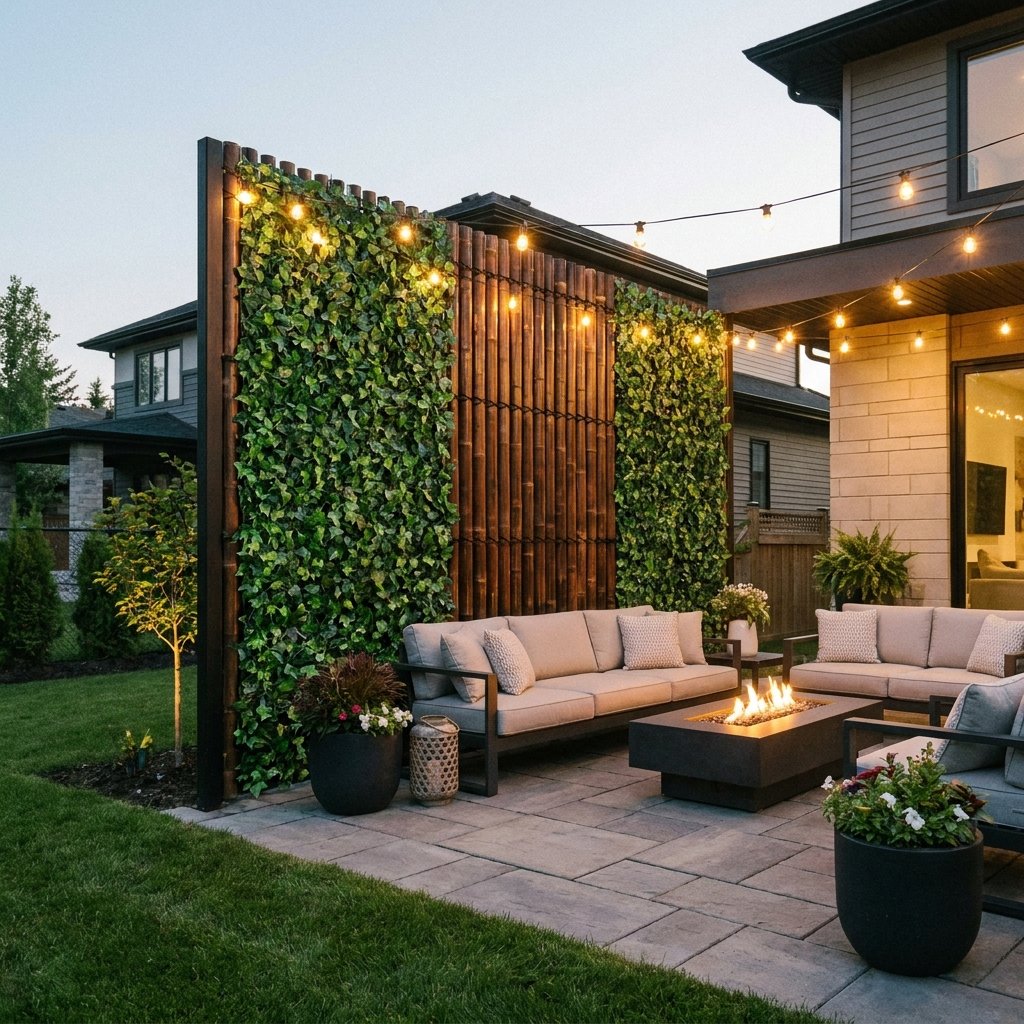
As a resourcefully-creative DIYer, I refuse to accept that privacy comes with a premium price tag. Today, we are going to channel our inner ‘Trash-to-Treasure’ guru and build a rugged, masculine-elegant, and completely functional outdoor privacy screen using items found almost exclusively at the Dollar Store. We aren’t just talking about a flimsy curtain; we’re talking about a sturdy, weather-resistant structure that adds character and value to your home for the price of a few pizzas. Let’s roll up our sleeves and reclaim your peace of mind.
The Blueprint: Strategic Planning on a Dime
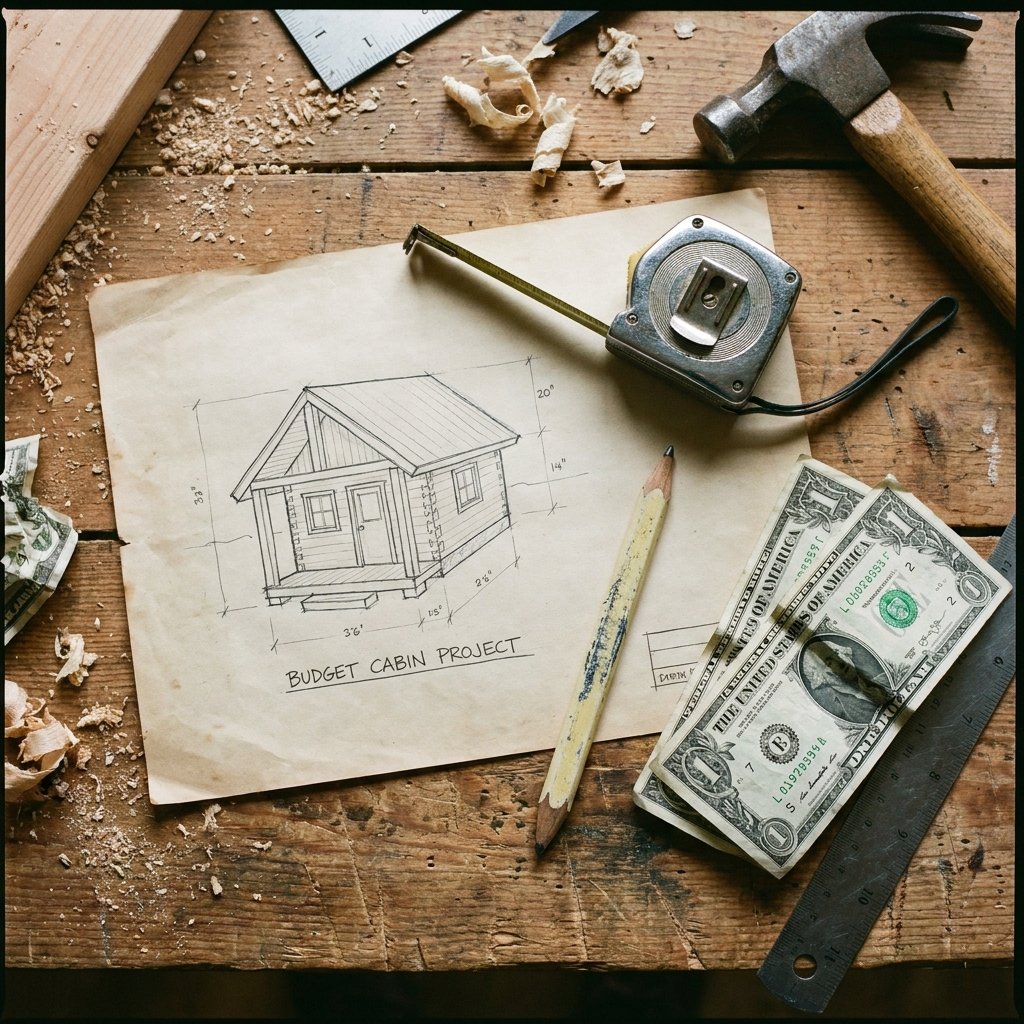
Before we start grabbing every bamboo stake in the garden aisle, we need a tactical plan. A successful DIY project relies on structural integrity and aesthetic appeal. We are aiming for a look that screams ’boutique hotel’ rather than ‘backyard clearance sale.’ To do this, we need to compare the costs and understand why the DIY route is the only logical choice for the savvy crafter.
Why DIY Beats Big-Box Retail
When you buy a pre-made screen, you’re paying for manufacturing, shipping, and a massive retail markup. By sourcing raw materials from the dollar store and upcycling scraps from your garage, you keep those hundreds of dollars in your pocket.
| Feature | Big-Box Retail Screen | Our DIY Dollar Store Screen |
|---|---|---|
| Estimated Cost | $250 – $500 | $25 – $45 |
| Customization | Limited Sizes | Fully Adjustable |
| Build Time | 1 Hour (Assembly) | 3 Hours (Crafting) |
| Durability | Plastic/Composite | Reinforced Natural Materials |
| Satisfaction | None (Just a Purchase) | 100% Crafty Pride |
“The goal isn’t just to save money; it’s to create something that looks like you didn’t have to.” — The Budget Savvy Mantra
The Supply Run: What to Hunt for at the Dollar Store
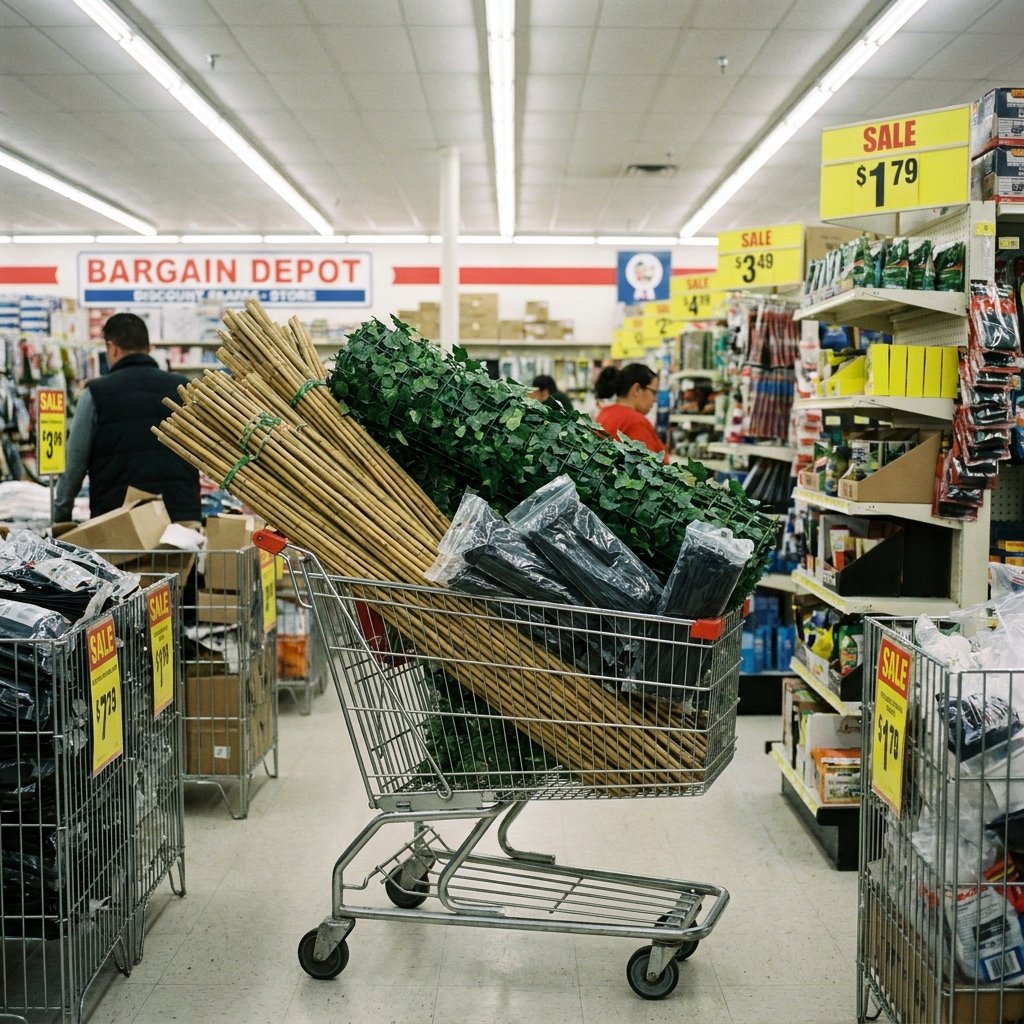
Navigating the aisles of a dollar store requires a keen eye for potential. You aren’t looking for finished products; you’re looking for components. For this rugged privacy screen, we are going to focus on the garden and hardware sections. Here is your shopping list for a standard 6-foot tall by 4-foot wide panel.
Materials Needed & Estimated Cost
| Item | Quantity | Estimated Cost |
|---|---|---|
| Bamboo Garden Stakes (6-pack) | 5 Packs | $6.25 |
| Heavy-Duty Zip Ties (Black) | 2 Packs | $2.50 |
| Artificial Ivy or Floral Mesh | 8 Units | $10.00 |
| Wooden Yardsticks or Trim Scraps | 4 Units | $5.00 |
| Outdoor Spray Paint (Matte Black) | 2 Cans | $10.00 (Hardware Store) |
| Total Estimated Investment | — | $33.75 |
The ‘Secret Sauce’ Materials
- Twine or Jute: For a more organic, rugged look to hide the zip ties.
- Solar Stake Lights: To mount on top of the screen for evening ambiance.
- Sandpaper: To prep the bamboo for a high-end paint finish.
Phase 1: Framing for Strength and Stability

A privacy screen is only as good as its skeleton. If it sags, it looks cheap. We are going to build a ‘ladder frame’ using our bamboo stakes. This provides the vertical height and the horizontal rigidity needed to withstand a breeze.
Step-by-Step Frame Assembly
- Layout: Lay two 6-foot bamboo stakes parallel on the ground, 4 feet apart. These are your main vertical supports.
- Cross-Bracing: Place horizontal stakes every 12 inches from top to bottom. This creates a grid pattern.
- The Tactical Tie: Use your black zip ties to secure every intersection. Pull them tight using pliers to ensure there is zero wiggle room.
- Reinforcement: For a more ‘masculine-elegant’ look, double up the vertical stakes. Taping or tying two stakes together increases the load-bearing capacity significantly.
Safety Note: When cutting bamboo or plastic zip ties, always cut away from your body. The ends of zip ties can be sharp—use a pair of nail clippers or flush cutters to trim the ‘tails’ for a professional, snag-free finish.
Phase 2: The Aesthetic Layer—Adding Privacy

Now that we have a sturdy frame, it’s time to ‘hide the neighbors.’ We want a screen that allows some airflow (so it doesn’t act like a sail and blow over) but blocks the line of sight. We have two clever options here: the Natural Bamboo Look or the Green Wall Aesthetic.
Option A: The Modern Slat Look
Take your remaining bamboo stakes and zip-tie them vertically to your horizontal cross-bars, spacing them only 1/2 inch apart. This creates a sophisticated, linear texture that mimics expensive teak screens.
Option B: The Lush Ivy Wall
Dollar stores often carry 12×12 inch squares of artificial boxwood or ivy. Zip-tie these panels directly onto your bamboo grid. This is the ultimate ‘high-end dupe’ for expensive vertical gardens found in luxury condos.
The Pro-Tip for Durability
Spray the entire structure with a Matte Black or Dark Walnut outdoor-rated spray paint. This does two things: it protects the bamboo from UV rot and it instantly makes the dollar store materials look like heavy wrought iron or expensive wood.
Phase 3: Rugged Anchoring and Weatherproofing
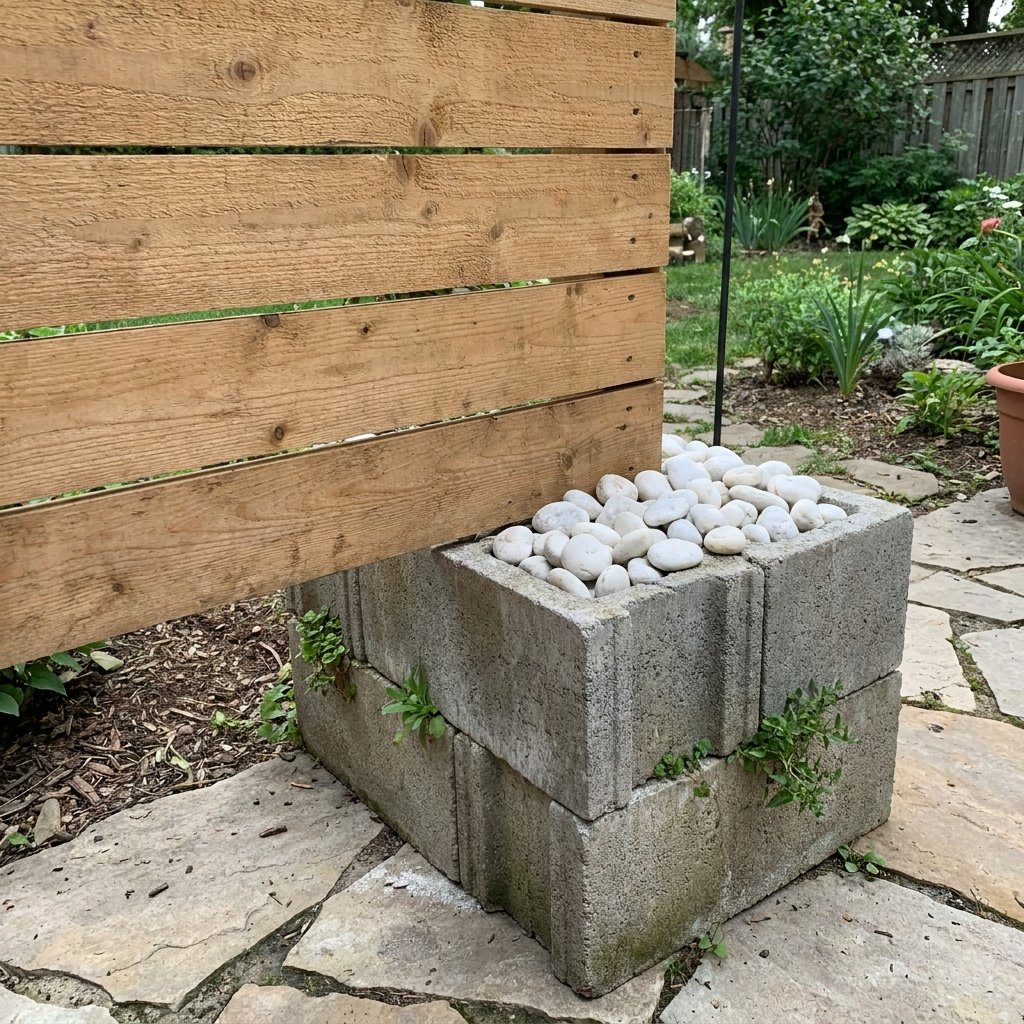
An outdoor screen is useless if it ends up in the next county after a thunderstorm. Depending on where you are placing your screen (deck vs. grass), your anchoring strategy will change. We want a rugged, permanent feel without the permanent price.
Anchoring Solutions Table
| Surface | Anchoring Method | Cost |
|---|---|---|
| Wooden Deck | Heavy-duty Screw Hooks & Bungee Cords | $4.00 |
| Concrete Patio | Cinder Block Planters (Upcycled) | Free – $2.00 |
| Soft Grass/Dirt | Rebar Stakes driven 12″ deep | $5.00 |
Weatherproofing for Longevity
Bamboo is naturally hardy, but a quick coat of Spar Urethane (if you have some in the garage) or even a simple outdoor clear coat will prevent the sun from bleaching your screen. If you used artificial ivy, look for a ‘UV Protectant’ spray to keep the greens from turning blue over time. This extra 10 minutes of work adds years to the life of your project.
Styling the Sanctuary: The Finishing Touches

The screen is built, anchored, and painted. Now, we elevate it from a ‘project’ to a ‘piece.’ This is where your creative gift-giving and styling skills shine. We want to integrate the screen into your patio so it looks intentional.
Elevation Techniques
- Lighting: Drape a string of Dollar Store LED Edison bulbs across the top. The light will filter through the bamboo slats, creating beautiful shadows.
- Vertical Gardening: Use ‘S’ hooks to hang small terracotta pots (also from the dollar store) filled with succulents or herbs.
- Symmetry: Build two screens. Placing them in an ‘L’ shape creates a cozy corner nook that feels like a private outdoor room.
By the time you are finished, you will have a functional piece of art that provides 100% privacy. You’ve saved over $200, upcycled basic materials, and created a masculine-elegant space that is the envy of the block. Sorry, Bill—the show is over!
Conclusion
Victory in the Backyard
Building your own outdoor privacy screen isn’t just about blocking a view; it’s about the satisfaction of knowing you outsmarted the retail market. We took $35 worth of supplies and a few hours of crafty labor to create a solution that looks like it belongs in a high-end design magazine. Whether you’re a handy parent looking to create a safe, private play area or a frugal DIYer reclaiming your porch, this project proves that with a little resourcefulness, you don’t need a massive budget to live well.
Now, go grab a cold drink, head out to your new private sanctuary, and enjoy the silence. You earned it. And remember: Don’t just buy it—build it better for less!

Makenzie is the founder and lead writer at MoneyHackTips.com — a personal finance blog dedicated to delivering street-smart financial wisdom for real people on real budgets. With 300+ published articles covering everything from debt management to investing fundamentals, Makenzie’s mission is to make every dollar work harder. When not writing about money hacks, Makenzie is testing frugal living strategies, optimizing side hustles, and helping readers build financial freedom from scratch.