
The Concrete Conundrum: From Eyesore to Entryway Excellence
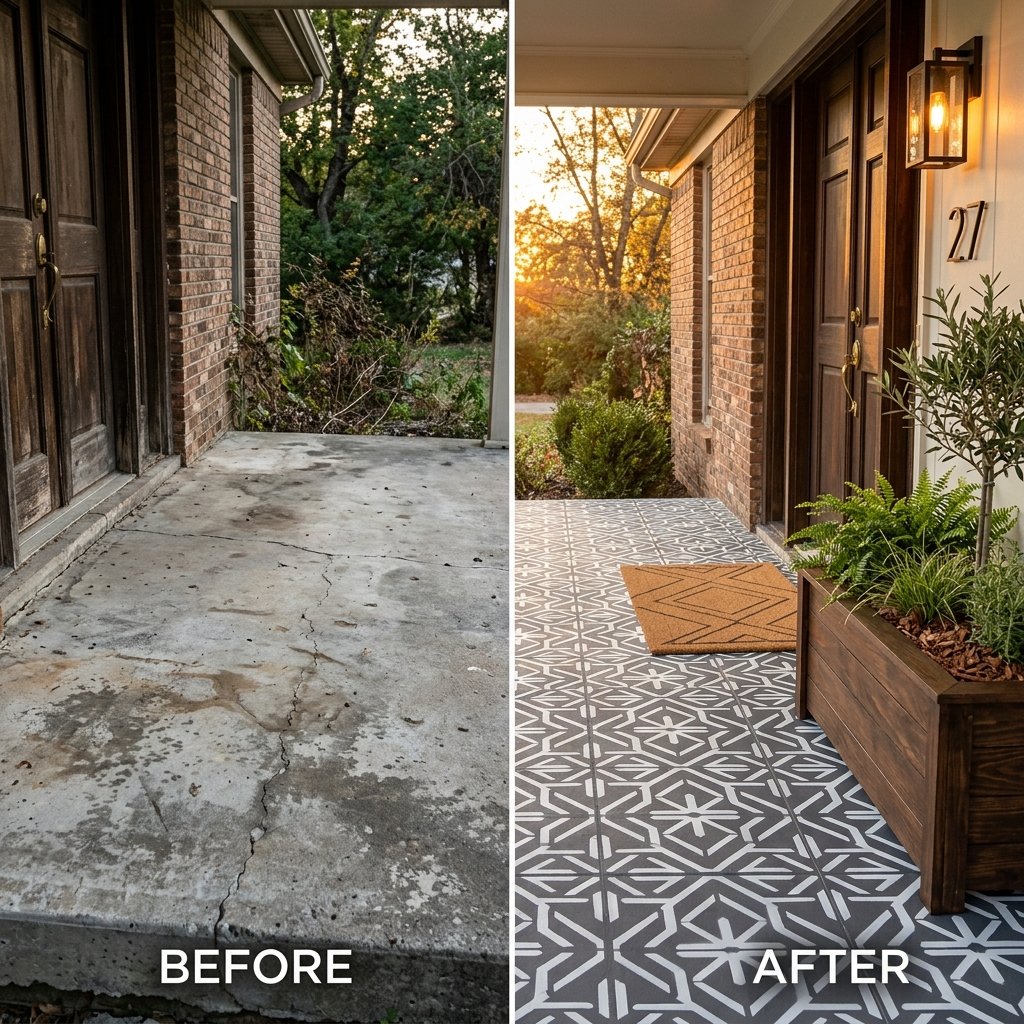
Let’s be honest: that grey, weathered concrete slab leading to your front door isn’t doing your home any favors. It’s rugged, sure, but it lacks the masculine elegance and curb appeal your hard work deserves. Most homeowners assume that fixing an ugly porch requires a jackhammer or a $1,500 professional tiling job. I’m here to tell you that’s nonsense. As a frugal DIYer, you have the tools, the grit, and the creative vision to turn that ‘trash’ slab into a ‘treasure’ centerpiece in just 48 hours.
In this guide, we aren’t just slapping on a coat of paint. We are performing a surgical, budget-savvy transformation. We’re talking about high-end geometric stencils, rugged cleaning techniques, and upcycled decor that looks like it came from a boutique catalog, all while keeping our total spend under a $50 bill. Grab your work gloves; it’s time to reclaim your porch.
Phase 1: The Tactical Prep – Cleaning Like a Pro
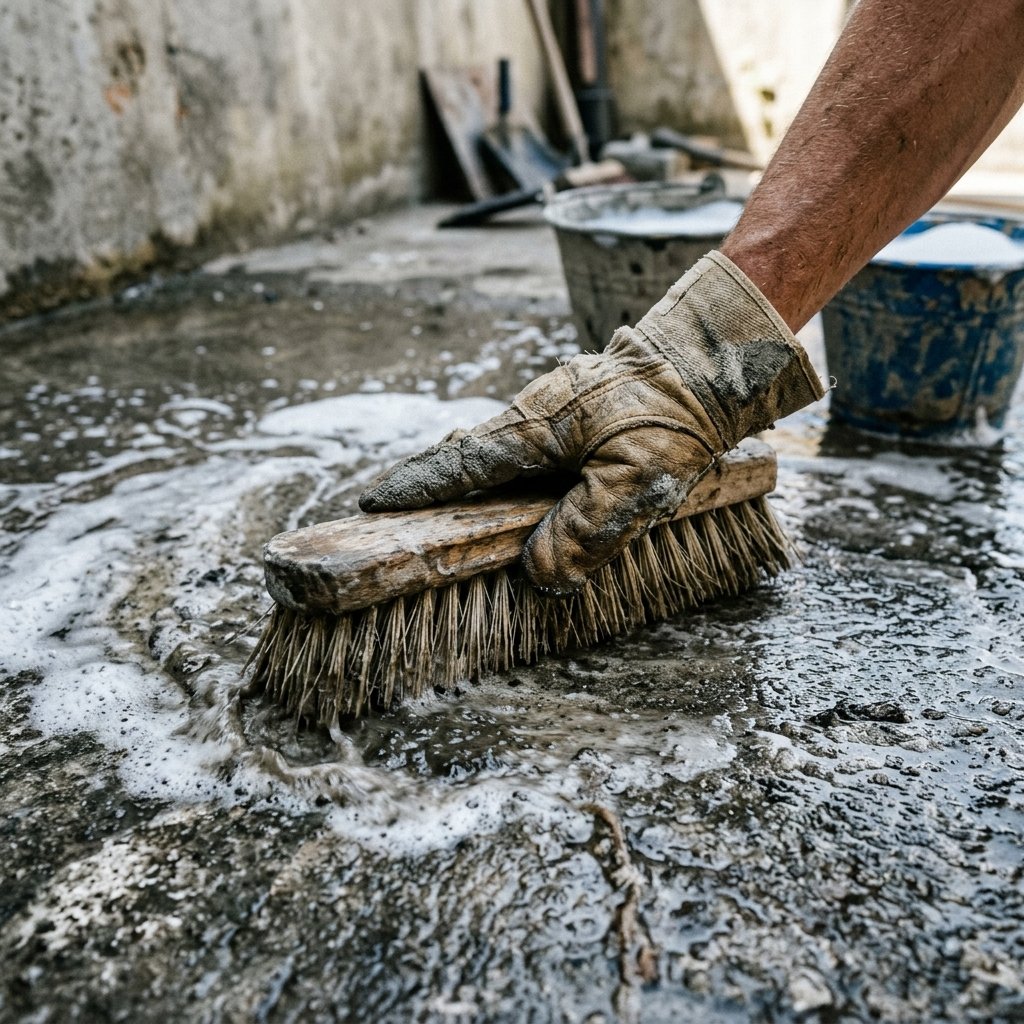
The Foundation of Every Great Finish
You wouldn’t build a house on sand, and you shouldn’t paint on grease. Concrete is porous; it drinks up oil, dirt, and moss. To ensure our $50 investment lasts for years, we must start with a clean slate. Forget expensive pressure washer rentals—we’re going old school with elbow grease and chemistry.
- Step 1: The Deep Sweep. Remove every cobweb, leaf, and pebble. Use a stiff-bristled shop broom.
- Step 2: The Degreasing Ritual. Mix a solution of hot water and heavy-duty dish soap. For stubborn oil spots, a sprinkle of baking soda or cheap cat litter can pull the oils out of the pores.
- Step 3: The Vinegar Etch. If your concrete is particularly smooth, a 1:1 mix of water and white vinegar will slightly roughen the surface, allowing the paint to ‘bite’ into the stone.
“The secret to a professional finish isn’t the paint; it’s the prep. If the water doesn’t bead on the concrete, the paint won’t stick. Scrub until the water runs clear.”
| Material | Source | Estimated Cost |
|---|---|---|
| Stiff Scrub Brush | Dollar Tree / Existing | $1.25 |
| Dish Soap & Vinegar | Pantry | $0.00 |
| Concrete Patch (Optional) | Hardware Store | $6.00 |
Phase 2: The Stencil Revolution – Faking the Tiled Look
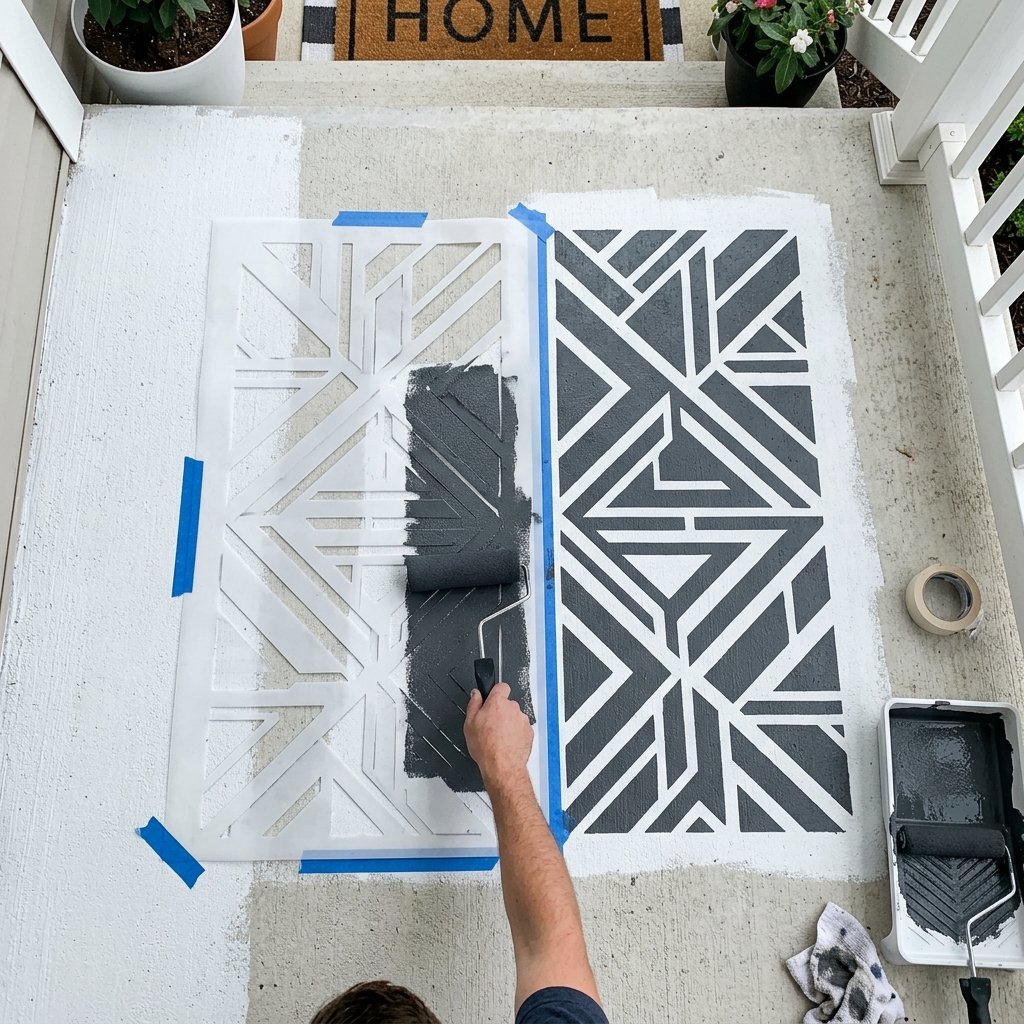
High-End Aesthetics on a Plywood Budget
This is where the magic happens. We are going to mimic the look of expensive Moroccan or slate tiles using nothing but paint and a pattern. The key to a masculine-elegant look is choosing a geometric, bold pattern rather than something overly floral.
- Apply the Base Coat: Use a high-quality porch and floor paint. A light grey or off-white works best as the ‘grout’ color. Roll on two thin coats.
- The Stencil Strategy: You can buy a reusable stencil for $10, or be truly resourceful and cut your own out of a plastic cereal liner or thin cardboard.
- The Dry-Brush Technique: This is critical. Dip your foam roller in the accent paint (charcoal or navy), then roll most of it off onto a piece of scrap cardboard. It should be almost dry to the touch. This prevents ‘bleed’ under the stencil.
- The Layout: Start from the center of the porch and work your way out. This ensures that any ‘cut-off’ patterns at the edges look intentional and symmetrical.
| Project Component | DIY Cost | Store-Bought Equivalent |
|---|---|---|
| Stenciled Floor | $35.00 | $800.00 (Tile) |
| Custom Stencil | $0.00 | $45.00 (Designer) |
| Total Savings | $765.00 | — |
Phase 3: The $15 Decor Sprint – Upcycling for Impact
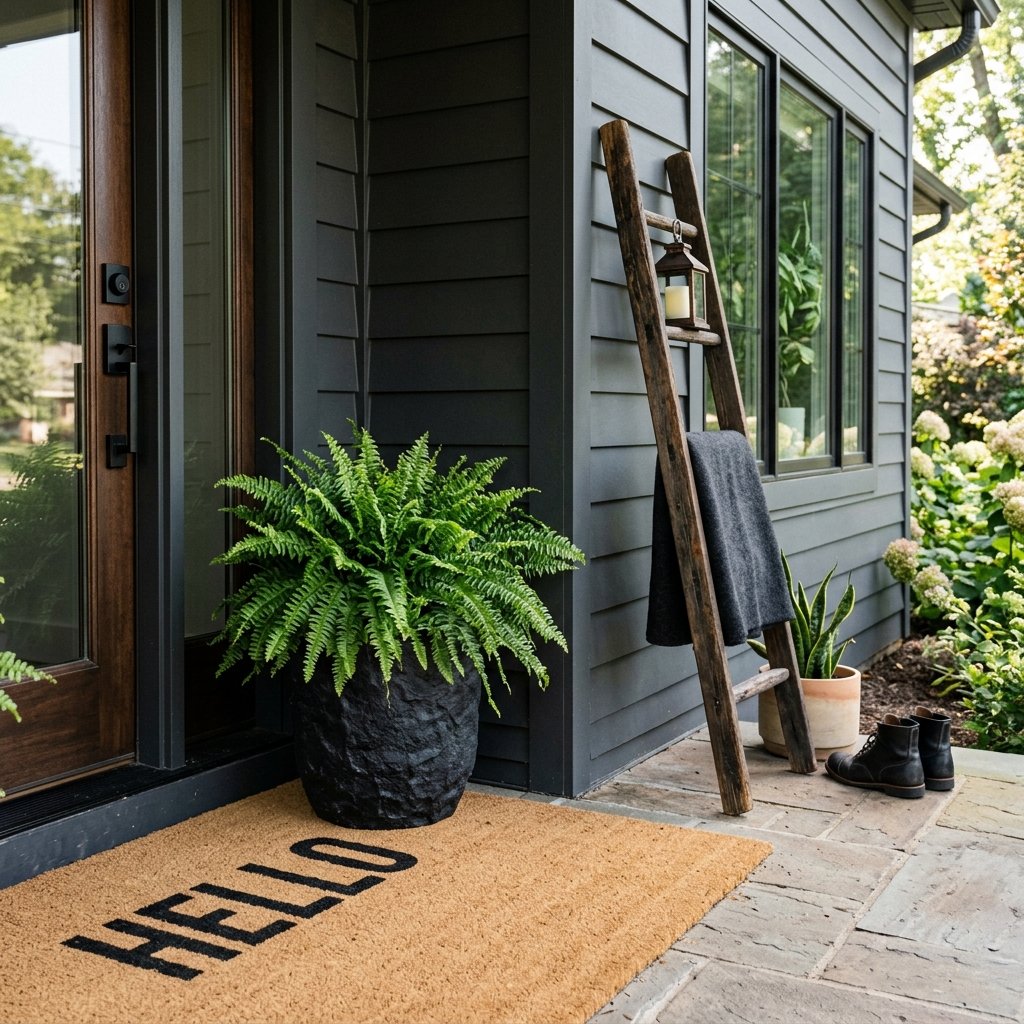
Styling the Space with Rugged Charm
Now that the floor looks like a million bucks, the rest of the porch needs to catch up. We have roughly $10-$15 left in our budget. Here is how we spend it like a genius.
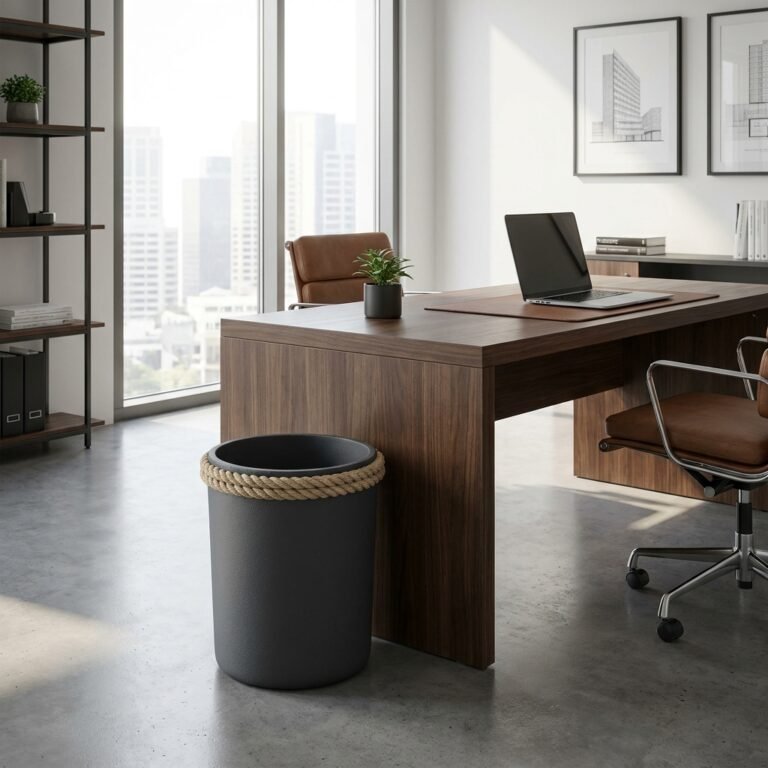
- The ‘Baking Soda’ Planter: Take any old plastic bucket or cheap nursery pot. Mix black acrylic paint with a tablespoon of baking soda. The reaction creates a thick, stone-like texture. Paint the pot for an instant faux-stone look that mimics high-end pottery.
- The Upcycled Welcome Mat: If your current coir mat is faded, don’t buy a new one. Use your leftover stencil paint and a stencil to refresh the design. It takes 5 minutes and looks brand new.
- Vertical Interest: Use scrap wood or even a sturdy fallen branch to create a rustic ‘ladder’ for climbing plants. It costs $0 and adds immediate height to the space.
“Design is not about what you buy, but how you arrange what you already have. Texture and contrast are the tools of the budget-savvy stylist.”
Phase 4: Rugged Durability – Sealing the Deal
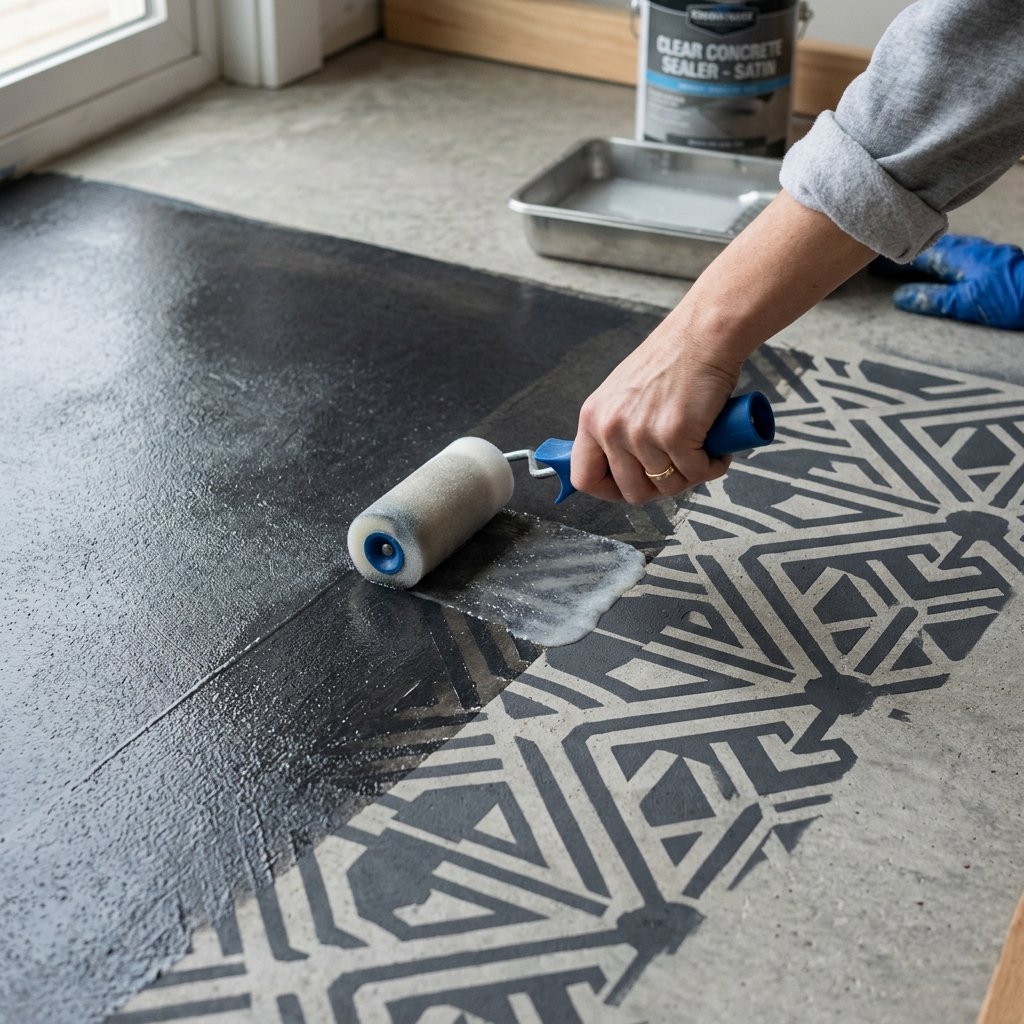
Protecting Your Hard Work
You’ve spent the weekend transforming this space; don’t let a rainstorm wash it away. While many porch paints are self-sealing, a dedicated clear topcoat will provide that rugged durability needed for high-traffic areas.
The Maintenance Checklist
- Wait for the Cure: Let the stencil paint dry for at least 24 hours before walking on it.
- The Clear Coat: Apply a water-based polyurethane sealer with a clean roller. This prevents the white ‘grout’ lines from staining over time.
- Seasonal Refresh: A simple spray-down with a hose once a month will keep the colors vibrant and the dirt from settling into the paint pores.
| Timeline | Task | Energy Level |
|---|---|---|
| Friday Night | Deep Clean & Patch | High |
| Saturday Morning | Base Coat Application | Medium |
| Saturday Afternoon | Stenciling (The Fun Part) | High/Creative |
| Sunday Morning | Decor & Sealing | Low |
Conclusion
The $50 Victory Lap
There you have it. In just one weekend, you’ve taken a depressing grey slab and turned it into a sophisticated, masculine-elegant entrance that will be the envy of the neighborhood. By being resourceful and clever, you’ve saved yourself hundreds—if not thousands—of dollars. This project proves that you don’t need a massive bank account to have a beautiful home; you just need a little bit of grit, a smart plan, and the willingness to get your hands dirty. Now, grab a cold drink, sit out on your ‘new’ porch, and enjoy the view. You earned it.

Makenzie is the founder and lead writer at MoneyHackTips.com — a personal finance blog dedicated to delivering street-smart financial wisdom for real people on real budgets. With 300+ published articles covering everything from debt management to investing fundamentals, Makenzie’s mission is to make every dollar work harder. When not writing about money hacks, Makenzie is testing frugal living strategies, optimizing side hustles, and helping readers build financial freedom from scratch.