
The Secret Weapon in Your Kitchen Aisle
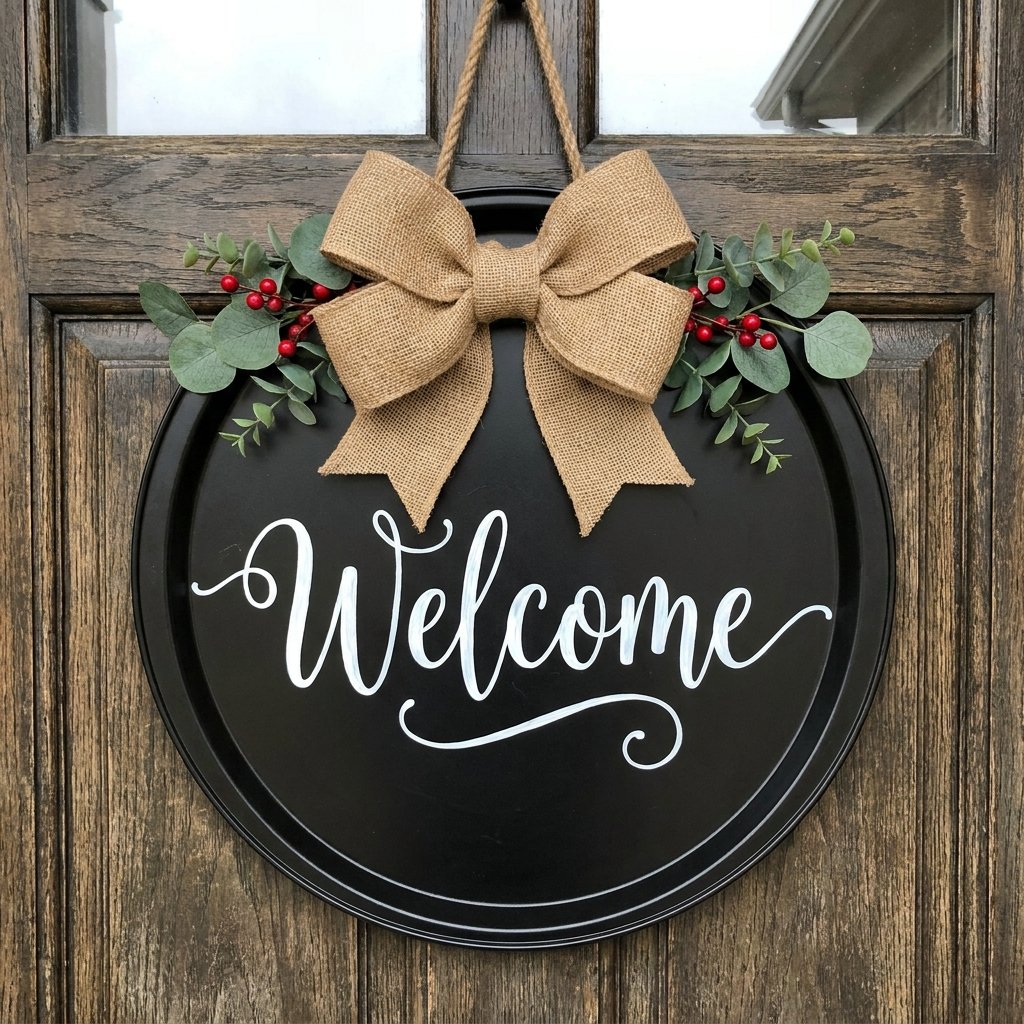
Let’s talk about the ultimate ‘trash-to-treasure’ heist. You walk into the Dollar Tree, bypass the glitter-covered gnomes, and head straight for the kitchen section. There, among the spatulas and plastic bowls, sits a humble, thin metal pizza pan. To most, it is a $1.25 tool for frozen pepperoni pies. To the crafty, budget-savvy expert, it is a blank canvas for high-end, masculine-elegant porch decor. Why spend $45 to $65 on a boutique wooden round from Etsy when you can manufacture a rugged, weather-resistant, and completely bespoke door hanger for less than the price of a latte? This guide isn’t just about glue and glitter; it is about engineering a piece of home decor that looks like it was plucked from a high-end interior design catalog using resourceful grit and a little bit of ‘baking soda paint’ magic.
Budget Mantra: ‘The beauty of a piece isn’t defined by the price of the materials, but by the ingenuity of the maker.’
The Strategic Budget: Boutique vs. DIY Breakdown
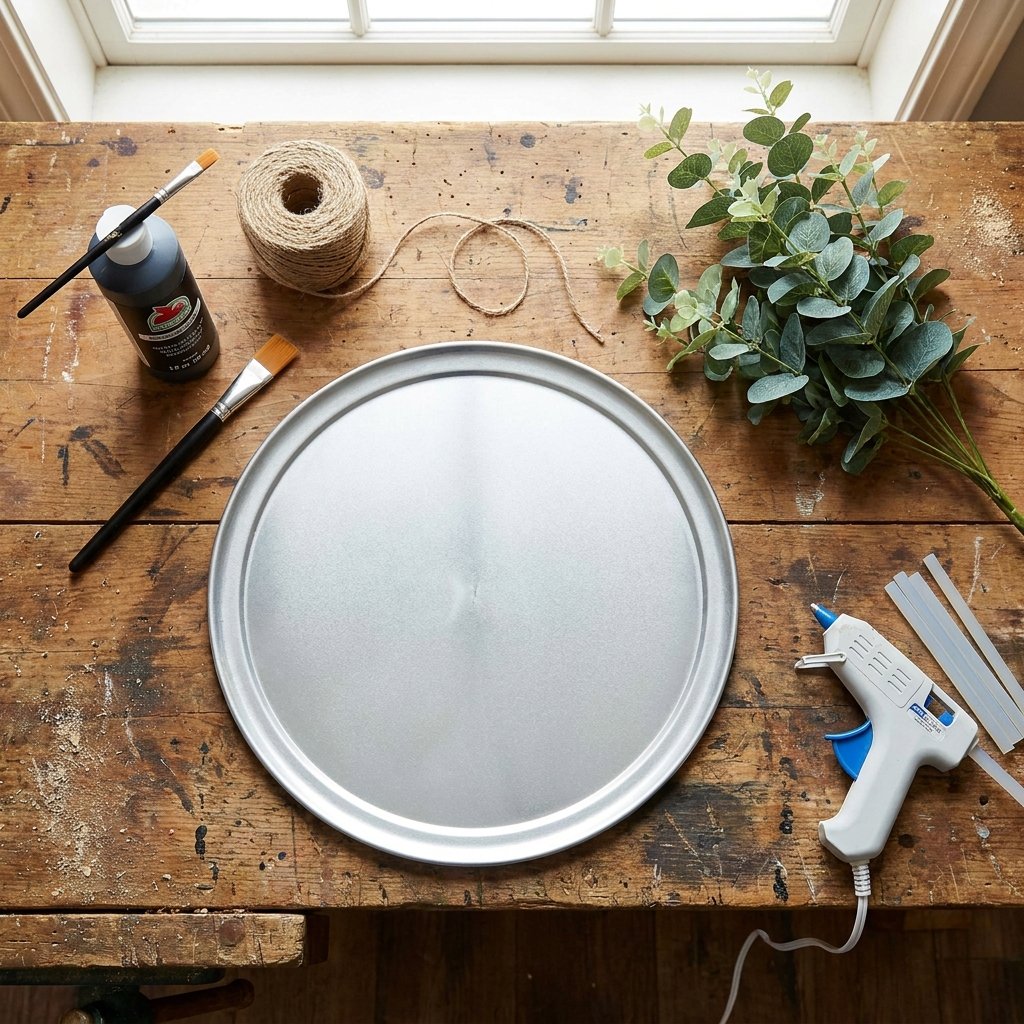
Before we pick up a brush, let’s look at the numbers. As a frugal DIYer, you know that every dollar saved is a dollar earned. Commercial door hangers are often made of thin plywood that warps in the humidity. Our secret weapon—the metal pizza pan—is naturally more durable and provides a perfectly smooth surface for paint. Here is how the costs stack up when you leverage the power of the dollar store.
| Material Item | Boutique/Store Price | Dollar Tree DIY Cost |
|---|---|---|
| Base (12-inch Round) | $18.00 | $1.25 |
| High-Quality Paint/Finish | $12.00 | $1.25 (using household hacks) |
| Embellishments (Greenery/Bows) | $15.00 | $2.50 |
| Hanging Hardware/Rope | $5.00 | $1.25 |
| Total Investment | $50.00 | $6.25 |
By following this blueprint, you are achieving an 87% cost reduction. That is the kind of savvy math that allows you to decorate every door in your house or create high-value gifts for friends and family without breaking the bank.
The ‘Stone-Look’ Transformation: The Baking Soda Paint Trick
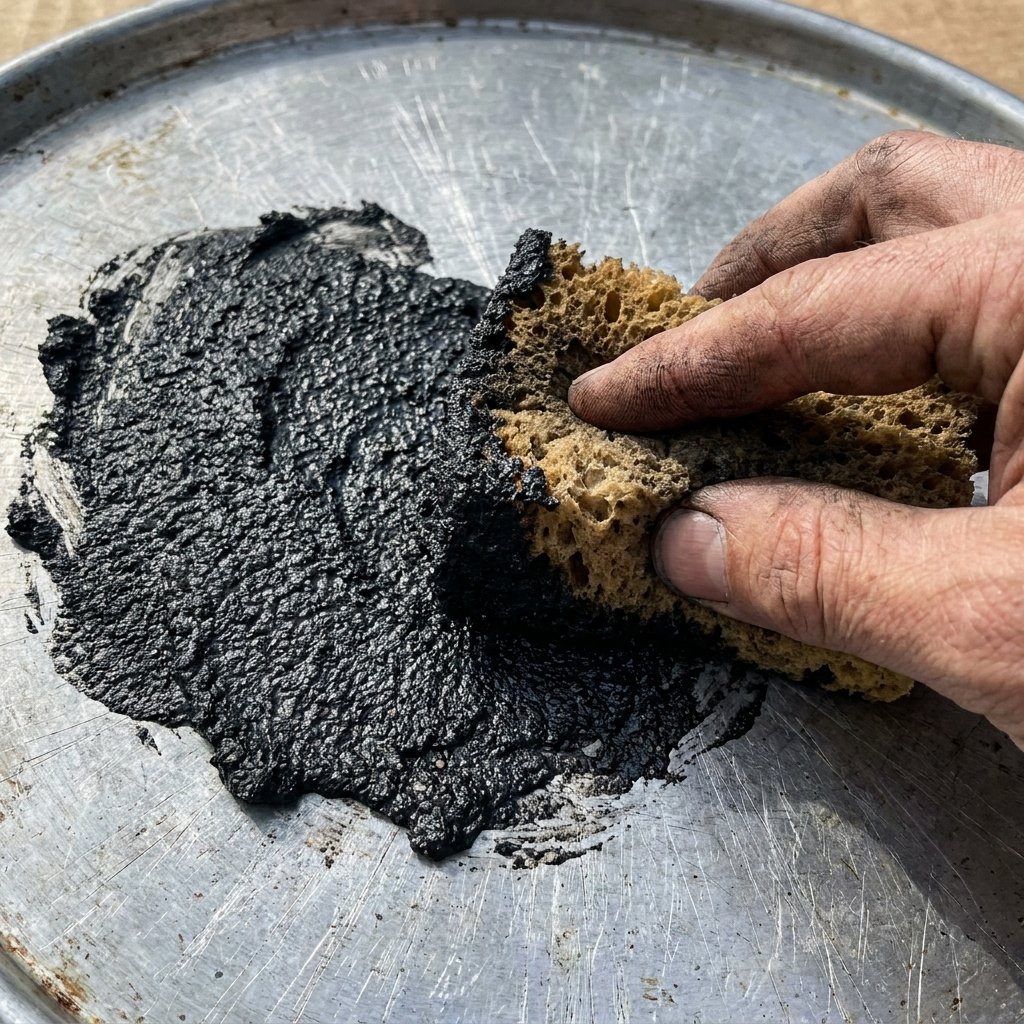
Prepping the Metal Canvas
The biggest giveaway of a cheap DIY is a shiny, plastic-looking finish. To achieve a rugged, high-end ‘masculine-elegant’ aesthetic, we need texture. This is where the Baking Soda Paint Trick comes into play. It turns cheap acrylic paint into a thick, ceramic-like coating that mimics expensive cast iron or stone.
Step-by-Step Texture Application
- Scuff the Surface: Use a piece of 120-grit sandpaper to lightly scratch the surface of the pizza pan. This provides ‘tooth’ for the paint to grip.
- The Formula: Mix 1 cup of matte acrylic paint (black, charcoal, or forest green work best) with 1/4 cup of baking soda.
- The Application: Don’t brush it on in long strokes. Instead, use a sponge or a stiff brush to stipple the mixture onto the pan. This creates a hammered-metal effect.
- Dry Time: Allow the first coat to dry for 45 minutes. Metal doesn’t absorb moisture, so patience is key here.
Pro Tip: If you want a truly rugged look, add a pinch of fine sand to the paint mixture for an even grittier, industrial texture.
Designing the Face: Lettering and Stenciling
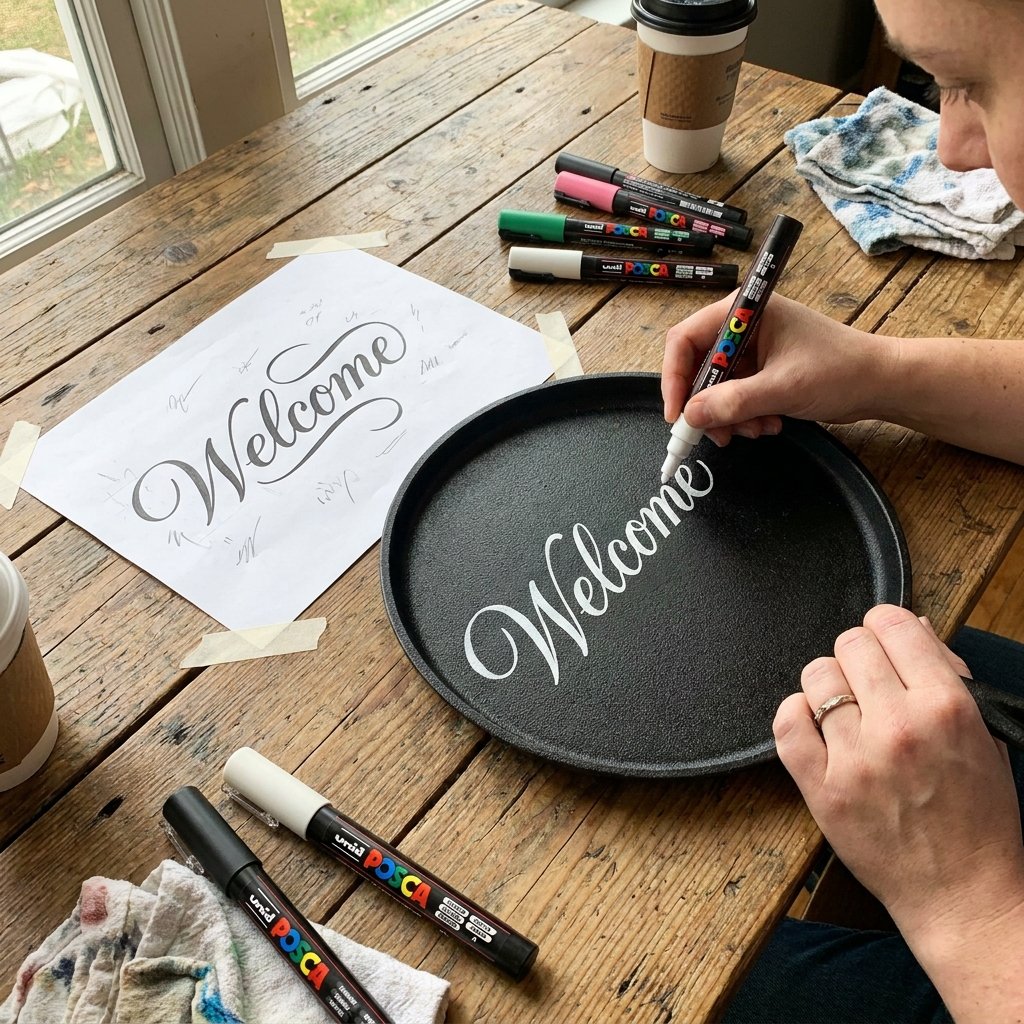
Now that your base looks like a piece of heavy ironwork, it’s time for the design. You don’t need an expensive vinyl cutting machine to get professional results. We are going to use the ‘Pencil Transfer Method’—a classic crafty-expert secret.
The Pencil Transfer Method
- Print Your Design: Print your ‘Welcome’ or ‘Happy Holidays’ text on a standard piece of paper in the size you want.
- Graphite Backing: Flip the paper over and rub a pencil over the entire back of the letters.
- The Trace: Tape the paper onto your painted pan. Trace the outline of the letters with a ballpoint pen. The pressure will transfer the graphite onto your textured paint.
- The Fill: Use a white paint marker or a fine-tipped brush with cream paint to fill in the lines.
For those who prefer a more minimalist, rugged look, consider using a single oversized monogram in the center. It’s clean, sophisticated, and timeless.
The High-End Flourish: Greenery and the ‘Manly’ Bow
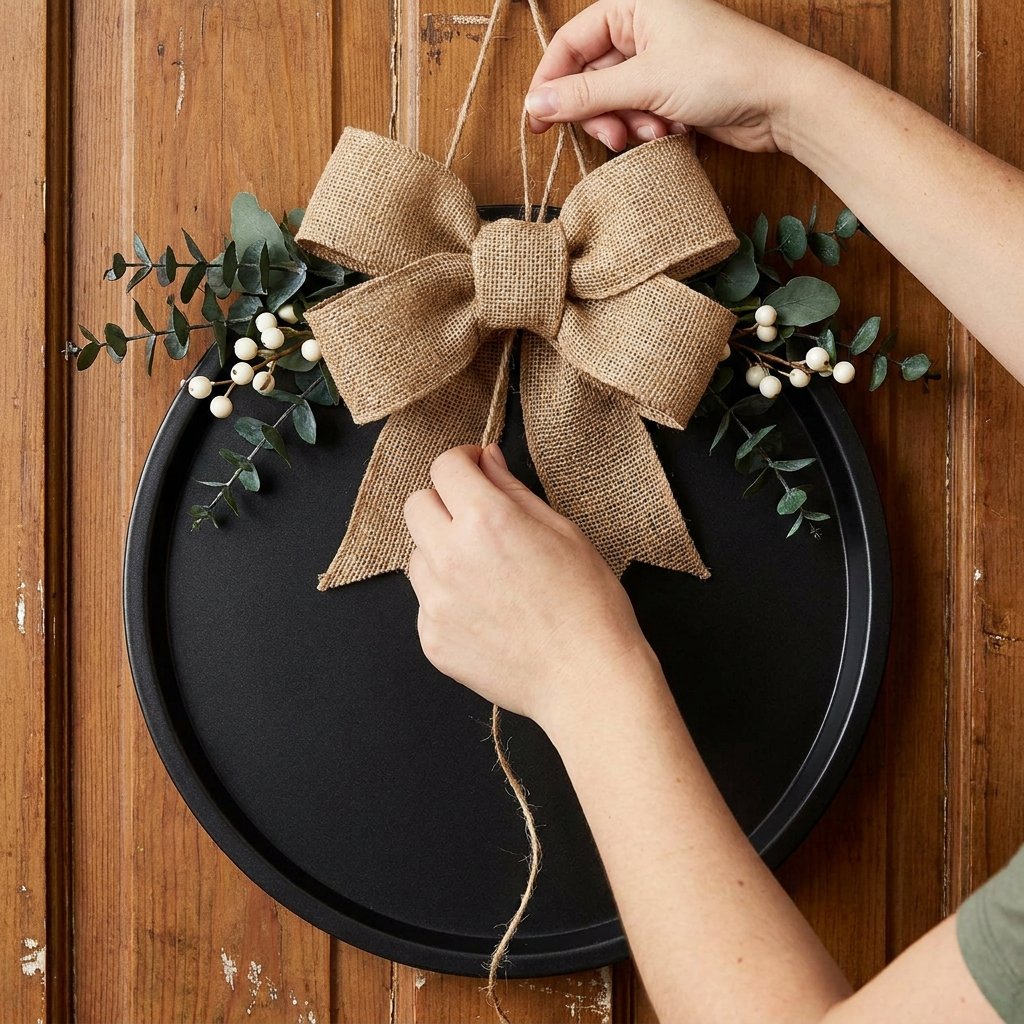
Engineering the Embellishments
This is where many DIYers fail by over-cluttering. A masculine-elegant design relies on structural greenery and heavy-duty fabrics. Skip the flimsy ribbon and reach for burlap, canvas, or even leather scraps.
| Greenery Type | Style Impact | Placement Strategy |
|---|---|---|
| Eucalyptus | Modern & Chic | Symmetrical at the top |
| Pine/Fir | Traditional Holiday | One-sided ‘Crescent’ shape |
| Lamb’s Ear | Soft & Rustic | Layered behind the bow |
Constructing the Bow
We aren’t making a ‘floppy’ gift bow. We want a structured box bow. Fold a 24-inch strip of burlap into a loop, pinch the center, and wrap it tightly with floral wire. Attach two 10-inch tails to the back. This creates a sturdy, architectural look that won’t wilt in the wind.
Safety Note: When using a high-temp hot glue gun to attach heavy greenery to metal, be careful! Metal conducts heat. Use a silicone finger protector or a wooden dowel to press the items into the glue.
Weatherproofing and Final Hanging

Since this piece will be exposed to the elements, we must ensure it doesn’t rust or peel. A $1.25 pizza pan is thin, so we also need to ensure the hanging mechanism is secure and won’t rattle against the door.
The Finishing Touches
- Sealing: Apply two thin coats of Matte Clear Spray Sealer. This protects the paint from UV rays and moisture.
- The Hanger: Use thick jute rope or a leather strap. Drill two small holes in the top of the pan using a metal drill bit, or for a ‘no-tool’ version, use industrial-strength E6000 glue to attach the rope ends to the back.
- The No-Rattle Hack: Stick three small felt pads (the kind used for furniture legs) to the back of the pan. This prevents the metal from clanging against your door when it opens and closes.
Total time spent? Roughly 2 hours (including drying). Total satisfaction? Infinite. You now have a custom piece of decor that rivals any home boutique.
Conclusion
From Kitchen Aisle to Front Porch Fame
The transformation is complete. What started as a flimsy piece of kitchenware is now a sophisticated, rugged, and elegant statement piece for your home. This DIY Dollar Tree pizza pan door hanger is more than just a holiday hack; it’s a testament to the power of resourceful creativity. You’ve saved over $40, mastered the baking soda paint technique, and created something truly unique. Whether you’re a budget bride looking for venue decor, a handy parent making gifts, or a frugal DIYer styling your own porch, this project proves that with a little grit and a clever eye, you can live a high-end life on a dollar store budget. Now, hang that masterpiece with pride—you’ve earned it!

Makenzie is the founder and lead writer at MoneyHackTips.com — a personal finance blog dedicated to delivering street-smart financial wisdom for real people on real budgets. With 300+ published articles covering everything from debt management to investing fundamentals, Makenzie’s mission is to make every dollar work harder. When not writing about money hacks, Makenzie is testing frugal living strategies, optimizing side hustles, and helping readers build financial freedom from scratch.