
The Rugged Revolution: Why Your Face Deserves Better Than Aerosol
Let’s talk straight: those blue and orange cans of shaving foam you pick up at the supermarket are mostly air, water, and a cocktail of synthetic chemicals that would make a lab tech blush. For the frugal DIYer and the practical man, paying $5 to $10 for a can of pressurized gas and skin-irritating surfactants isn’t just bad for your skin—it’s bad for your wallet. We are moving away from the ‘disposable’ culture and stepping into the shoes of the crafty expert. Imagine a shaving experience that feels like a high-end barbershop treatment, costs pennies per shave, and takes only 5 minutes of your time to prepare. This isn’t just about grooming; it’s about reclaiming your morning routine with resourceful creativity. Whether you’re a budget-savvy dad looking to save or a creative gift-giver crafting the perfect Father’s Day kit, this guide will show you how to turn raw fats and essential oils into a luxurious lather that outperforms any store-bought alternative.
The Cost of Convenience vs. The Value of Craft
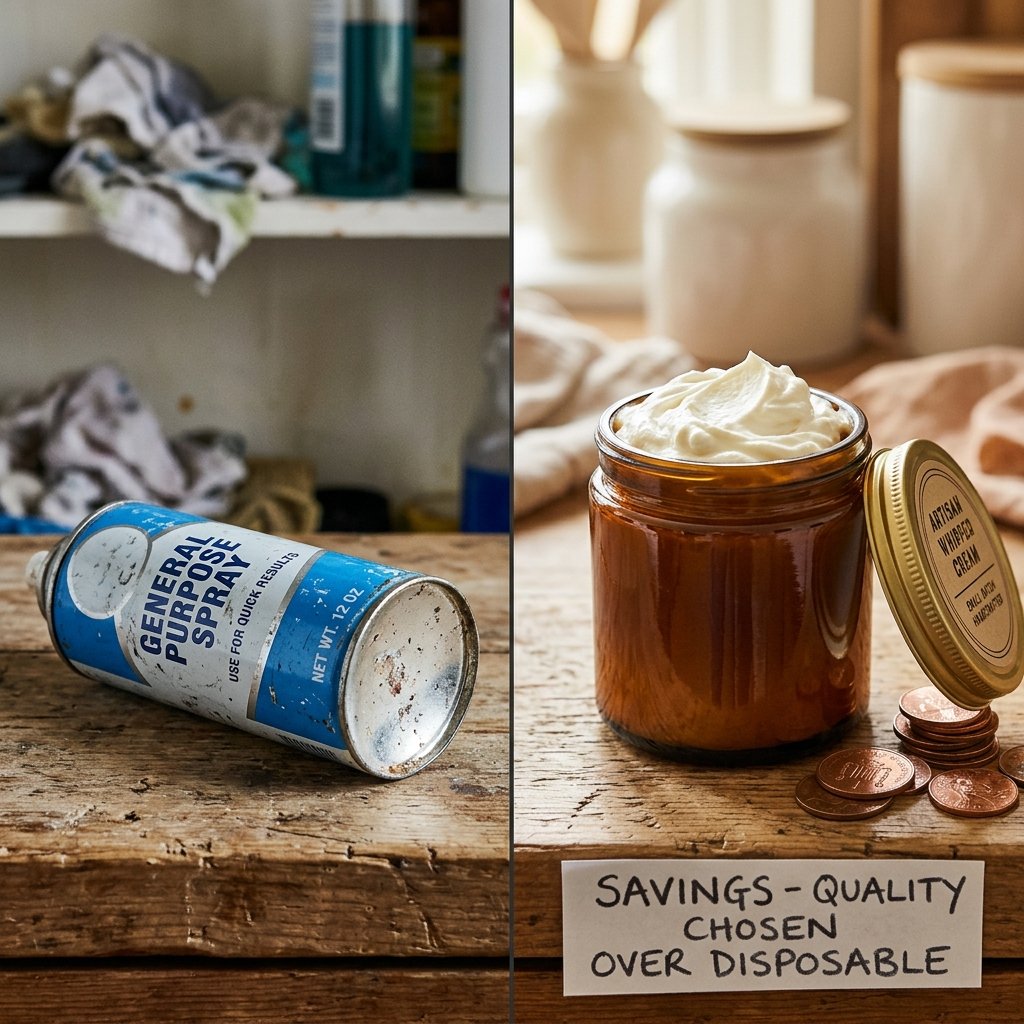
Breaking Down the Budget
Before we dive into the mixing bowl, let’s look at the cold, hard numbers. A premium ‘natural’ shaving cream from a boutique brand can run you anywhere from $20 to $45 for a small jar. By sourcing ingredients in bulk—the hallmark of any clever budget-savvy crafter—you can slash that cost by over 80%. Most of the ingredients we use, like coconut oil and shea butter, serve double duty in the kitchen or as general moisturizers, meaning zero waste and maximum utility.
| Expense Category | Store-Bought Premium | DIY Natural Batch |
|---|---|---|
| Cost per 8oz | $25.00 | $3.20 |
| Chemical Additives | Fragrance, Parabens, Isobutane | None (100% Pure) |
| Packaging | Disposable Plastic/Metal | Upcycled Glass Jar |
| Prep Time | Driving to store (20 mins) | 5 Minutes |
The frugal man’s mantra: Why buy what you can build better for the price of a cup of coffee?
The 5-Minute Master Formula: Ingredients & Ratios
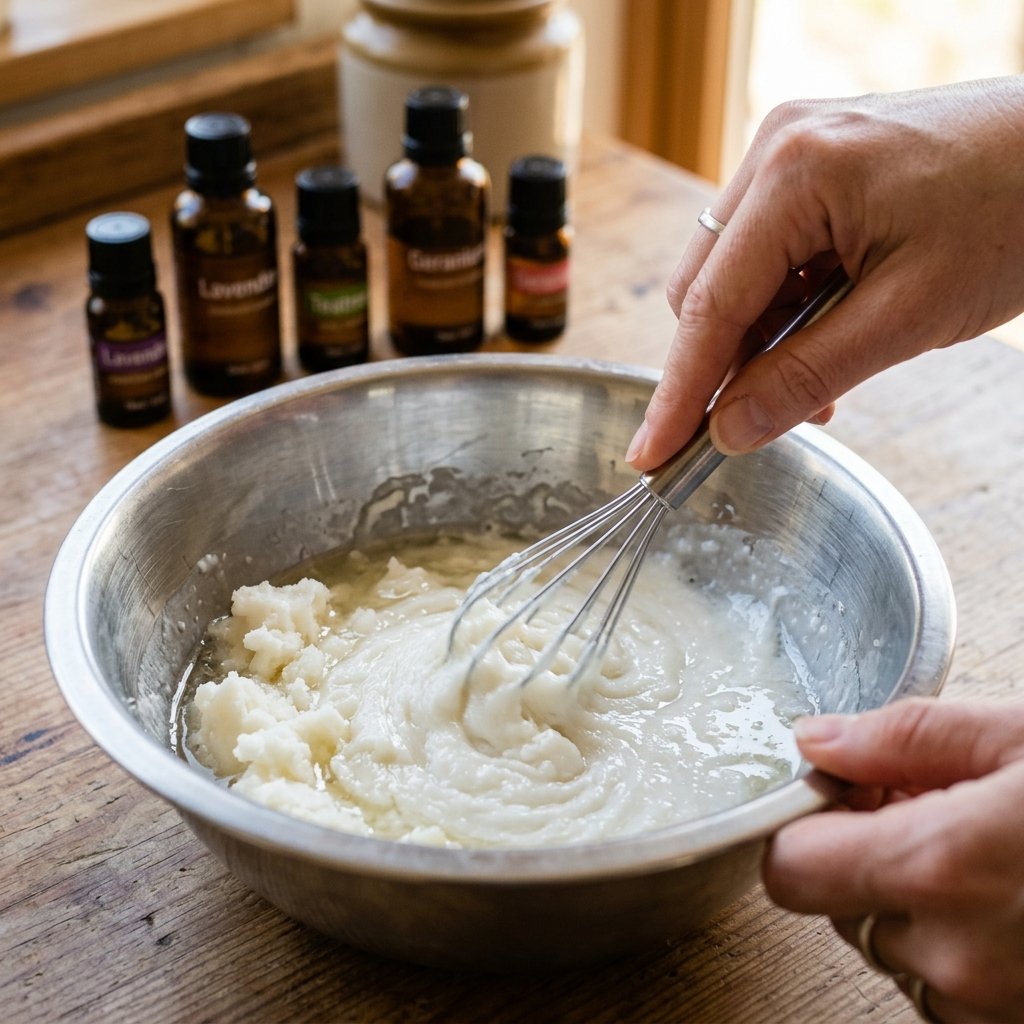
The Foundation of a High-End Lather
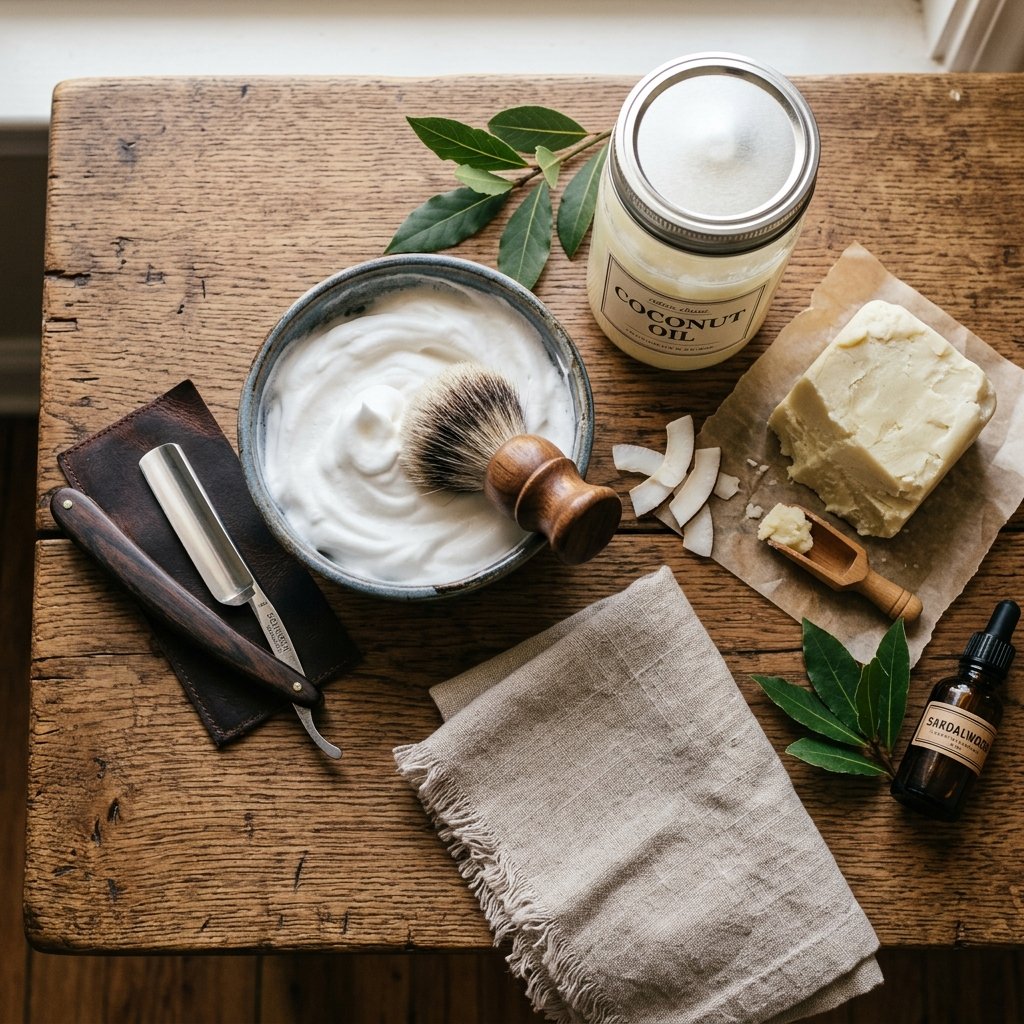
The secret to a ‘better than store-bought’ cream lies in the balance of slip and moisture. We use a 1:1 ratio of hard butter to soft oil. This ensures the cream stays stable at room temperature but melts instantly upon contact with your skin’s warmth. For the handy parent or the upcycler, these ingredients are likely already in your pantry or can be found at any local health store for a few dollars.
- 1/3 Cup Raw Shea Butter: Provides the ‘cushion’ and deep hydration.
- 1/3 Cup Virgin Coconut Oil: Offers the ‘slip’ needed for the razor to glide without nicks.
- 2 Tablespoons Olive Oil or Sweet Almond Oil: Keeps the mixture soft and spreadable.
- 10-15 Drops Essential Oils: For that signature masculine-elegant scent and skin-soothing properties.
| Ingredient | Measurement | Primary Benefit |
|---|---|---|
| Shea Butter | 1/3 Cup | Anti-inflammatory & Cushion |
| Coconut Oil | 1/3 Cup | Antimicrobial & Razor Slip |
| Olive Oil | 2 Tablespoons | Vitamin E & Consistency |
| Essential Oils | 12 Drops | Scent & Skin Healing |
Recipe Formula: Melt, Chill, Whip. It is the holy trinity of DIY apothecary.
Step-by-Step: The No-Fail Whipping Technique
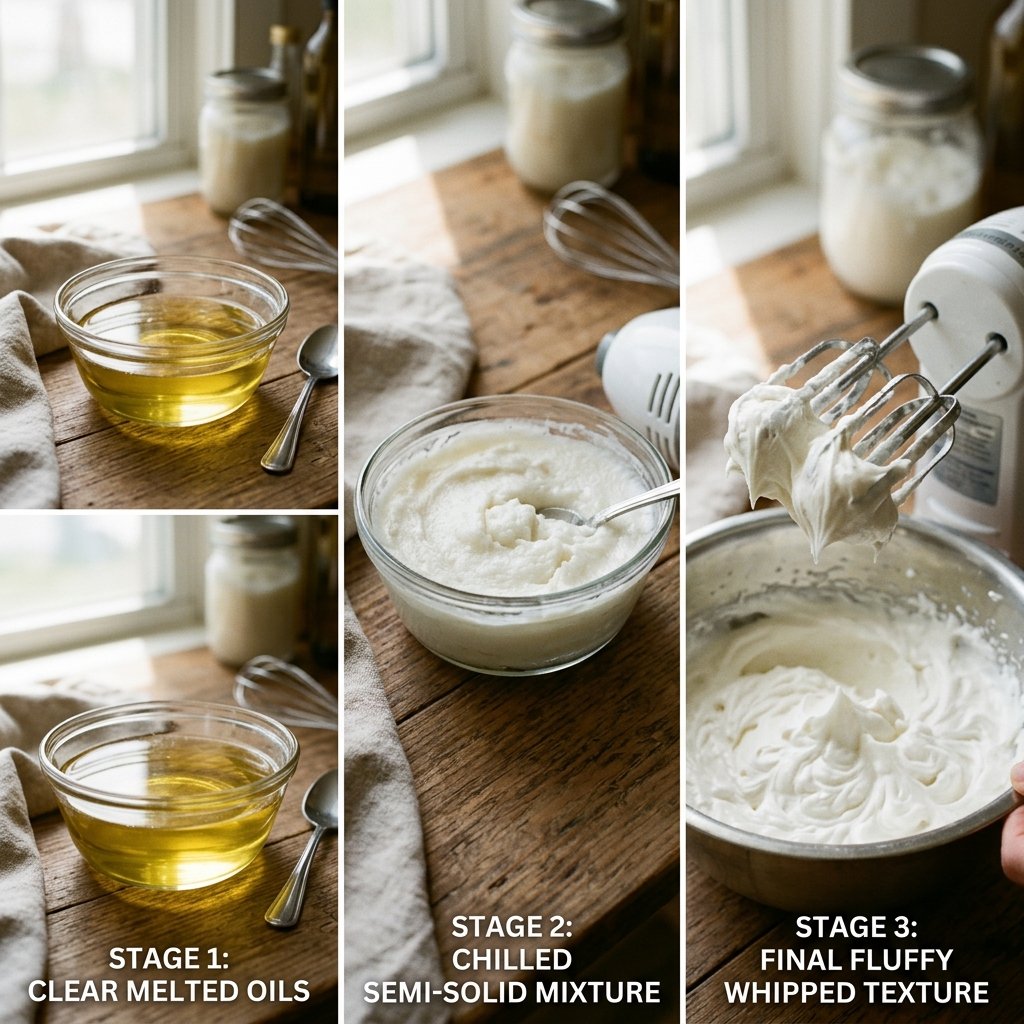
Crafting the Texture
Follow these steps to achieve that ‘cloud-like’ consistency that makes boutique shaving creams so expensive. This is where your crafty-expert skills shine.
- The Melt: Place your shea butter and coconut oil in a double boiler (or a glass bowl over a pot of simmering water). Heat until 100% liquid.
- The Infusion: Remove from heat and stir in your liquid oil (Olive or Almond). Add your essential oils now.
- The Flash Chill: Place the bowl in the refrigerator for about 15-20 minutes. You want it to be firm but not rock hard—it should have the consistency of softened butter.
- The Whip: Using a hand mixer or a whisk (for a rugged workout), beat the mixture for 2-3 minutes until stiff peaks form. It should look like thick marshmallow fluff.
- The Transfer: Scoop the mixture into a clean, upcycled jar.
Safety Note: When using a double boiler, ensure no water splashes into your oils. Water introduces bacteria and will shorten the shelf life of your preservative-free cream.
Custom Scents for the Modern Gentleman
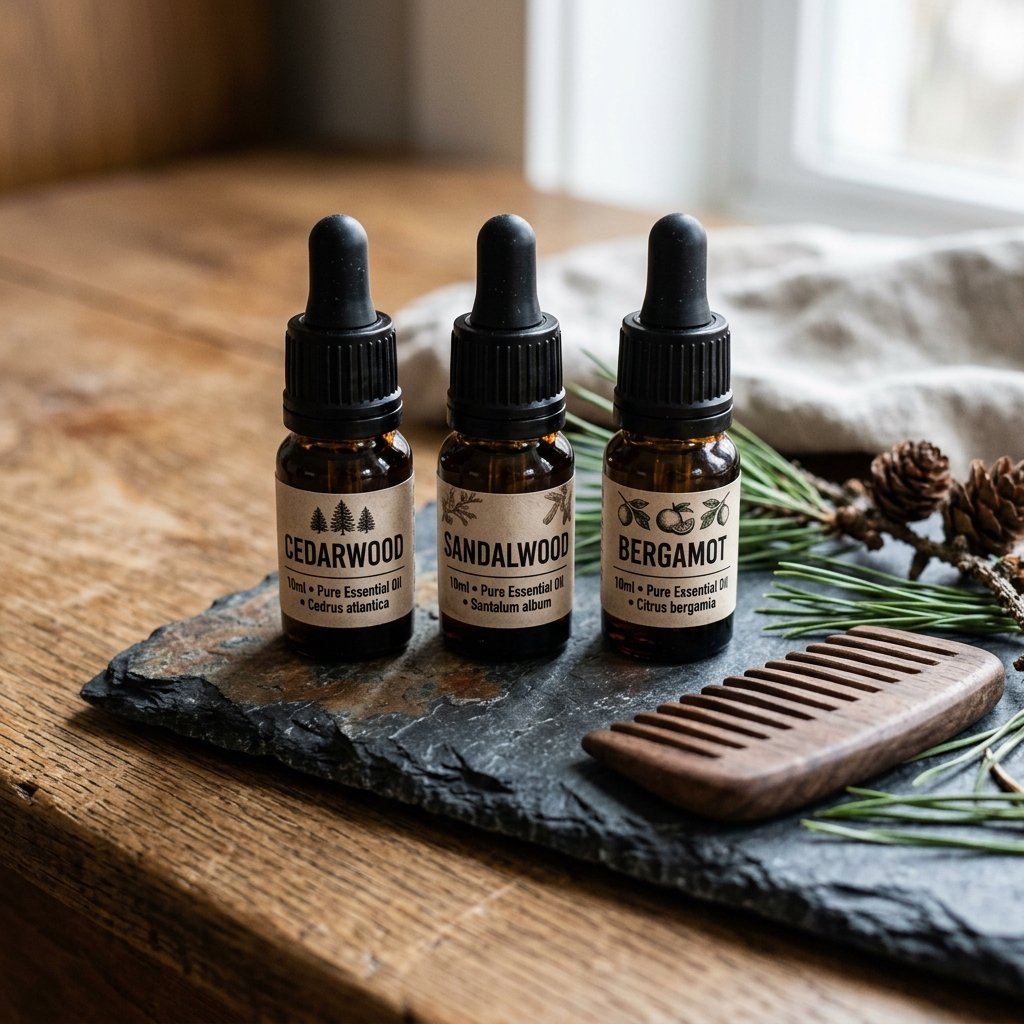
The Art of the Masculine Aroma
Forget the ‘Sport’ or ‘Cool Wave’ synthetic scents. We are going for sophisticated and rugged. By blending your own oils, you create a bespoke grooming product that rivals high-end colognes. For the creative gift-giver, this is where you can personalize the batch for the recipient.
- The Lumberjack: 5 drops Cedarwood, 4 drops Pine, 3 drops Bergamot. Deep, earthy, and refreshing.
- The Classic Barbershop: 6 drops Eucalyptus, 4 drops Peppermint, 2 drops Tea Tree. Tingly, clean, and antiseptic.
- The Sophisticate: 5 drops Sandalwood, 5 drops Frankincense, 2 drops Orange. Warm, resinous, and elegant.
For those with sensitive skin, stick to Lavender or Roman Chamomile, or leave it unscented. As a resourceful tip, you can even infuse your base oils with dried rosemary or calendula for a week before making the cream to add extra healing properties without the cost of essential oils.
Trash-to-Treasure: Packaging & Presentation
Upcycling Your Way to Luxury
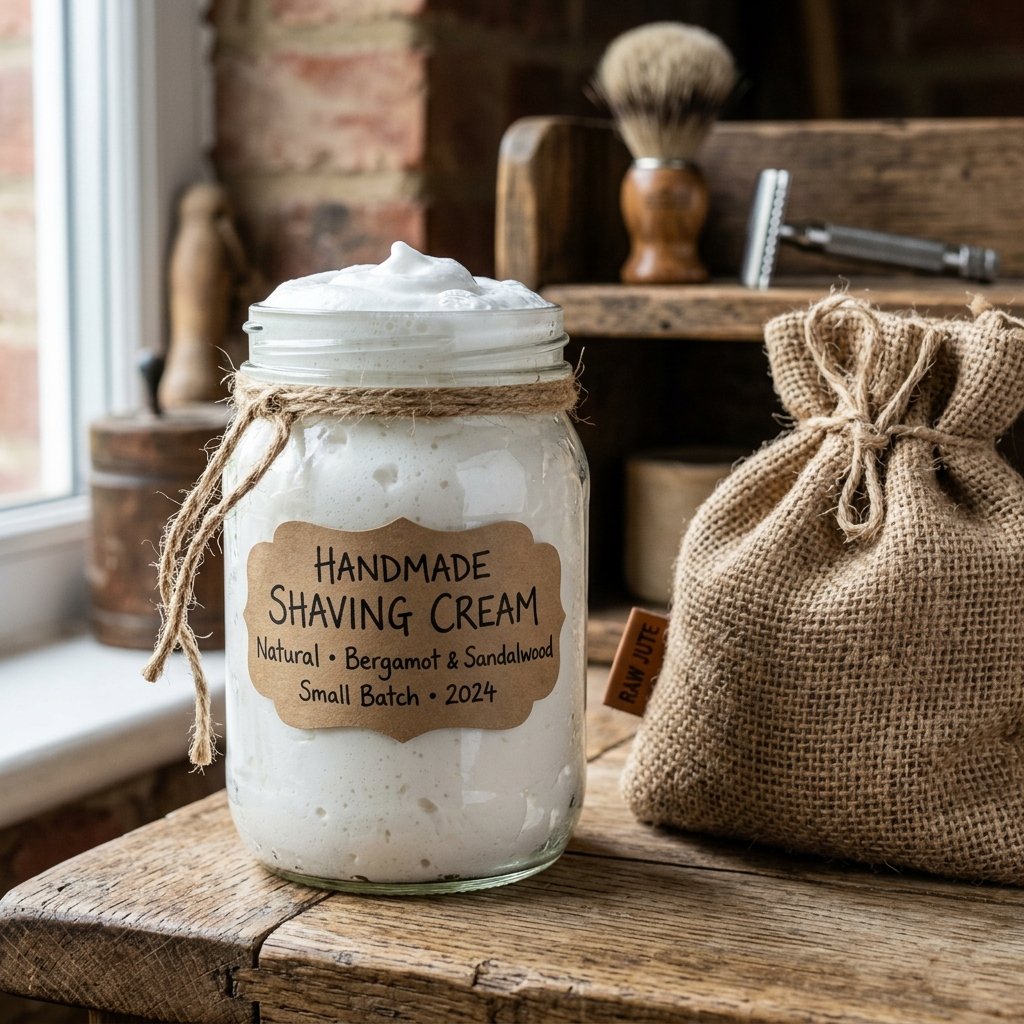
A true Dollar Tree Interior Designer or Upcycling Guru knows that the container is half the battle. Don’t go out and buy new jars. Look through your recycling bin for high-quality glass or metal. A cleaned-out 4oz jelly jar, a wide-mouth salsa jar, or even a vintage tea tin makes for an incredible, zero-budget vessel.
Elevating the Gift
If you are giving this as a gift, follow these crafty steps to make it look like it came from a high-end department store:
- The Label: Use brown kraft paper and a fine-liner pen to hand-draw a ‘Small Batch’ label.
- The Seal: Wrap a piece of twine or a leather scrap around the lid.
- The Kit: Pair the jar with a $1.25 wooden brush from a budget store or a thrifted ceramic mug to create a complete shaving set.
| Upcycled Item | Preparation Method | Final Look |
|---|---|---|
| Mason Jar | Boil to sterilize | Rustic Farmhouse |
| Old Pomade Tin | Remove label with Goo-Gone | Vintage Industrial |
| Ceramic Ramekin | Clean and dry | Modern Minimalist |
Conclusion
The Final Cut: Luxury Within Reach
Making your own shaving cream is more than just a budget-savvy hack; it’s a statement of self-sufficiency. In just 5 minutes of active work, you’ve created a product that is cleaner, cheaper, and more effective than anything found on a grocery store shelf. You’ve saved roughly $20 per batch, kept a plastic bottle out of the landfill, and treated your skin to the nourishment of raw butters. Whether you’re smoothing out your own morning routine or handing over a thoughtfully crafted gift, you’ve proven that luxury doesn’t have to come with a high price tag—it just takes a little resourceful creativity. Now, grab that razor and enjoy the smoothest shave of your life.

Makenzie is the founder and lead writer at MoneyHackTips.com — a personal finance blog dedicated to delivering street-smart financial wisdom for real people on real budgets. With 300+ published articles covering everything from debt management to investing fundamentals, Makenzie’s mission is to make every dollar work harder. When not writing about money hacks, Makenzie is testing frugal living strategies, optimizing side hustles, and helping readers build financial freedom from scratch.