
The Rugged Appeal of Paracord: Why Every Pocket Needs One
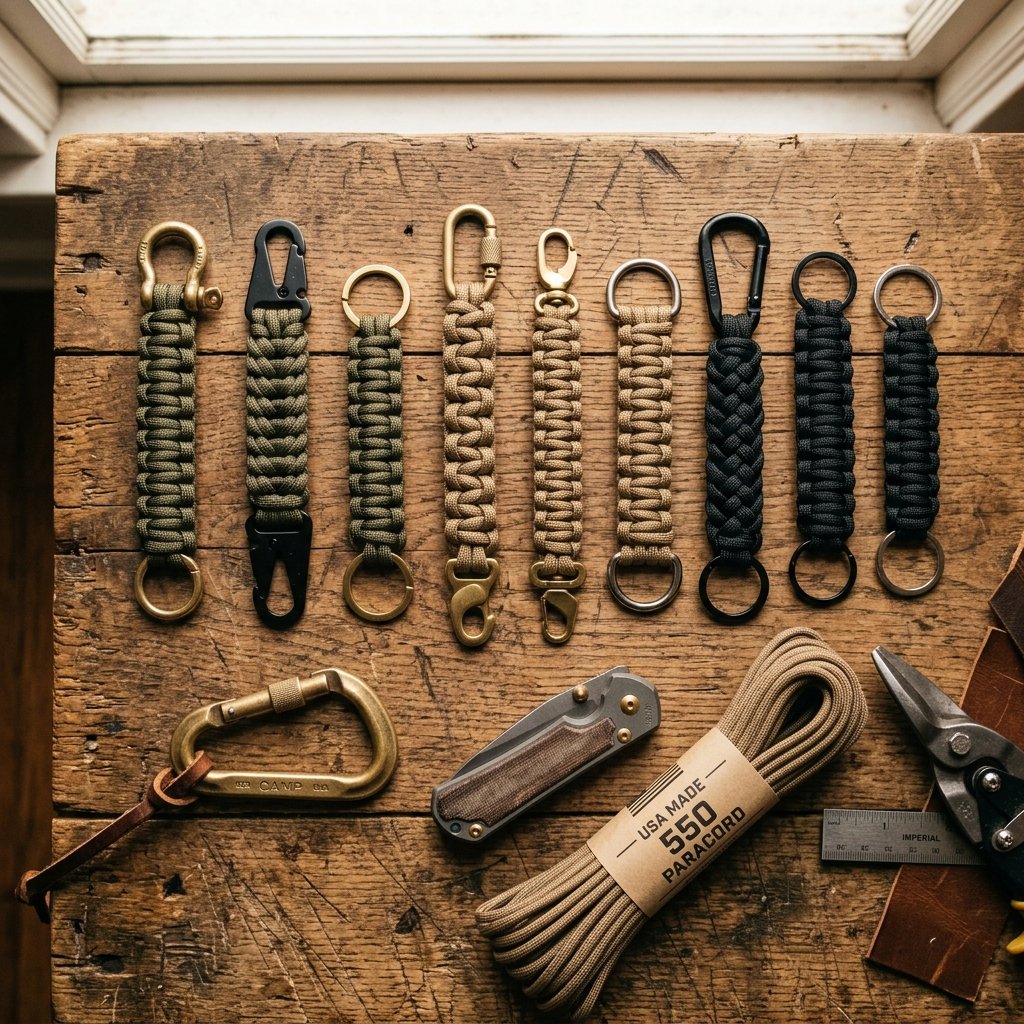
In the world of everyday carry (EDC), few items strike the perfect balance between rugged utility and masculine elegance quite like a well-crafted paracord keychain. Originally used in parachute suspension lines during WWII, 550 paracord has transitioned from the battlefield to the pockets of frugal DIYers and outdoorsmen alike. Why? Because it is virtually indestructible, incredibly cheap, and—if you know what you’re doing—looks like a high-end designer accessory. For less than $1.00 in materials, you can create a piece of gear that would retail for $15.00 to $25.00 at a boutique outdoor shop. This guide will walk you through the essential knots and hardware hacks to create a keychain that is not just a tool, but a statement piece.
“A man’s keychain is a reflection of his preparedness. A paracord keychain says you’re ready for anything, from opening a stubborn package to an emergency survival situation.”
The Master List: Materials, Costs, and Tactical Hardware
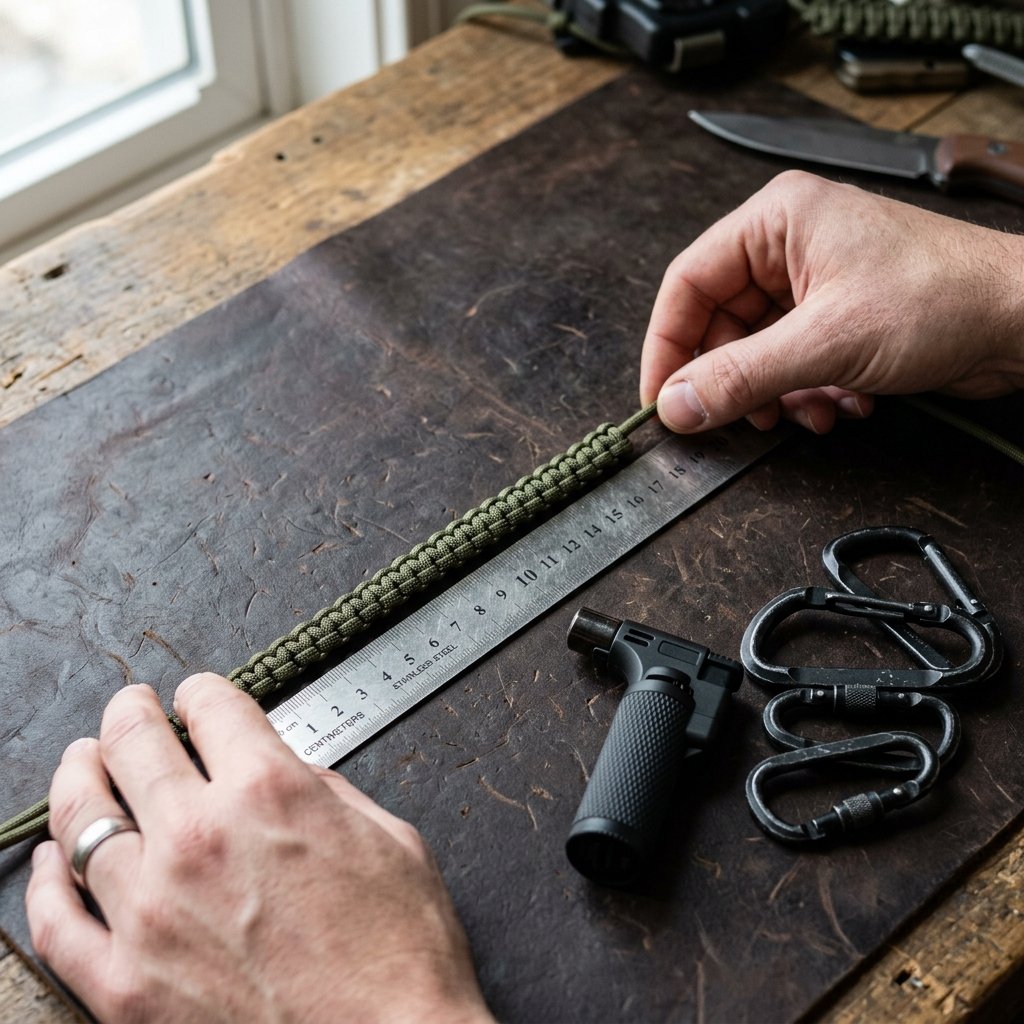
Before we start weaving, we need to gather our supplies. The beauty of this project is its extreme affordability. By sourcing 550 paracord in bulk and upcycling hardware from old bags or thrifted items, your cost per unit drops significantly. You don’t need a fancy workshop; a simple lighter and a pair of sharp scissors are your primary tools.
Essential Supplies
- 550 Type III Paracord: The standard for strength (supports 550 lbs).
- Key Rings or Carabiners: Look for stainless steel or matte black finishes for that professional look.
- A Sharp Knife or Scissors: For clean cuts.
- A Lighter (Torch or Bic): To singe the ends and prevent fraying.
- Optional: Decorative Beads: Brass or titanium beads add a high-end touch.
| Item Source | Retail Price (Estimated) | DIY Cost (Per Unit) | Savings (%) |
|---|---|---|---|
| Tactical Store Keychain | $18.50 | $0.85 | 95% |
| Custom Leather/Cord Hybrid | $32.00 | $2.50 | 92% |
| Bulk 100ft Paracord | $9.00 | $0.09/ft | N/A |
Pro-Tip for Upcyclers
Check your local thrift store for old backpacks or luggage. Often, these bags have high-quality D-rings and swivel snaps that can be salvaged for $1.00, giving your keychain a heavy-duty, industrial feel without the premium price tag.
The ‘King Cobra’ Weave: A Step-by-Step Tactical Tutorial
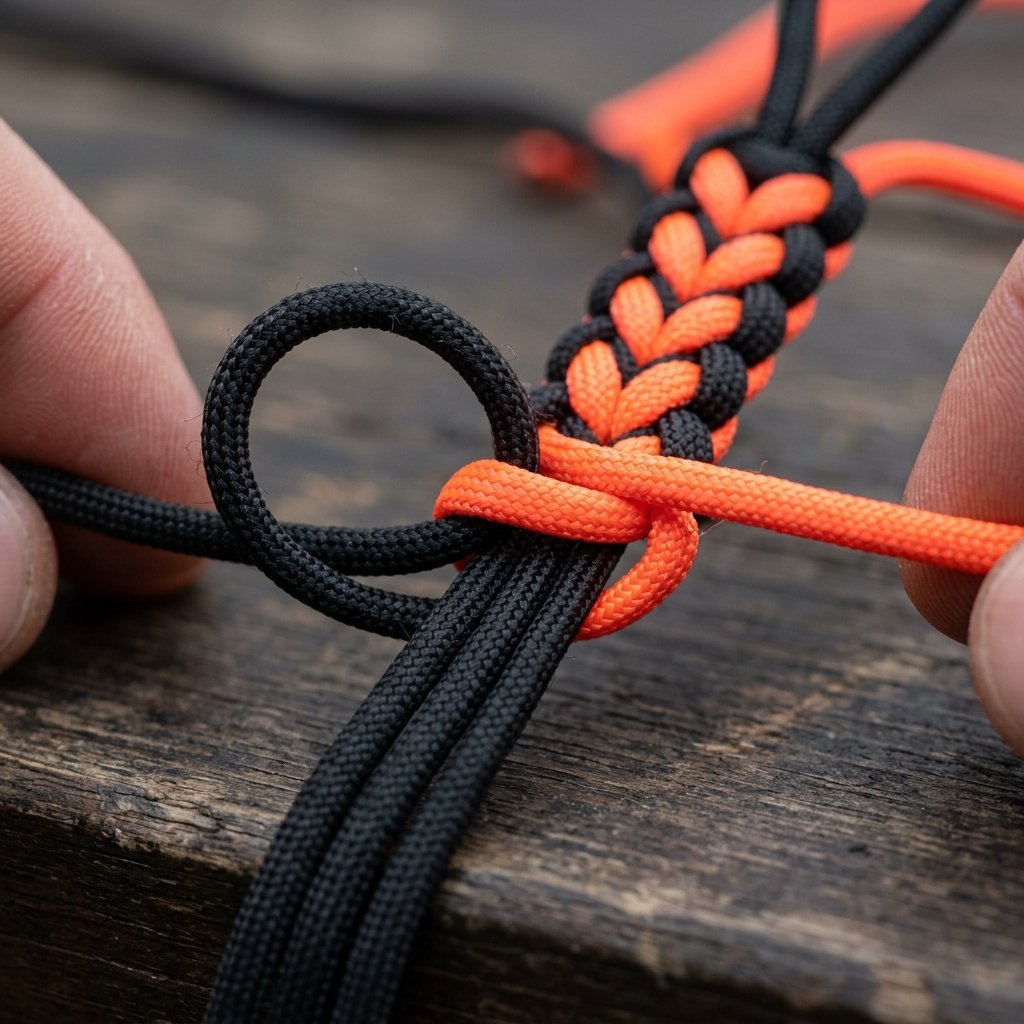
The King Cobra (or Solomon bar) is the gold standard of paracord weaves. It is wide, flat, and comfortable in the pocket, and it allows you to carry about 8 to 10 feet of cord in a compact form. This is the ultimate “survival” keychain because it can be unraveled in seconds if you ever need a heavy-duty rope in the wild.
The Folding Process
- The Foundation: Cut a 5-foot length of cord. Fold it in half and loop it through your key ring using a cow hitch (lark’s head) knot. Tighten it so the two strands hang down evenly.
- The First Loop: Take the left strand and cross it over the center “core” strands, forming a ‘P’ shape.
- The Under-and-Through: Take the right strand, place it over the left strand tail, then run it under the center core and up through the ‘P’ loop on the left.
- The Pull: Tighten the knot by pulling both ends evenly. This forms the first “half-hitch.”
- The Alternating Side: Now, repeat the process starting with the right strand. Form a backward ‘4’ shape over the core, run the left strand over the right tail, under the core, and through the loop.
- Consistency is Key: Continue alternating sides until you reach the desired length (usually 3 to 4 inches).
“The secret to a professional-looking weave is tension. Keep your pulls consistent so the ‘ladder’ looks perfectly symmetrical from top to bottom.”
The Sleek Snake Knot: Minimalist Style for the Modern Man
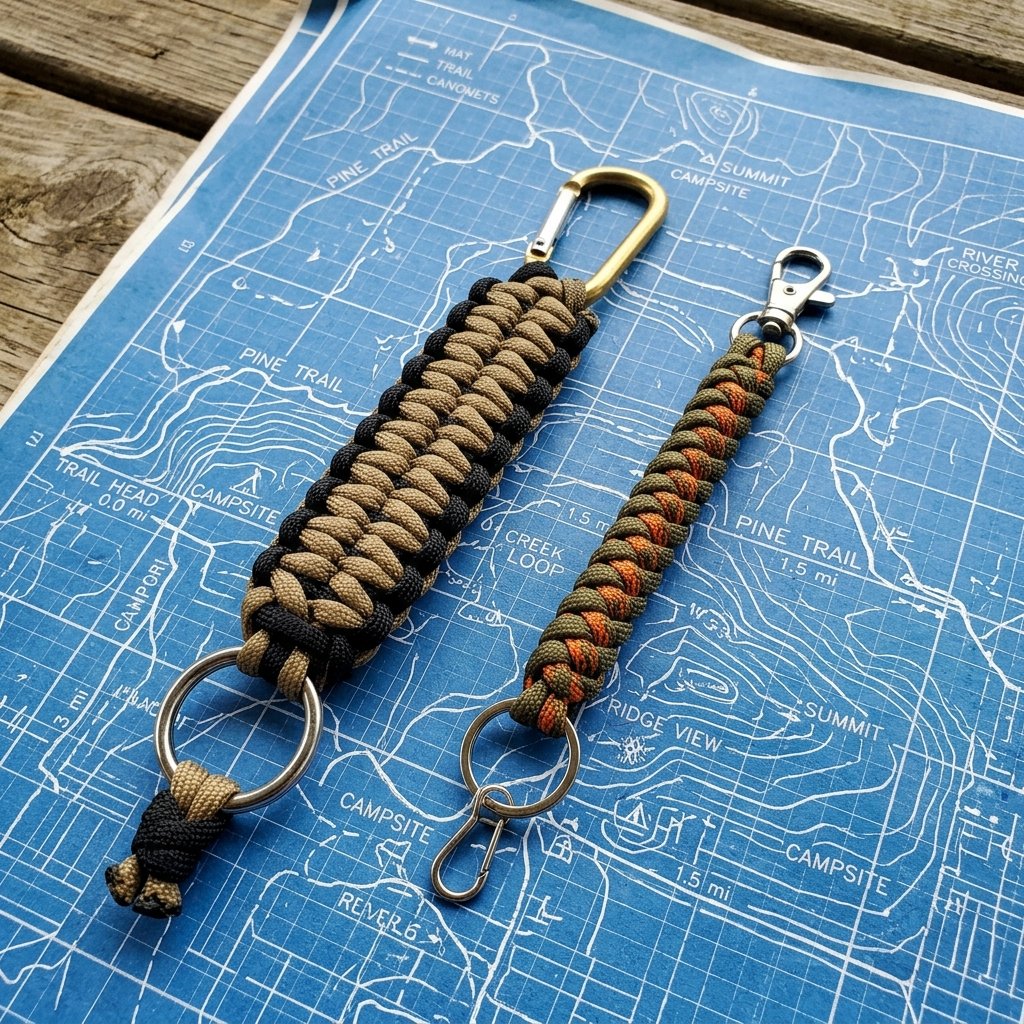
If the King Cobra is too bulky for your taste, the Snake Knot is the answer. It creates a round, flexible, and sophisticated cord that feels more like a high-end lanyard than a survival tool. It’s perfect for guys who prefer a minimalist EDC setup.
Refined Folding Steps
- The Set-up: Loop your cord through the ring. You will have a left strand and a right strand.
- The Wrap: Take the right strand and loop it behind the left strand.
- The Interlock: Take the left strand, bring it over the top of the right strand, then through the loop you created in step 2 from the front.
- The Flip: Flip the entire piece over and repeat the same motion. The knots will begin to stack, creating a textured, snake-like appearance.
- The Finish: Once you hit the 2-inch mark, pull the ends extremely tight using pliers for a rock-solid finish.
| Knot Type | Difficulty (1-10) | Cord Used | Best For |
|---|---|---|---|
| King Cobra | 4 | 8-10 ft | Survival/Bulk |
| Snake Knot | 3 | 3-4 ft | Minimalist/Pockets |
| Box Knot | 6 | 6 ft | Square/Rigid Style |
Finishing Like a Pro: The ‘Cut and Cauterize’ Method
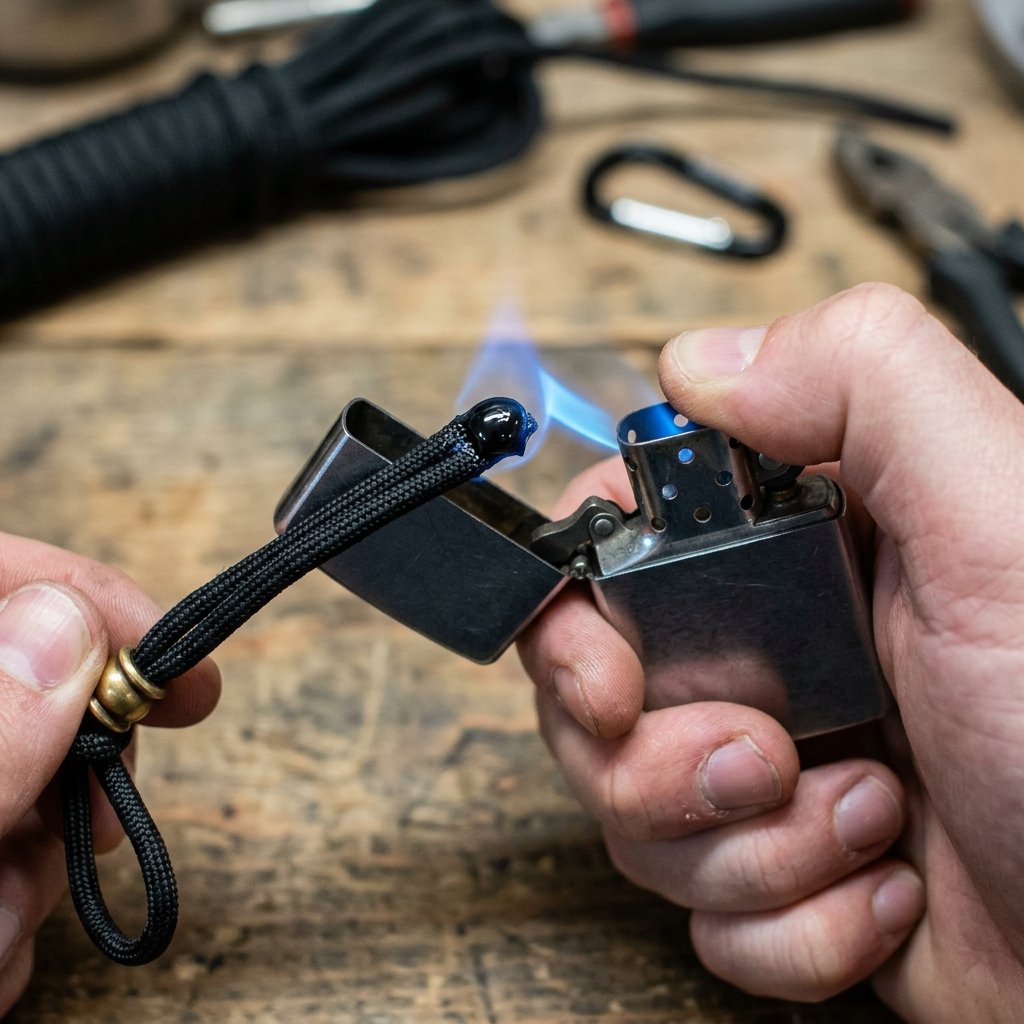
Nothing ruins a DIY project faster than messy, frayed ends. To get that “store-bought” finish, you must master the art of the melt. This process bonds the nylon fibers together, ensuring the knot never unravels under pressure.
Safety First: The Heat Treat
“Safety Note: Molten nylon is essentially hot plastic glue. Never touch the melted end with your bare fingers until it has cooled for at least 10 seconds. Use the side of your lighter or a metal spoon to flatten the end.”
Follow these steps for a clean finish:
- Trim Close: Use sharp scissors to trim the excess cord to within 1/8th of an inch of the knot.
- Apply Heat: Use the blue part of the flame (the hottest part) to gently melt the tip until it turns into a liquid bead.
- The Press: Quickly use the flat metal side of your lighter to press the molten bead down against the weave. This “mushrooms” the end, locking it in place permanently.
- The Smooth: If the edges are scratchy, give them a quick 1-second pass with the flame to round them out.
Customizing Your Carry: Beads, Tools, and Colorways
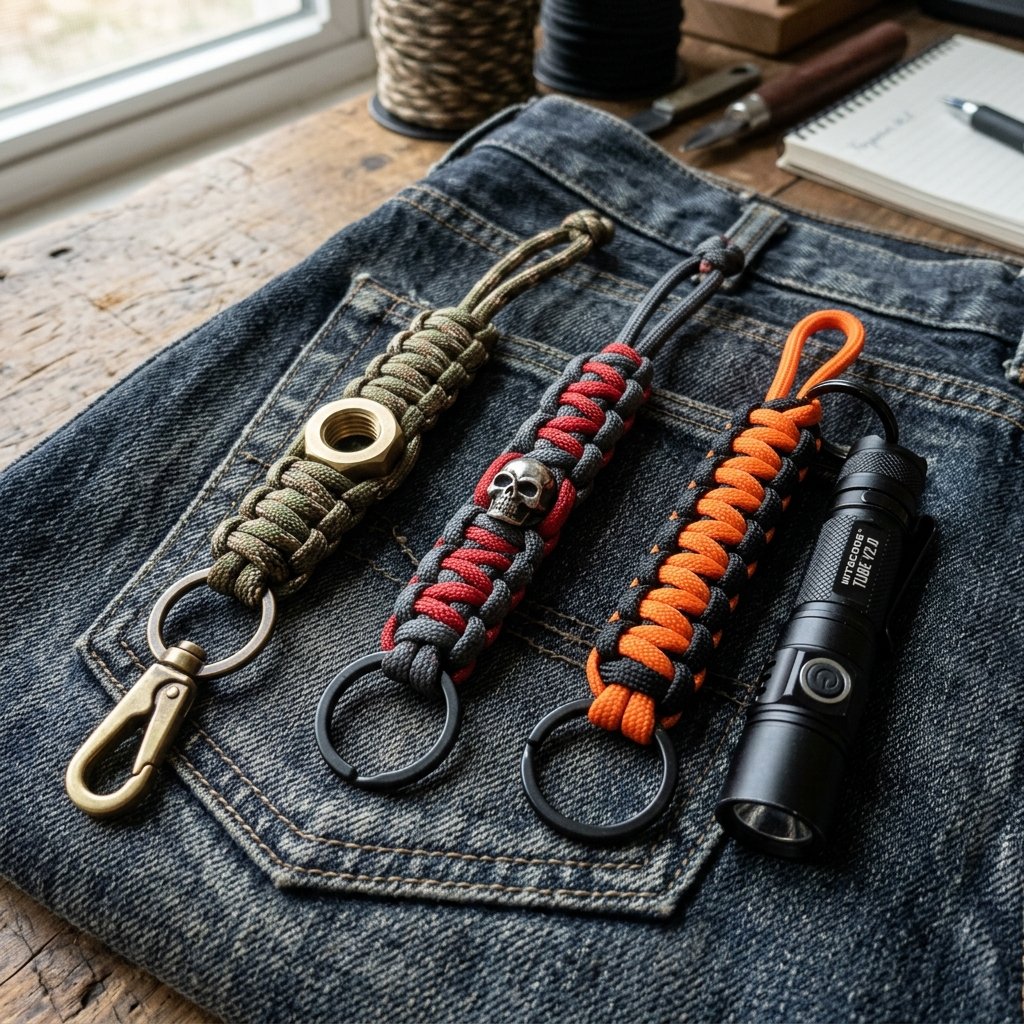
Now that you’ve mastered the structure, it’s time to add personality. This is where you can turn a $1 project into a thoughtful, personalized gift. For a Father’s Day or Groomsman gift, consider adding hardware that reflects the recipient’s hobbies.
Creative Add-ons
- Brass Nuts: Visit the hardware store and pick up small brass or stainless steel hex nuts for $0.10 each. Slide them onto the core strands before weaving for an industrial, “workman” aesthetic.
- Glow-in-the-Dark Tracers: Use paracord with reflective or glow-in-the-dark strands for someone who hikes or camps frequently.
- Multi-tool Integration: Attach a small TSA-approved pry bar or a micro-flashlight to the end of the keychain.
| Style Theme | Primary Color | Accent Color | Hardware Finish |
|---|---|---|---|
| Tactical | Olive Drab | Coyote Brown | Matte Black |
| Urban Sleek | Charcoal Grey | Electric Blue | Polished Chrome |
| Vintage Woodsman | Burnt Orange | Dark Brown | Antique Brass |
Conclusion
The Ultimate Everyday Carry Upgrade
Creating your own paracord keychain is more than just a budget-savvy craft; it’s an exercise in self-reliance and practical design. Whether you’re making a rugged King Cobra for your own pocket or a set of custom Snake knot lanyards as high-end gifts for friends, you’re providing something that is both beautiful and functional. By choosing to DIY, you’ve saved over 90% compared to retail prices while ensuring the quality meets your exact standards. So, grab a spool of cord, find your favorite lighter, and start weaving. Your pockets—and your wallet—will thank you.

Makenzie is the founder and lead writer at MoneyHackTips.com — a personal finance blog dedicated to delivering street-smart financial wisdom for real people on real budgets. With 300+ published articles covering everything from debt management to investing fundamentals, Makenzie’s mission is to make every dollar work harder. When not writing about money hacks, Makenzie is testing frugal living strategies, optimizing side hustles, and helping readers build financial freedom from scratch.