
The Art of the Practical Gift
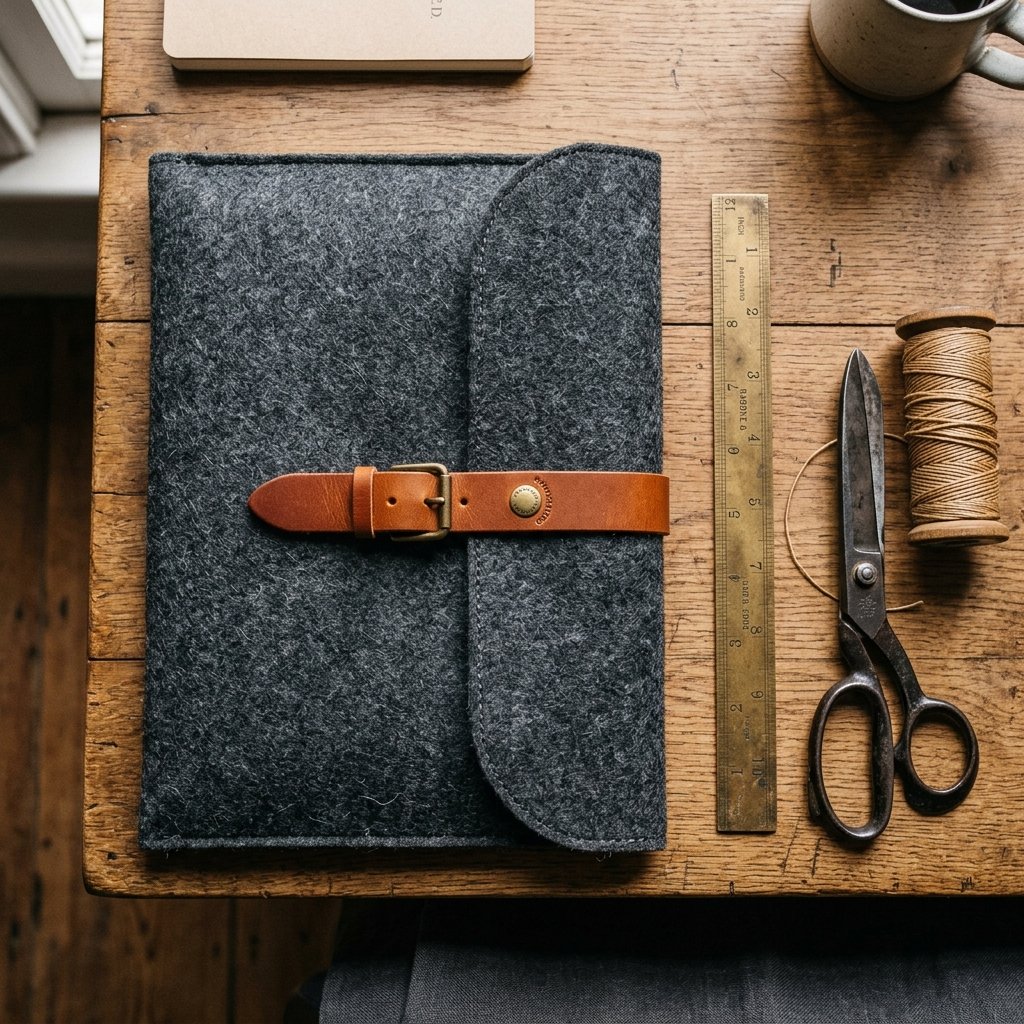
Let’s be honest: finding a gift for the man who has everything—or the man who claims he wants nothing—is a Herculean task. You want something that screams sophistication without the $75 price tag found at high-end boutiques. Enter the Wool Felt Laptop Sleeve. This isn’t your average elementary school craft project. We are talking about a rugged, thick, industrial-grade felt sleeve that provides superior shock absorption, naturally repels water, and looks incredibly sharp in a boardroom or a coffee shop.
As a frugal DIYer, you know that the secret to luxury isn’t the brand name; it’s the material and the craftsmanship. By sourcing your own wool felt and using a few clever tailoring tricks, you can create a piece of tech armor that is custom-fitted to his specific device. Whether he’s rocking a 13-inch MacBook or a beefy gaming rig, this guide will show you how to produce a professional-grade accessory in under an hour for the cost of a fancy latte.
Sourcing Materials: High-End Texture on a Dollar Store Budget
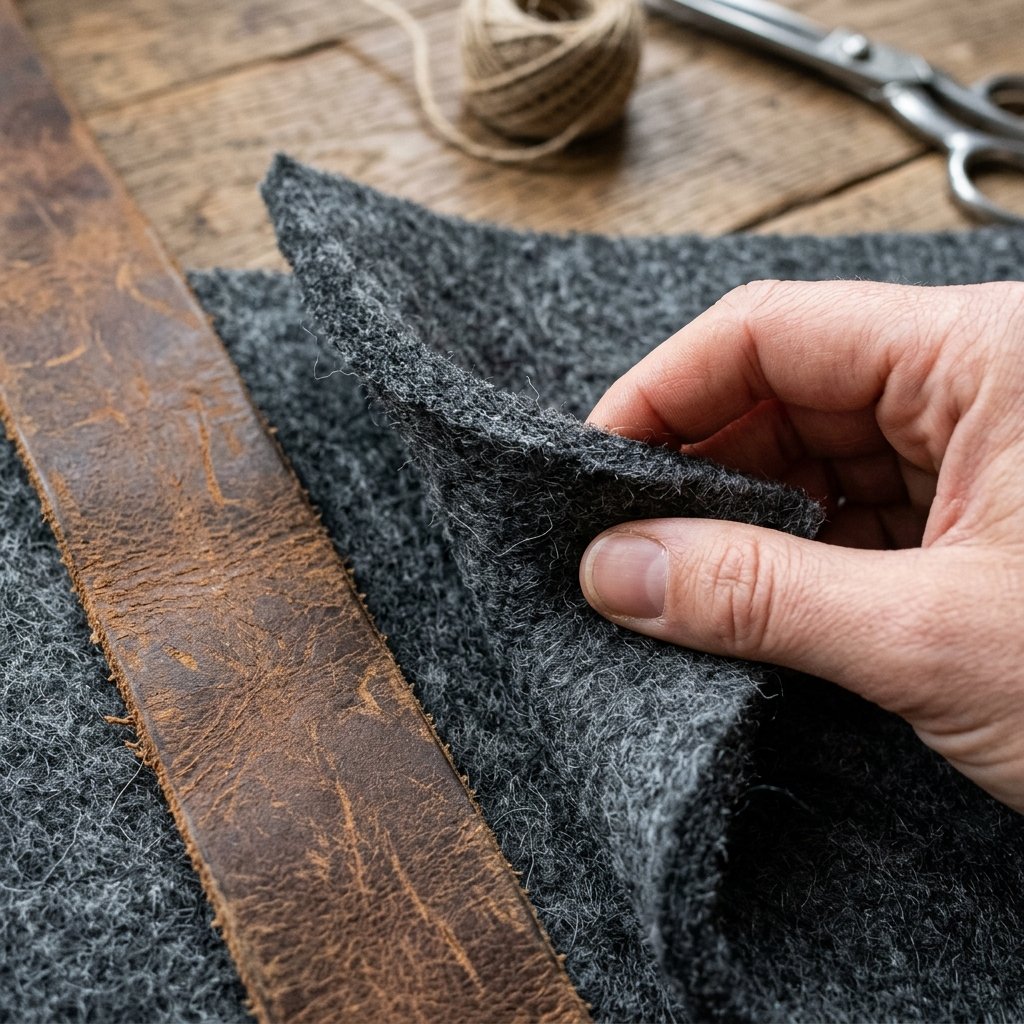
Selecting Your Armor
The key to making this look ‘store-bought’ is the weight of the felt. Avoid the thin, flimsy acrylic felt squares found in the kids’ aisle. You are looking for 3mm to 5mm thick wool felt or a high-quality synthetic blend. Wool felt is naturally heat-resistant and provides a tactile grip that feels premium in the hand. For a masculine-elegant look, stick to a palette of charcoal gray, heathered oatmeal, or deep navy.
| Material Item | Source Recommendation | Estimated Cost |
|---|---|---|
| 3mm Wool Felt (1/2 Yard) | Online Fabric Wholesaler / Upcycled Coat | $5.00 – $8.00 |
| Heavy Duty Thread | Pantry / Craft Drawer | $0.50 |
| Leather Scrap or Elastic | Old Belt / Thrift Store Purse | $1.00 |
| Total Project Cost | DIY Advantage | $6.50 – $9.50 |
The Upcycler’s Secret: If you’re on a true zero-budget mission, head to the local thrift store and look for a 100% wool coat that has been accidentally shrunk in the wash (felted). You can cut your panels directly from the back of the coat for a rugged, heavy-duty finish that costs pennies.
The Precision Cut: Measuring for a Perfect Fit
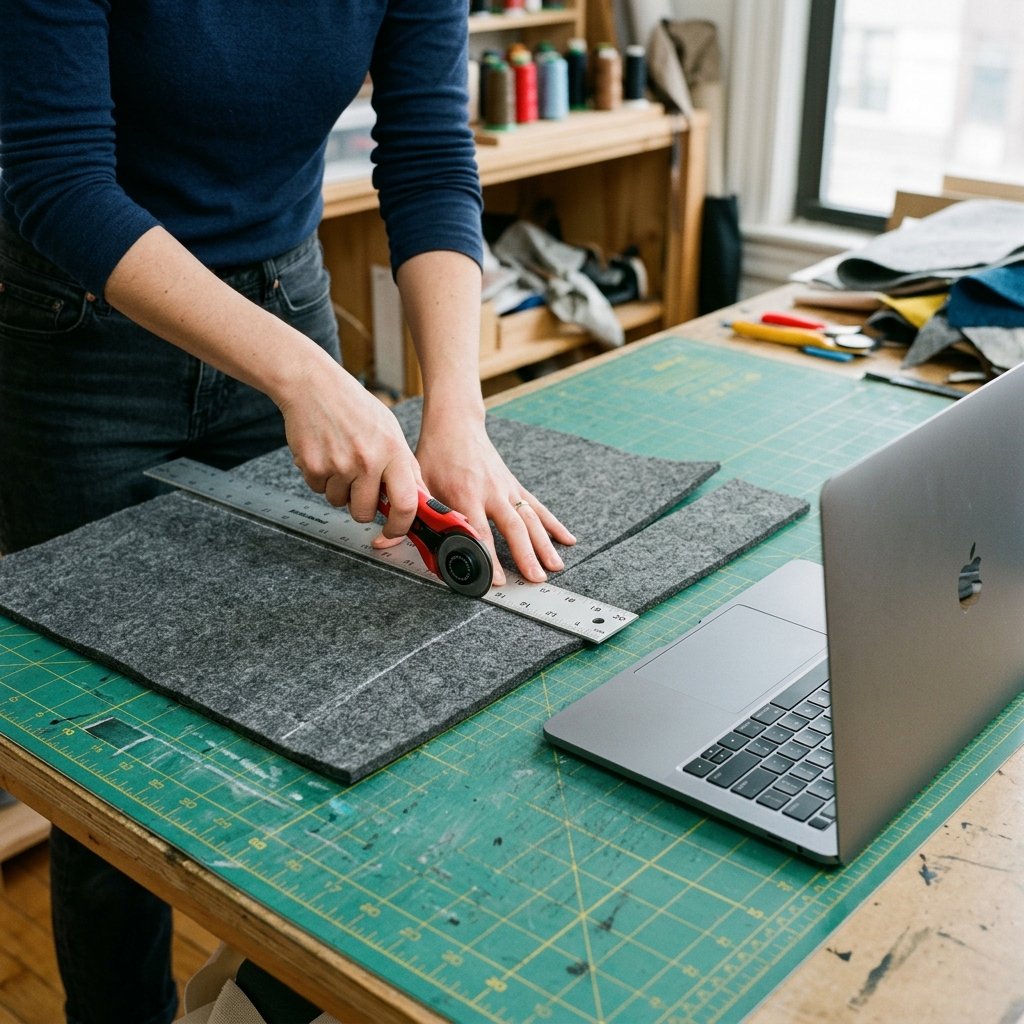
No Paper Patterns Required
We aren’t going to mess around with complicated paper patterns. The most accurate way to get a ‘glove-like’ fit is to use the laptop itself as the template. However, you must account for the thickness of the device. A common mistake is cutting the felt exactly to the laptop’s dimensions, resulting in a sleeve that is too tight to close.
- Step 1: Lay your felt flat on a self-healing cutting mat or a clean table.
- Step 2: Place the laptop on the felt. Flip the felt over the top of the laptop to determine the ‘wrap.’
- Step 3: Add 1 inch to the width and 1.5 inches to the length to account for seam allowance and the laptop’s height.
- Step 4: Use a rotary cutter and a metal ruler for the straightest, cleanest edges. Precision is style in this project.
| Laptop Size | Felt Cut Width | Felt Cut Length (Total Wrap) |
|---|---|---|
| 13-inch MacBook | 13.5 inches | 22 inches |
| 14-inch PC/Mac | 14.5 inches | 23.5 inches |
| 16-inch Pro | 16.5 inches | 26 inches |
The Stitching Masterclass: Rugged Durability
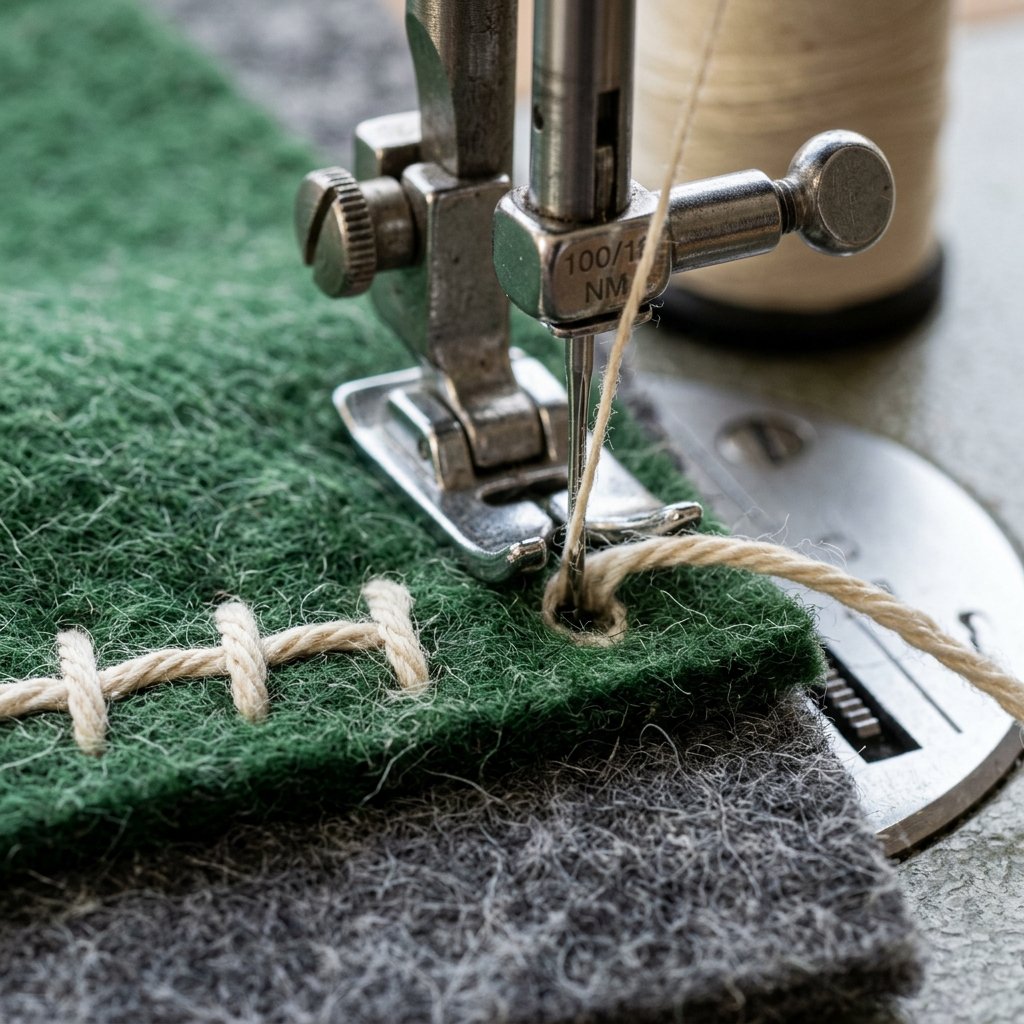
Choosing Your Method
Whether you are using a sewing machine or sewing by hand, the goal is strength. Because felt doesn’t fray, we don’t need to worry about finished edges or hems. We are going for a raw-edge aesthetic that looks modern and minimalist.
Machine Sewing (The Fast Track)
If using a machine, equip it with a Denim or Leather needle (90/14 or 100/16). Increase your stitch length to 3.0mm or 3.5mm. A longer stitch looks more intentional and professional on thick fabrics. Slow and steady wins the race here; you are punching through nearly 6mm of material.
Hand Sewing (The Artisan Route)
For a truly rugged, ‘hand-forged’ look, use a saddle stitch with waxed polyester thread. This is the same stitch used in high-end leatherwork. It is nearly impossible to break and adds a beautiful, decorative element to the sides of the sleeve.
Crafty Tip: Use a contrasting thread color, like a burnt orange or a cream, against the charcoal felt. This small detail elevates the sleeve from ‘homemade’ to ‘bespoke.’
The Closure: Adding the Masculine-Elegant Touch
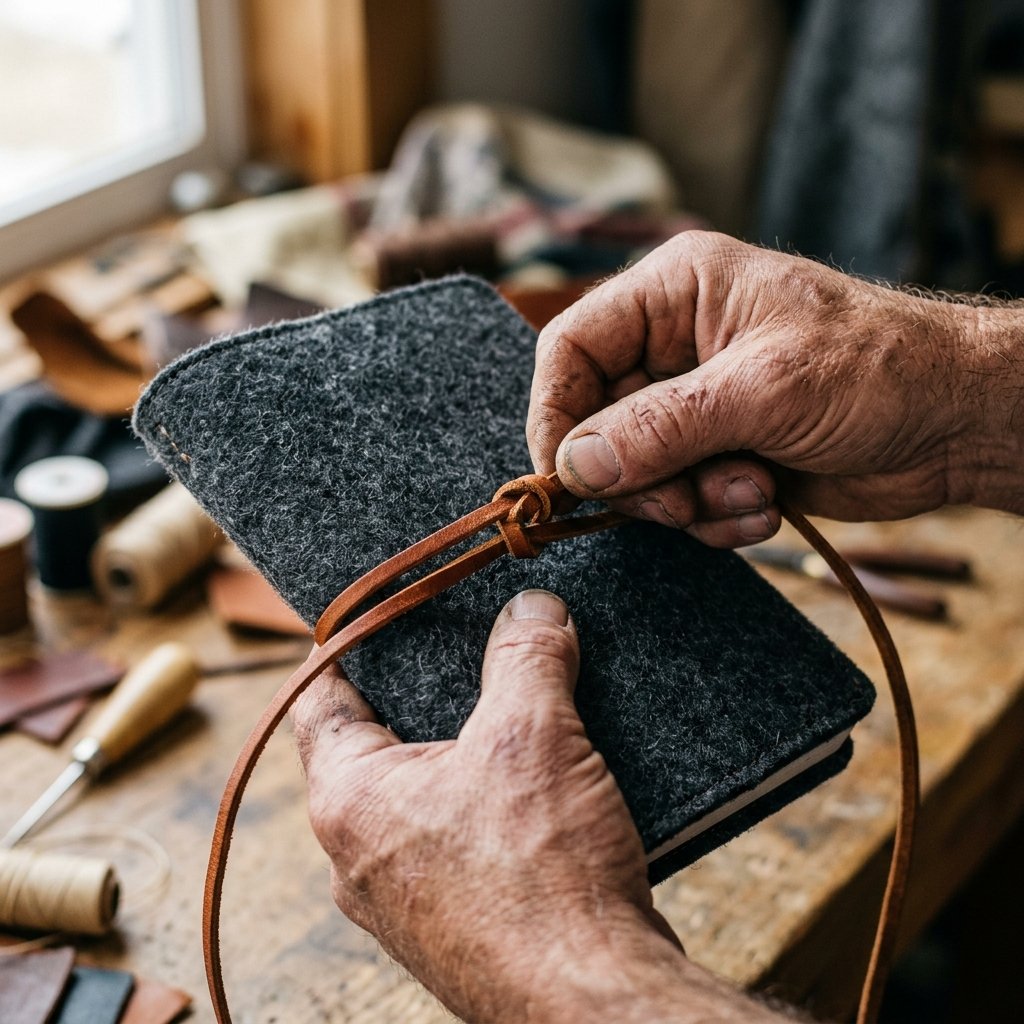
The Finishing Detail
How the sleeve closes is what defines its character. Avoid Velcro; it’s loud, cheapens the look, and attracts lint. Instead, opt for one of these three budget-savvy options:
- The Leather Wrap: Take a thin strip of leather (an old shoelace or a scrap from a thrifted bag) and sew it to the center of the back. Wrap it around the sleeve and tuck it under itself. It’s timeless and 100% fail-proof.
- The Heavy-Duty Snap: Use a hammer-on brass or gunmetal snap. It provides a satisfying ‘click’ and a clean, flush look.
- The Industrial Elastic: A thick 1-inch black elastic band sewn into the side seams can hold the flap down securely.
For this tutorial, we recommend the Leather Wrap. It requires no special tools and adds a natural element that complements the wool perfectly. Simply punch two small holes in the felt flap, thread the leather through, and knot it on the inside.
Customization: Making It Truly His
Personalization on a Dime
To ensure he actually uses this, add a functional feature tailored to his workflow. A sleeve is great, but a tech-organizer is better. Consider these quick add-ons before you do your final side-stitching:
- The Cord Catch: Sew a small 2-inch wide strip of felt to the front of the sleeve (under the flap) to create a loop for his charging cable or a stylus.
- The Monogram: If you have a steady hand, use a stem stitch to embroider his initials in the bottom corner. Keep it small and subtle.
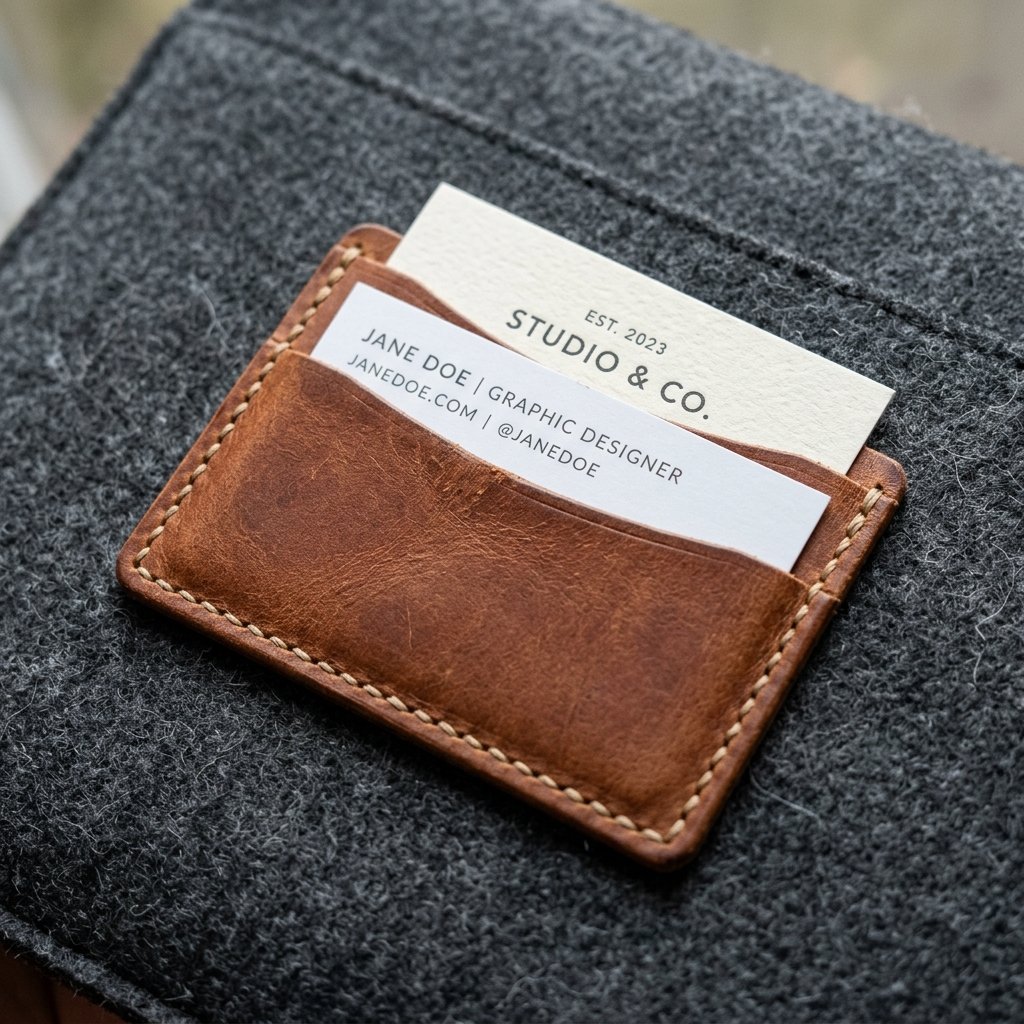
- The Business Card Slot: Stitch a small rectangle of leather or contrasting felt to the back to hold a few cards or a Tile tracker.
| Add-on Feature | Time Required | Utility Value |
|---|---|---|
| Charger Loop | 5 Minutes | High (No lost cables) |
| Initial Monogram | 15 Minutes | Very High (Personalized) |
| External Pocket | 10 Minutes | Medium (Storage) |
Conclusion
A Gift That Stands the Test of Time
By following this guide, you’ve turned $10 worth of materials and 60 minutes of your time into a high-end accessory that rivals anything found in a luxury tech boutique. This wool felt laptop sleeve isn’t just a protective cover; it’s a testament to resourceful creativity and practical elegance. He will appreciate the shock-absorbing thickness of the wool, the tactile feel of the leather, and the fact that it was made specifically for his device.
Remember, the best gifts aren’t defined by their price tag, but by the cleverness of their design and the quality of their construction. Now, go forth and upcycle, sew, and create something he’ll be proud to pull out of his bag every single day. Happy crafting!

Makenzie is the founder and lead writer at MoneyHackTips.com — a personal finance blog dedicated to delivering street-smart financial wisdom for real people on real budgets. With 300+ published articles covering everything from debt management to investing fundamentals, Makenzie’s mission is to make every dollar work harder. When not writing about money hacks, Makenzie is testing frugal living strategies, optimizing side hustles, and helping readers build financial freedom from scratch.