
The Magic of the Silver Screen—Made from Your Recycling Bin
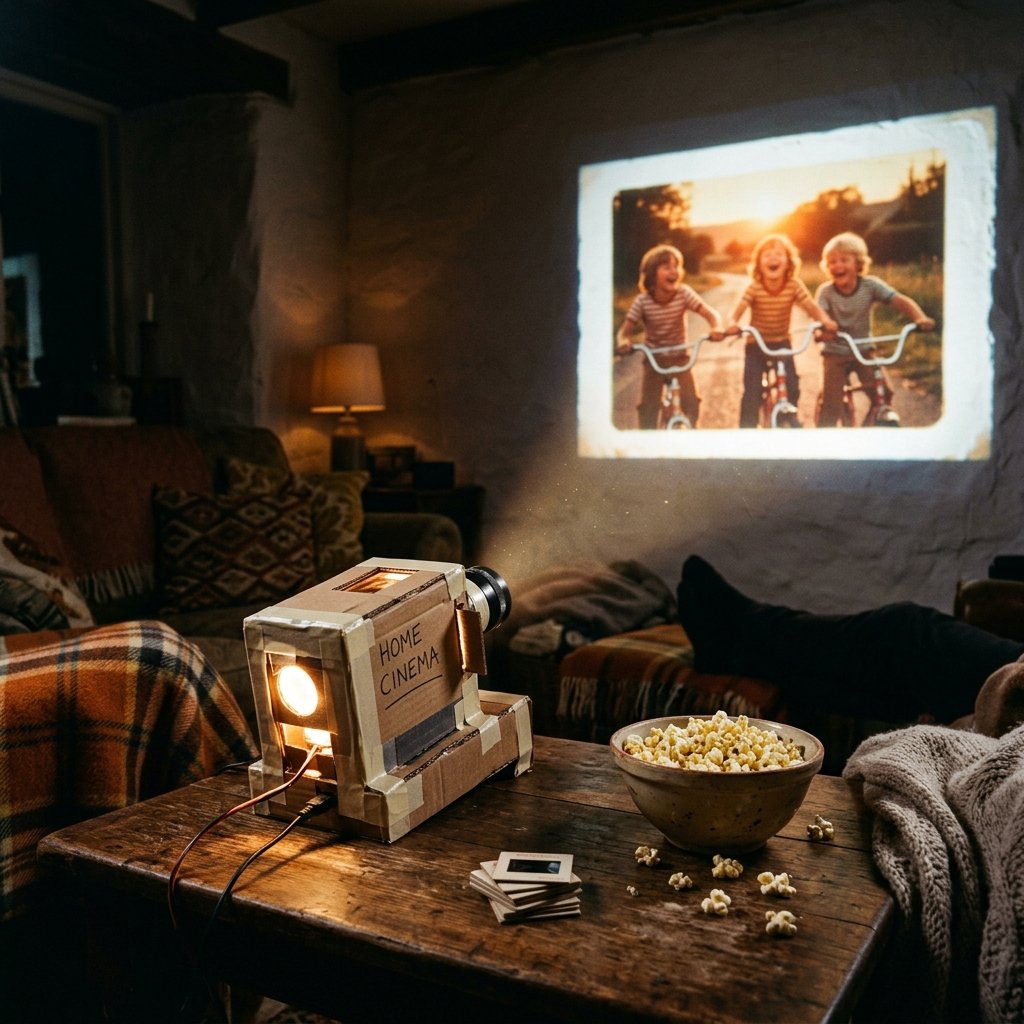
There is a specific kind of alchemy in taking what most people call ‘trash’ and turning it into a vessel for wonder. As a frugal DIYer, you know that a sturdy shipping box isn’t just waste—it is the chassis of a dream machine. Today, we are going to bypass the $100 price tags of commercial projectors and build our own DIY Cardboard Slide Projector. This isn’t just about saving money; it is about the rugged satisfaction of understanding optics, the crafty joy of precision cutting, and the ultimate reward of turning your bedroom wall into a portal to another world.
Whether you are a handy parent looking to enchant your kids on a rainy Saturday or a creative gift-giver wanting to present a ‘memory box’ that actually projects memories, this project is for you. We will use basic household items—a magnifying glass, a box, and some tape—to create a functional optical device. Grab your utility knife and let’s get to work.
The Blueprint: Materials and the Science of Light
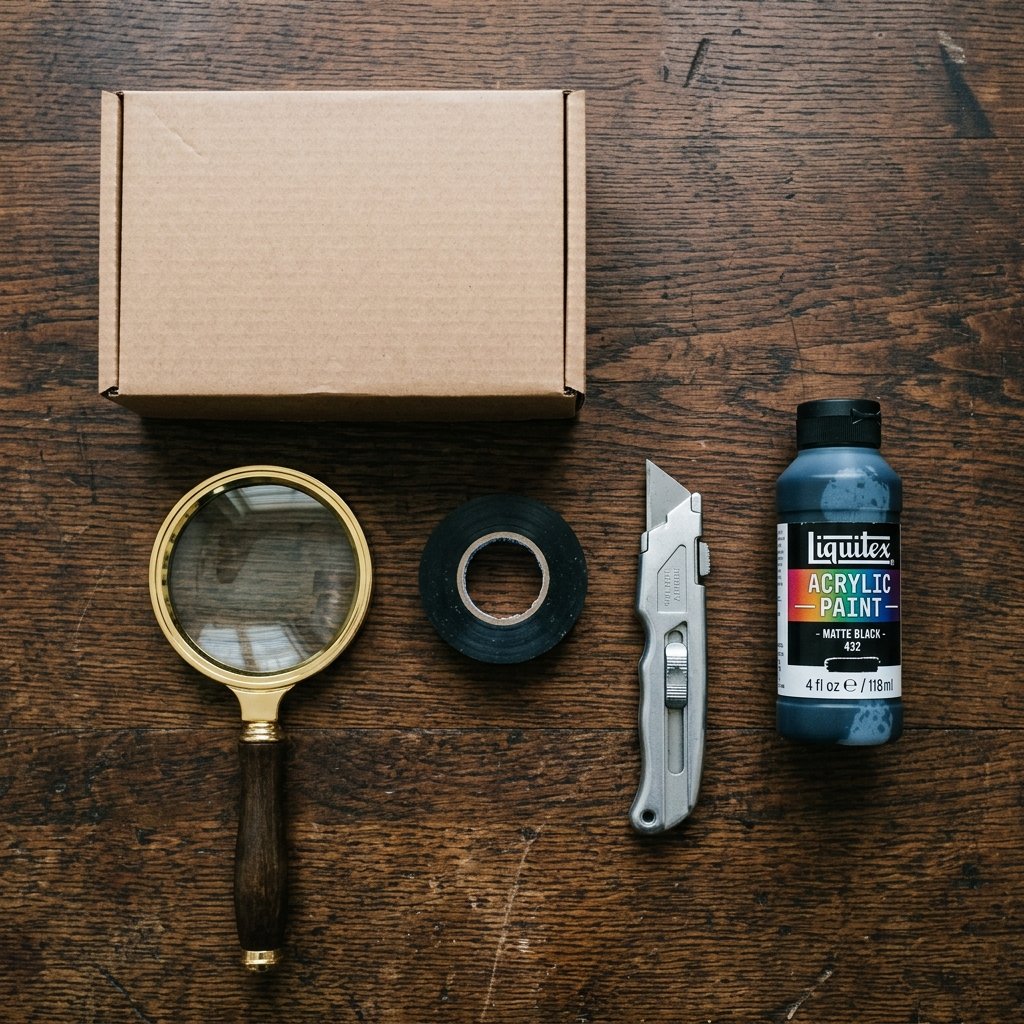
Before we start cutting, we need to gather our supplies. The heart of our projector is the convex lens, usually found in a standard magnifying glass. This lens takes the light from your source and focuses it onto the wall. However, there is a catch: the lens will naturally flip the image upside down and backwards. Don’t worry, we’ll account for that in our ‘slide’ placement.
To ensure a crisp image, the interior of your box must be as dark as possible to prevent light ‘bounce’ which washes out the projection. A quick coat of matte black paint or lining the box with black construction paper will make a 100% difference in clarity.
| Material | Source | Estimated Cost |
|---|---|---|
| Large Shoe Box or Shipping Box | Recycling Bin | $0.00 |
| Magnifying Glass (90mm+ recommended) | Dollar Store / Junk Drawer | $1.25 |
| Matte Black Paint or Paper | Craft Stash | $0.00 – $2.00 |
| Duct Tape or Electrical Tape | Toolbox | $0.00 |
| Utility Knife / Box Cutter | Toolbox | $0.00 |
| Total Investment | Resourceful DIY | $1.25 – $3.25 |
Step 1: Preparing the Optical Chassis
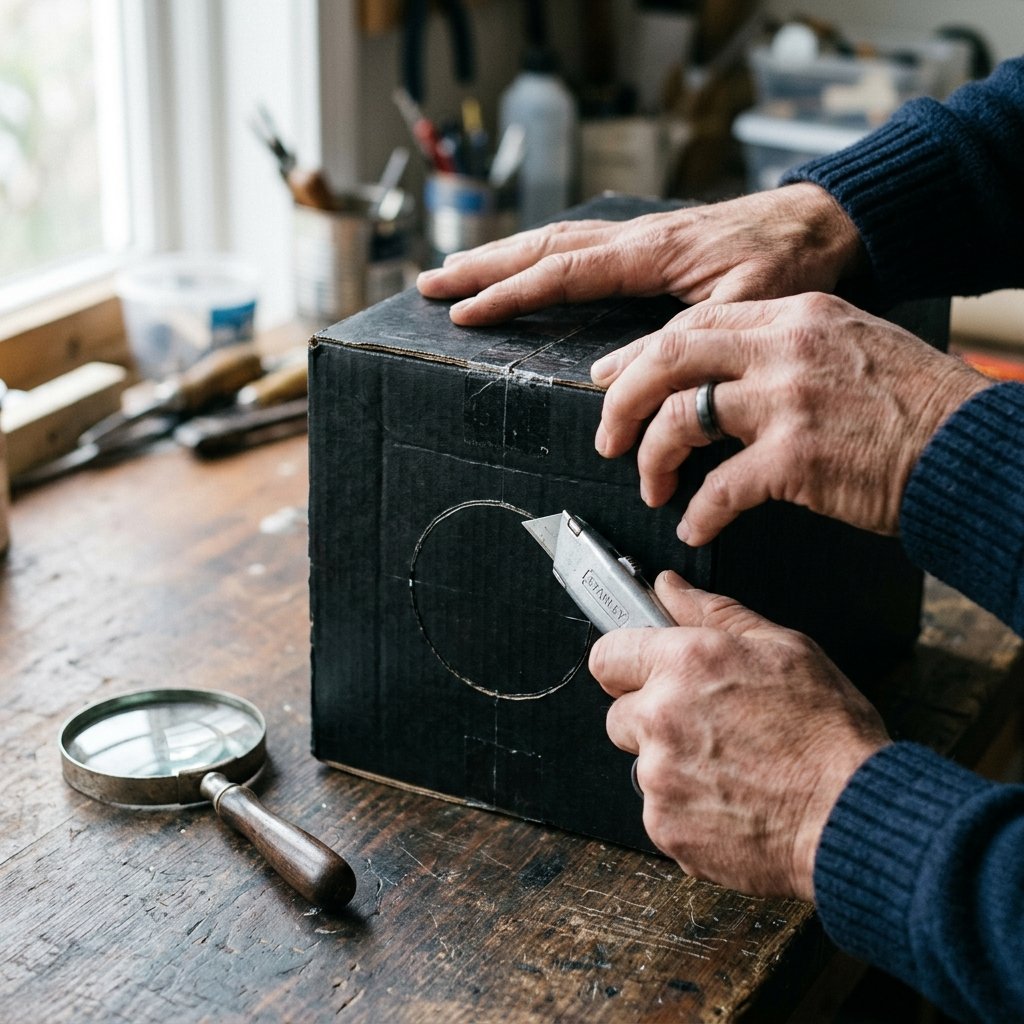
The first step is to prepare the ‘housing’ for our lens. You want to choose the smaller end of your box for the lens mount. Center your magnifying glass against the exterior of the box and trace its circumference with a pencil. Using your utility knife, cut a hole slightly smaller than the trace line. This ensures a snug fit so the lens doesn’t fall through.
Blacking Out the Interior
Once your hole is cut, it is time for the ‘stealth’ phase. Paint the entire inside of the box matte black. If you are in a hurry, black cardstock works just as well. This step is non-negotiable for a high-quality DIY projector. Without it, light leaks will ruin the contrast of your ‘magical cinema’.
“Precision is the hallmark of the master crafter. Take your time with the lens hole; a light-tight seal is the difference between a blurry mess and a cinematic masterpiece.”
Step 2: Mounting the Lens and Creating the Slide Track
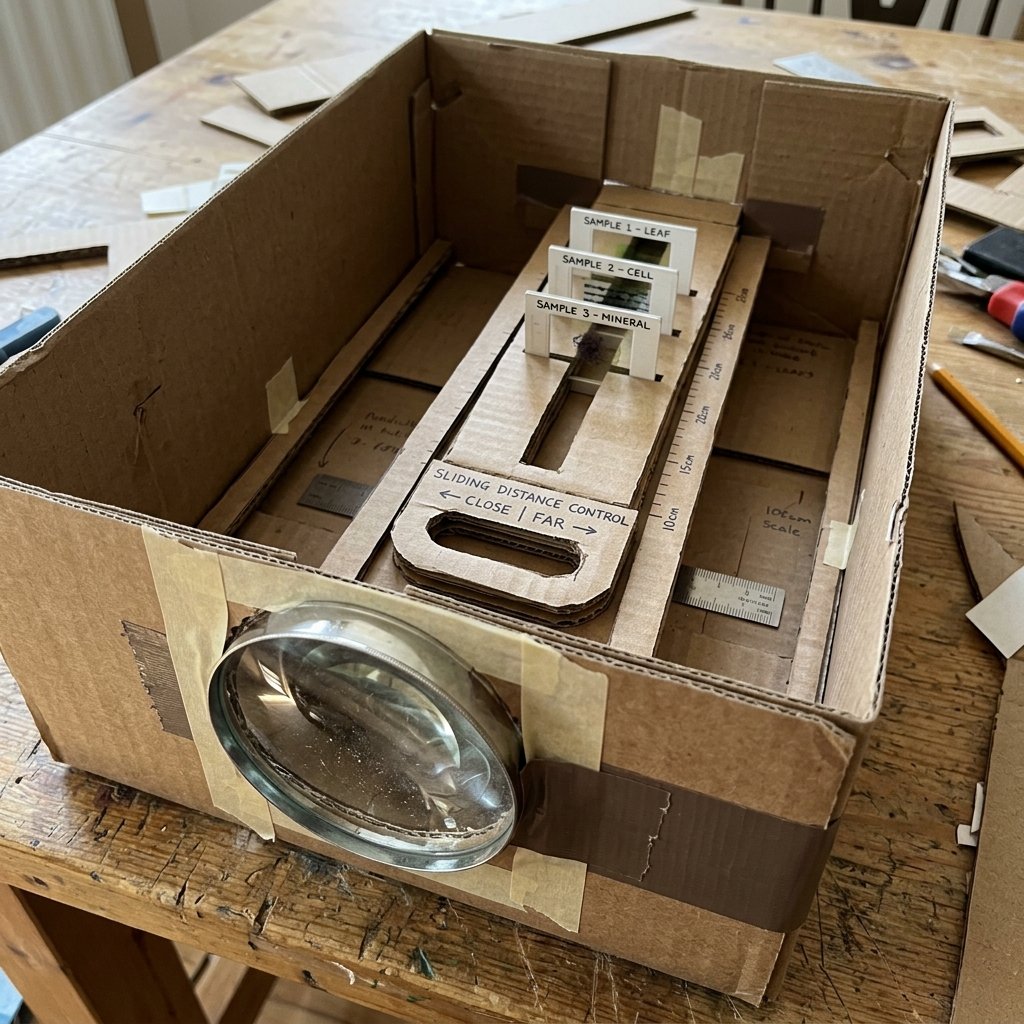
Now, we secure the lens. Remove the handle of the magnifying glass if possible (most cheap ones unscrew or can be carefully snapped off). Place the lens over the hole and secure it with black electrical tape. Ensure no light can escape around the edges of the lens.
The Sliding Focus Mechanism
The distance between your slide and the lens determines the focus. To make this adjustable, we will create a ‘slide track’. You can do this by cutting a long slit in the lid of the box, or by creating a secondary smaller box that slides inside the larger one (a ‘telescoping’ effect). For a rugged, simple build, a cardboard ‘stand’ that moves back and forth inside the box works perfectly.
| Distance from Lens | Resulting Image Size | Focus Quality |
|---|---|---|
| 2 – 4 Inches | Small / Desk-sized | Ultra-Sharp |
| 6 – 10 Inches | Medium / Wall-sized | Balanced |
| 12+ Inches | Large / Cinema-sized | Requires High Brightness |
Step 3: Crafting Your Cinematic Slides
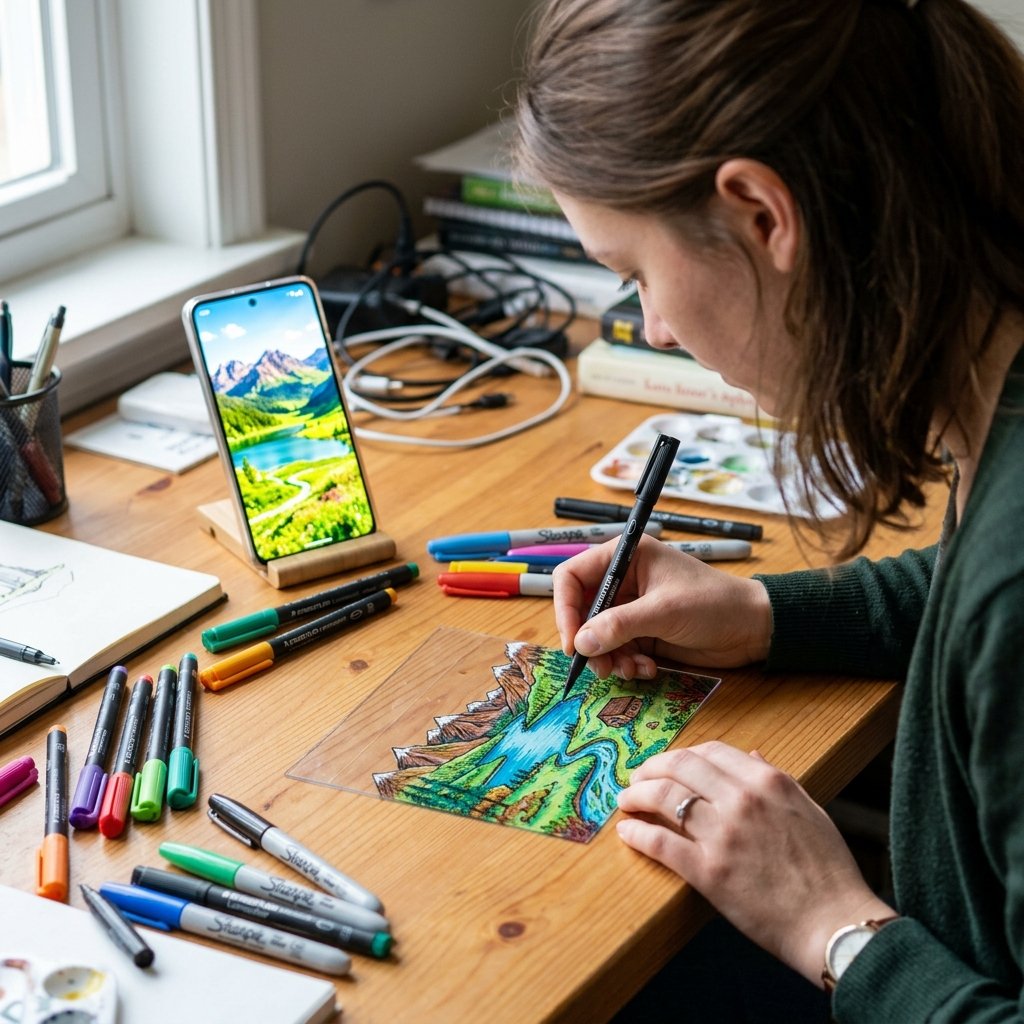
What are we projecting? You have two clever options here. You can use a smartphone as a digital slide (perfect for videos), or you can craft physical ‘analog’ slides for a vintage feel. To make physical slides, use clear plastic scraps (like from a clean food container) and permanent markers to draw your scenes.
Digital vs. Analog Setup
- The Smartphone Method: Turn your phone’s brightness to 100%. Lock the screen orientation. Place it on the sliding stand inside the box. Remember: You must place the phone upside down because the lens will invert the image!
- The Analog Slide Method: Use a high-lumen LED flashlight behind your hand-drawn plastic slides. This creates a beautiful, nostalgic aesthetic perfect for storytelling.
“To invert your phone screen on an iPhone, go to Settings > Accessibility > Touch > AssistiveTouch and create a custom ‘Rotate’ shortcut. For Android, use a ‘Screen Rotation’ app from the Play Store.”
Step 4: Troubleshooting and Fine-Tuning

If your image looks like a blurry blob, don’t panic. This is where the ‘handy’ part of being a DIYer comes in. Most issues are caused by one of three things: focus distance, light pollution, or lens smudge.
The Fine-Tuning Checklist:
- Adjust the Focus: Slowly slide your phone or slide-holder closer to or further from the lens until the image snaps into clarity on the wall.
- Check for Light Leaks: If you see light glowing from the back of the box, throw a dark towel over the rear of the projector.
- Clean the Optics: A single fingerprint on the magnifying glass can reduce your ‘cinema’ quality by 50%. Wipe it with a microfiber cloth.
For the best results, place your projector about 3 to 5 feet away from a flat, white wall. If you don’t have a white wall, tape a white bedsheet to the surface for a professional screen feel.
A Father’s Day or Birthday Twist

This project makes an incredible, thoughtful gift. Imagine gifting a ‘Movie Night in a Box’. You provide the DIY projector, a bag of popcorn, and a ‘reel’ of hand-drawn slides depicting favorite family memories. It’s a masculine-elegant way to show you care—rugged construction meets sentimental storytelling.
Gift Presentation Idea:
- Paint the exterior of the box in a deep navy or forest green.
- Add brass-colored paper fasteners to the corners for a ‘vintage trunk’ look.
- Include a small ‘Program’ card listing the ‘features’ of the night.
Conclusion
The Curtain Falls on High Costs
You’ve done it. With nothing more than a few scraps of cardboard, a cheap lens, and your own resourcefulness, you’ve built a functioning piece of optical hardware. This DIY Cardboard Slide Projector is a testament to the fact that magic doesn’t require a high price tag—it requires a bit of cleverness and a willingness to get your hands dirty. Whether you’re projecting a blockbuster movie from your phone or a hand-drawn story for your little ones, you’ve created an experience that is far more valuable than anything bought in a store. Now, dim the lights, grab the snacks, and enjoy your very own magical cinema. Happy crafting!

Makenzie is the founder and lead writer at MoneyHackTips.com — a personal finance blog dedicated to delivering street-smart financial wisdom for real people on real budgets. With 300+ published articles covering everything from debt management to investing fundamentals, Makenzie’s mission is to make every dollar work harder. When not writing about money hacks, Makenzie is testing frugal living strategies, optimizing side hustles, and helping readers build financial freedom from scratch.