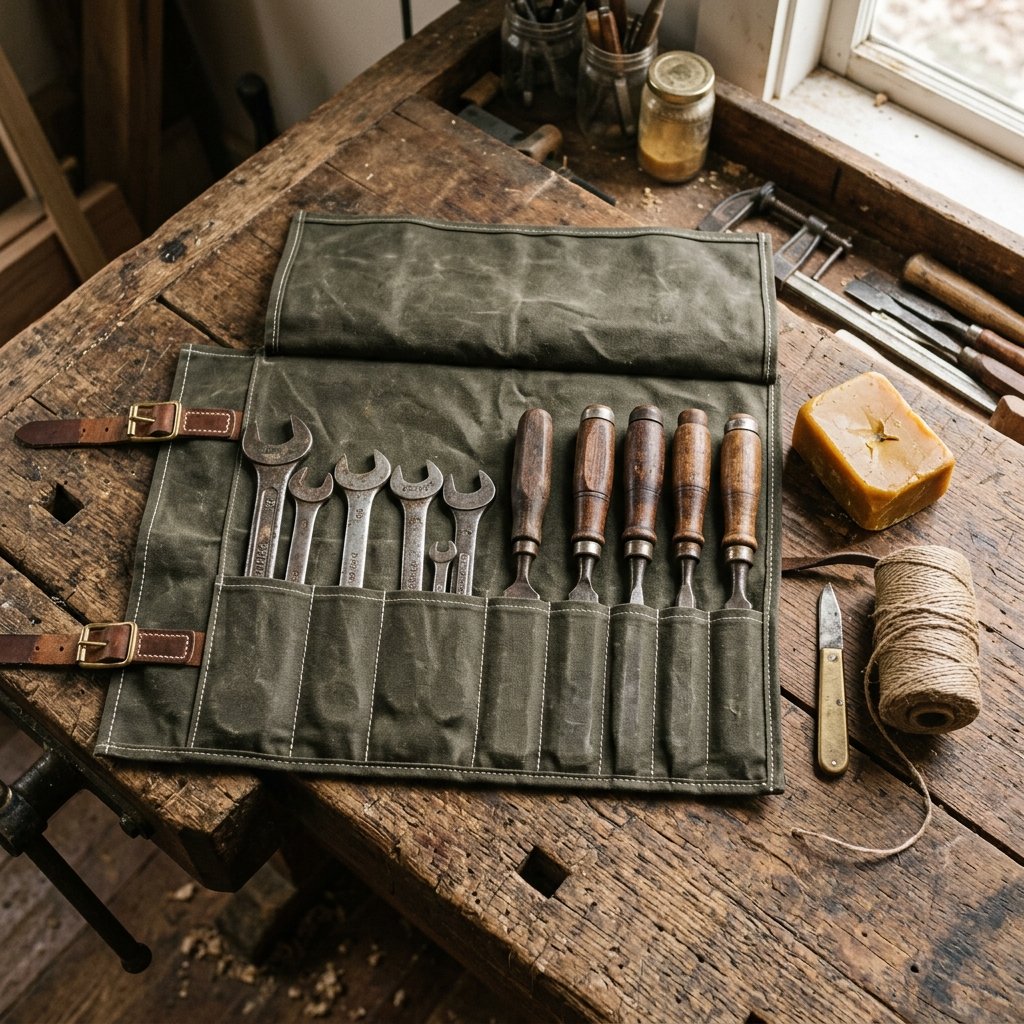

In a world of plastic bins and flimsy nylon bags, there is something undeniably soul-satisfying about the weight and scent of waxed canvas. It is the fabric of explorers, sailors, and master craftsmen. But if you have ever browsed high-end heritage brands, you have likely seen the price tags—often exceeding $120 for a simple tool wrap. As a resourceful DIYer, you know better. You know that with a bit of grit, some thrifted materials, and a secret recipe for homemade fabric wax, you can craft a piece of gear that not only rivals those boutique brands but actually gets better with every scrape and grease stain.
This guide isn’t just about storage; it’s about creating a legacy item. Whether you are building this for your own truck’s emergency kit, a set of woodcarving tools, or as the ultimate Father’s Day gift, we are going to dive deep into the rugged world of textile waterproofing and heavy-duty construction. We will turn basic cotton duck canvas into a weatherproof, puncture-resistant masterpiece. Grab your coffee, clear your workbench, and let’s build something that will last a lifetime.
The Blueprint: Why Waxed Canvas Wins
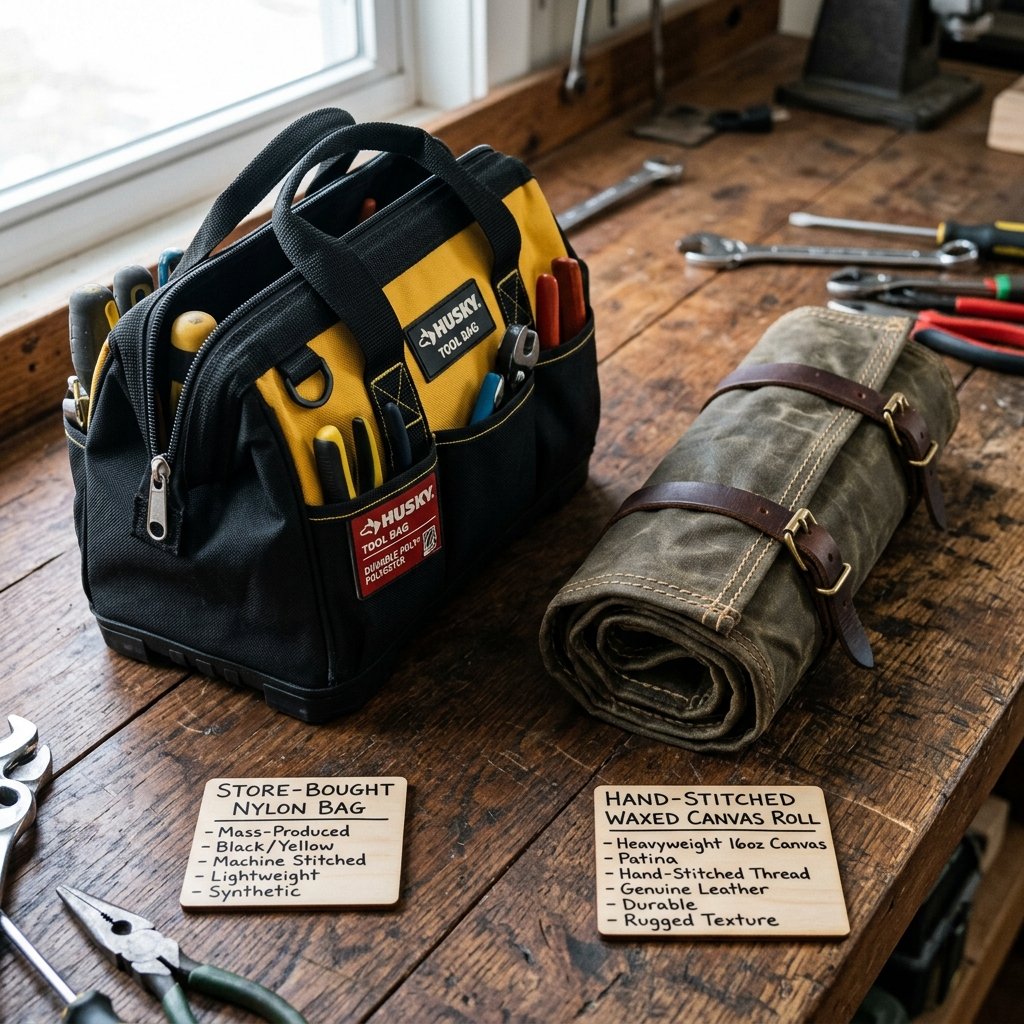
Before we cut into our fabric, it is vital to understand why we are choosing waxed canvas over modern synthetics. Waxed canvas is breathable, water-repellent, and develops a unique ‘patina’—a map of your hard work written in creases and scuffs. For the frugal maker, the best part is that the base material is incredibly affordable.
The Cost Reality Check
Why spend a fortune when you can build it for the price of a burger? Here is how the numbers break down when you take the DIY route versus buying a premium brand like Filson or Bradley Mountain.
| Feature | Boutique Retailer | DIY Resourceful Build |
|---|---|---|
| Material | 18oz Waxed Canvas | Upcycled 12oz Drop Cloth or Duck Canvas |
| Hardware | Solid Brass | Repurposed Leather or Paracord |
| Price | $85 – $150 | $12 – $20 |
| Customization | None (Fixed Sizes) | 100% Custom to Your Tools |
By choosing to DIY, you are saving roughly 85% of the retail cost while gaining a skill that allows you to waterproof everything from hats to backpacks. We aren’t just saving money; we are reclaiming the means of production.
Sourcing Materials on a Shoestring Budget
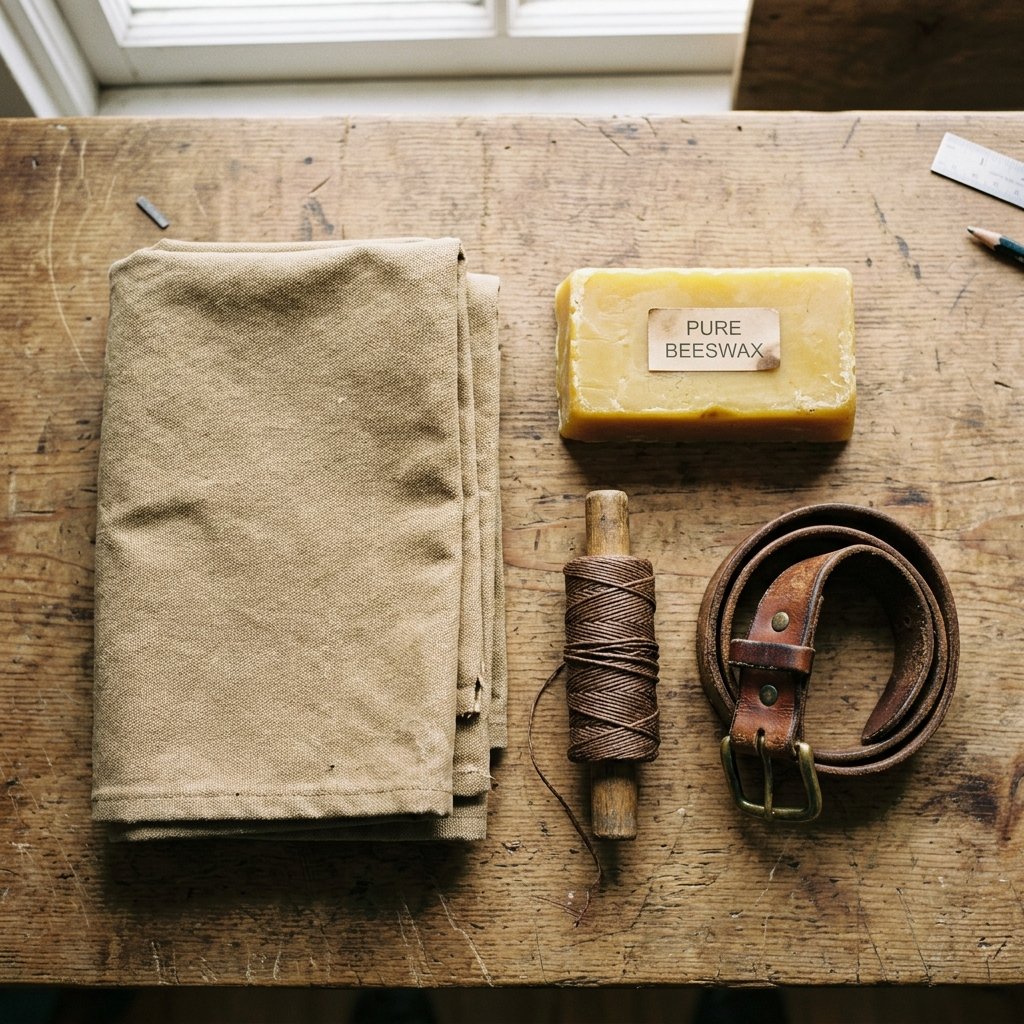
You don’t need a specialty textile mill to get started. In fact, some of the best tool rolls come from the most unexpected places. The key is finding 100% cotton. Synthetic fibers like polyester will not absorb the wax properly, resulting in a sticky mess rather than a waterproof finish.
- The Canvas: Look for heavy-duty cotton duck canvas. A $10 canvas drop cloth from the hardware store is enough to make five or six tool rolls. Alternatively, upcycle an old pair of heavy Carhartt work pants or a vintage army duffel bag.
- The Wax: You will need a blend of beeswax and paraffin. Beeswax provides the flexibility and pleasant scent, while paraffin adds hardness and superior water resistance.
- The Thread: Use heavy-duty upholstery thread or waxed dental floss in a pinch. Regular garment thread will snap under the weight of metal tools.
- The Closure: A strip of scrap leather from an old belt, a length of jute twine, or even a sturdy shoelace works perfectly.
The Frugal Guru’s Mantra: Never buy new what can be salvaged. An old leather belt from a thrift store for $2 provides enough material for three tool roll straps.
The Secret Sauce: DIY Fabric Wax Recipe
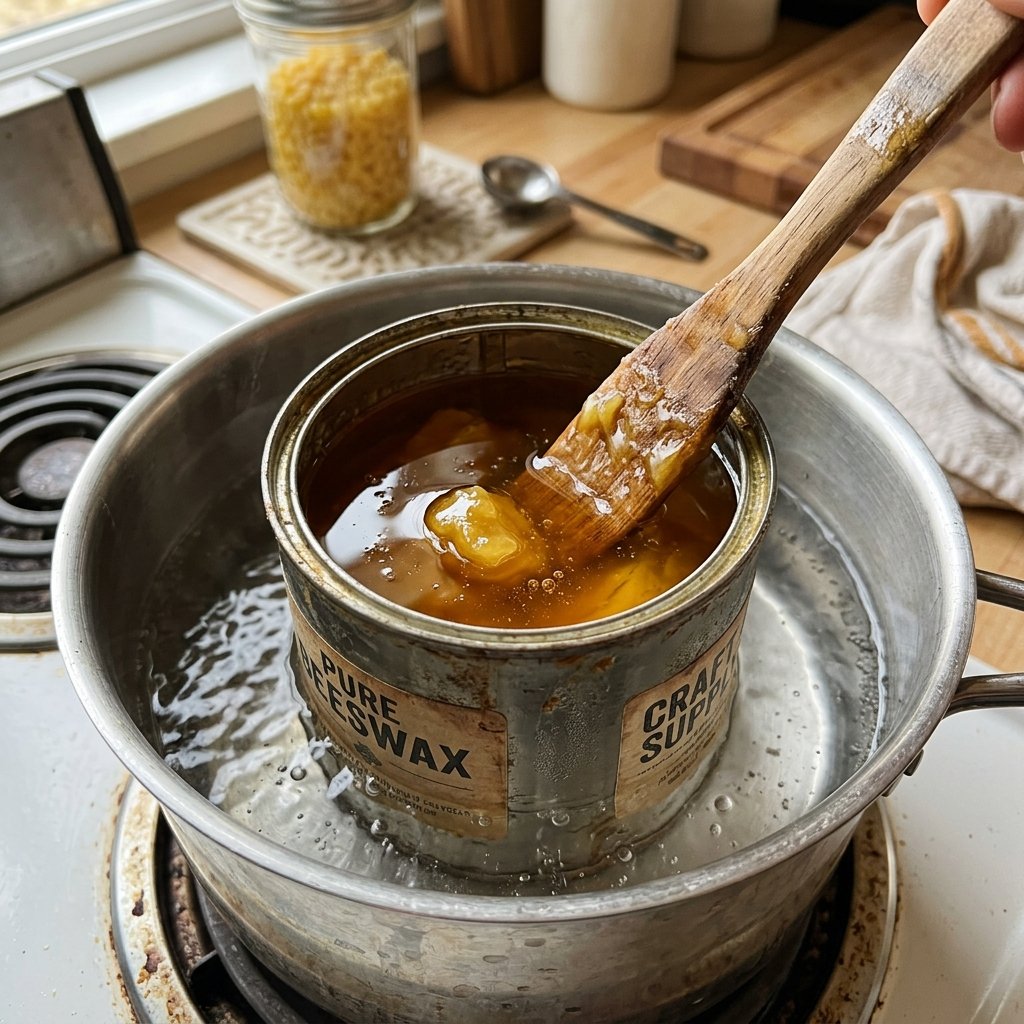
This is where the magic happens. We are going to create a traditional ‘tin cloth’ finish. Commercial wax bars can be expensive, but making your own batch costs pennies per ounce.
Wax Ratio Table
| Ingredient | Ratio | Purpose |
|---|---|---|
| Beeswax | 50% | Flexibility, Grip, and Natural Aroma |
| Paraffin Wax | 50% | Waterproofing and Surface Hardness |
| Boiled Linseed Oil | Optional (10%) | Deep Saturation and Traditional ‘Tack’ |
For a standard tool roll, a 4oz batch is more than enough. Follow these steps to prepare your wax:
- Place a clean tin can inside a pot of simmering water (a makeshift double boiler).
- Add your beeswax and paraffin. Never melt wax over an open flame or direct heat; it is highly flammable.
- Once liquid, stir with a disposable stick.
- If you want a more ‘weathered’ look, add a tablespoon of boiled linseed oil, but be aware this increases drying time significantly.
Safety Warning: Always melt wax in a well-ventilated area. Keep a lid nearby to smother the pot in the unlikely event of a flash fire. Do not use your good kitchen pots!
Design and Dimensions: Measuring for Your Gear
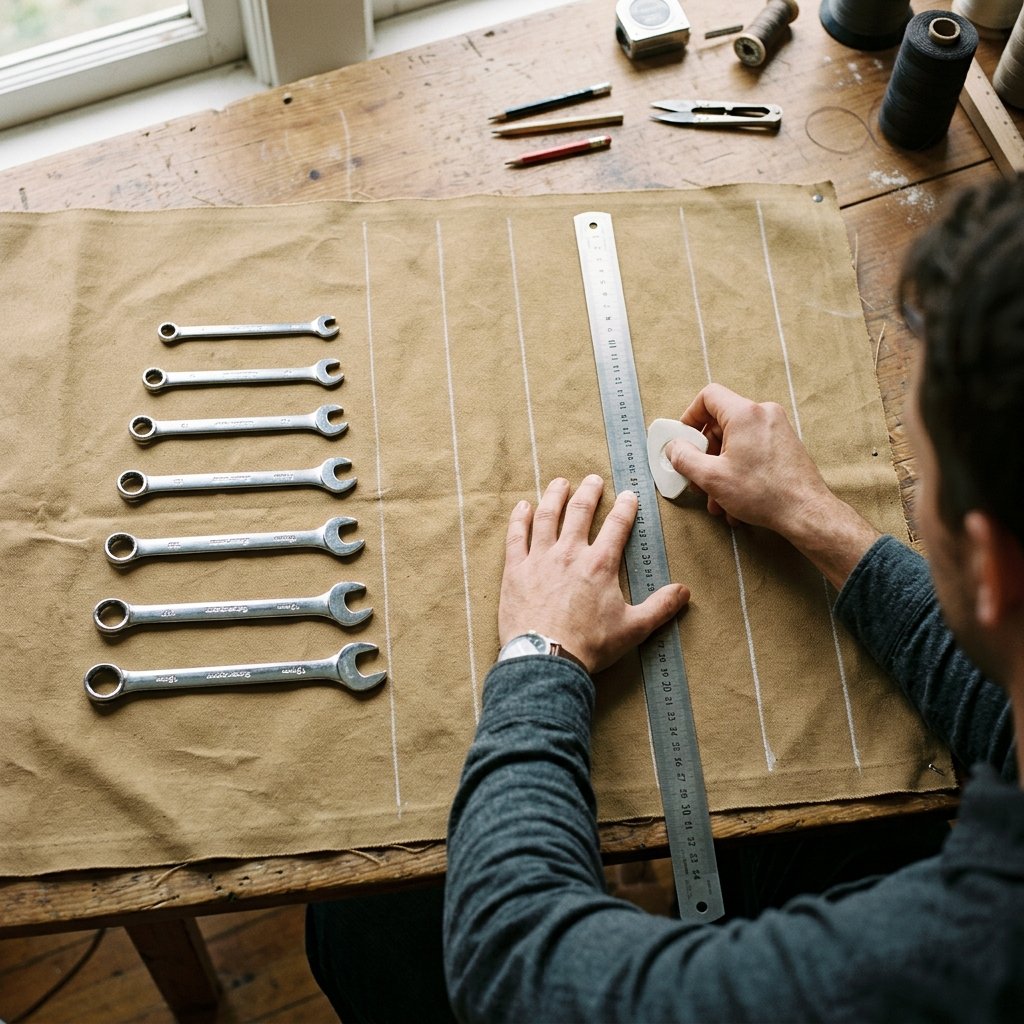
One size does not fit all. A wrench roll requires different spacing than a set of precision screwdrivers. To get the perfect fit, lay your tools out on your fabric first. This ‘dry fit’ ensures you don’t end up with pockets that are too tight to use.
Standard Tool Roll Dimensions
- Main Body: 18 inches wide by 14 inches tall.
- The Pocket Flap: 5 inches deep. This is the part that folds up to hold the tool bases.
- The Top Cover: 3 inches deep. This folds down to prevent tools from sliding out the top when rolled.
- Pocket Widths: Vary these! Small tools need 1.5 inches, while large adjustable wrenches may need 3 inches.
Using a fabric chalk or a simple pencil, mark your stitch lines. Remember to leave an extra 1/2 inch of ‘slack’ for bulkier tools. If the pocket is flat against the backing, a thick tool will pull the fabric too tight to insert the next one.
Construction: Stitching for Strength
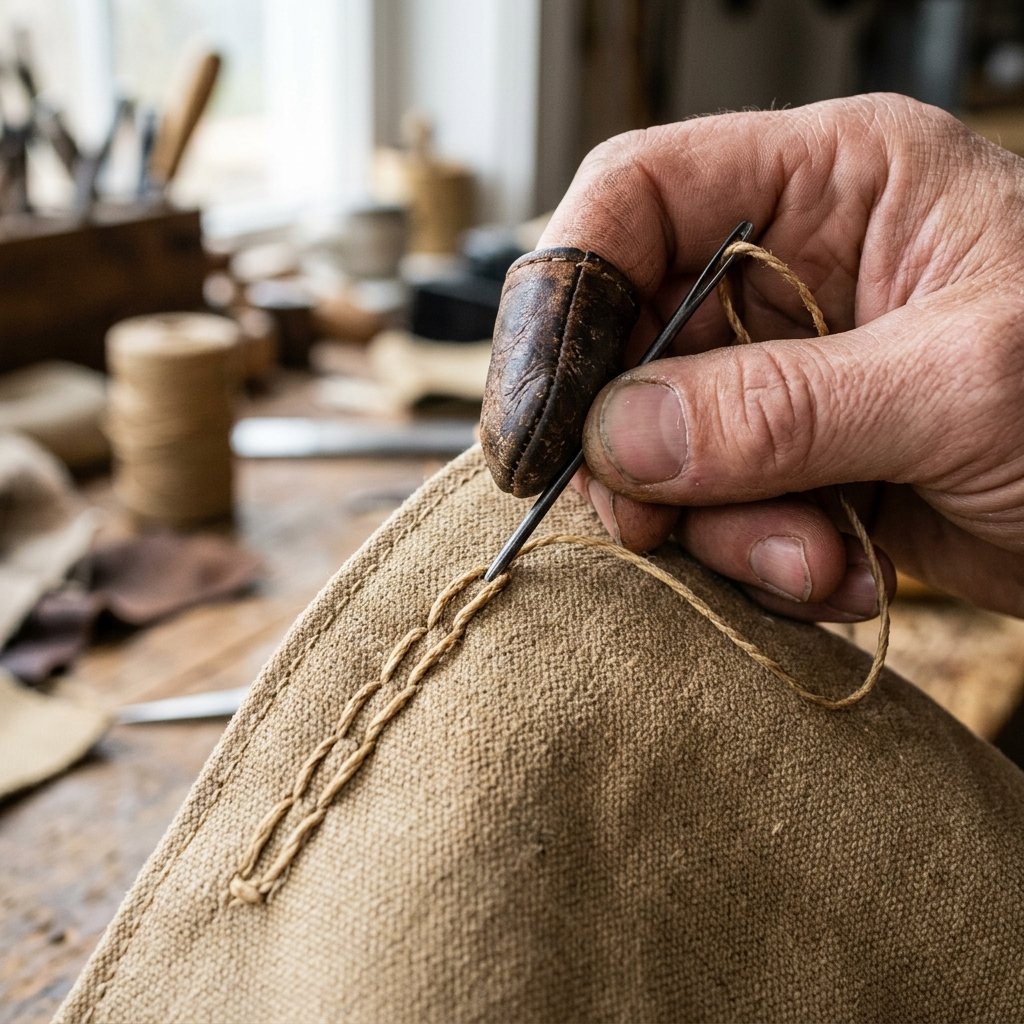
You don’t need a sewing machine for this project. In fact, a hand-stitched tool roll has a rugged aesthetic that machines can’t replicate. If you are using a home sewing machine, ensure you have a Denim Needle (100/16) and go slow.
The Hand-Stitching Process
- Hem the Edges: Fold the outer edges over by 1/4 inch and stitch to prevent fraying.
- Create the Pocket: Fold the bottom 5 inches of the canvas upward. Pin the sides.
- The Vertical Dividers: Stitch along your marked lines from the bottom of the fold to the top of the pocket. Use a Backstitch for maximum durability.
- Reinforce the Stress Points: At the top of every pocket divider, sew a small ‘X’ or a horizontal bar tack. This is where the fabric is most likely to tear when you shove a heavy tool inside.
If you find the canvas too stiff to sew, you can use a thimble or a pair of small pliers to help pull the needle through the layers. This is ‘rugged’ crafting at its finest.
The Waxing Technique: Applying the Armor
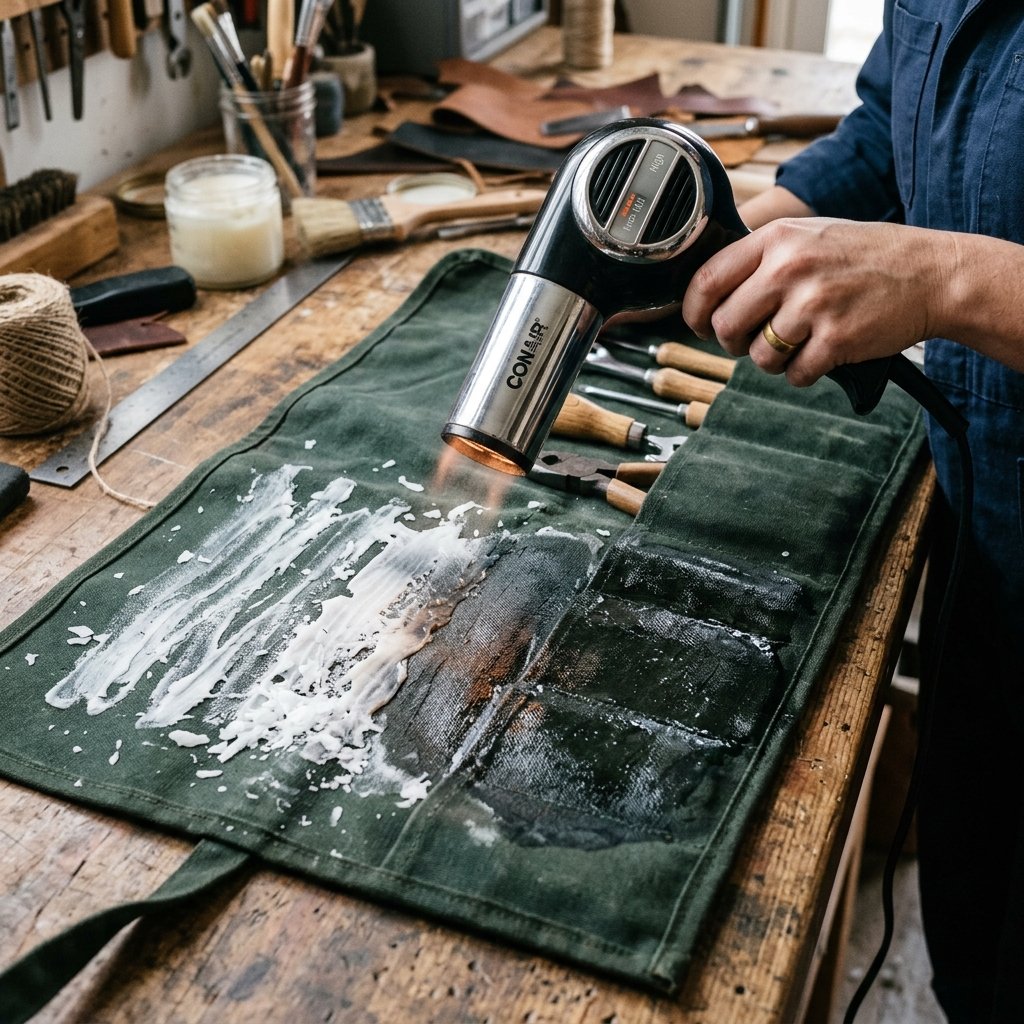
Now for the most satisfying part: transforming the fabric. Waxing should be done after sewing, as the wax can gum up your sewing machine or make hand-sewing incredibly difficult.
How to Apply the Finish
- Load the Brush: Use a cheap 1-inch chip brush to paint the molten wax onto the canvas. Work in small 4-inch sections.
- Don’t Overdo It: You want an even coat, not a thick sludge. The fabric should look dark and wet.
- The Heat Set: This is the secret step. Use a hairdryer or a heat gun on low setting to melt the wax into the fibers. You will see the wax ‘disappear’ as it soaks deep into the weave.
- Curing: Hang the tool roll in a cool, dry place for 24 to 48 hours. It will feel stiff at first, but it will soften with use.
Once cured, the canvas will be significantly heavier and completely waterproof. Water will bead off the surface like a duck’s back.
Conclusion
Congratulations! You’ve just bypassed the high-end retail market and built a piece of gear that is uniquely yours. This waxed canvas tool roll is more than just a container; it’s a testament to the value of resourceful craftsmanship. Over the coming years, as you pull this roll out of your trunk or workshop, you’ll notice it changing. It will develop ‘crazy horse’ marks—light-colored creases that tell the story of every repair and project it has seen.
By choosing to upcycle materials and mix your own wax, you’ve saved over $100 and created something that will likely outlast any store-bought alternative. Whether you’re gifting this to a lucky father, a handy friend, or keeping it for your own daily carry, take pride in the rugged elegance of a job well done. Now, go put some grease on it!

Makenzie is the founder and lead writer at MoneyHackTips.com — a personal finance blog dedicated to delivering street-smart financial wisdom for real people on real budgets. With 300+ published articles covering everything from debt management to investing fundamentals, Makenzie’s mission is to make every dollar work harder. When not writing about money hacks, Makenzie is testing frugal living strategies, optimizing side hustles, and helping readers build financial freedom from scratch.