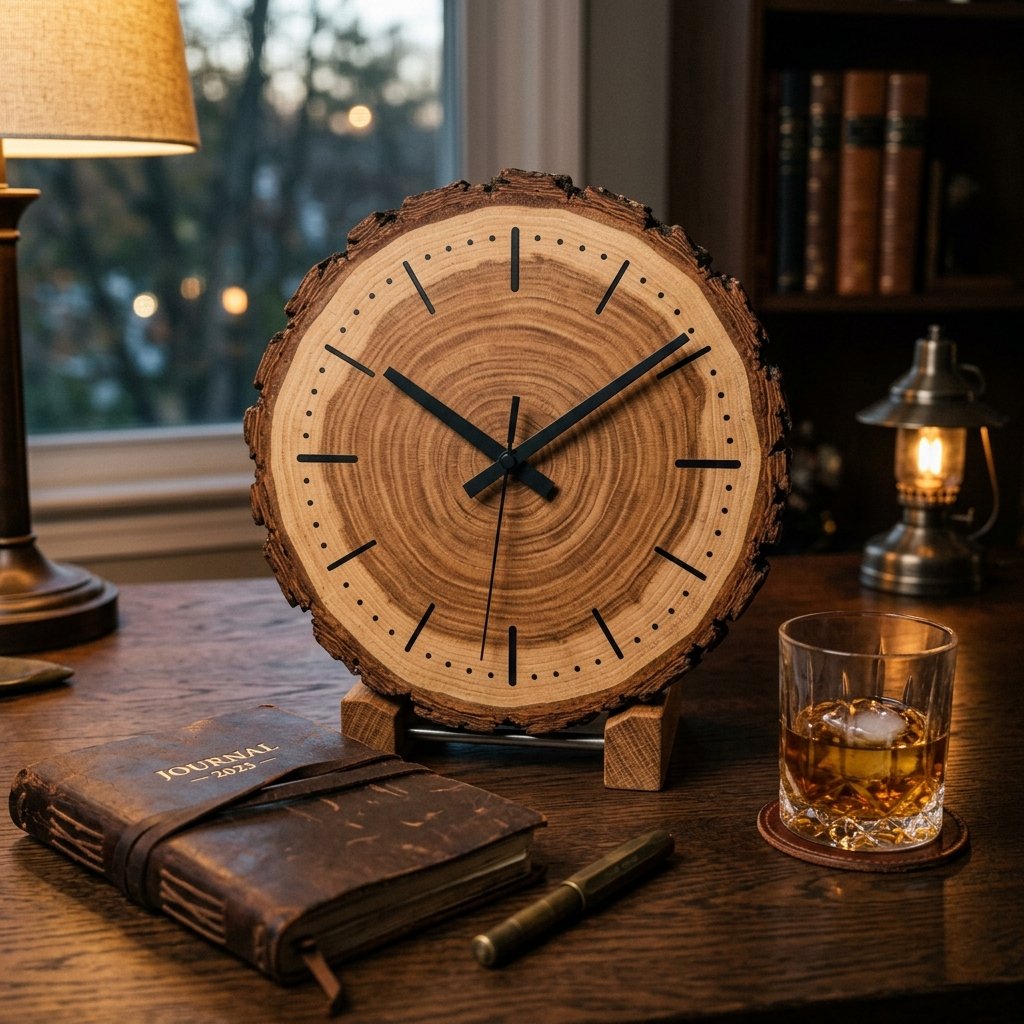

The Rugged Charm of a Handmade Timepiece
Finding the perfect gift for the man who has everything—or the man who claims he wants nothing—is a perennial challenge for the frugal but thoughtful gift-giver. You want something that speaks to his rugged sensibilities, looks like it cost a fortune at a mountain-town boutique, yet doesn’t blow your monthly grocery budget. Enter the DIY Wood Slice Clock. This project is the holy grail of ‘Trash-to-Treasure’ crafting. It combines the raw, organic beauty of nature with the precision of modern quartz movement. Whether he’s a mountain man, a minimalist, or a corporate professional with a penchant for rustic office decor, this clock hits the mark. Best of all? If you have a fallen branch in your backyard or a $5 wood round from a craft store, you are already halfway there. In this guide, we aren’t just making a clock; we are crafting a legacy piece that can be completed in exactly 60 minutes of active work time.
Sourcing Your Canvas: The Hunt for the Perfect Wood Slice

The soul of this project lies in the wood itself. You have two primary paths: the ‘Free-Range’ route or the ‘Store-Bought’ route. If you are a true upcycler, keep your eyes peeled after a storm. Fallen hardwood branches—think Oak, Maple, or Walnut—provide the best density and grain patterns. If you go the natural route, ensure the wood is completely dry; a moisture content above 12% can lead to cracking or warping after you’ve installed the mechanism. For those on a time crunch, a pre-kiln-dried basswood or pine slice from a craft store is a foolproof $7 to $12 investment.
Selecting the Right Diameter
For a desk or mantle clock, aim for a diameter of 5 to 7 inches. For a statement wall clock, look for something in the 10 to 14-inch range. Ensure the slice is at least 3/4 of an inch thick to accommodate the clock motor without it protruding awkwardly from the back.
Frugal Tip: Check local firewood sellers! They often have ‘scraps’ or ends that are perfectly seasoned and can be sliced into beautiful rounds for pennies.
The Budget Breakdown: Boutique Quality on a Dime

Why spend $80 to $150 at a high-end home goods store when you can replicate the look for the price of a sandwich? Below is a breakdown of what you’ll need and how much it actually costs when you shop smart.
| Material | Source | Estimated Cost |
|---|---|---|
| Wood Slice (8-10″) | Backyard or Craft Store | $0 – $10 |
| Quartz Clock Kit | Online or Hobby Shop | $5 – $8 |
| Sandpaper (Multi-grit) | Hardware Store Scraps | $1 |
| Wood Finish (Oil/Wax) | Pantry or Workshop | $1 |
| Total Cost | DIY Advantage | $7 – $20 |
As you can see, the savings are staggering. By doing the labor yourself, you are saving over 80% compared to retail prices, and you’re getting a unique piece with a story behind it.
Step-By-Step: From Raw Wood to Functional Art
Now, let’s get down to business. Follow these steps precisely to ensure a professional finish that will leave your husband wondering when you became a master woodworker.
- Leveling the Surface: If your slice isn’t perfectly flat, use 60-grit sandpaper to level it. Once flat, progress through 120-grit and finish with 220-grit for a buttery smooth texture.
- Finding the Dead Center: Use a ruler to find the widest points and mark the center with a pencil. Measurement is key: if the hole is off-center, the clock will look ‘drunk’ when hung.
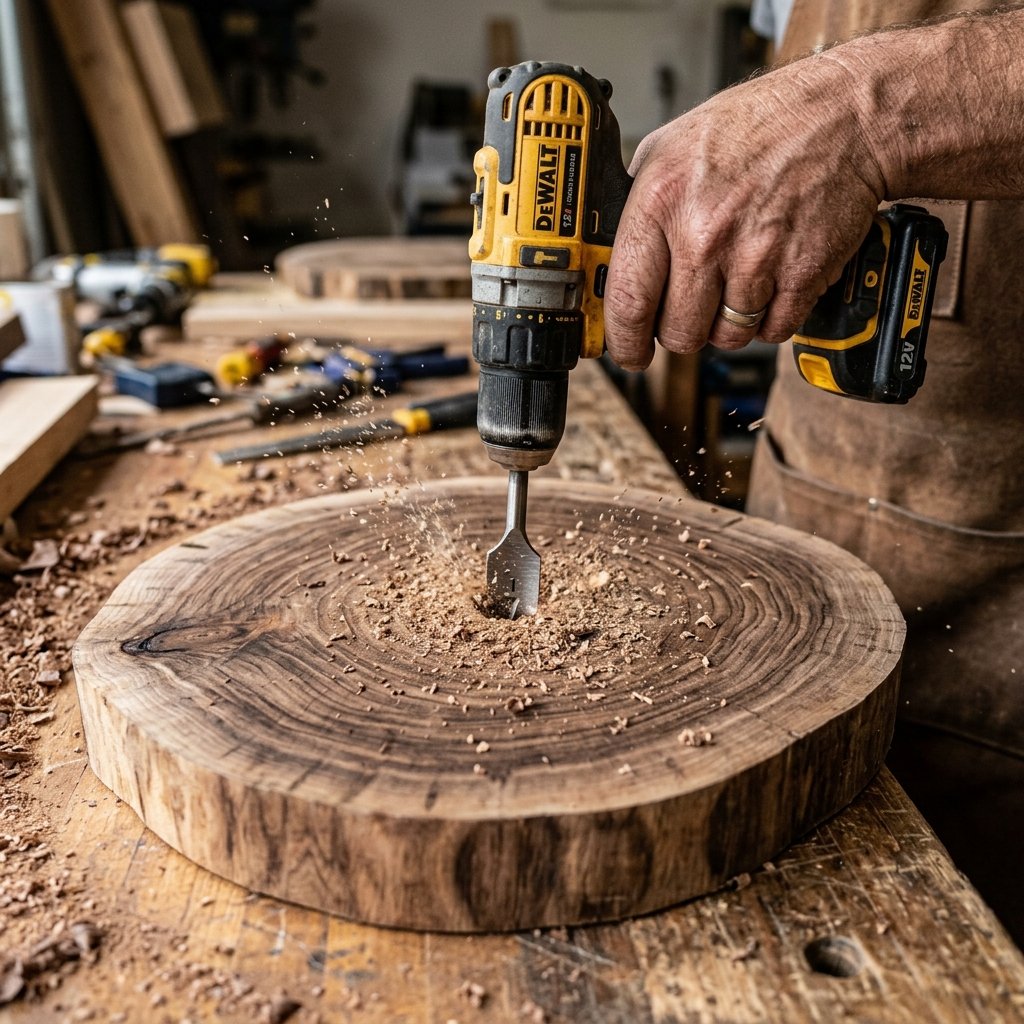
- Drilling the Shaft Hole: Select a drill bit that matches the diameter of your clock kit’s shaft (usually 5/16″). Drill straight through the center.
Safety Note: Secure the wood slice to your workbench with a clamp before drilling to prevent spinning or ‘walking’ of the bit.
- Creating the Recess (Optional): If your wood slice is thicker than 1/2 inch, you may need to use a Forstner bit on the back side to create a shallow well for the clock motor to sit in. This ensures the shaft reaches far enough through the front to attach the hands.
- The Finish: Rub the wood with Linseed oil, Tung oil, or even a bit of mineral oil from the kitchen. This pops the grain and protects the wood. Let it dry for 20 minutes.
- Assembly: Slide the motor through the back, tighten the brass nut on the front, and press the hands into place (Hour first, then Minute, then Second).
Customization: Tailoring the Look to His Style
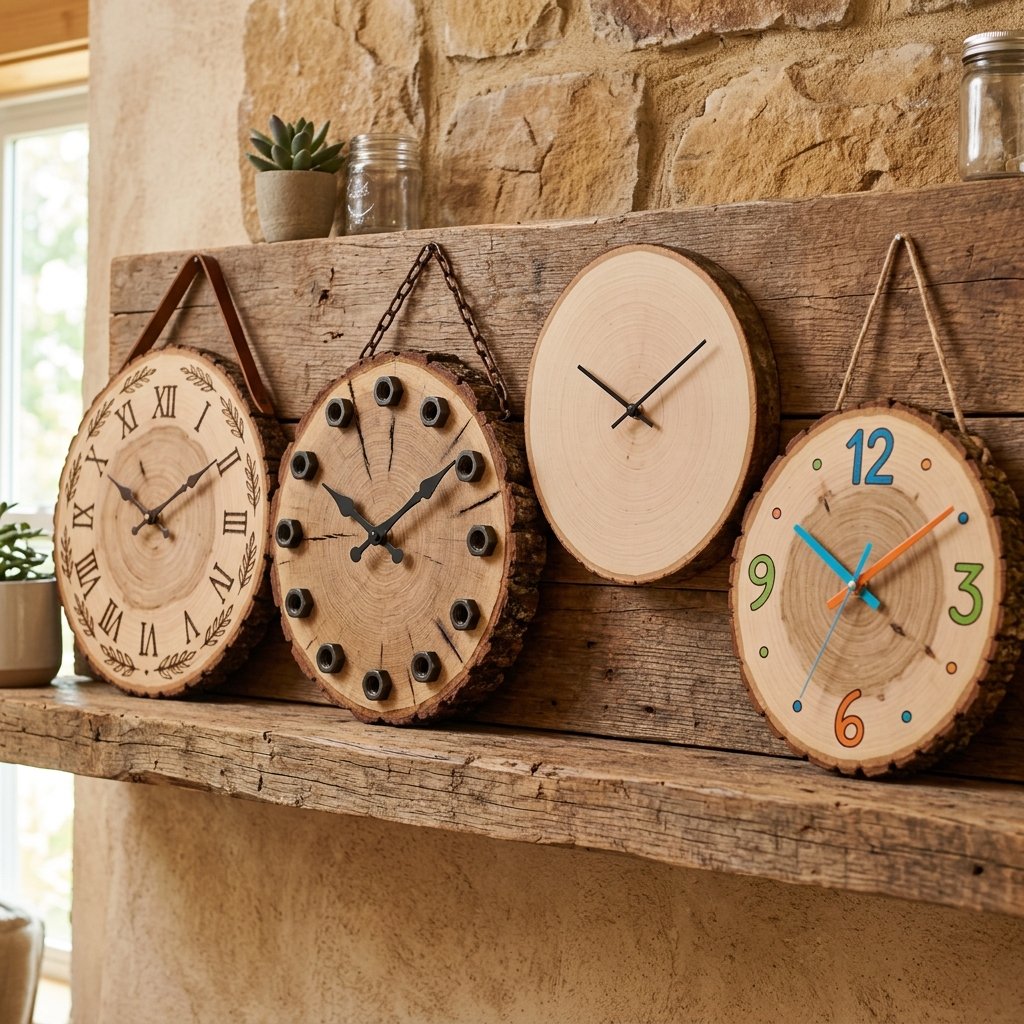
Every man has a different aesthetic. Here is how to pivot the design to match his personality:
- The Minimalist: Leave the face blank. No numbers, no ticks—just the raw wood grain and sleek black hands. It’s a modern, ‘Scandi-rustic’ look.
- The Traditionalist: Use a wood-burning tool (pyrography) to hand-draw Roman numerals. This adds a level of ‘Crafty-Expert’ detail that looks incredibly expensive.
- The Industrialist: Instead of wood numbers, use small hex nuts or copper washers from the hardware store as hour markers. Glue them down with a tiny dab of clear epoxy.
- The Sentimentalist: Flip the clock over and wood-burn a personal message on the back, like your anniversary date or a rugged quote like ‘Time spent with you is never wasted.’
Regardless of the style, ensure the hands contrast with the wood. If you have a dark Walnut slice, use gold or white hands. For light Pine, matte black hands are the gold standard.
Troubleshooting & Pro-Tips for the Perfect Build
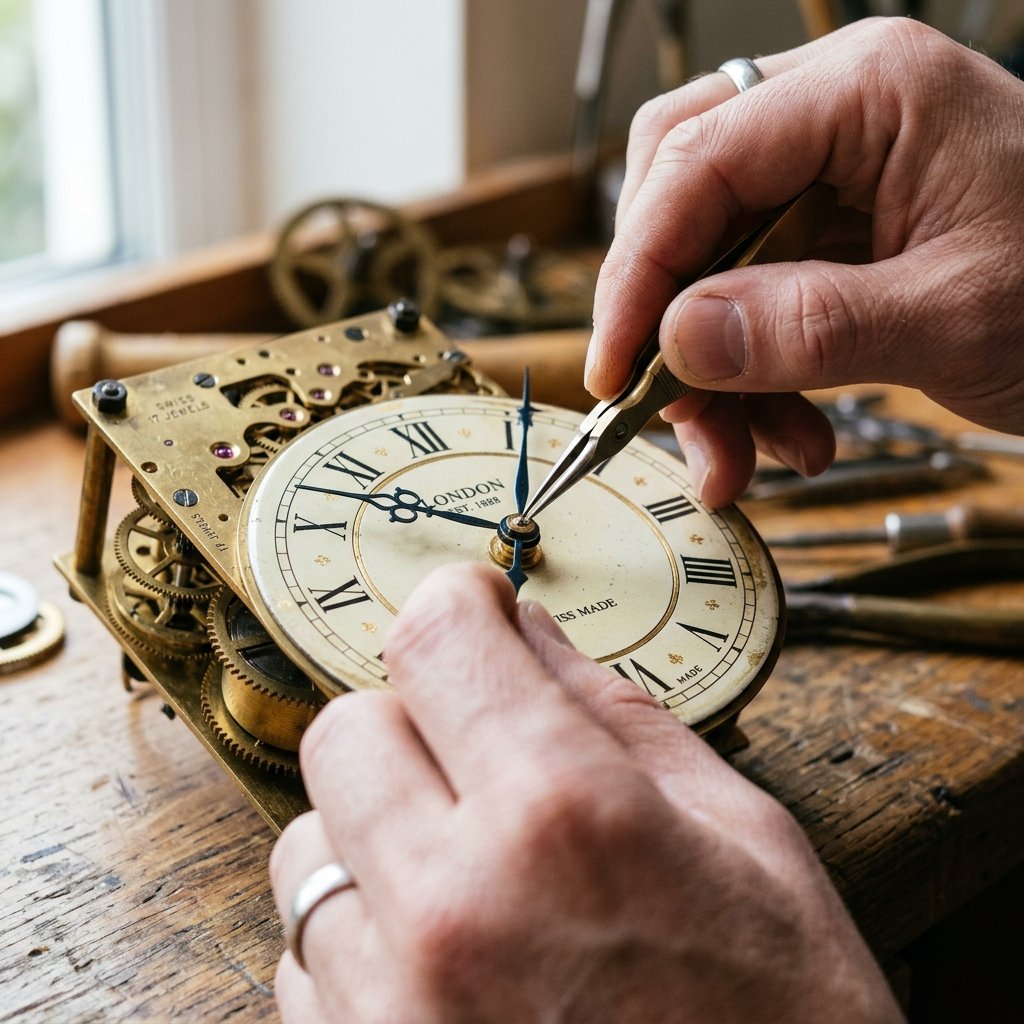
Even the simplest projects can have hiccups. Here is how to handle them like a pro.
The ‘Wobbly Hand’ Syndrome
If the hands are touching each other, they will stop moving. Ensure they are perfectly parallel. If they are bent, gently straighten them with your fingers. There should be about 1/8 inch of clearance between the hour and minute hands.
The Bark Dilemma
Sometimes the ‘live edge’ (the bark) wants to fall off. If it feels loose, carefully peel it back and use wood glue to reattach it. For a permanent seal, spray the bark edge with a clear matte acrylic sealer to prevent shedding over time.
Battery Wisdom
Always use a fresh AA Alkaline battery. Avoid heavy-duty or rechargeable batteries in quartz movements, as they often have inconsistent voltage that can cause the clock to lose time.
Conclusion
A Gift That Stands the Test of Time
In just one hour, you have transformed a piece of nature into a sophisticated, functional piece of home decor. This DIY Wood Slice Clock isn’t just a way to tell time; it’s a testament to your resourcefulness and your eye for masculine elegance. You’ve bypassed the ‘big box’ stores, saved over $100, and created a conversation piece that your husband will actually be proud to display on his desk or in his workshop. The next time he looks at the time, he won’t just see the hour—he’ll see the effort, creativity, and love you poured into his gift. Now, go find that perfect piece of wood and get crafting; your 60-minute masterpiece is waiting!

Makenzie is the founder and lead writer at MoneyHackTips.com — a personal finance blog dedicated to delivering street-smart financial wisdom for real people on real budgets. With 300+ published articles covering everything from debt management to investing fundamentals, Makenzie’s mission is to make every dollar work harder. When not writing about money hacks, Makenzie is testing frugal living strategies, optimizing side hustles, and helping readers build financial freedom from scratch.