
The Art of the High-Value Hand-Off
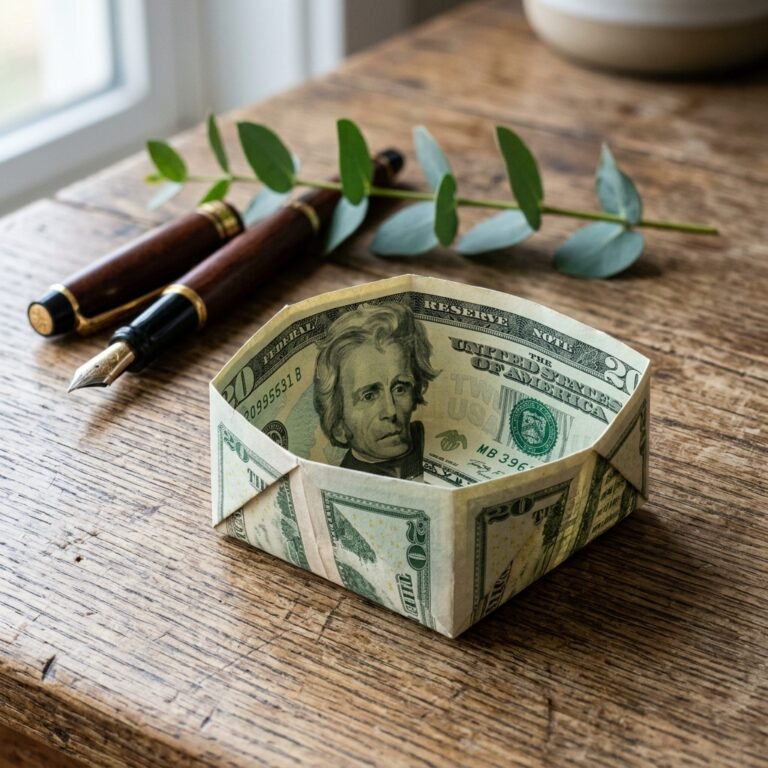
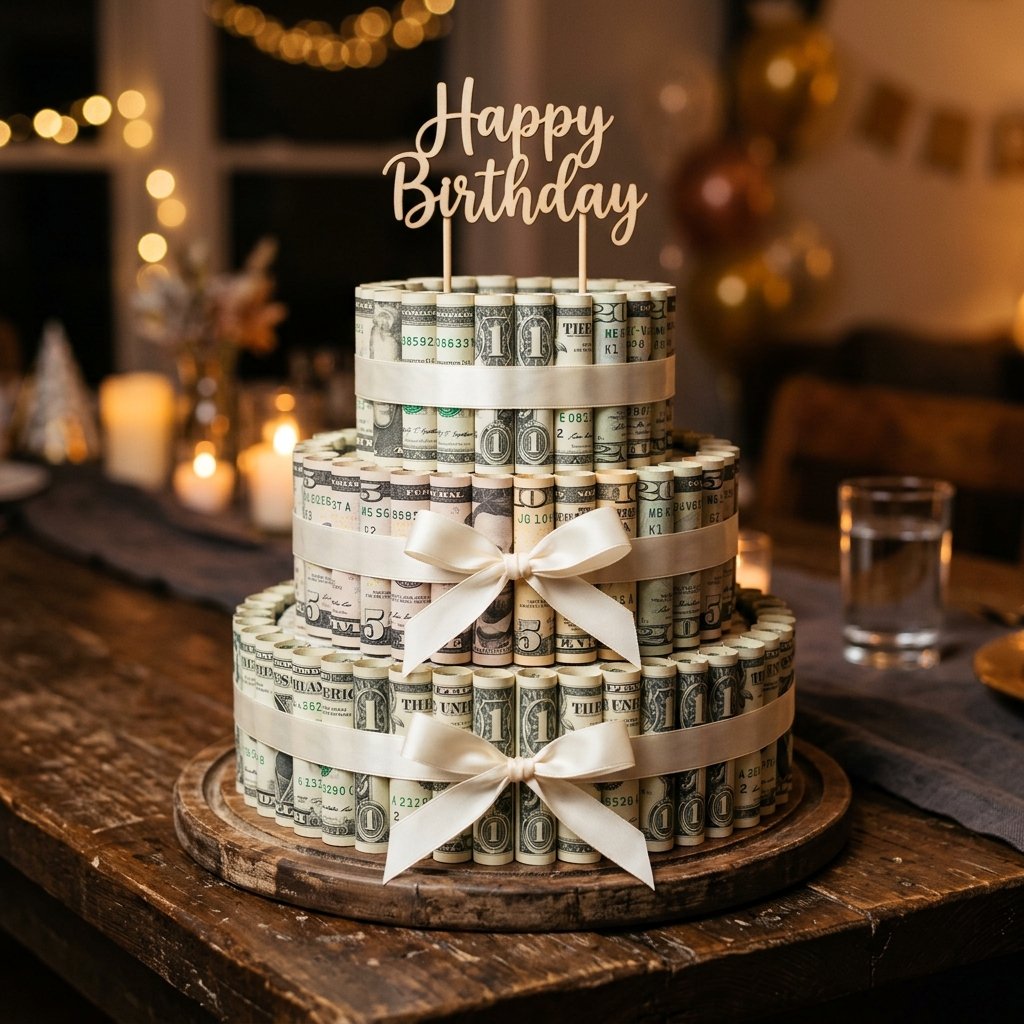
Let’s be honest: everyone loves receiving cash. It’s practical, it’s versatile, and it never goes out of style. But handing over a plain white envelope can feel a bit… uninspired. If you want to be the person whose gift is remembered long after the candles are blown out, you need to elevate your presentation. Enter the Money Origami Birthday Cake. This isn’t just a gift; it’s an architectural feat of frugal engineering. As a resourceful DIYer, you know that the best gifts don’t always come from a high-end boutique—they come from the clever application of skill and a little bit of ‘trash-to-treasure’ spirit. By turning a stack of bills into a multi-tiered celebratory sculpture, you’re giving more than just currency; you’re giving your time, your effort, and a centerpiece that will have every guest at the party asking, ‘How did you do that?’
In this guide, we aren’t just folding paper; we are building a ruggedly elegant structure. Whether you are a handy dad looking to surprise a teenager or a budget-savvy crafter aiming for a ‘wow’ moment, this project is designed for you. We will use precision folds and smart assembly techniques to ensure your cash cake is stable, impressive, and—most importantly—easy for the recipient to eventually disassemble (because, let’s face it, they’ll want to spend it!). Let’s grab our supplies and get to work on the coolest gift you’ll ever give.
The Blueprint: Materials and the Value Matrix
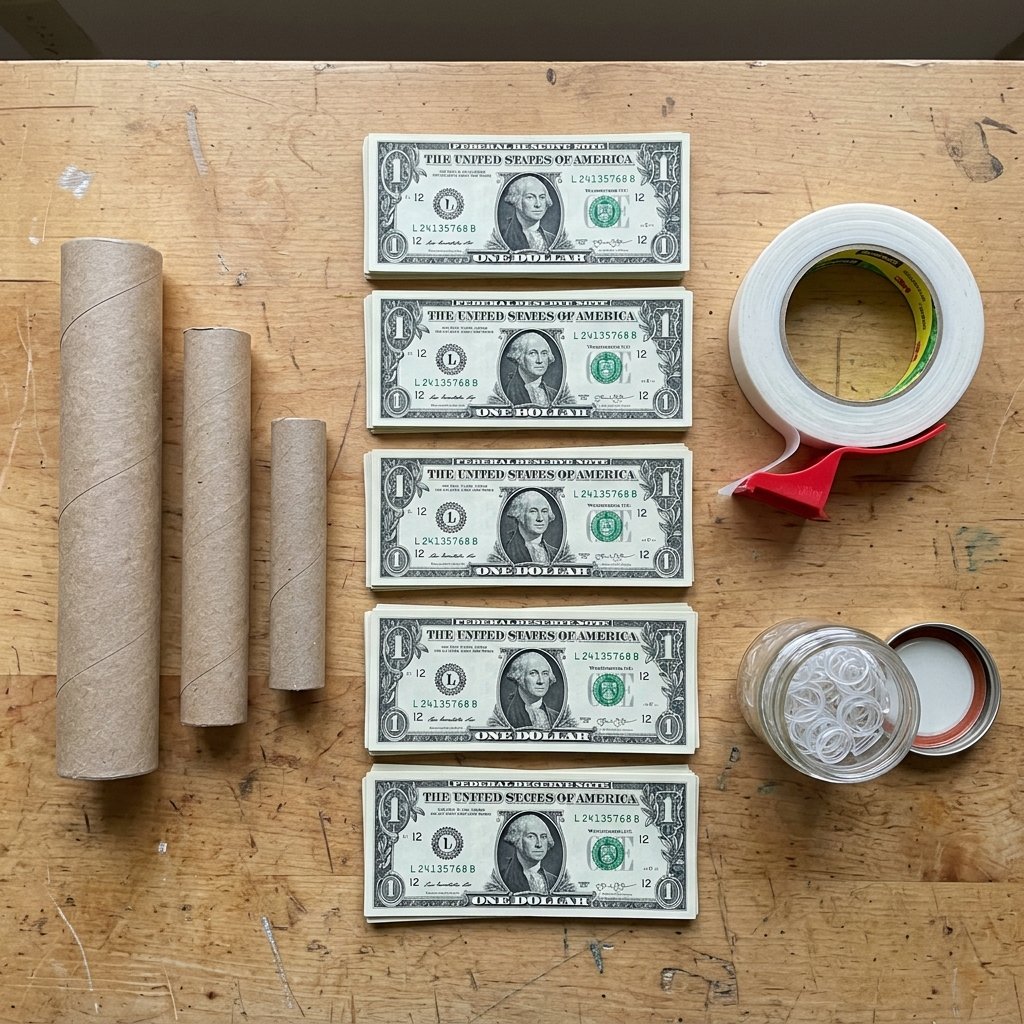
Before we start folding, we need to gather our materials. This project is the epitome of budget-savvy gifting because the ‘materials’ are actually the gift itself. However, to give the cake its structural integrity, we’ll need a few household items that you likely already have in your junk drawer or craft bin. Remember, a true craftsman is only as good as his preparation.
Essential Supplies Checklist
- Crisp Bills: The crisper, the better. Old, limp bills won’t hold their shape. You can usually swap old bills for new ones at your local bank.
- Cardboard Tubes or Foam Discs: These act as the ‘cake layers.’ Empty toilet paper rolls or shipping tubes work perfectly for a zero-budget approach.
- Removable Glue Dots or Double-Sided Tape: Use the ‘removable’ kind to ensure the recipient can spend the money without tearing it.
- Rubber Bands: Small, clear ones are best for securing tiers.
- Ribbon and Toppers: A bit of masculine-elegant twine or a simple satin ribbon adds that professional finish.
Choosing the right denomination is key to the visual impact. You don’t need a fortune to make this look like a million bucks. Refer to the matrix below to plan your ‘budget’ vs. ‘impact’ ratio.
| Denomination | Quantity Needed (3-Tier) | Visual Impact | Total Gift Value |
|---|---|---|---|
| $1 Bills | 50 – 60 Bills | High (Dense & Full) | $50 – $60 |
| $5 Bills | 30 – 40 Bills | Medium-High | $150 – $200 |
| Mixed ($1, $5, $10) | 45 Bills | Professional/Varied | Custom |
| $20 Bills | 20 – 30 Bills | Luxury/Sleek | $400+ |
Budget Pro-Tip: If you are on a tight budget, use $1 bills for the bulk of the cake and place a single $20 or $50 bill as the ‘cake topper’ or hidden inside the center tube!
Step-by-Step: Folding the Individual Bill Units
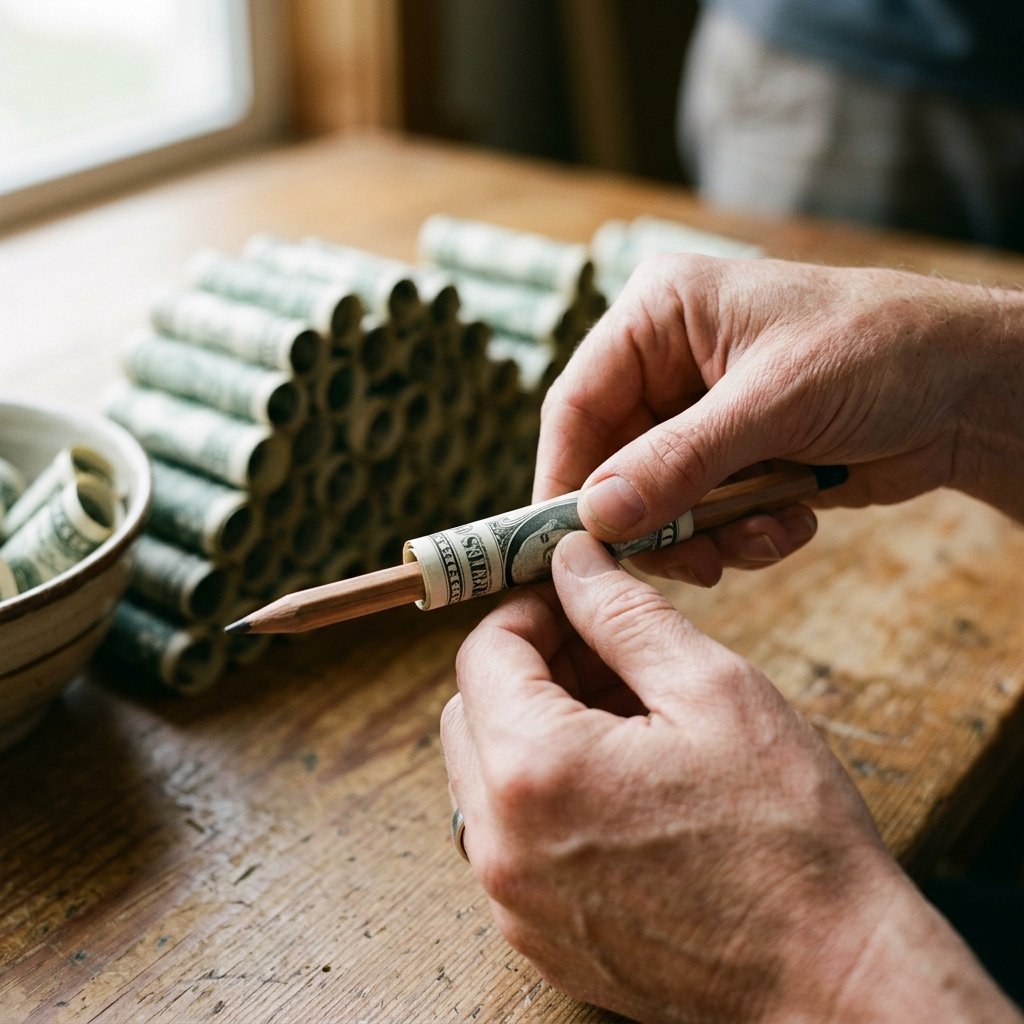
The secret to a sturdy money cake is the repetition of the ‘Cylinder Fold.’ This creates a uniform look that mimics the vertical frosting lines of a professional bakery cake. Precision is your best friend here. Follow these steps carefully to ensure every ‘slice’ of your cake is identical.
The Cylinder Fold Process
- Flatten the Bill: Place the bill face up on a hard, flat surface. Ensure there are no dog-eared corners.
- The Initial Roll: Starting from the short end (the left side), begin rolling the bill tightly toward the right side. Use a pencil or a small dowel if you want perfectly uniform diameters.
- Secure the Roll: Once you reach the end, slide a small, clear rubber band around the center of the roll. Alternatively, use a tiny piece of removable tape to hold the edge down.
- Repeat: Do this for all 50-60 bills. This is the most time-consuming part, so put on a podcast and get into a rhythm.
Crafty Expert Mantra: ‘Consistency is the difference between a DIY project and a professional masterpiece. Keep your rolls tight and your edges aligned.’
If you prefer a more ‘fanned’ look, you can use the Accordion Fold. Fold the bill back and forth in 1/2 inch increments, then pinch the bottom and tape it to the cake base. This creates a wider, more floral appearance, which is great for the top tier.
The Architecture: Assembling the Tiers
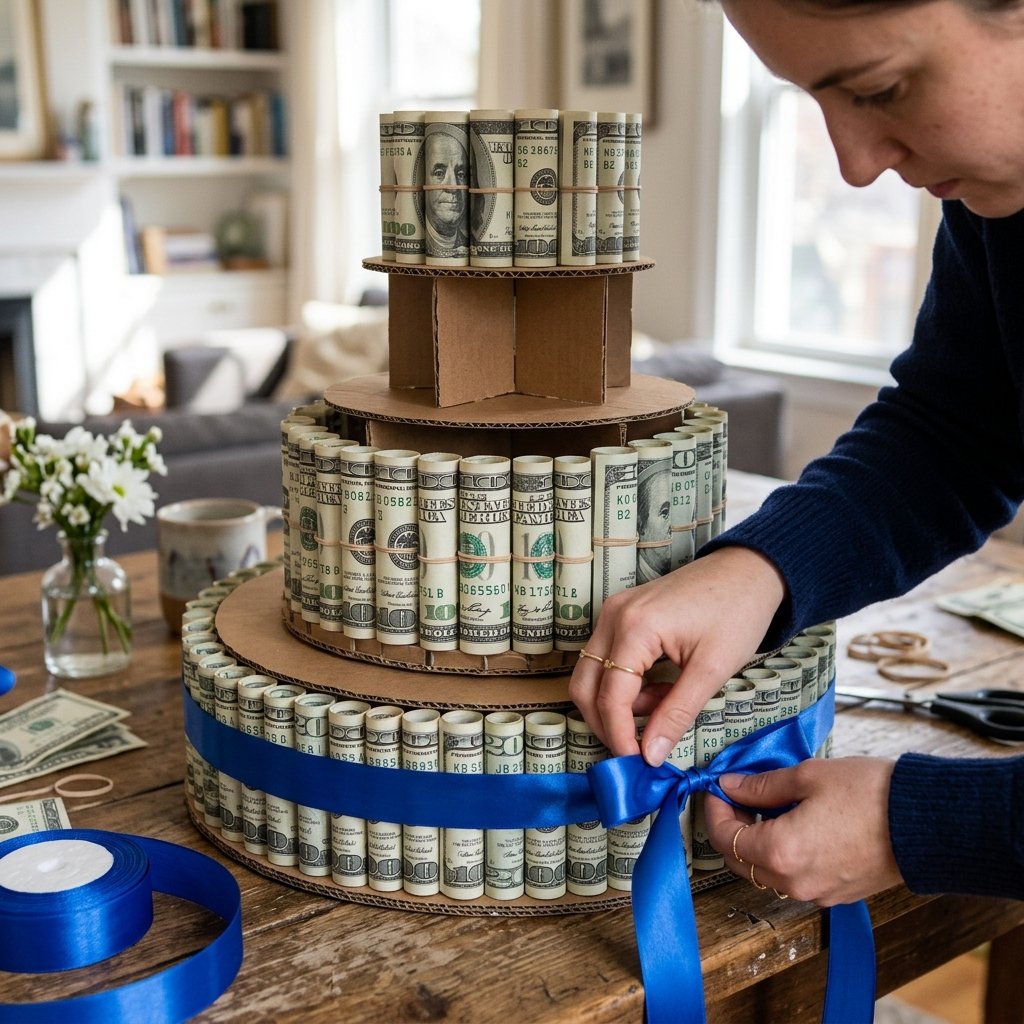
Now that you have your ‘bricks’ (the folded bills), it’s time to build the structure. This is where your inner engineer comes out. We will build from the bottom up, ensuring each level is centered and secure.
Building the Base (Tier 1)
Take your largest cardboard cylinder or foam disc. This should be approximately 6 to 8 inches in diameter. Apply a strip of double-sided removable tape around the outer circumference. Carefully press your rolled bills vertically against the tape, side-by-side, until the entire circle is covered. Wrap a decorative ribbon tightly around the middle of the bills to provide extra support and hide the tape/rubber bands.
Stacking the Middle and Top (Tiers 2 & 3)
Repeat the process with a medium cylinder (approx. 4 inches) and a small cylinder (approx. 2 inches). Once all three tiers are individually ‘cladded’ in cash, it’s time to stack them.
- Center the Tiers: Use a small dab of hot glue (only on the cardboard!) or heavy-duty double-sided tape to secure the bottom of the middle tier to the top of the base tier.
- Structural Integrity: If the cake feels top-heavy, you can weight the bottom cardboard tube with a few stones or some candy.
- Alignment Check: Ensure the ‘seams’ of your ribbons are all facing the back of the cake for a clean, professional front view.
The Professional Finish: Customizing for the Recipient

A rugged, masculine-elegant gift isn’t finished until the details are addressed. You’ve built the cake; now you need to ‘ice’ it. This is where you can tailor the gift to the birthday boy or girl’s personality without spending more than a few dollars.
Creative Topper Ideas
Don’t just buy a generic plastic topper. Think like a resourceful creator:
- The ‘Big Bill’ Candle: Take a high-denomination bill ($20 or $50), fold it into a thin candle shape, and use a small piece of orange tissue paper at the top to simulate a flame.
- The Hobby Topper: If they love fishing, add a small lure. If they are a DIYer, add a miniature wooden hammer or a tiny tape measure.
- The Photo Op: Attach a small polaroid or a printed photo of a shared memory to the very top using a wire photo holder.
Presentation Matters
Place your finished money cake on a $1.25 Dollar Tree cake board or a rustic wooden slice. Wrap the entire assembly in clear cellophane and tie it off with a heavy jute twine or a bold metallic ribbon. This keeps the bills protected and makes the reveal much more exciting. You’ve just turned $50 into a gift that looks like it cost $500 in effort and style.
Conclusion
The Gift That Keeps On Giving
Congratulations! You’ve just completed the ultimate ‘Trash-to-Treasure’ project—well, in this case, ‘Cash-to-Masterpiece.’ By taking a simple stack of bills and applying some basic origami principles and structural design, you’ve created a birthday gift that is both practical and profoundly memorable. This money origami birthday cake proves that you don’t need a massive budget to give something that feels luxurious and thoughtful. It’s about the cleverness of the design and the craftsmanship of the execution.
Remember, the best part of this gift is the reaction it gets. When the birthday recipient sees the effort you put into folding every single bill, they’ll know they are worth the time. And when they finally decide to ‘cut the cake’ and spend the cash, they’ll have you to thank for the most creative payday they’ve ever had. Keep this guide in your tactical gift-giving arsenal for graduations, weddings, or any milestone that deserves a little extra ‘green.’ Now go forth and fold—your next masterpiece is only a few rolls away!

Makenzie is the founder and lead writer at MoneyHackTips.com — a personal finance blog dedicated to delivering street-smart financial wisdom for real people on real budgets. With 300+ published articles covering everything from debt management to investing fundamentals, Makenzie’s mission is to make every dollar work harder. When not writing about money hacks, Makenzie is testing frugal living strategies, optimizing side hustles, and helping readers build financial freedom from scratch.