The Art of the High-Stakes Haunt
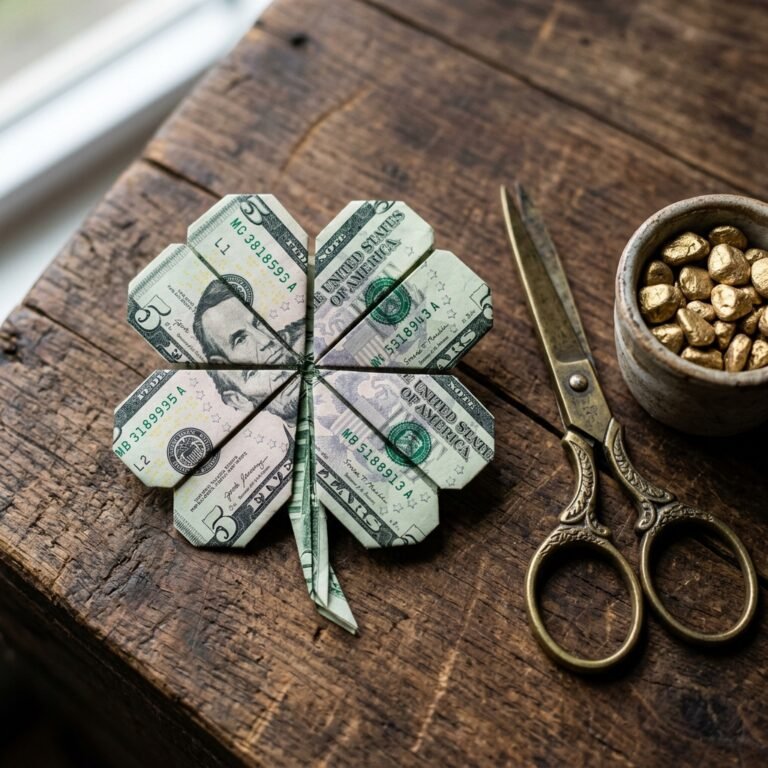
Let’s be honest: everyone loves receiving cash, but nobody loves the clinical, uninspired experience of sliding a bill into a generic store-bought card. As frugal DIYers and resourceful crafters, we demand more. We want our gifts to have structural integrity, visual impact, and a touch of the macabre. Welcome to the world of high-precision money origami. Today, we are moving beyond the simple paper crane and diving into the shadows to create an eight-legged currency crawler that will leave your recipients both impressed and slightly unsettled. This isn’t just a gift; it’s a tactical display of craftsmanship.
In this comprehensive guide, we will explore why the money origami spider is the undisputed king of Halloween gifting. Whether you are a handy parent looking to spice up the tooth fairy’s visit or a budget-savvy friend wanting to win the best-gift award at a spooky soirée, this project hits the sweet spot between masculine elegance and crafty expertise. We’ll cover the physics of the fold, the best denominations for visual depth, and how to present your creation like a professional event stylist. Prepare your workspace, sharpen your creases, and let’s turn that flat currency into a three-dimensional nightmare.
Strategic Denominations & The Visual Impact Matrix
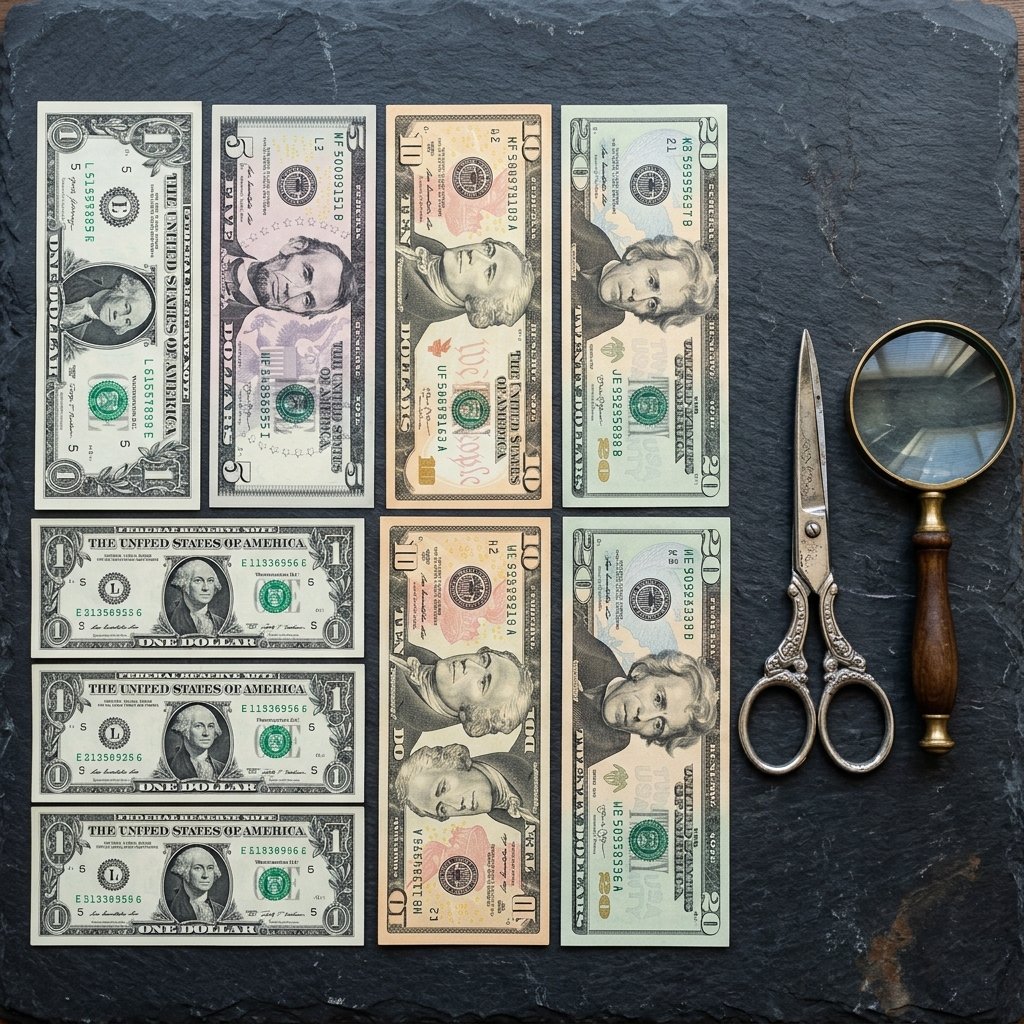
Before you make your first fold, you must consider your material. In the world of money origami, not all bills are created equal. The age, crispness, and denomination of the currency significantly affect the final aesthetic. A limp, wrinkled dollar bill will result in a sad, sagging spider. For a rugged and professional finish, you want bills that are as close to ‘uncirculated’ as possible. Visit your local bank and specifically request ‘crisp’ bills; the fibers in new currency hold a crease with the precision of a tailored suit.
The denomination you choose also sends a message. While a single dollar is great for practice or for a child’s trick-or-treat surprise, using higher denominations adds weight and ‘gravitas’ to the gift. Below is a strategic breakdown of how different bills translate into the spider form.
| Bill Denomination | Visual Aesthetic | Recommended Recipient |
|---|---|---|
| $1 Bill (The Classic) | Green and muted; great for ‘army spider’ vibes. | Kids, coworkers, or bulk party favors. |
| $5 Bill (The Contrast) | The purple hues add a subtle ‘bruised’ or spooky depth. | Teenagers or casual friends. |
| $10 Bill (The Warmth) | The yellow/orange tints feel very ‘Autumnal’. | The perfect Halloween-themed gift. |
| $20 Bill (The Premium) | High contrast and iconic imagery for a ‘luxury’ spider. | Close friends, family, or ‘Best Costume’ prizes. |
| $50/$100 (The Boss) | Intimidating and impressive; the weight of the gift is felt. | Significant others or major milestones. |
The secret to a high-end money origami piece isn’t just the fold; it’s the tension. A crisp bill is your best tool for achieving structural perfection.
The Toolkit: Materials Needed for Precision Gifting
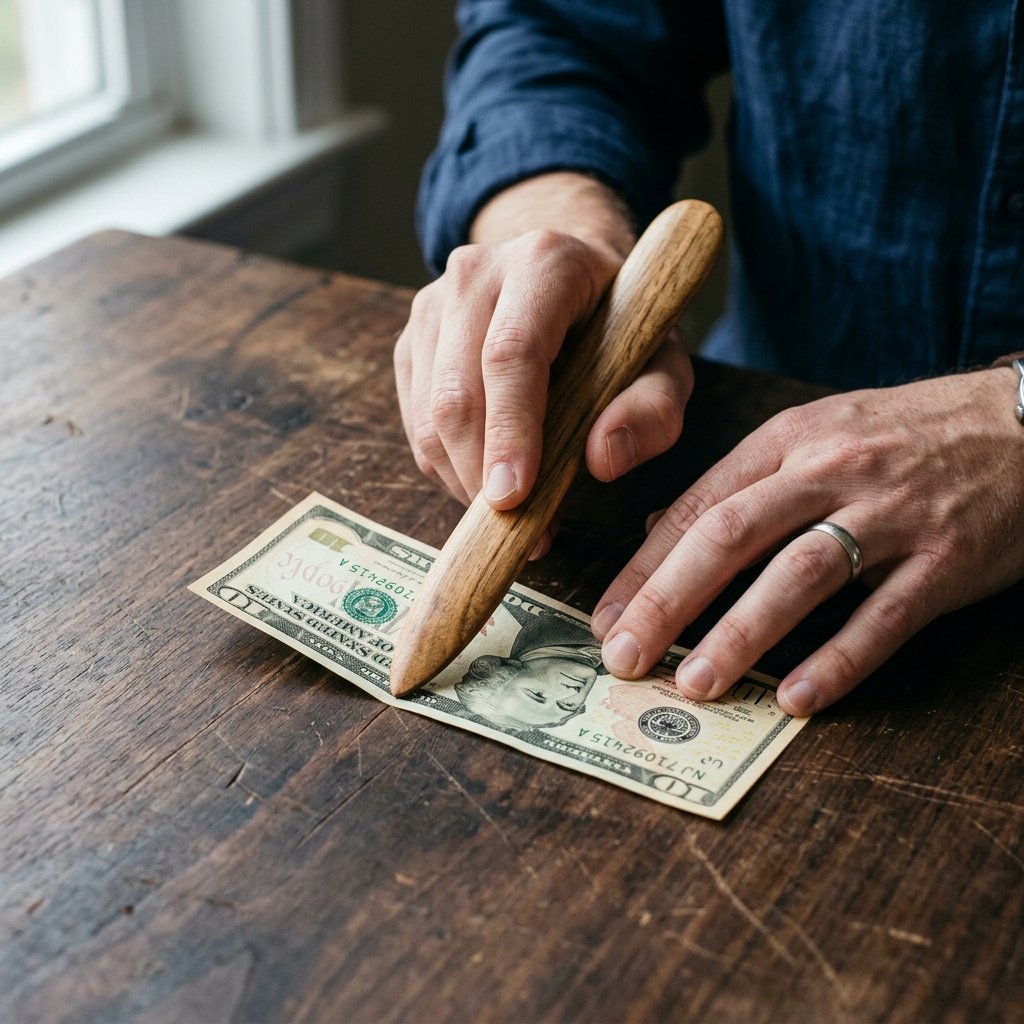
While you can technically fold a spider with nothing but your bare hands, a resourceful expert knows that the right tools make the difference between a ‘DIY project’ and a ‘masterpiece.’ To achieve those razor-sharp legs and a body that doesn’t unfurl, I recommend assembling a small kit. This ensures your spider looks like it crawled out of a high-end boutique rather than a middle-school classroom.
- Two Crisp Bills: Our specific method uses two bills to create a more realistic, eight-legged anatomy without needing to cut the currency (which is illegal and un-crafty!).
- A Bone Folder or Credit Card: To ensure every crease is permanent and sharp.
- Small Tweezers: Essential for the final shaping of the tiny ‘feet.’
- A Thin Wire or Black Thread: For securing the two halves together invisibly.
- Optional: Tiny Adhesive Googly Eyes: If you want to lean into the ‘crafty parent’ vibe rather than the ‘elegant minimalist’ look.
| Item | Purpose | Cost (Approx.) |
|---|---|---|
| Crisp Bills | The Canvas | Face Value |
| Bone Folder | Precision Creasing | $5.00 (or use a free plastic card) |
| Tweezers | Detail Work | $2.00 |
| Black Thread | Structural Binding | $0.50 |
Step-by-Step Anatomy: Folding the Legs

We will begin with the most complex part of the spider: the legs. This requires a series of accordion folds that will provide the necessary ‘spring’ and ‘creep’ factor. We use one full bill for the legs to ensure they are long and spindly.
- Lay the bill horizontally on a flat surface.
- Fold the bill in half lengthwise, making a strong center crease, then unfold.
- Fold the top and bottom edges in to meet the center crease (this is called a ‘gate fold’).
- Fold the entire bill in half again lengthwise, creating a thin strip.
- Now, perform a series of accordion folds (back and forth) along the entire length of the strip. Aim for about 8 to 10 folds.
- Once compressed, find the center of your accordion and wrap a small piece of black thread or wire around it tightly. This will be the ‘waist’ where the legs fan out.
- Use your tweezers to gently pull each end of the accordion folds outward. You should now have four ‘loops’ or ‘sections’ on each side, totaling eight legs.
Mantra: ‘Fold with purpose, crease with conviction.’ The sharper the fold, the more menacing the spider.
The Cephalothorax: Crafting the Spider’s Body

Now that we have our legs, we need a robust body to house them. This second bill will form the head and abdomen, giving the spider its masculine-elegant silhouette. This part of the process is about volume and shape.
- Take your second bill and fold it in half widthwise.
- Fold the corners of the closed end inward to create a triangular point (this will be the ‘head’).
- Fold the remaining rectangular section (the ‘abdomen’) into a rounded diamond shape by tucking the corners underneath themselves.
- Open the ‘belly’ of this body piece slightly and slide the center of your leg-unit inside.
- Secure the two pieces together by folding the edges of the body over the central wire of the legs. If needed, a tiny dot of removable double-sided tape can keep the body from sliding, but a true origami master relies on the friction of the folds.
- Shape the abdomen by gently ‘puffing’ the paper from the inside to give it a 3D, lifelike appearance.
The Presentation: From ‘Cash’ to ‘Curation’

A gift of this caliber deserves more than a plain envelope. To truly embody the event stylist persona, you must consider the ‘reveal.’ The goal is to make the recipient hesitate—just for a second—because the spider looks so real. This is where your budget-savvy creativity shines.
Creative Display Ideas:
- The Specimen Jar: Place the spider inside a small, clean mason jar filled with stretched cotton ‘cobwebs.’ Add a handwritten ‘specimen’ label with the date and the ‘species’ (e.g., Araneus Argentum).
- The Shadow Box: Mount the spider inside a $1.25 Dollar Tree shadow box frame using a tiny bit of thread. This turns the gift into a piece of temporary home decor.
- The Webbed Card: Create a simple DIY card using black cardstock and a white gel pen to draw a web. Perch the spider in the center of the web.
| Presentation Style | Difficulty | Cost |
|---|---|---|
| Specimen Jar | Easy | $1.00 |
| Shadow Box | Medium | $3.00 |
| Spider-in-a-Box | Easy | $0.50 |
Conclusion
A Gift That Leaves a Mark
Folding a money origami spider is more than just a clever way to give a Halloween gift; it is a testament to your resourcefulness and your eye for detail. In a world of digital transfers and plastic gift cards, taking the time to hand-craft a three-dimensional sculpture out of currency is a powerful gesture. It shows the recipient that you value them enough to invest your most precious resource: time.
Remember, the first spider might take you twenty minutes, but by the third, you’ll be a master of the fold. This Halloween, don’t just give a gift—give an experience. Whether it’s perched on a desk, hanging in a web, or tucked into a spooky gift basket, your money origami spider is guaranteed to be the ‘Best Halloween Cash Gift Ever!’ Now, go forth, grab some crisp bills, and start crawling toward your next DIY victory.

Makenzie is the founder and lead writer at MoneyHackTips.com — a personal finance blog dedicated to delivering street-smart financial wisdom for real people on real budgets. With 300+ published articles covering everything from debt management to investing fundamentals, Makenzie’s mission is to make every dollar work harder. When not writing about money hacks, Makenzie is testing frugal living strategies, optimizing side hustles, and helping readers build financial freedom from scratch.