
The Modern Groomsman’s Dilemma: Solved with Rugged Sophistication
Let’s be honest: most groomsmen gifts end up in a junk drawer. Between the plastic flasks and the ‘World’s Best Usher’ keychains, the bar for wedding party favors is often set impressively low. But you? You’re a resourceful creator. You know that the best gifts are those that marry utilitarian function with timeless style. Enter the DIY Leather Cord Wrap. In an era where every man carries a charging cable, a pair of wired earbuds, and a laptop power brick, the ‘cable nest’ at the bottom of a briefcase is a universal frustration.
By following this guide, you will learn how to source premium materials for pennies on the dollar—or even 100% free—and transform them into bespoke accessories that look like they were plucked from a high-end boutique in Manhattan. We aren’t just making cord wraps; we are crafting a legacy of rugged elegance. Whether you are a seasoned leatherworker or a first-time crafter, this project is designed to be approachable, budget-savvy, and deeply rewarding. Get ready to save $20 to $40 per gift while delivering a product that feels far more personal than anything store-bought.
Sourcing the ‘Treasure’ from the Trash: Finding High-End Leather Scraps
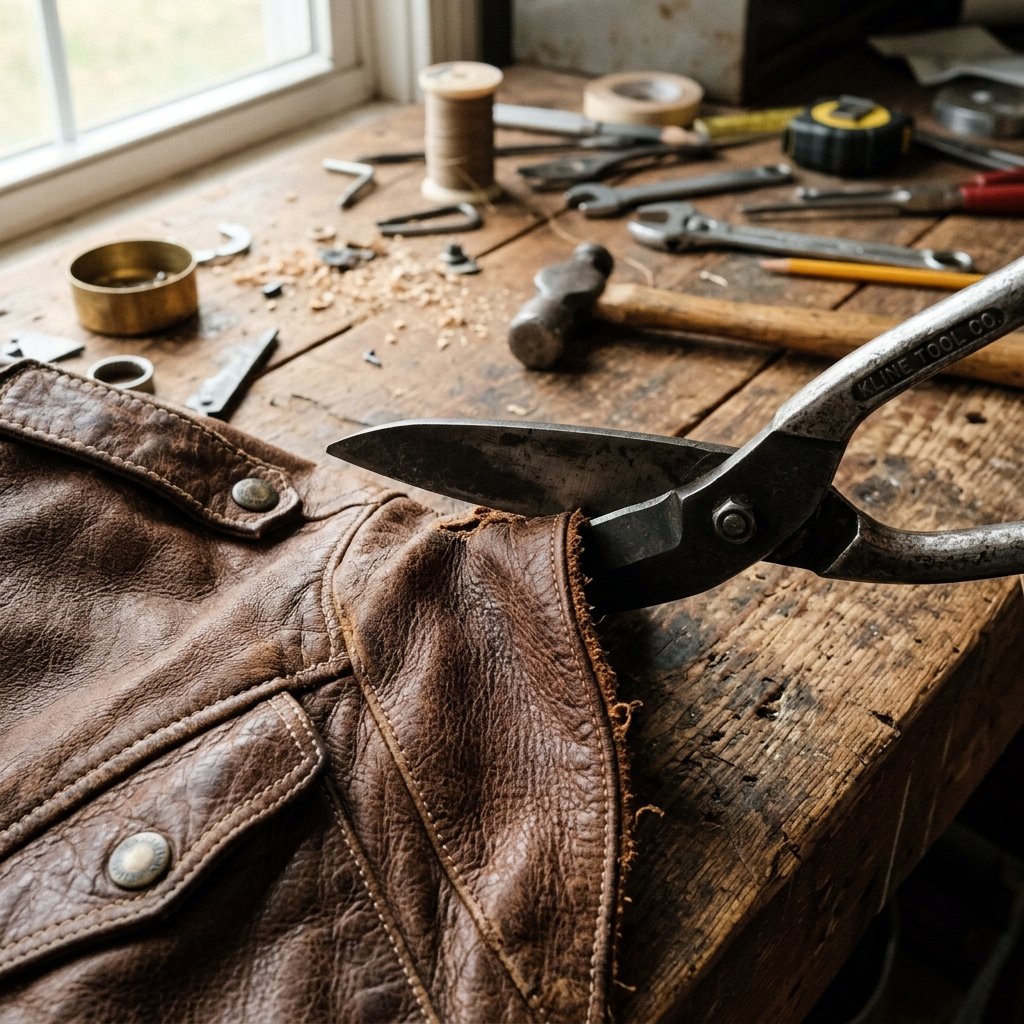
The secret to a budget-savvy leather project isn’t buying expensive hides from a specialty tannery. It’s about being a clever upcycler. High-quality leather is all around us, often disguised as ‘junk.’ Before you spend a dime, look at what you already have or what others are throwing away.
Top 3 Sources for Free or Cheap Leather
- Thrift Store Jackets: Look for 100% genuine leather coats from the 80s or 90s. A single $5 jacket can yield enough material for 50 to 100 cord wraps.
- Upholstery Remnants: Visit a local furniture repair shop. They often have ‘scrap’ bins full of high-grade Italian leather pieces that are too small for a sofa but perfect for a cord wrap.
- Old Belts: If you want a thicker, more ‘rugged’ wrap, an old full-grain leather belt that has outlived its waistline is a goldmine.
When selecting your material, look for vegetable-tanned or chrome-tanned leather that is flexible but holds its shape. Avoid ‘bonded leather,’ which is essentially the particle board of the leather world and will peel within weeks.
| Leather Source | Estimated Cost | Gift Potential |
|---|---|---|
| Thrifted Leather Jacket | $5 – $10 | 50+ Wraps |
| Furniture Scrap Bin | $0 (Ask nicely!) | 10-20 Wraps |
| New Leather ‘Belly’ Scrap | $15 | 30-40 Wraps |
| Retail Store-Bought Wrap | $15 – $25 EACH | 1 Wrap |
The frugal crafter’s mantra: Never buy new what can be salvaged with style. A weathered patina on upcycled leather adds a story that a brand-new hide simply cannot tell.
The Minimalist Toolkit: Crafting Professional Results with Simple Tools
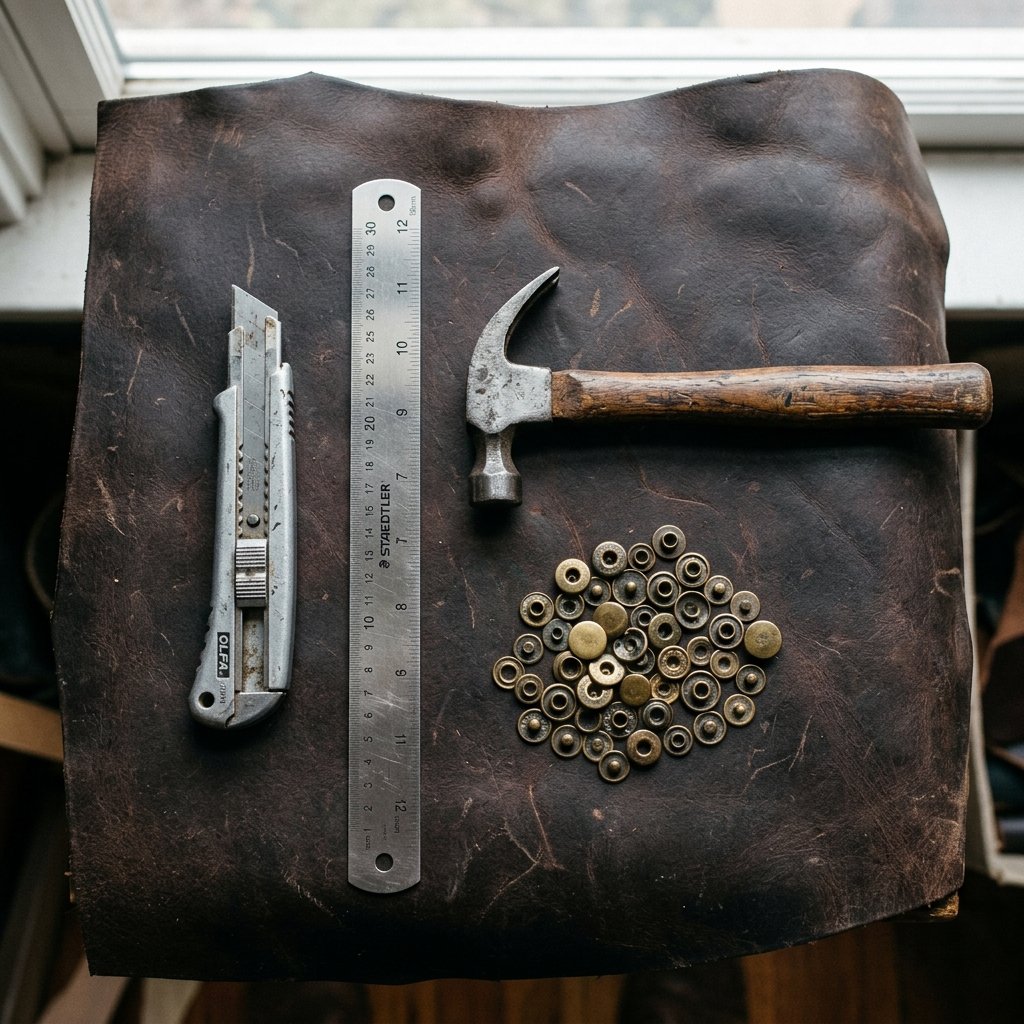
You don’t need a $500 leatherworking kit to produce professional results. As a handy DIYer, you likely already have 80% of what you need in your toolbox. The goal here is precision and clean lines.
Essential Tools for the Project
- Utility Knife or Rotary Cutter: A sharp blade is non-negotiable. A dull blade will ‘chew’ the leather, ruining the masculine-elegant aesthetic.
- Metal Ruler: Use this as a guide for your cuts. Plastic rulers will get sliced by your knife.
- Leather Punch or a Large Nail: You need a way to create a hole for the snap. A $10 rotary punch is a great investment, but a sharpened nail and a hammer work in a pinch.
- Snap Setter Kit: These are inexpensive (around $8) and come with the anvil and setter needed to secure heavy-duty snaps.
- Heavy-Duty Snaps: Choose antique brass or gunmetal black for a sophisticated, rugged look.
| Pro Tool | Budget Alternative | DIY Hack Savings |
|---|---|---|
| Leather Cutting Mat | Old Cardboard Box | $15 |
| Edge Burnisher | Smooth Wooden Dowel | $10 |
| Stitching Pony | Between Your Knees | $40 |
| Mallet | Hammer wrapped in a rag | $12 |
Safety Note: Always cut away from your body and keep your fingers clear of the metal ruler’s edge. Leather requires significant pressure to cut, and a slip can be dangerous. Use a self-healing mat or a thick piece of scrap wood to protect your table.
Step-by-Step Construction: Turning Scraps into Groomsmen Treasure
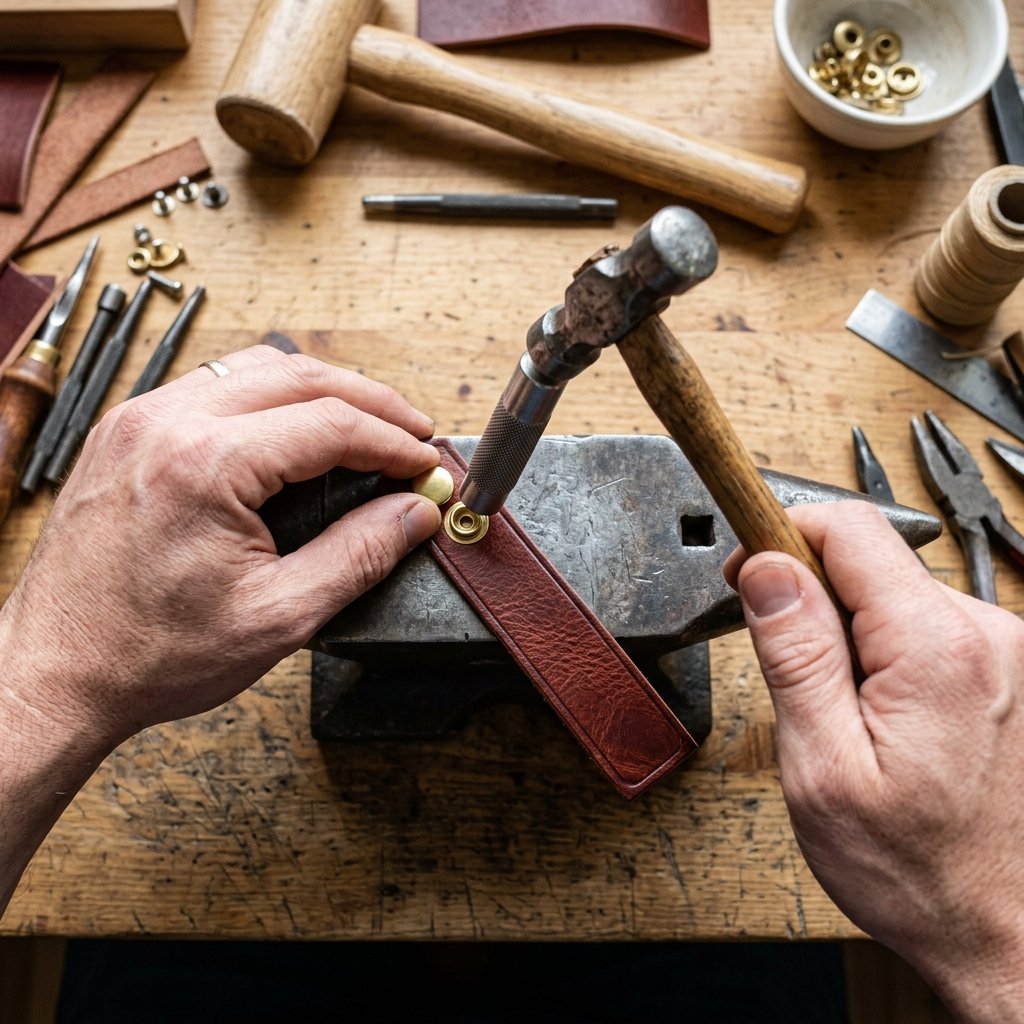
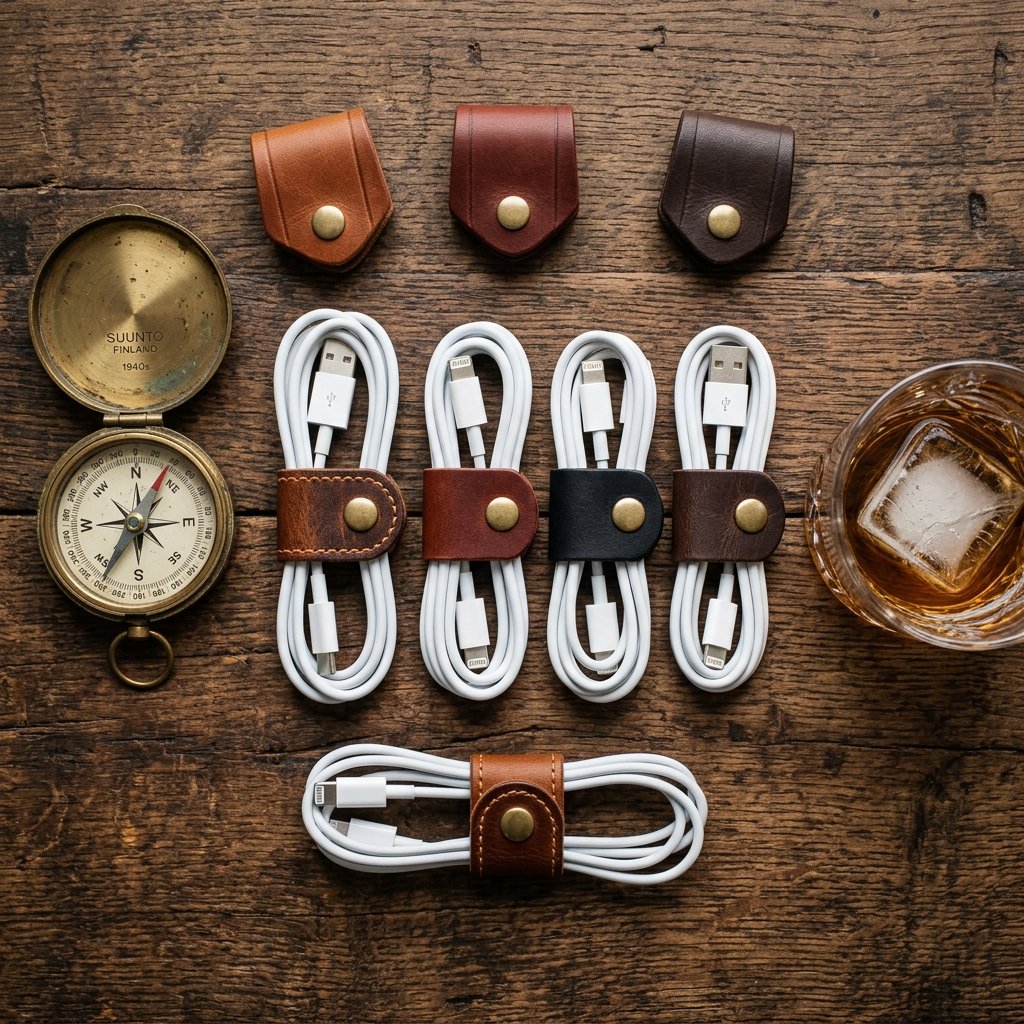
Now, let’s get into the crafty-expert execution. We are aiming for a ‘taco’ style wrap—simple, effective, and sleek.
Phase 1: Measuring and Cutting
- Determine the Size: For standard phone chargers, a rectangle of 1.5 inches by 3.5 inches is ideal. For larger laptop cables, go with 2 inches by 5 inches.
- Mark the Leather: On the ‘flesh’ side (the fuzzy back), use a pencil to mark your dimensions.
- The Clean Cut: Place your metal ruler on the line, apply firm pressure, and pull your knife toward you in one smooth, continuous motion.
- Rounding the Corners: For a high-end look, use a coin (like a quarter) as a template to trace and trim rounded corners. This prevents the edges from fraying or catching in pockets.
Phase 2: Installing the Hardware
- Punch the Holes: Mark a spot 0.5 inches from each short end, centered vertically. Punch through the leather.
- Set the Snap: Follow the instructions on your snap kit. Place the ‘cap’ and ‘socket’ on one end and the ‘stud’ and ‘eyelet’ on the other.
- The Hammer Strike: Give the setter a few firm, confident taps with your hammer. You want the snap to be tight enough that it doesn’t spin, but not so hard that you deform the metal.
The ‘Snap Test’: Once installed, snap and unsnap the wrap 5 times. If it holds firm and the leather doesn’t tear, you’ve mastered the technique.
The ‘Bespoke’ Factor: Personalization and Finishing Touches
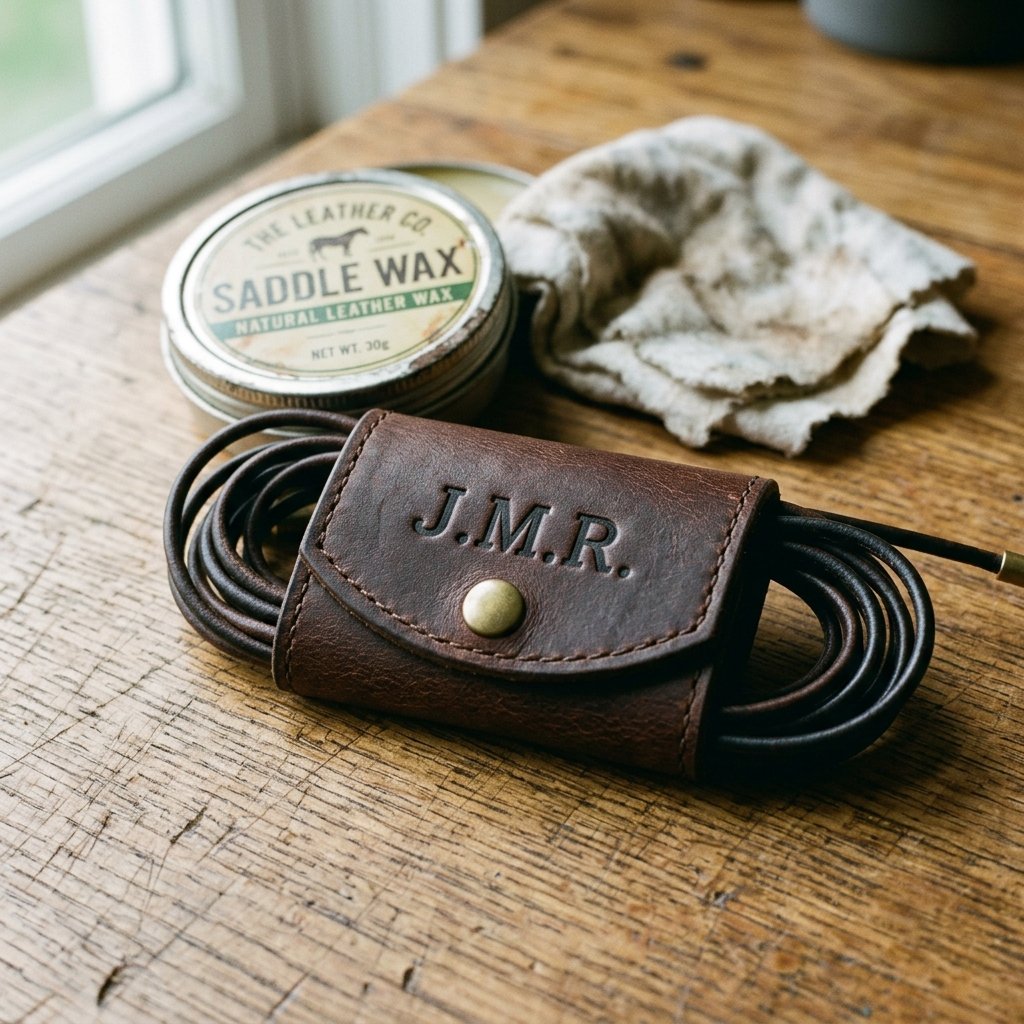
What separates a $2 DIY project from a $40 designer accessory is the finishing. This is where you channel your inner Event Stylist to make these gifts truly special for your groomsmen.
1. Edge Burnishing (The Secret to Luxury)
Raw edges look unfinished. To fix this, dampen the edges of the leather with a little water or gum tragacanth. Rub the edge vigorously with a smooth wooden dowel or even a piece of heavy denim. The friction creates heat, which seals the fibers and creates a shiny, professional edge.
2. Monogramming for the Win
A groomsman gift isn’t complete without initials. You can buy a set of alphabet stamps for $15. Moisten the leather slightly (called ‘casing’), place the stamp, and strike it once firmly. This creates a permanent, deep emboss that screams ‘custom-made.’
3. Conditioning
Rub a small amount of mink oil or beeswax conditioner into the leather. This darkens the color slightly, adds a rich scent, and protects the wrap from moisture and oils from the hands.
| Customization Type | Time Required | Added Value Impression |
|---|---|---|
| Burnished Edges | 2 Minutes | High (Looks Retail) |
| Initial Stamping | 1 Minute | Premium (Bespoke) |
| Conditioning/Waxing | 1 Minute | Rugged (Hand-Finished) |
Presentation and Packaging: The Final ‘Wow’ Factor
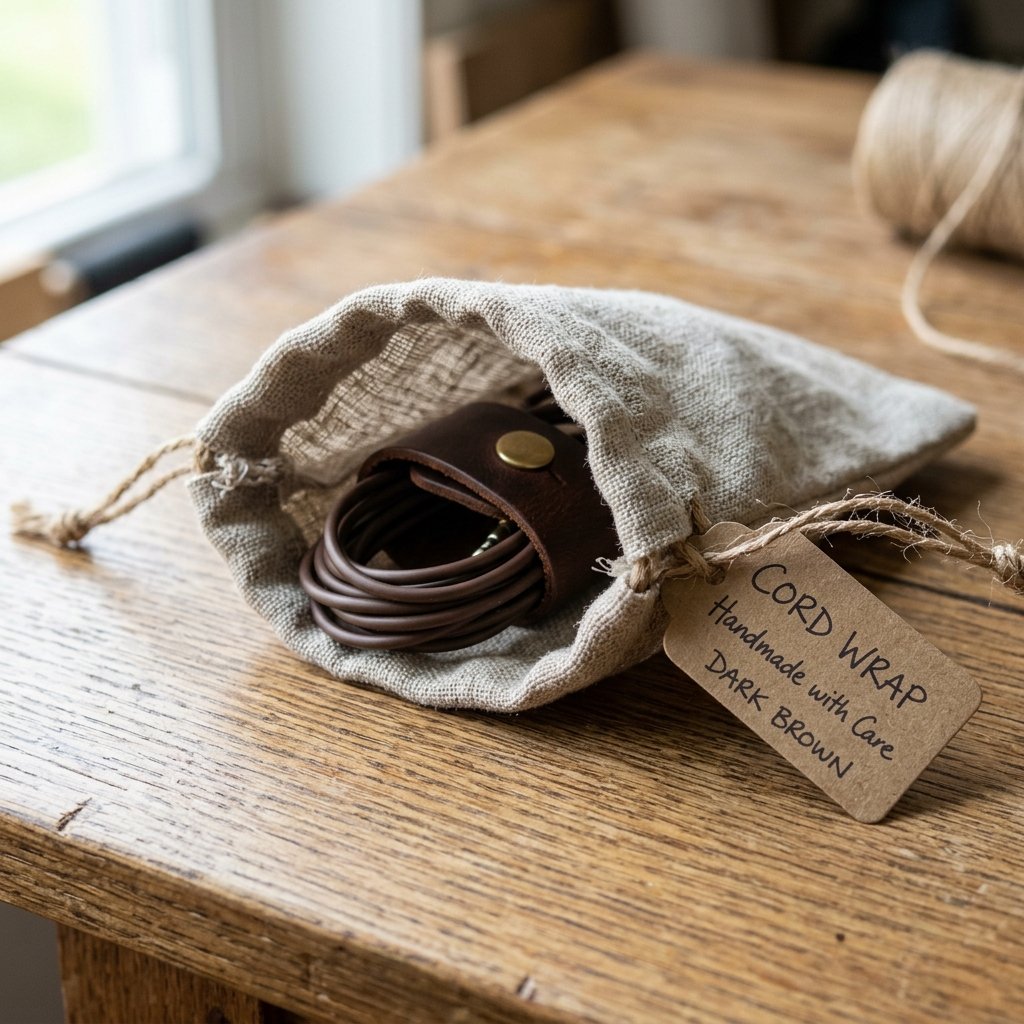
As a Creative Gift-Giver, you know that the unboxing experience is half the gift. Since we saved so much on the wraps themselves, we can afford to be clever and crafty with the packaging.
Budget-Friendly Packaging Ideas
- Kraft Paper Tags: Use simple brown cardstock. Hand-write the groomsman’s name and a short note like: ‘To keep things together on the big day and every day after.’
- Cotton Muslin Bags: You can find these for about $0.25 each. Stamp the wedding date on the front for a rustic, masculine vibe.
- The ‘Tech Kit’ Upgrade: If you want to spend a little more, pair the wrap with a high-quality 6-foot braided charging cable. It turns a small token into a complete, practical kit.
By using recycled materials and thoughtful typography, you reinforce the ‘handmade’ value of the gift. Your groomsmen will appreciate the effort and the rugged practicality of a gift they can actually use during the bachelor party, the wedding travels, and back at the office.
Conclusion
The Mark of a True Maker
Congratulations! You’ve just successfully navigated the transition from trash to treasure. By choosing to DIY these leather cord wraps, you haven’t just saved a significant amount of money; you’ve created a tangible symbol of appreciation for your groomsmen that carries the weight of your own handiwork. In a world of disposable goods, a hand-cut, hand-stamped leather accessory is a rare find.
Remember, the skills you’ve learned here—sourcing scrap leather, setting hardware, and burnishing edges—are the foundation of leathercraft. You can now apply these same resourceful techniques to making key fobs, wallets, or even luggage tags. Go forth, stay budget-savvy, and keep creating gifts that are as rugged and reliable as the men standing beside you on your wedding day. Happy crafting!

Makenzie is the founder and lead writer at MoneyHackTips.com — a personal finance blog dedicated to delivering street-smart financial wisdom for real people on real budgets. With 300+ published articles covering everything from debt management to investing fundamentals, Makenzie’s mission is to make every dollar work harder. When not writing about money hacks, Makenzie is testing frugal living strategies, optimizing side hustles, and helping readers build financial freedom from scratch.