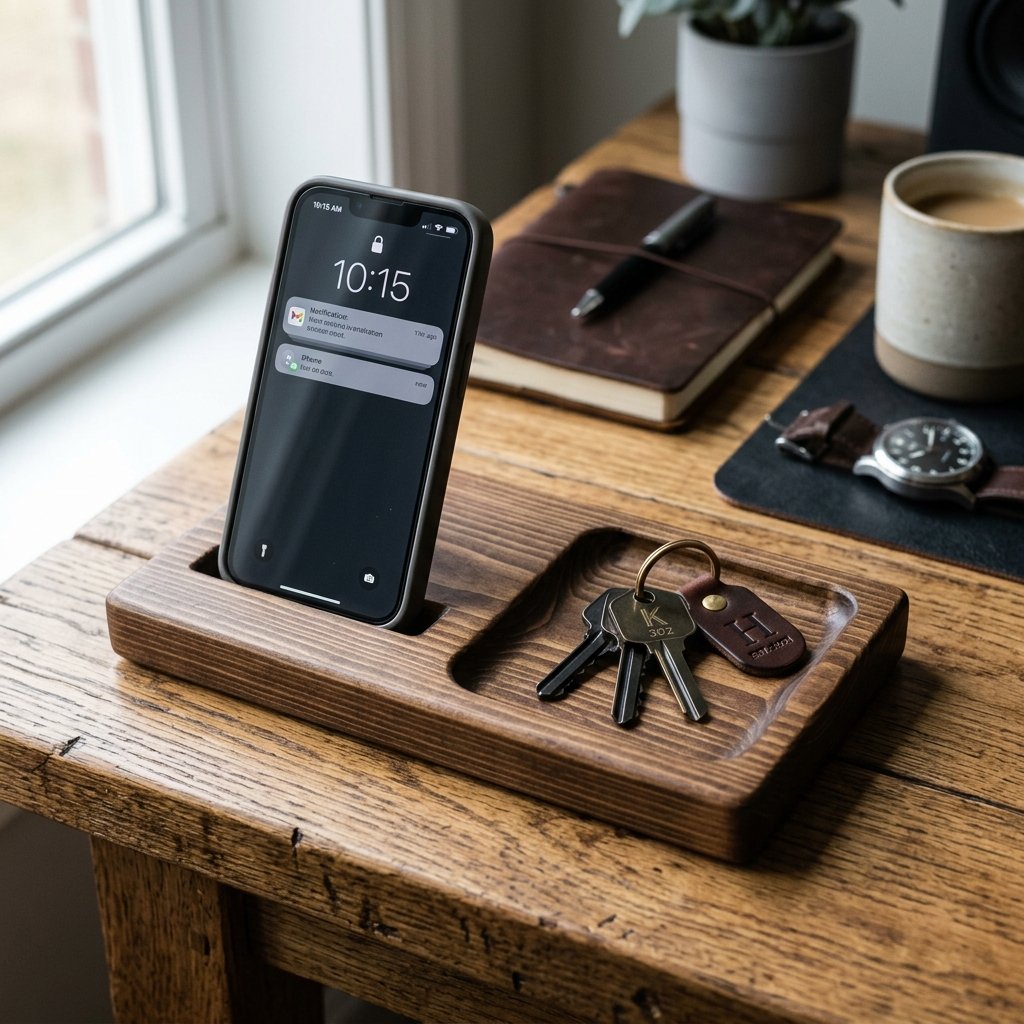

We have all been there: the clock is ticking, you are already five minutes late for that meeting, and your keys have seemingly vanished into another dimension. The ‘Everyday Carry’ (EDC) struggle is real. But instead of dropping $60 or $100 on a designer docking station, why not channel your inner craftsman and build a solution that is as rugged as it is refined? This project is about more than just organization; it is about reclaiming your morning sanity with a piece of functional art you built with your own two hands.
Today, we are constructing a DIY Wooden Phone Stand with an Integrated Key Tray. This project is the holy grail for the frugal DIYer because it can be completed using 100% scrap wood and basic hand tools. Whether you are a handy dad looking to tidy up your nightstand or a creative gift-giver searching for the perfect Father’s Day present, this guide will walk you through the process of turning a humble board into a masculine-elegant organizational hub in just one afternoon.
The Blueprint: Design and Material Selection

A great project starts with a solid plan. For this build, we are aiming for a minimalist, two-piece interlocking design for the phone stand, paired with a recessed tray for your keys, wallet, or pocket knife. This design is clever because it requires no complex hardware—just smart geometry and a bit of grit.
Choosing Your Wood
You do not need to visit an expensive lumber yard. Look in your workshop scrap bin or check local online marketplaces for ‘free wood’ listings. Pine is easy to work with, but if you can find a piece of oak or maple, the extra weight will give your stand a premium, high-end feel.
| Material Item | Source/Type | Estimated Cost |
|---|---|---|
| Main Board | Scrap 1×6 Pine or Oak | $0.00 (Upcycled) |
| Sandpaper | 80, 120, and 220 Grit | $2.00 |
| Wood Glue | PVA Carpenter’s Glue | $0.50 |
| Finish | Pre-stain or Linseed Oil | $1.50 |
| Total Project Cost | DIY Budget | $4.00 |
“The best tool in any workshop is a resourceful mind. A piece of wood destined for the landfill is just a masterpiece waiting for the right set of hands.”
The Cut List: Precision on a Budget

Before we make the first cut, we need to measure twice. To accommodate modern smartphones (even the oversized ones), your stand needs a sturdy base and a perfectly angled backrest. We will be using a ‘slotted’ joint method where two pieces of wood slide into each other.
Dimensions for Success
- Backrest Piece: 7 inches tall by 3.5 inches wide.
- Base/Tray Piece: 8 inches long by 5 inches wide.
- The Slot: 3/4 inch wide (or the thickness of your wood) located 2 inches from the front of the base.
Use a speed square to ensure your lines are perfectly 90 degrees. If you do not have a table saw, a simple hand saw or a jigsaw will work perfectly. The key here is patience; a slow, steady cut saves you an hour of sanding later.
Crafting the Key Tray: The Recessed Detail
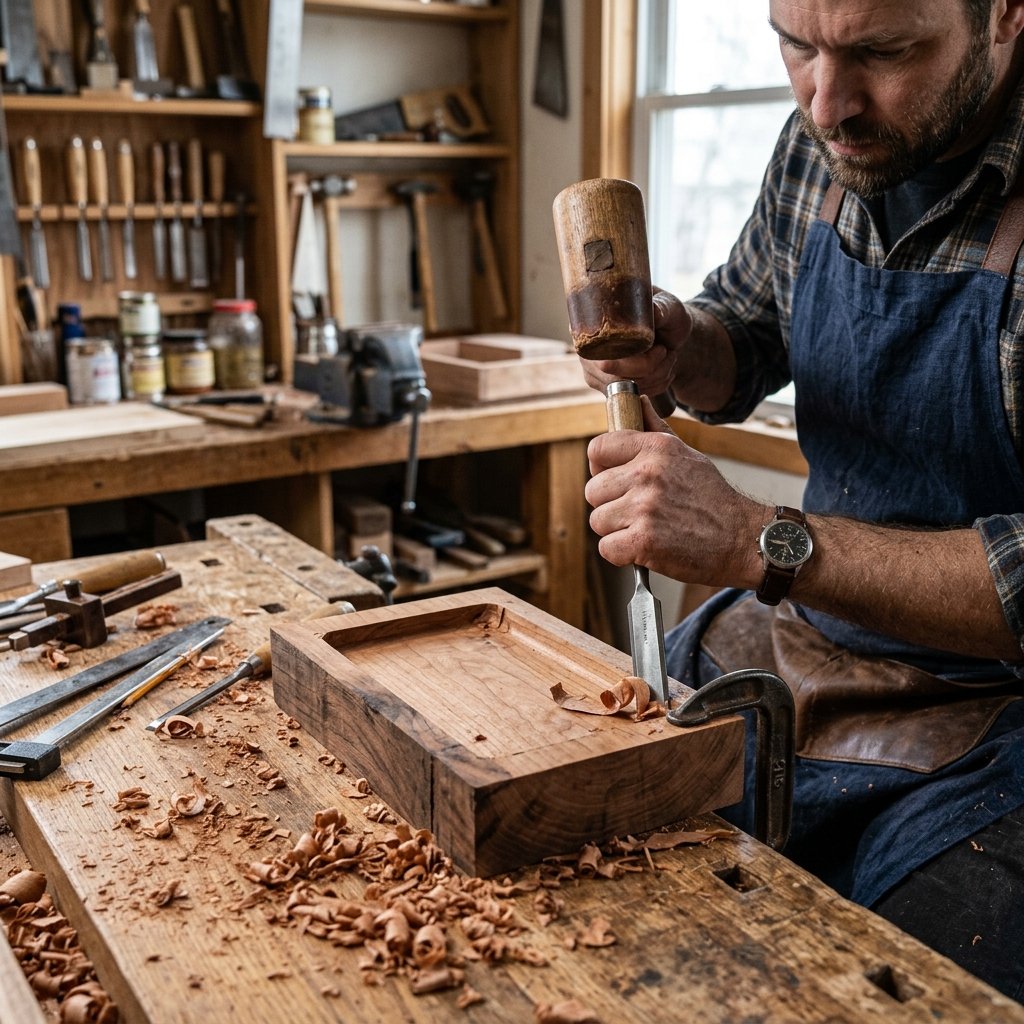
This is where the ‘Treasure’ part of Trash-to-Treasure happens. To create the tray for your keys, you have two options depending on your toolset. If you have a router, you can easily carve out a 1/2 inch deep rectangle. If you are working with basic hand tools, we will use the ‘layered’ approach.
The Layered Tray Method
- Cut a thin ‘trim’ of wood from your scraps (about 1/4 inch thick).
- Glue these trim pieces around the perimeter of your base board.
- This creates a raised lip that keeps your keys and coins from sliding off, giving the appearance of a recessed tray without the need for heavy machinery.
| Tool Choice | Method | Skill Level |
|---|---|---|
| Chisel & Hammer | Manual Carving | Intermediate |
| Wood Trim/Glue | Layering | Beginner |
| Router | Mechanical Recess | Advanced |
“Craftsmanship is not about the tools you own, but how you use the ones you have. A sharp chisel and a steady hand can rival any machine.”
Assembly and The ‘Perfect Fit’ Slot
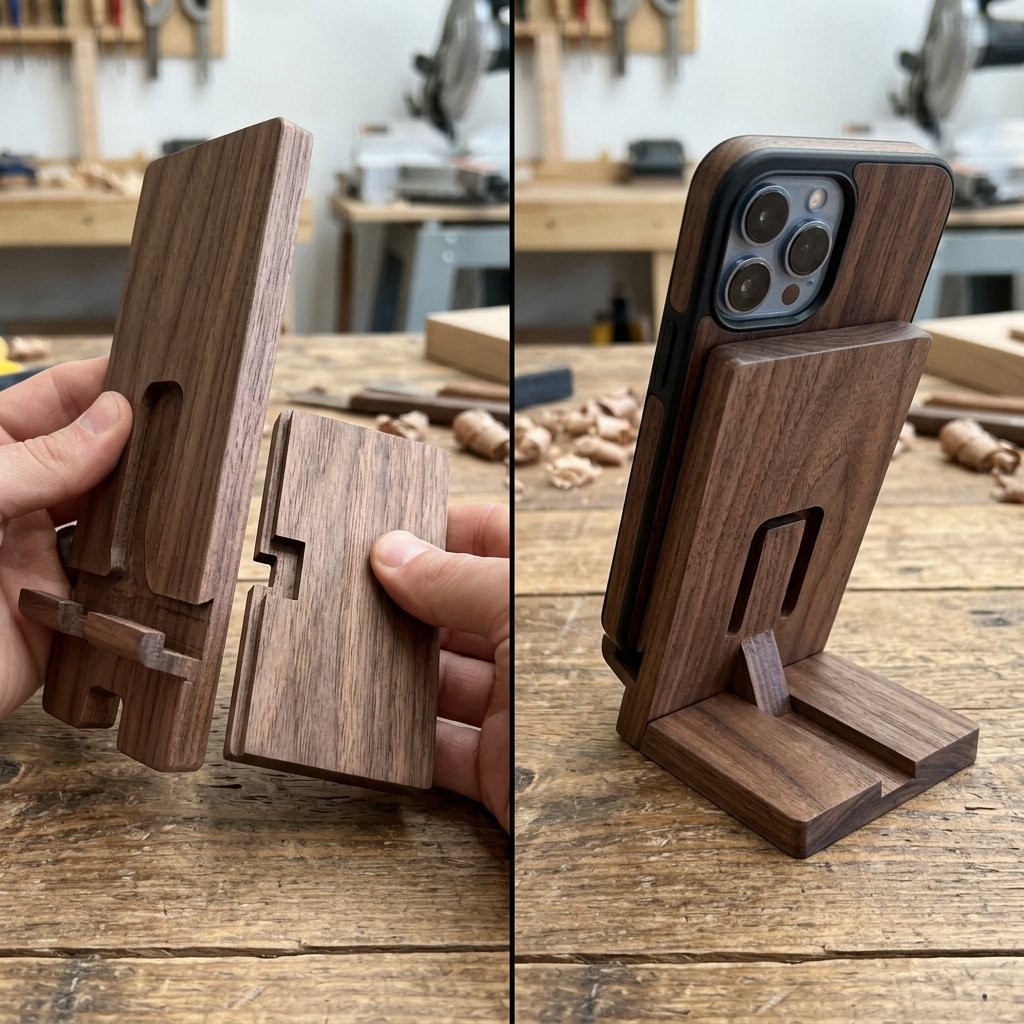
Now, we create the interlocking mechanism. This is the ‘clever’ part of the design. You will cut a notch halfway through the backrest and a matching notch halfway through the base. When they slide together, they should form a rock-solid ‘X’ or ‘L’ shape that supports the weight of the phone without tipping.
The Assembly Process
- Step 1: Mark the center of your slot on both pieces.
- Step 2: Cut two parallel lines the width of your wood thickness.
- Step 3: Use a flat-head screwdriver or chisel to pop out the waste wood between the cuts.
- Step 4: Dry-fit the pieces. If it is too tight, use a rasp or sandpaper to widen the slot slightly. It should be snug enough to hold together without glue, allowing for easy disassembly for travel.
Safety Note: Always cut away from your body and keep your fingers clear of the saw path. If using a chisel, ensure the wood is clamped securely to your workbench.
Finishing: From Scrap to Sophisticated
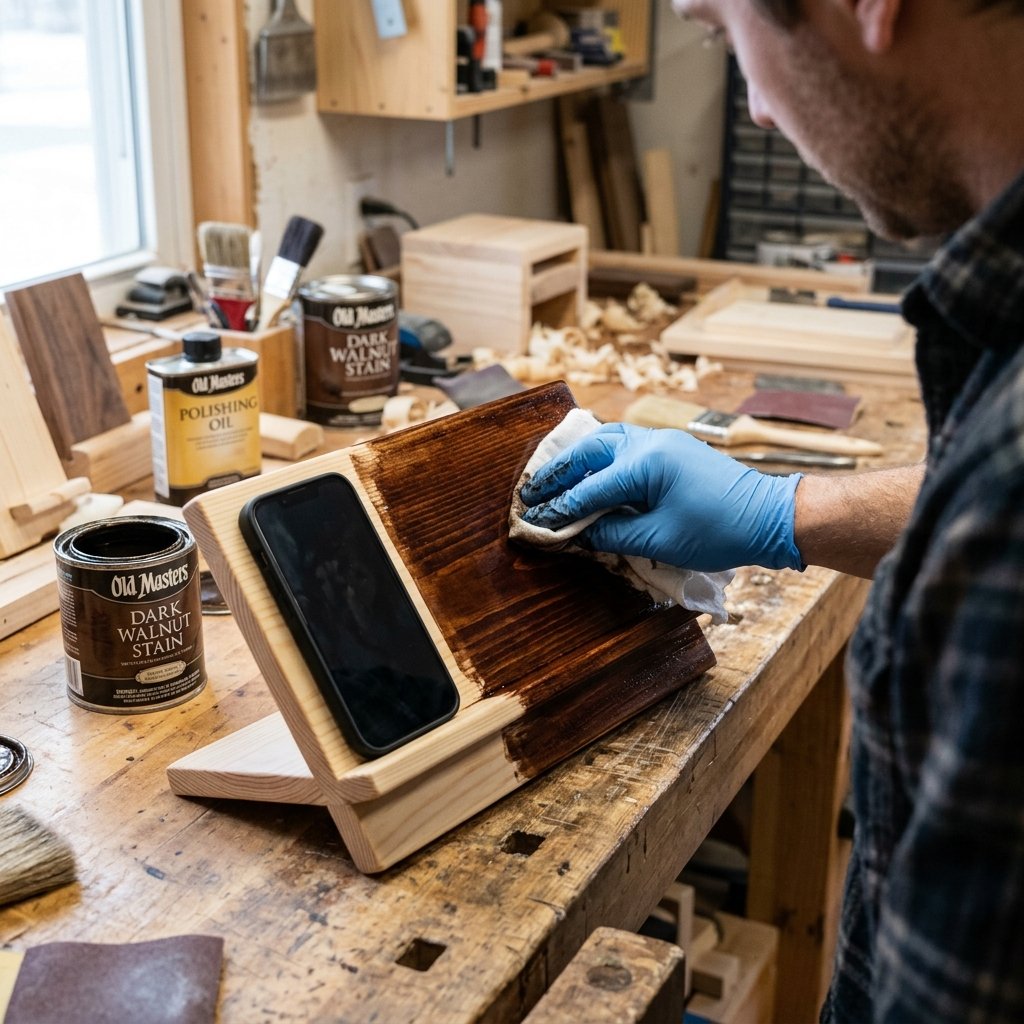
Raw wood looks like a construction site; finished wood looks like a boutique. To achieve that Masculine-Elegant aesthetic, we are going to use a dark stain and a secret weapon: felt lining.
The Finishing Steps
- Sand until smooth: Start with 80 grit to remove saw marks, then move to 120, and finish with 220. The wood should feel like silk.
- Stain: Apply a ‘Dark Walnut’ or ‘Espresso’ stain with a rag. Let it sit for 5 minutes then wipe away the excess. This highlights the grain and hides any imperfections in the scrap wood.
- The Lining: Cut a piece of black or forest green adhesive felt to fit the bottom of your key tray. This prevents your keys from scratching the wood and adds a satisfying ‘thud’ when you drop them in at the end of the day.
| Finish Type | Drying Time | Visual Effect |
|---|---|---|
| Linseed Oil | 24 Hours | Natural & Matte |
| Polyurethane | 4 Hours | Glossy & Durable |
| Dark Walnut Stain | 2 Hours | Rich & Rugged |
Customization: The High-End ‘Dupe’ Features
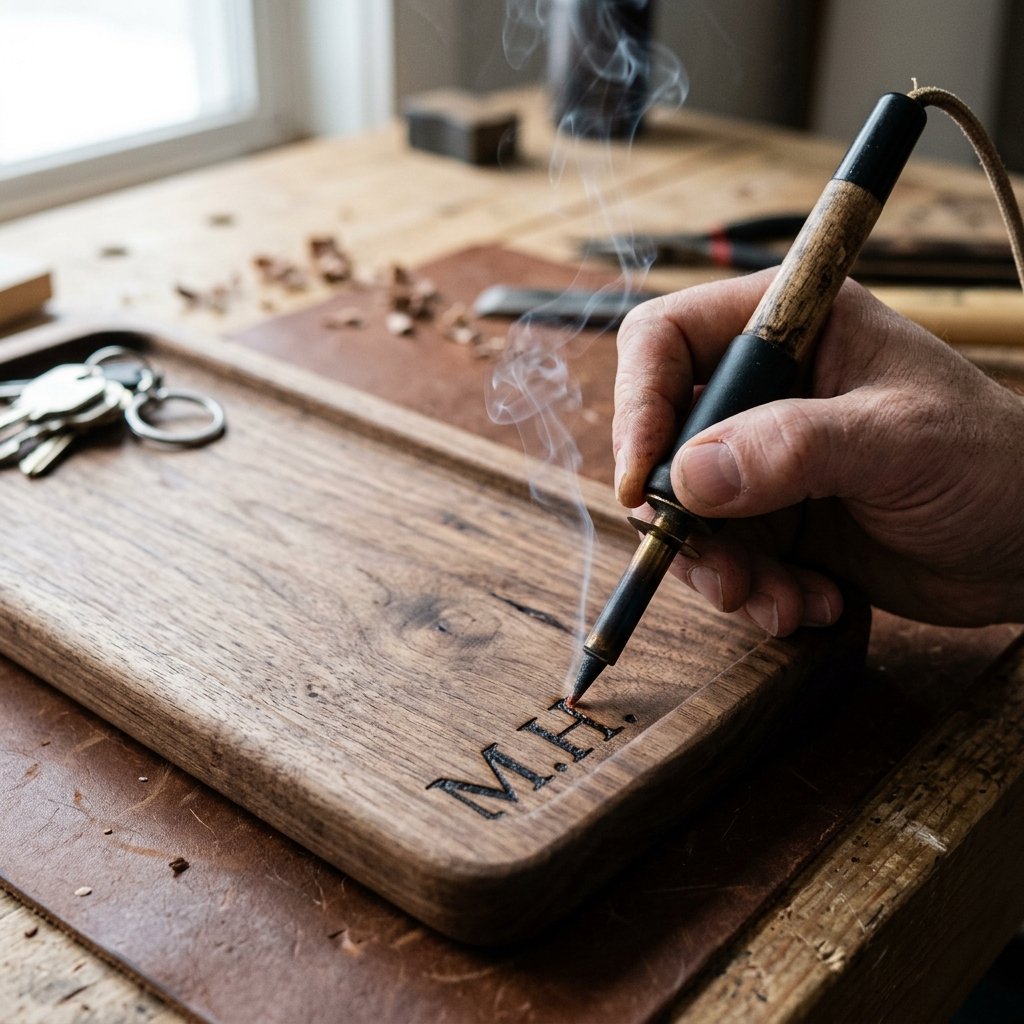
Why stop at a basic stand? You can easily add features that make this look like a $150 item from a high-end home decor store. Here are a few budget-savvy upgrades:
- Charging Port: Drill a 1/2 inch hole in the center of the phone ledge so your charging cable can pass through from the bottom. No more tangled wires!
- Personalization: Use a wood-burning tool (or even a heated metal stamp) to add initials to the corner of the tray. This transforms it into a thoughtful, bespoke gift.
- Non-Slip Feet: Add small rubber bumpers to the bottom of the base. This keeps the stand from sliding on slick surfaces and protects your furniture.
By adding these small details, you are not just making a stand; you are creating a piece of ‘Everyday Carry’ infrastructure that rivals any store-bought alternative.
Conclusion
And there you have it! In just one afternoon and for less than the price of a cup of coffee, you have built a rugged, practical, and elegant solution to the age-old problem of lost keys and a dead phone. This project proves that you do not need a massive budget or a professional workshop to create something truly valuable. By upcycling scrap wood and applying a little bit of craftsmanship, you have created a ‘landing zone’ that will save you time and stress every single morning. So, clear off that workbench, grab your saw, and start building. Your future, organized self will thank you!

Makenzie is the founder and lead writer at MoneyHackTips.com — a personal finance blog dedicated to delivering street-smart financial wisdom for real people on real budgets. With 300+ published articles covering everything from debt management to investing fundamentals, Makenzie’s mission is to make every dollar work harder. When not writing about money hacks, Makenzie is testing frugal living strategies, optimizing side hustles, and helping readers build financial freedom from scratch.