
The Modern Parent’s Dilemma: Plastic vs. Purpose
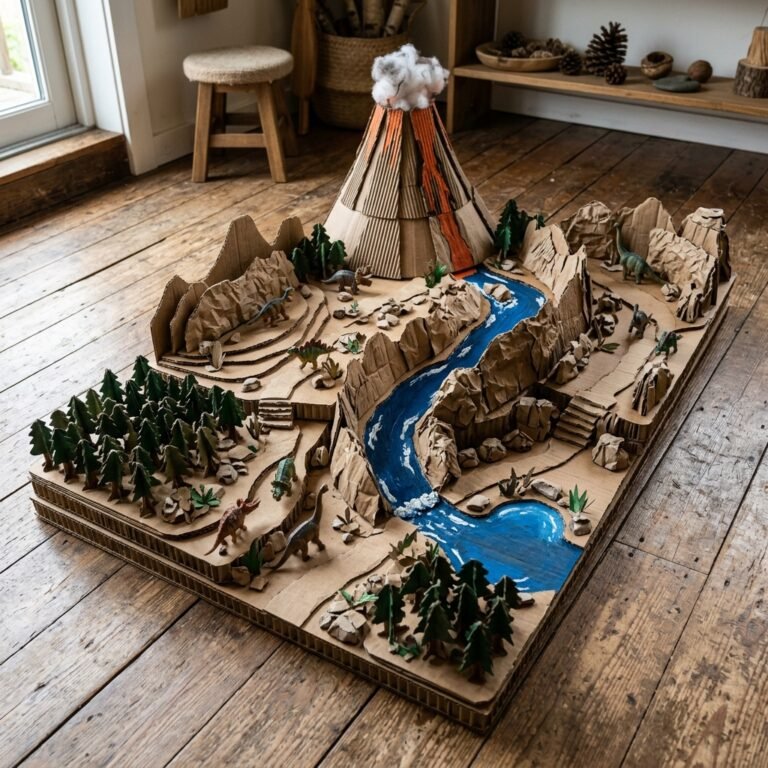
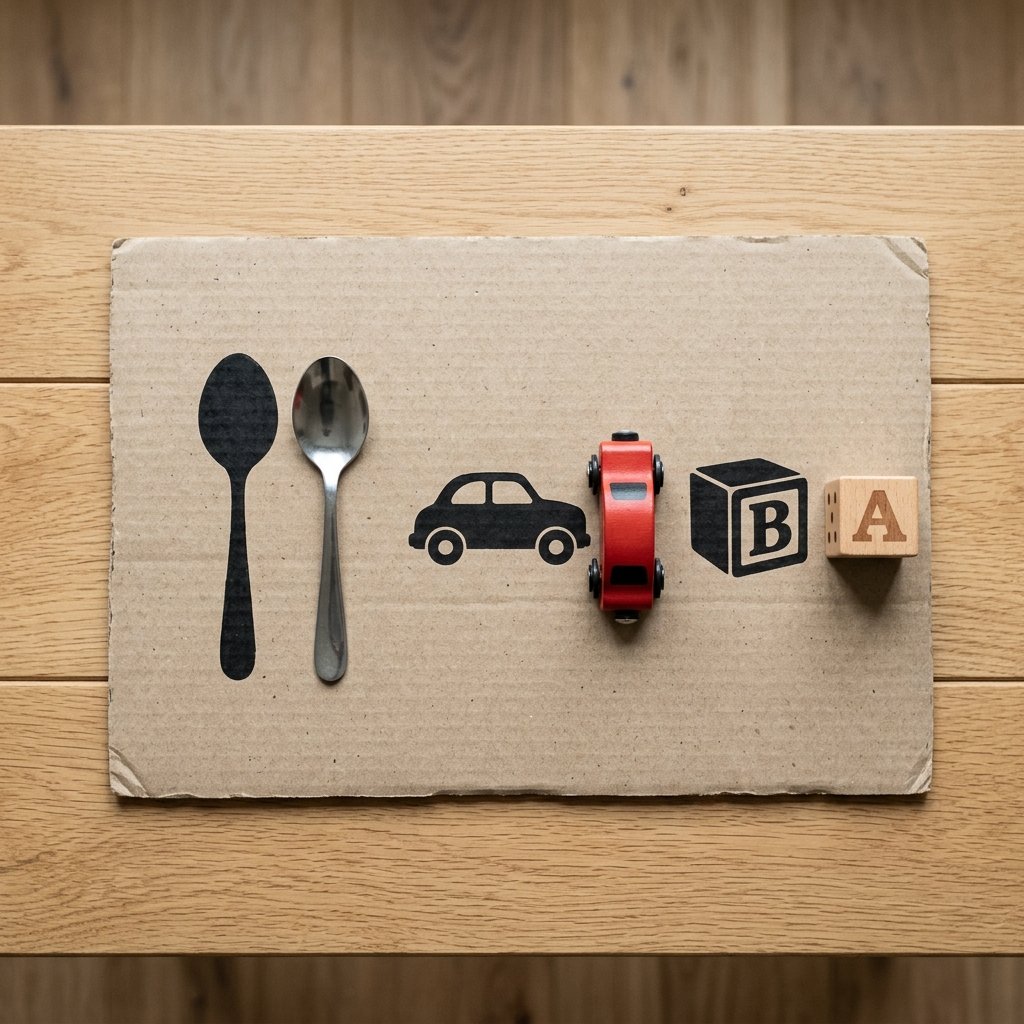
We’ve all been there. You spend $40 on a ‘brain-boosting’ plastic gadget from a big-box retailer, only for your toddler to spend more time playing with the shipping box it arrived in. As a resourceful DIYer, it’s time to lean into that instinct. The humble cardboard box isn’t just trash; it is a high-potential engineering material waiting to be repurposed. Today, we are reclaiming the ‘trash-to-treasure’ mantle by creating a Shadow Matching Toy. This isn’t just a craft; it is a tactical tool designed to sharpen visual discrimination, spatial awareness, and fine motor skills in under 10 minutes. By using items already found in your junk drawer and pantry, you are providing your child with a bespoke learning experience that costs $0 while saving the planet one box at a time. Let’s roll up our sleeves and build something brilliant.
The Blueprint: Materials and Cost Analysis
Scavenging for Success
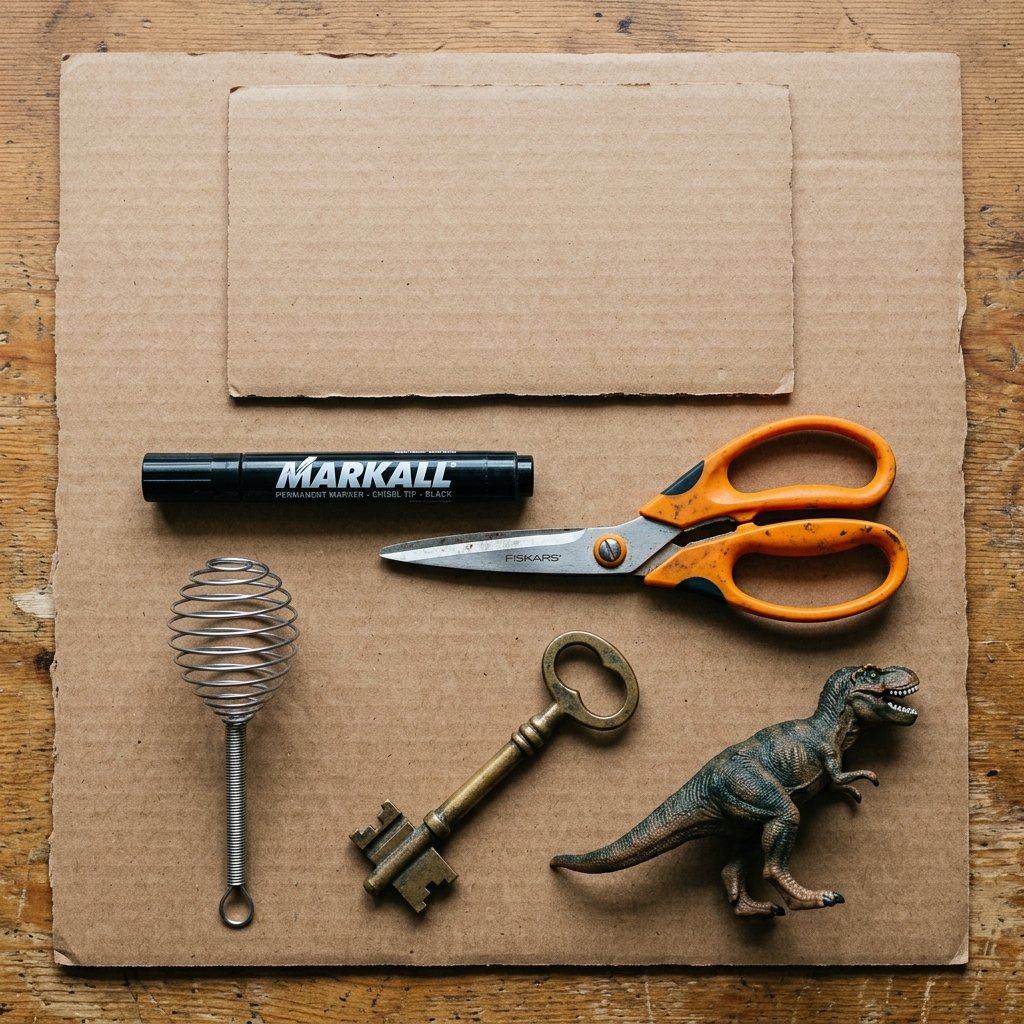
The beauty of this project lies in its rugged simplicity. You don’t need a trip to the craft store or a specialized toolkit. We are looking for high-contrast materials that provide a clear visual signal to a developing brain. The core of this project is the ‘Master Board’—a sturdy piece of corrugated cardboard that can withstand the enthusiastic handling of a toddler.
| Material | Source | Estimated Cost |
|---|---|---|
| Corrugated Cardboard | Shipping Boxes / Grocery Store | $0.00 |
| Black Permanent Marker | Junk Drawer | $0.00 |
| Box Cutter or Heavy Scissors | Toolbox | $0.00 |
| Household Objects | Kitchen/Toy Box | $0.00 |
| Total Investment | Your Recycling Bin | $0.00 |
Why This Beats Store-Bought
When you buy a pre-made matching game, the shapes are static. Once your child masters them, the toy becomes a dust-collector. With the DIY Cardboard Method, you can iterate. As your toddler’s brain power grows, you can swap out simple shapes for complex silhouettes, keeping the challenge fresh without spending a dime.
Step-by-Step Construction: The 10-Minute Build
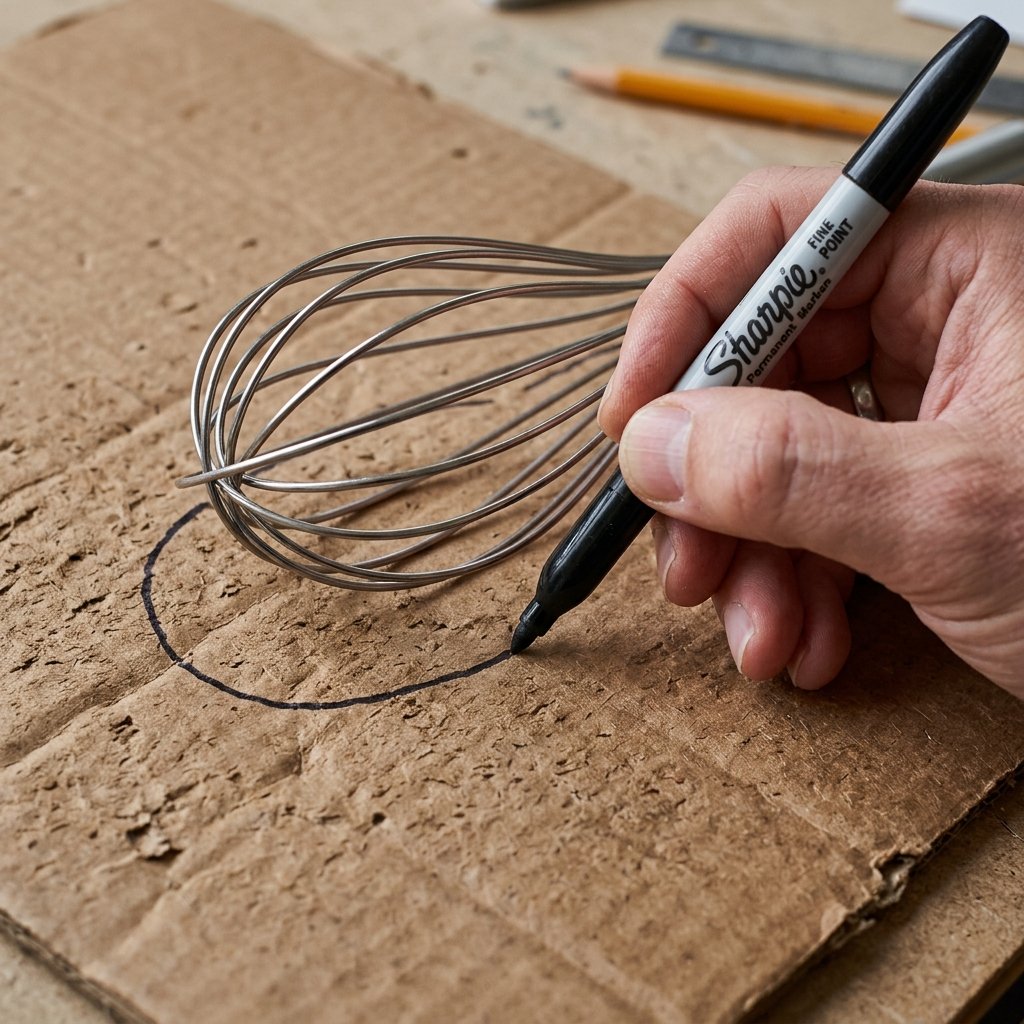
Precision Crafting for Busy Parents
Efficiency is the hallmark of a master crafter. We aren’t aiming for museum-quality art; we are aiming for functional, high-contrast silhouettes. Follow these steps to ensure a clean, professional look that commands your toddler’s attention.
- The Foundation: Cut a rectangular piece of cardboard roughly 12×18 inches. Ensure the edges are straight for a ‘clean-cut’ masculine-elegant aesthetic.
- Object Selection: Choose 5-7 items with distinct, recognizable outlines. Think: a large wooden spoon, a chunky toy car, a pair of safety scissors, a star-shaped cookie cutter, and a large building block.
- The Trace: Lay the items on the board with at least 2 inches of ‘breathing room’ between them. Use your marker to trace the exact outline of each object.
- The Fill-In: This is the secret to the ‘Shadow’ effect. Use the marker to fill in the entire shape solidly with black. This high-contrast visual is easier for toddlers to process than a simple outline.
- The Reveal: Place the physical objects in a small basket next to the board. Your shadow matching station is now live.
“The goal isn’t perfection; it’s the silhouette. A thick, bold black line provides the visual ‘hook’ a toddler needs to bridge the gap between a 3D object and a 2D representation.”
Scaling the Challenge: From Beginner to Expert
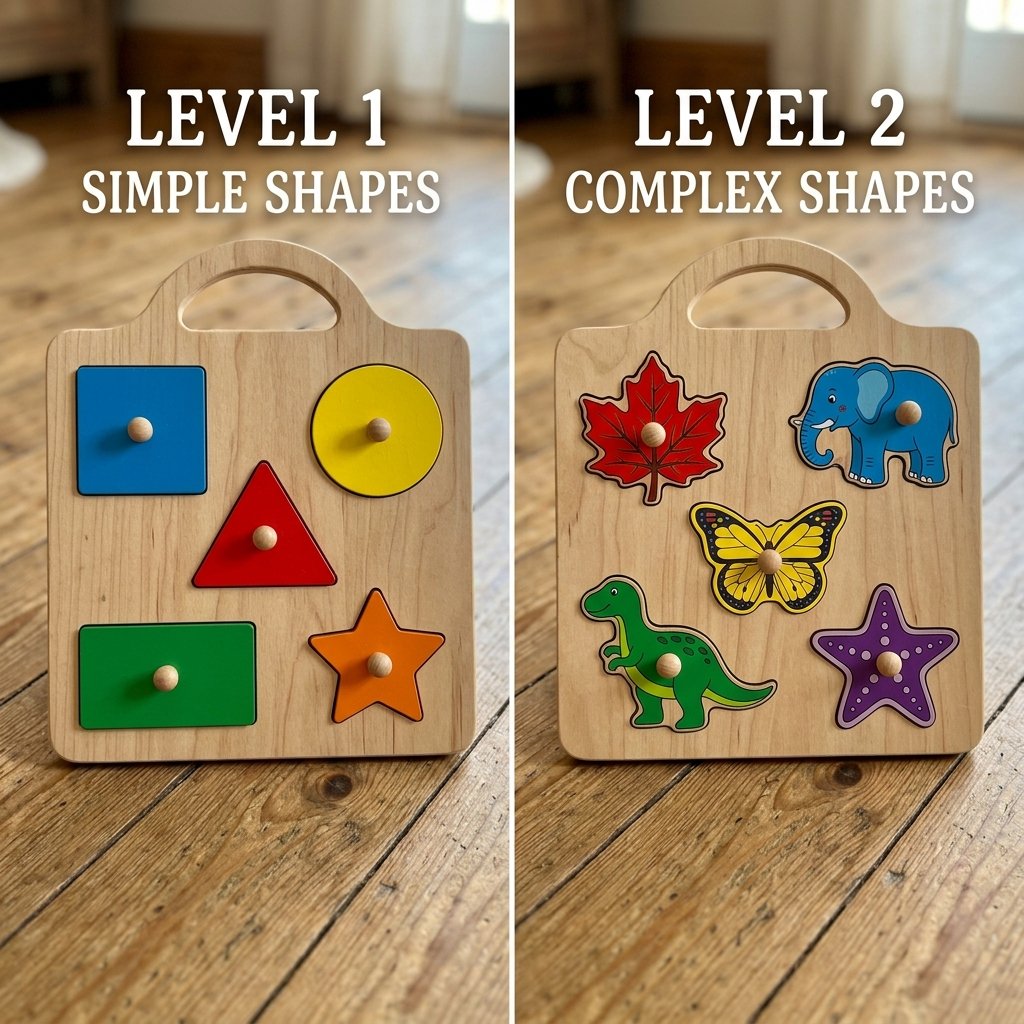
Leveling Up the Brain Power
Once your child masters the basic shapes, don’t throw the board away. Use the reverse side or create a ‘Level 2’ version. This is where we transition from basic shapes to complex visual discrimination. By varying the difficulty, you ensure the toy grows with the child, providing months of utility.
| Level | Object Types | Cognitive Focus |
|---|---|---|
| Beginner | Blocks, Balls, Spoons | Basic Shape Recognition |
| Intermediate | Animals, Tools, Utensils | Detail Discrimination |
| Advanced | Nature Finds (Leaves, Twigs) | Organic Pattern Matching |
The Tactical Variation: Color Shadows
If you want to add a layer of complexity, use different colored markers for the shadows. Match a red car to a red shadow, or a blue block to a blue shadow. This forces the brain to process two variables—shape and color—simultaneously, doubling the ‘workout’ for those little neurons.
The Science of Play: Why Shadows Matter
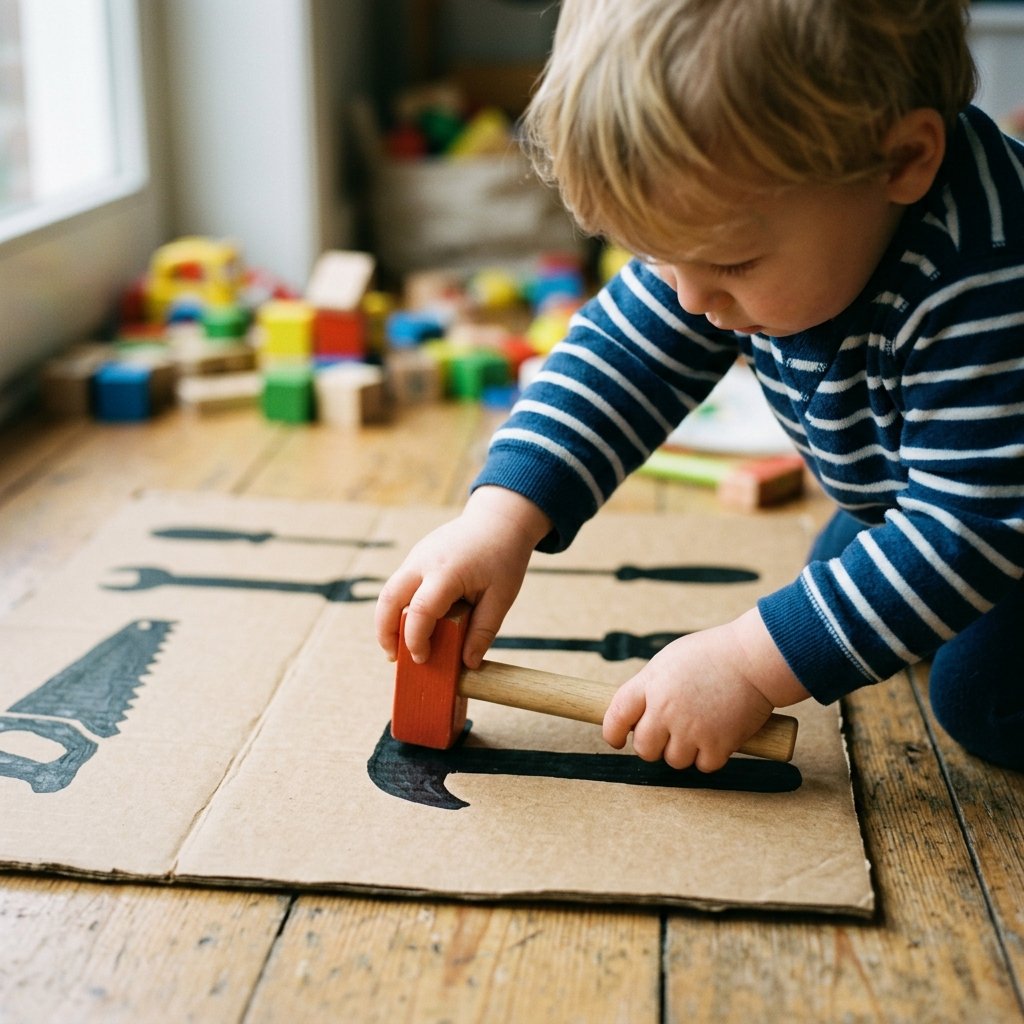
Visual-Spatial Intelligence 101
This isn’t just ‘keeping them busy.’ This activity is rooted in developmental psychology. When a child matches an object to its shadow, they are performing Visual Closure—the ability to identify an entity even when only parts of it are visible or represented in a different form. This is a foundational skill for reading and mathematics.
- Fine Motor Control: Picking up, rotating, and placing the object precisely within the lines strengthens the small muscles in the hands.
- Hand-Eye Coordination: The feedback loop between the eye seeing the shape and the hand moving the object is critical for future tasks like writing.
- Concentration: Unlike flashing electronic toys, this cardboard puzzle requires focused, quiet attention, building the ‘stamina’ for deep work later in life.
“Simplicity is the ultimate sophistication. By removing the lights and sirens of modern toys, you allow the child’s own brain to do the heavy lifting.”
Rugged Durability: Making Cardboard Last
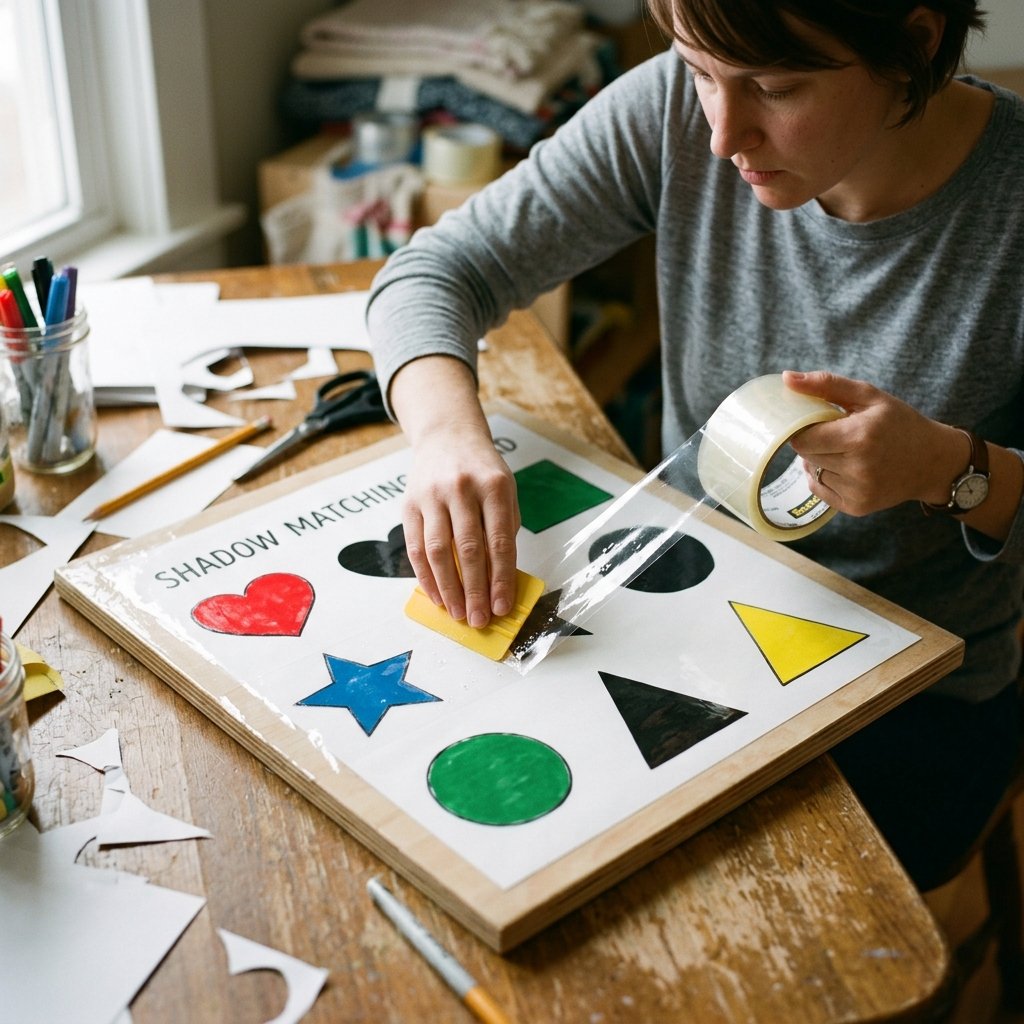
The DIYer’s Secret to Longevity
Cardboard is versatile, but toddlers can be destructive. To ensure your 10-minute investment lasts for months, you need to apply a few ‘pro-level’ hacks. These techniques will transform a flimsy box into a durable heirloom-quality plaything (at least for a few years).
The ‘Lamination’ Hack
If you don’t have a laminator, use clear packing tape. Run overlapping strips of tape across the entire surface of the board. This creates a wipeable, spill-proof surface that resists tearing. It also gives the board a professional, glossy finish that feels more like a ‘real’ toy.
Reinforcing the Base
If the cardboard feels too thin, glue two sheets together using a simple glue stick or a thin layer of white glue. This ‘plywood’ effect creates a rigid base that won’t warp or bend during heavy play sessions. For the objects themselves, if you are using paper cutouts instead of physical items, glue them to small pieces of cardboard ‘backing’ to make them easier for small hands to grasp.
Conclusion
The Victory of the Frugal Maker
In just 10 minutes, you’ve managed to out-engineer the toy industry. You’ve taken a piece of waste and turned it into a high-impact educational tool. This shadow matching toy is proof that you don’t need a massive budget to be an incredible parent or a master crafter. You just need a bit of resourcefulness and a sharp marker. By choosing to DIY, you are modeling creativity and sustainability for your child—lessons that will last much longer than any plastic toy. So, next time that Amazon package arrives, don’t just see a box. See the potential for the next great brain-boosting adventure. Happy crafting!

Makenzie is the founder and lead writer at MoneyHackTips.com — a personal finance blog dedicated to delivering street-smart financial wisdom for real people on real budgets. With 300+ published articles covering everything from debt management to investing fundamentals, Makenzie’s mission is to make every dollar work harder. When not writing about money hacks, Makenzie is testing frugal living strategies, optimizing side hustles, and helping readers build financial freedom from scratch.