The Art of the High-End Illusion
Let’s be honest: we’ve all walked through those high-end home decor stores, the ones where a single piece of ‘weathered’ wall art costs more than a monthly car payment. You see a beautiful, oversized architectural medallion or a set of wrought iron panels and think, ‘I could make that.’ Well, today, we aren’t just thinking it—we are doing it. We are going to take the most humble materials from the Dollar Tree—items most people would walk right past—and forge them into a rugged, sophisticated, and masculine-elegant outdoor statement piece. This isn’t just a craft; it’s a strategic home upgrade. By the time we’re done, your neighbors won’t just be impressed; they’ll be asking which boutique catalog you ordered from. We’re talking about achieving a $300 look for less than the cost of a craft brewery six-pack.
The Blueprint: Sourcing Your ‘Industrial’ Materials
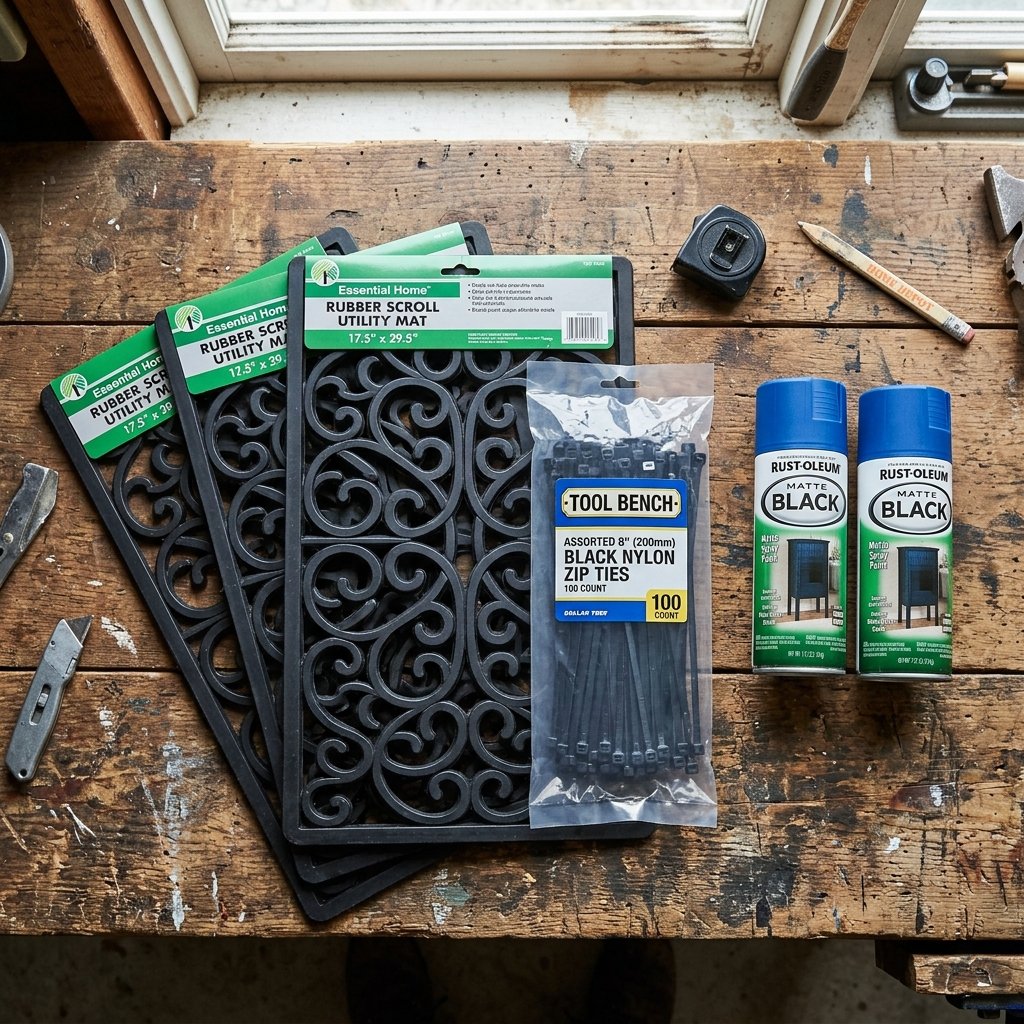
The secret to a successful ‘trash-to-treasure’ transformation is seeing the skeleton of an object rather than its cheap plastic skin. For this project, we are looking for geometry. We want patterns that, when unified, create a massive architectural presence. Our primary building blocks will be Dollar Tree rubber door mats or plastic garden trellis sections. These items possess the intricate scrolling and geometric lines found in expensive ironwork.
The Master Material List
Before you head to the store, grab your mental blueprint. You aren’t looking for ‘decor’; you are looking for ‘raw materials.’ Here is what you need to secure for a large 36-inch by 36-inch wall installation:
| Item | Quantity | Estimated Cost |
|---|---|---|
| Rubber Scroll Door Mats (or Plastic Trellis) | 4 to 6 units | $5.00 – $7.50 |
| Heavy-Duty Zip Ties (Black) | 1 Pack | $1.25 |
| Matte Black All-Surface Spray Paint + Primer | 2 Cans | $12.00 |
| Metallic ‘Rub ‘n Buff’ or Silver Acrylic Paint | 1 Small Tube | $5.00 |
| Outdoor-Rated Construction Adhesive | 1 Tube | $6.00 |
| TOTAL PROJECT COST | – | ~$30.00 |
“The key to budget-savvy elegance is scale. One small plastic mat looks cheap. Four mats joined together into a massive 4-foot square looks like a custom architectural commission.”
The Assembly: Engineering the Framework
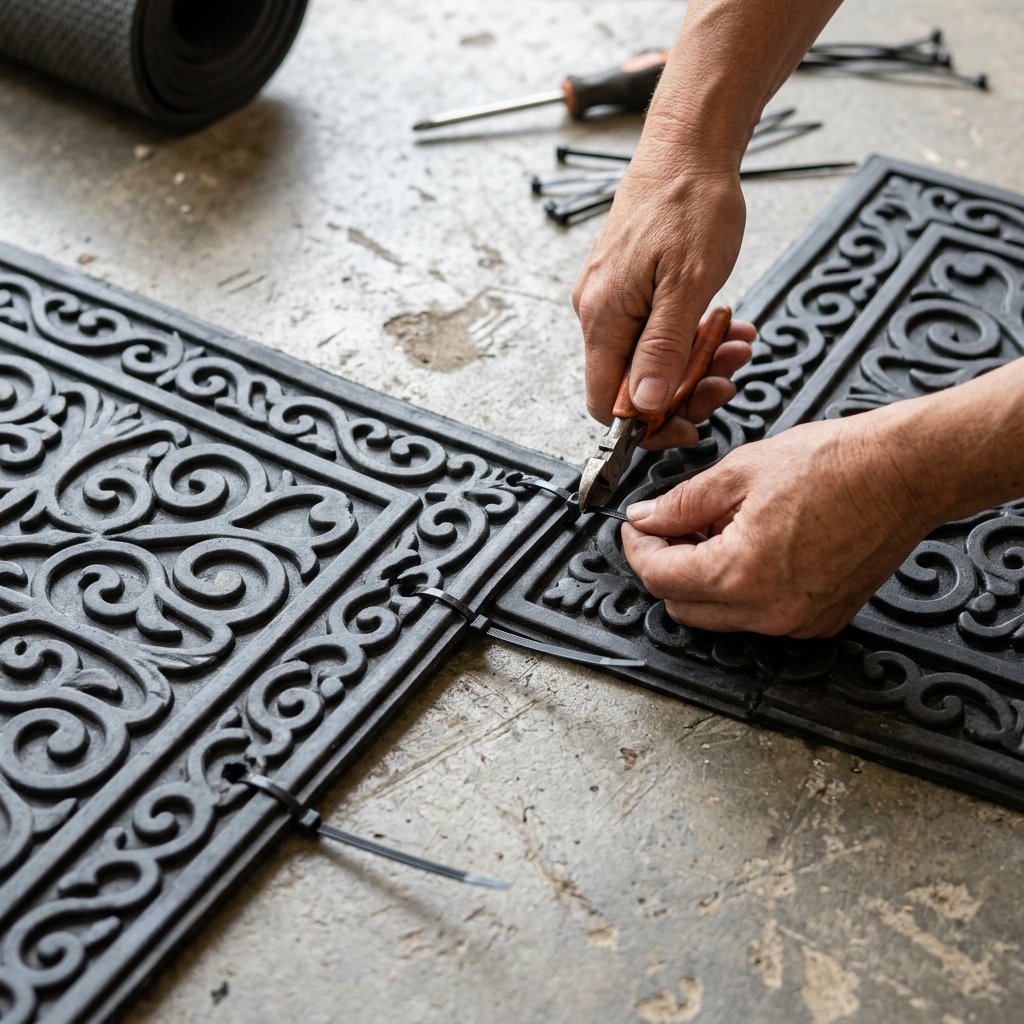
To make these individual mats look like a single, cohesive piece of ironwork, we need to join them with precision. This is where the ‘handy’ part of the DIY comes in. We aren’t just gluing; we are structuralizing.
Step-by-Step Structural Joining
- Layout and Alignment: Lay your mats out on a flat garage floor or driveway. Arrange them so the patterns flow into each other. If you are using four mats, place them in a 2×2 grid.
- The ‘Invisible’ Stitch: Using a small drill bit or a heated metal skewer, create tiny holes where the edges of the mats meet. Thread your black zip ties through these holes.
- Tensioning: Pull the zip ties until they are tight, but do not warp the plastic. The goal is a seamless butt-joint.
- Trimming: Use wire cutters to snip the ‘tails’ of the zip ties as close to the locking head as possible. Turn the mats over so the heads of the zip ties are facing the back (the wall-side).
By using zip ties instead of just glue, you ensure the piece can handle the expansion and contraction that happens with outdoor temperature shifts. This is rugged engineering at its finest.
The Alchemy: Turning Plastic into Wrought Iron
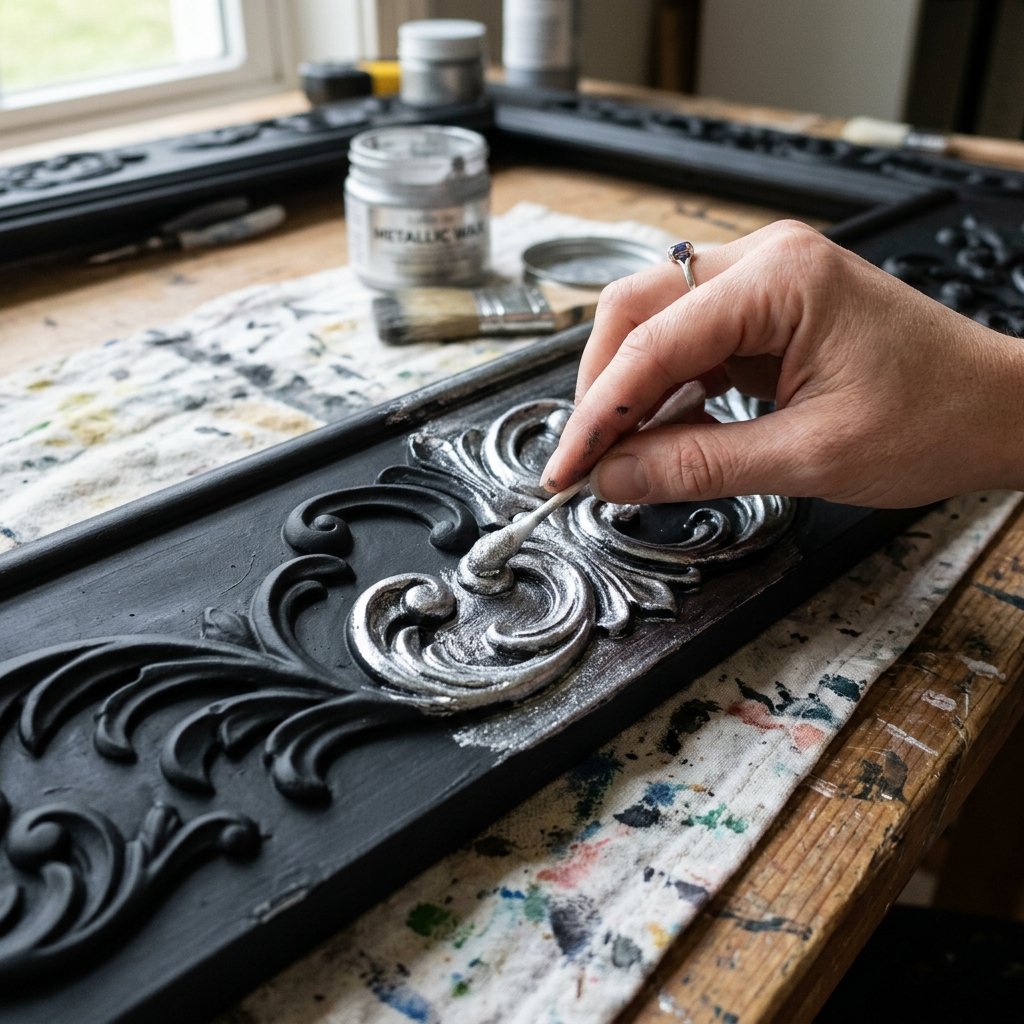
This is the most critical stage. If you leave the mats as they are, they look like… well, rubber mats. We need to change the light reflectance and texture to mimic heavy, cast metal. We achieve this through a two-stage finishing process.
Stage 1: The Base Coat
Apply two thin coats of matte black spray paint that includes a primer. Do not rush this. Thin coats prevent drips and ensure you get into all the nooks and crannies of the scrollwork. Ensure you cover the zip ties completely so they disappear into the texture.
Stage 2: The ‘Antique’ Dry-Brushing
Once the black base is bone dry (wait at least 2 hours), it’s time for the magic trick. Take a very small amount of silver or pewter metallic wax (like Rub ‘n Buff) on your finger or a dry rag. Lightly—and I mean very lightly—hit the high points of the scrolls. This mimics the way natural light hits the edges of old, weathered iron. It adds depth, weight, and a sense of history to the piece.
| Finish Type | Visual Result | Best For… |
|---|---|---|
| Matte Black Only | Modern, clean, minimalist | Contemporary homes |
| Black + Silver Highlights | Weathered, antique iron | Traditional or Rustic Porches |
| Black + Copper Highlights | Industrial, warm, aged bronze | Brick exteriors |
Installation: Mounting for Maximum Impact
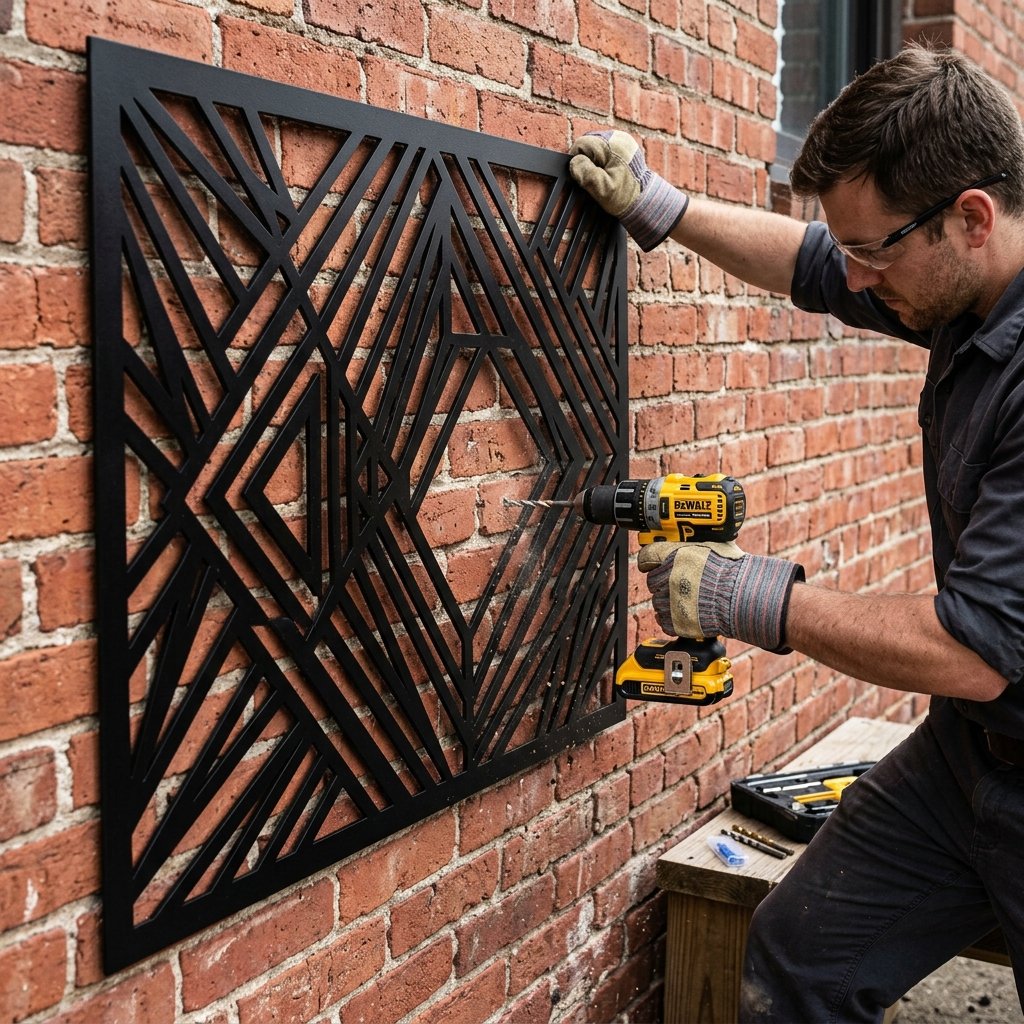
A massive piece of art deserves a prominent place. However, outdoor mounting requires a bit more thought than hanging a picture in the hallway. You want this piece to look integrated into your home’s architecture.
Mounting Solutions by Surface
- For Siding: Use ‘Siding Hooks’ that slip under the slats. No drilling required, and they can hold significant weight.
- For Brick or Stone: Use masonry anchors. Drill a small hole into the mortar (not the brick itself) to avoid permanent damage to your home’s facade.
- For Wood Fences: Simple black deck screws driven directly through the thicker parts of the rubber mat frame will be nearly invisible.
“Safety Note: Always wear eye protection when drilling into masonry or using spray paint. Ensure your mounting hardware is rated for at least twice the weight of your finished art piece to account for wind resistance.”
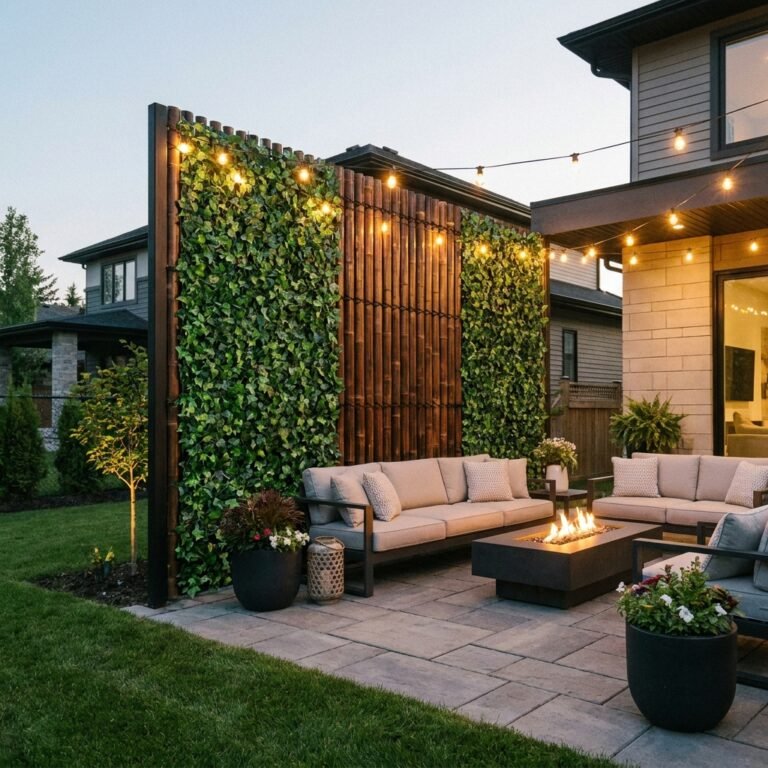
To really sell the ‘fortune’ look, consider flanking the art with two outdoor sconces or placing it directly above a potting bench or outdoor sofa. The context defines the value.
Cost Comparison: DIY vs. High-End Retail
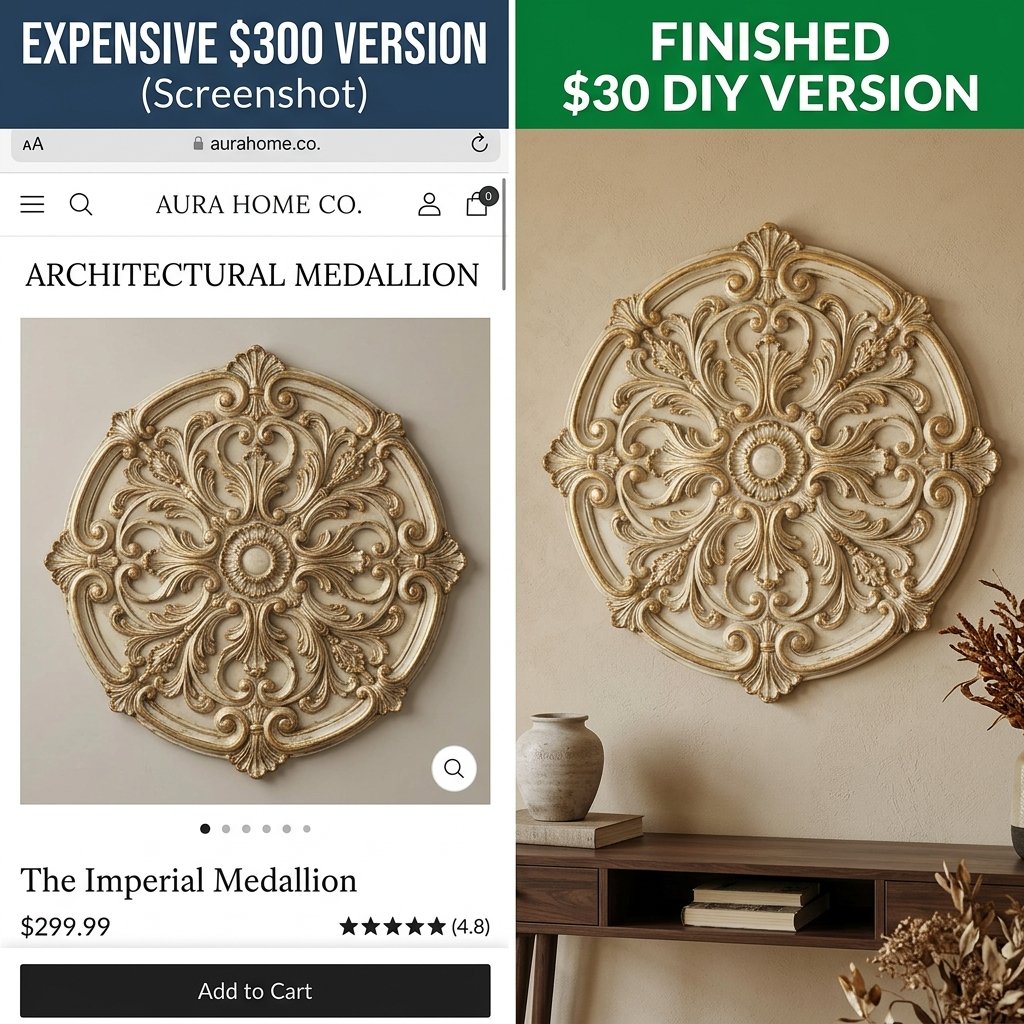
If you’re still not convinced that this hack is worth your 90 minutes of labor, let’s look at the cold, hard numbers. I researched similar architectural wall medallions from three major high-end retailers to see how our Dollar Tree version stacks up.
| Source | Material | Size | Price |
|---|---|---|---|
| Pottery Barn | Hand-forged Iron | 30″ Round | $249.00 |
| West Elm | Powder-coated Steel | 36″ Square | $310.00 |
| Grandin Road | Cast Aluminum | 32″ Round | $189.00 |
| Our DIY Hack | Upcycled Polymer | 36″ Square | $30.50 |
By choosing the resourceful path, you are saving over $200. That is money that can stay in your pocket, go toward your mortgage, or fund your next five DIY projects. This is the essence of being a clever, budget-savvy homeowner.
Conclusion
Your Masterpiece is Ready
You’ve done it. You’ve taken items meant for muddy boots and turned them into a sophisticated piece of architectural art. This project proves that you don’t need a massive budget to have a home that looks curated and expensive; you just need a little bit of vision and a rugged, DIY spirit. Your neighbors will walk by, see that stunning ‘iron’ medallion catching the afternoon sun, and they will never guess it started its life in a $1.25 bin. Now, grab a cold drink, sit back on your porch, and admire the fortune you just saved. What are you going to hack next?

Makenzie is the founder and lead writer at MoneyHackTips.com — a personal finance blog dedicated to delivering street-smart financial wisdom for real people on real budgets. With 300+ published articles covering everything from debt management to investing fundamentals, Makenzie’s mission is to make every dollar work harder. When not writing about money hacks, Makenzie is testing frugal living strategies, optimizing side hustles, and helping readers build financial freedom from scratch.