
The Art of the Rugged, Budget-Friendly Gift
There is something undeniably sophisticated about a well-worn piece of leather. It speaks of durability, character, and a certain masculine elegance that never goes out of style. However, if you have ever stepped into a high-end department store, you know that a simple leather money clip can easily retail for $45 to $85. For the frugal DIYer, that price tag is not just a hurdle—it is an invitation to innovate. Why buy when you can create a piece of superior quality for under $5?
This guide is designed for the crafty gift-giver who values both their time and their wallet. Whether you are a handy parent looking for a Father’s Day project or a budget-savvy crafter preparing for the holidays, this leather money clip project is the perfect entry point into leatherworking. We will be using resourceful sourcing techniques—like upcycling old belts or purchasing scrap bags—to ensure our material costs stay at an absolute minimum while the sentimental value remains priceless. Let’s roll up our sleeves and turn a simple scrap of hide into a functional heirloom.
Sourcing Your Materials: The $5 Blueprint
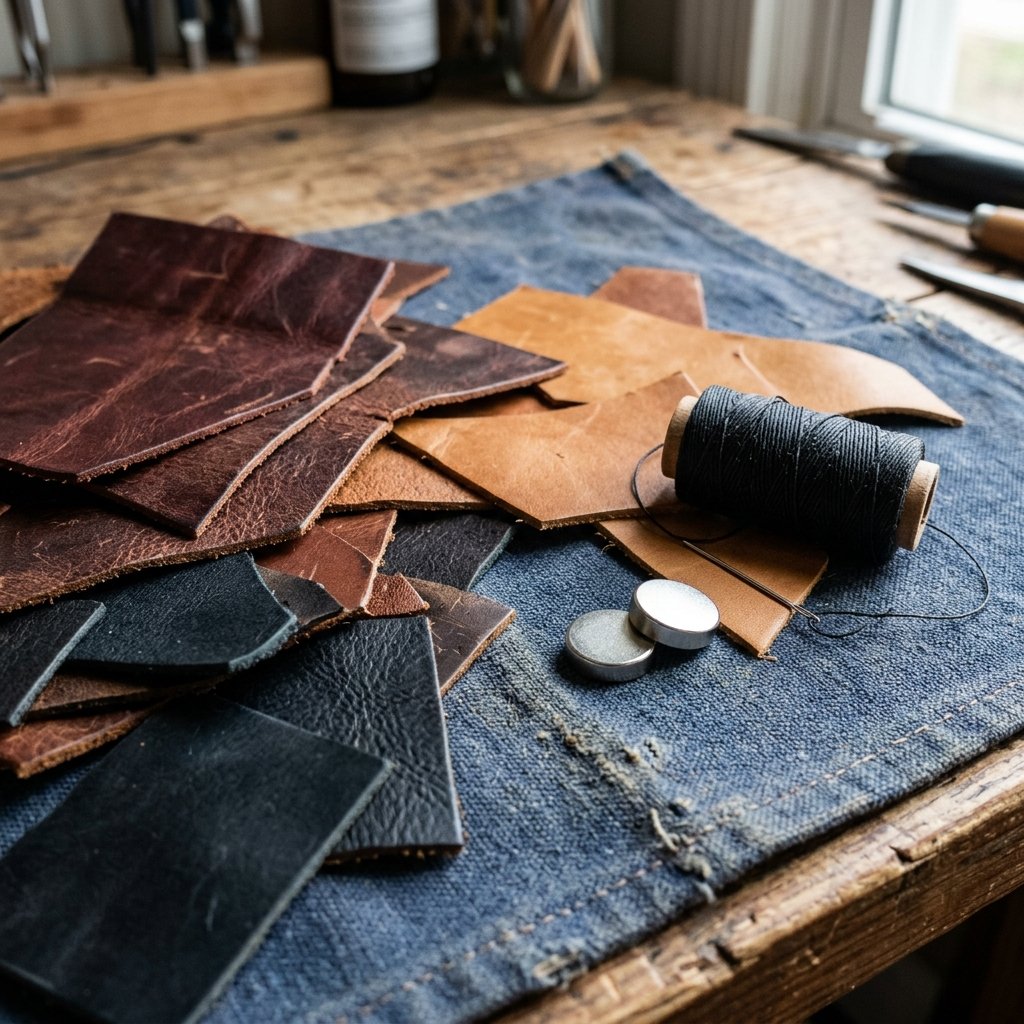
The secret to keeping this project under the $5 mark lies in how you source your leather. You do not need to buy a full cowhide; in fact, the smaller the piece, the better for our budget. A standard money clip only requires a piece of leather roughly 2 inches by 5 inches.
Where to Find Ultra-Cheap Leather
- Thrift Store Belts: Look for 100% genuine leather belts that are wide (at least 1.5 inches). A single belt for $2.00 can often yield 3 to 4 money clips.
- Upholstery Scraps: Visit a local furniture repair shop. They often have bins of ‘waste’ leather they are happy to sell for a few cents or even give away for free.
- Leather Remnant Bags: Craft stores often sell bags of ‘scraps’ for $10.00. Since one bag contains enough for 20 clips, your cost per unit is only $0.50.
| Material Item | Source Strategy | Estimated Cost |
|---|---|---|
| Leather Scrap (2″x5″) | Upcycled Belt / Scrap Bag | $0.50 – $1.50 |
| Neodymium Magnets (Pair) | Bulk Pack (Amazon/eBay) | $1.50 – $2.00 |
| Heavy Duty Thread | Polyester or Waxed Cord | $0.25 |
| Leather Glue/Cement | Household E6000 or Tacky Glue | $0.25 |
| Total Estimated Cost | – | $2.50 – $4.00 |
The Budget Guru’s Mantra: ‘Luxury is not defined by the price tag, but by the precision of the hand that crafted it.’
Essential Tools for the Minimalist Maker
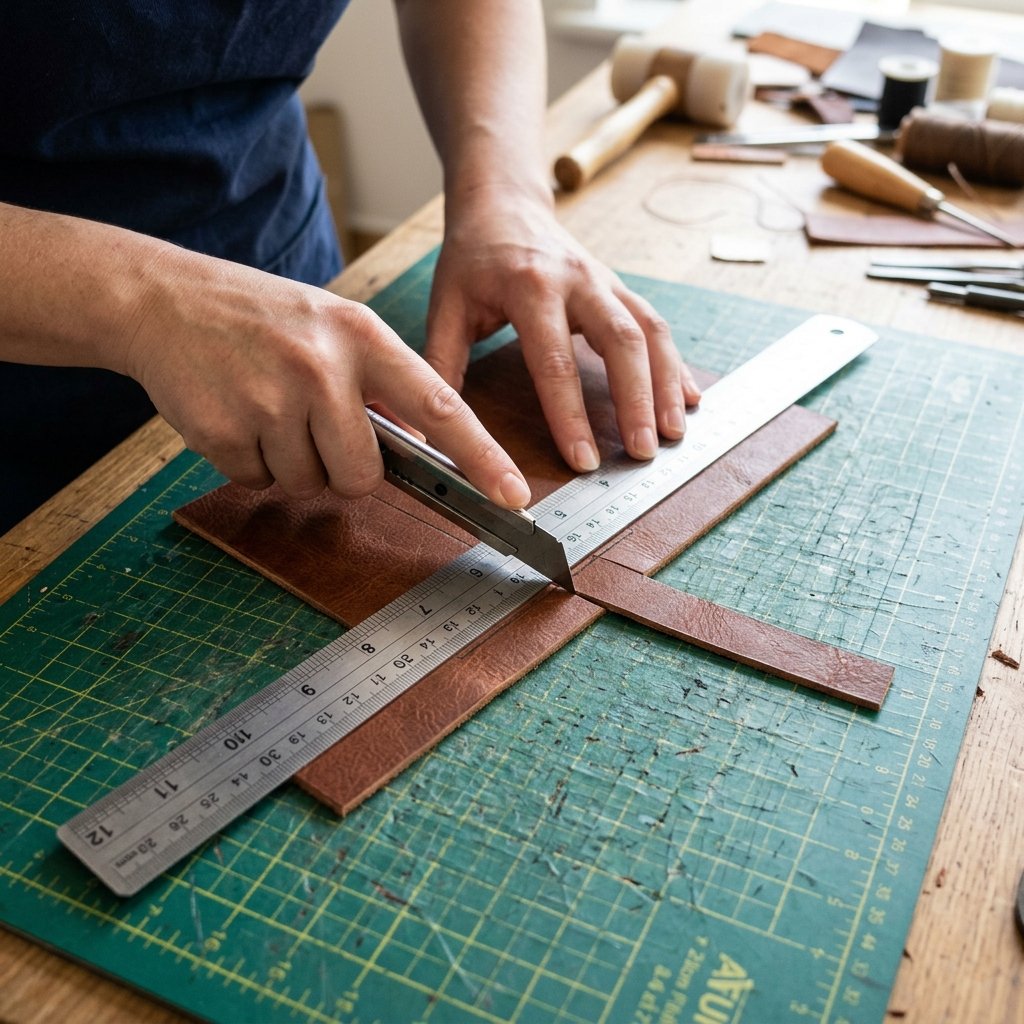
You don’t need a professional workshop to achieve professional results. Most of these tools are already in your junk drawer or tool box. If you have to buy them, they are one-time investments that will serve you for years of DIY projects.
The DIY Toolkit Checklist
- Utility Knife or Box Cutter: Must be extremely sharp to ensure clean edges on the leather.
- Metal Ruler: Essential for straight cuts; plastic rulers can be easily nicked by the blade.
- Hammer and a Large Nail: If you don’t have a leather punch, a sharpened nail can create the stitching holes.
- Two Sewing Needles: For the classic ‘Saddle Stitch’ which provides maximum durability.
- Sandpaper (220 grit): To smooth out the edges for that high-end ‘burnished’ look.
Safety First: Always cut away from your body and keep your fingers at least 2 inches away from the blade path. Leather is tough, and the knife can slip if you apply too much pressure.
Step-by-Step Construction: From Scrap to Style

Follow these steps carefully to ensure your money clip is both functional and beautiful. The entire process takes approximately 45 minutes.
1. Cutting the Leather
Measure and cut two identical rectangles of leather. The standard size is 1.75 inches wide by 4.5 inches long. If you want a more substantial feel, you can cut one long strip (9 inches) and fold it, but two pieces are often easier to manage for beginners.
2. Placing the Magnets
Apply a small dab of glue to the center of the ‘wrong’ side of each leather piece. Place your neodymium magnets on the glue. CRITICAL: Ensure the magnets are facing the correct way so they attract each other when the clip is folded! Let the glue dry for 10 minutes.
3. The Glue-Up
Apply a thin layer of contact cement or leather glue around the perimeter of the leather, avoiding the very edge where you will be stitching. Press the two pieces of leather together (sandwiching the magnets inside). Use a heavy book to weigh it down for 15 minutes.
4. Punching and Stitching
Using your ruler, mark dots every 1/8th of an inch along the perimeter. Use your nail and hammer to punch holes through both layers. Using the saddle stitch (threading two needles on opposite ends of one thread), sew around the border. This creates that iconic ‘hand-stitched’ rugged look.
5. The Finishing Touch: Burnishing
Sand the edges of the leather until they are flush. Wet the edges slightly with a drop of water or beeswax and rub them vigorously with a smooth wooden handle or a piece of denim. The friction will heat the fibers and create a smooth, shiny edge.
Personalization: Making it a Meaningful Gift
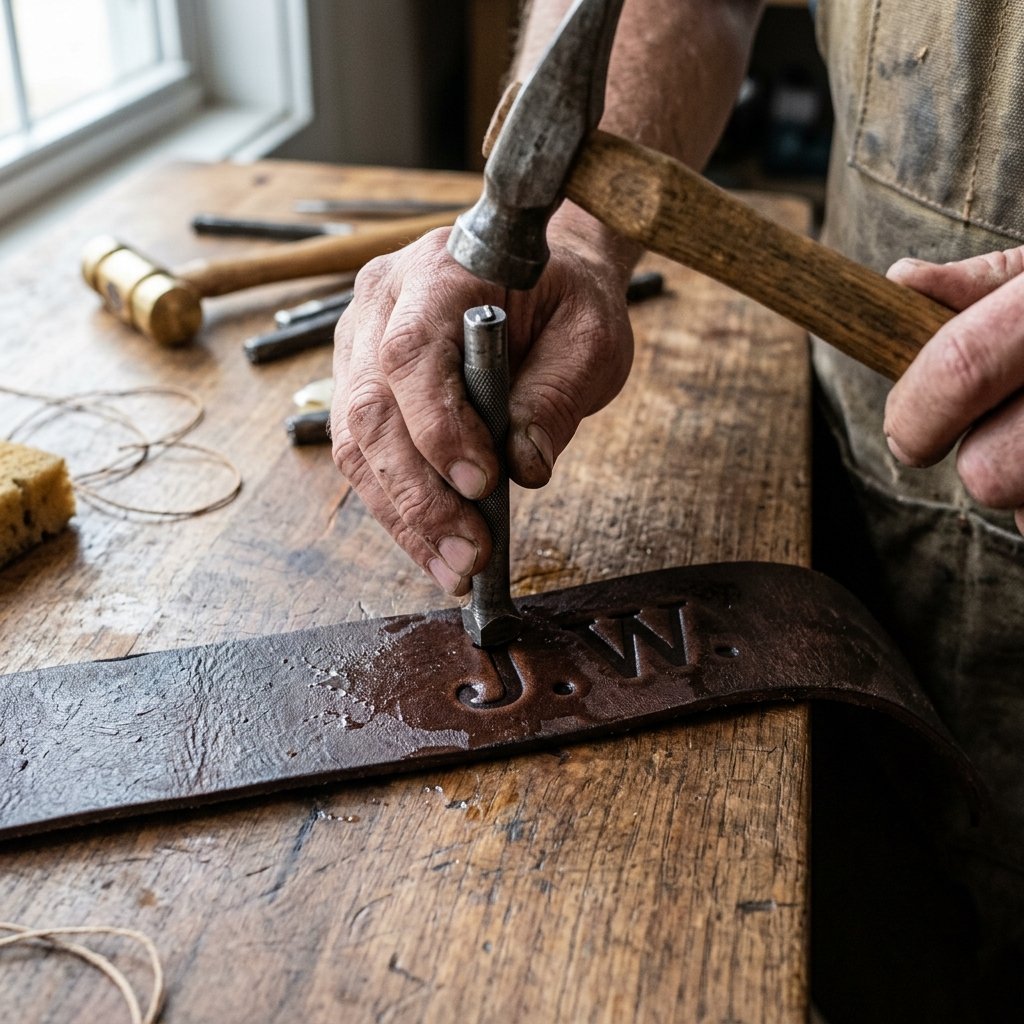
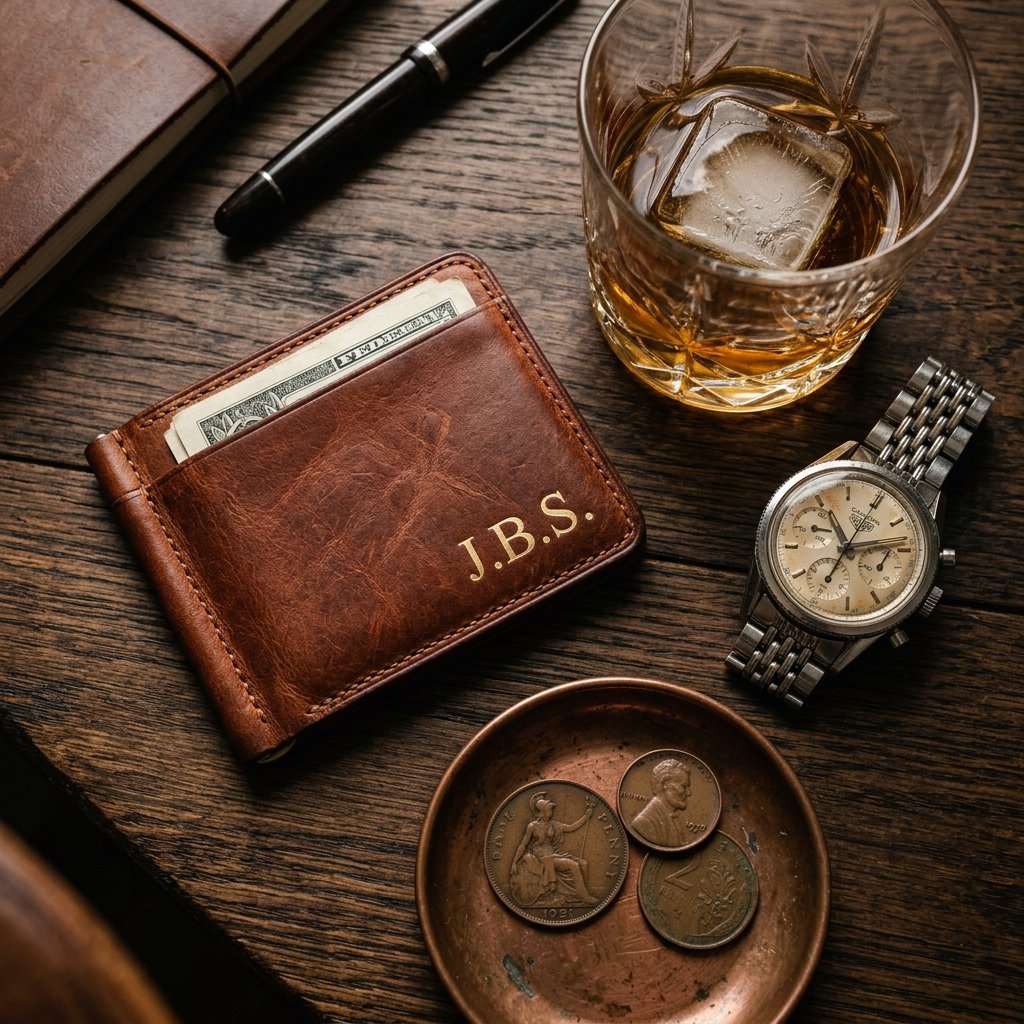
What turns a $5 project into a priceless heirloom is personalization. A plain money clip is a tool; a monogrammed money clip is a treasure.
Customization Techniques
- Initial Stamping: You can buy a basic letter stamp set for $10 (or borrow one). Dampen the leather slightly, place the stamp, and give it one firm strike with a hammer.
- Leather Burning (Pyrography): Use a fine-tip soldering iron to ‘draw’ a design or write a date on the inside of the clip.
- Edge Painting: For a modern look, use a tiny bit of acrylic paint on the burnished edges in a contrasting color like navy blue or forest green.
| Personalization Type | Difficulty Level | Time Added |
|---|---|---|
| Monogram Stamping | Easy | 2 Minutes |
| Inside Inscription (Burned) | Medium | 10 Minutes |
| Contrast Stitching | Easy | 0 Minutes |
| Custom Edge Dye | Medium | 5 Minutes |
The Value Proposition: DIY vs. Retail
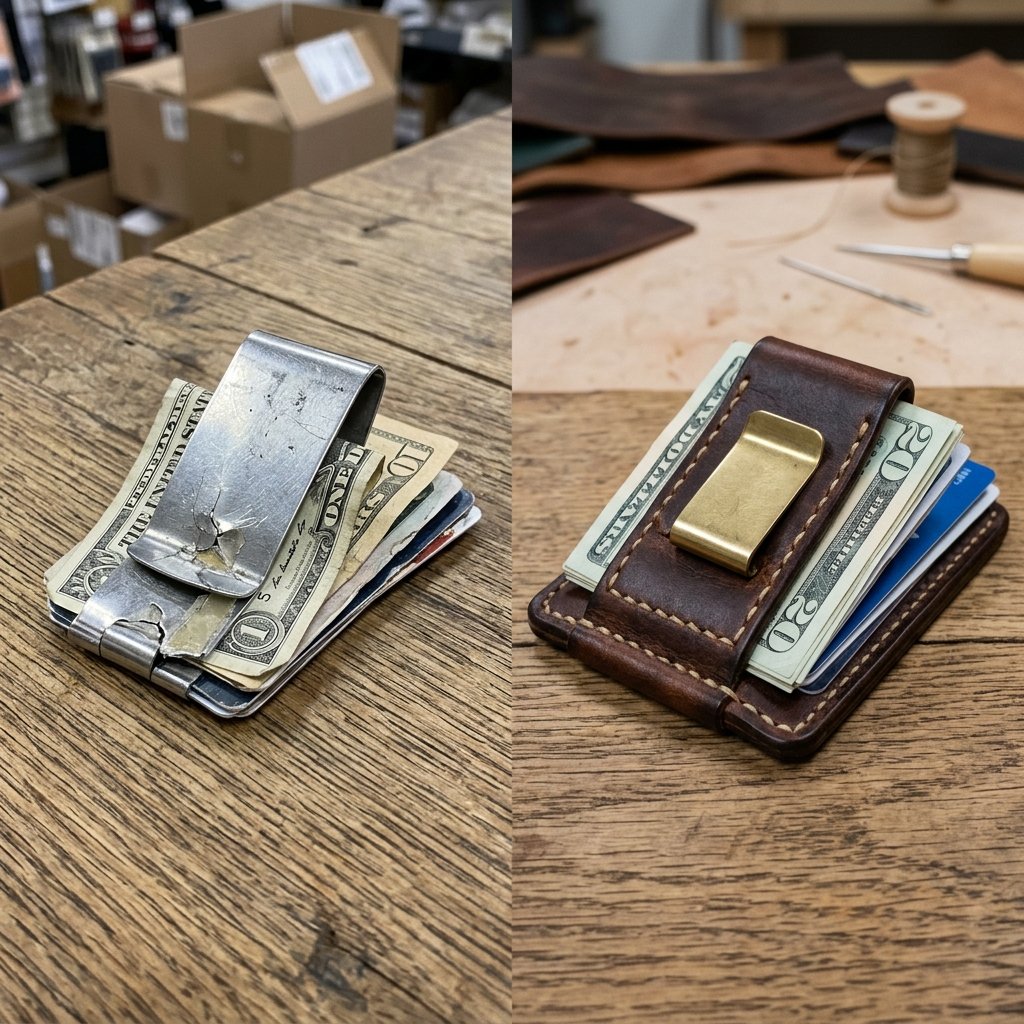
When we look at the numbers, the ‘Trash-to-Treasure’ philosophy becomes incredibly clear. Not only are you saving money, but you are also producing a product that is often more durable than mass-produced alternatives which often use ‘genuine leather’ (the lowest grade) rather than the ‘full-grain’ scraps you can source yourself.
| Feature | Store-Bought (Designer) | DIY Handmade Clip |
|---|---|---|
| Price | $65.00 | $3.75 |
| Material Quality | Bonded / Genuine Leather | Full-Grain Scraps |
| Customization | None / Extra Fee | Included (Monogrammed) |
| Durability | Glued Edges (May Peel) | Hand-Stitched (Lifetime) |
| Total Savings | – | $61.25 (94% Savings) |
By choosing the DIY route, you aren’t just being ‘cheap’—you are being resourceful. You are choosing to spend your time instead of your hard-earned capital, resulting in a gift that carries the story of its creation.
Conclusion
The Reward of the Craft
Crafting the easiest DIY leather money clip is more than just a weekend project; it is an exercise in intentionality. In a world of fast fashion and disposable goods, giving a gift that you built with your own hands—using tools you likely already owned and materials that cost less than a cup of coffee—is a powerful statement. You have created a functional piece of art that will develop a beautiful patina over years of use, reminding the recipient of your creativity and effort every time they reach for it.
So, the next time you need a gift for a birthday, anniversary, or holiday, don’t head to the mall. Head to the thrift store, find a sturdy belt, and start cutting. Your wallet—and the lucky man receiving your gift—will thank you.

Makenzie is the founder and lead writer at MoneyHackTips.com — a personal finance blog dedicated to delivering street-smart financial wisdom for real people on real budgets. With 300+ published articles covering everything from debt management to investing fundamentals, Makenzie’s mission is to make every dollar work harder. When not writing about money hacks, Makenzie is testing frugal living strategies, optimizing side hustles, and helping readers build financial freedom from scratch.