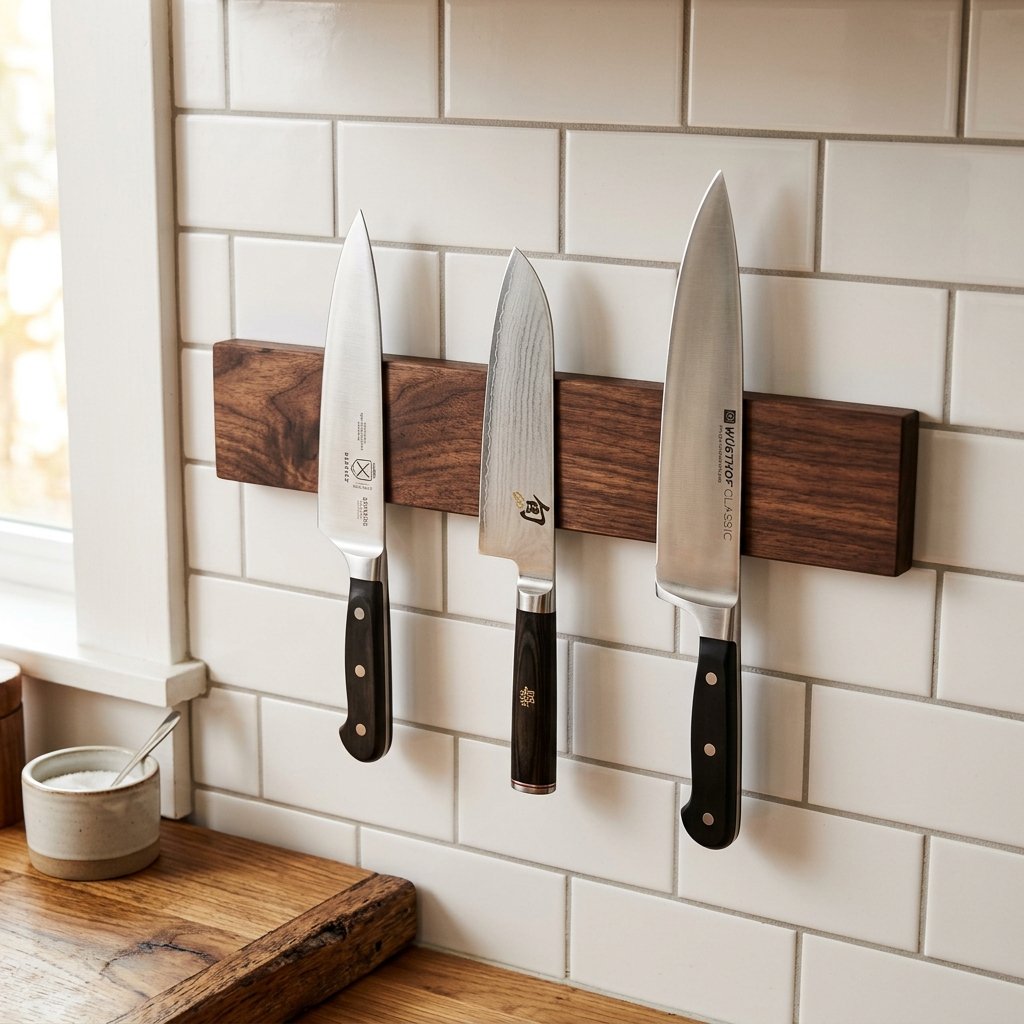

When it comes to gifting for the man who appreciates both form and function, the kitchen is often an overlooked frontier. Forget the generic gadgets that clutter drawers; we are talking about a statement piece that marries rugged craftsmanship with practical utility. A DIY magnetic wooden knife strip isn’t just a storage solution—it is a piece of wall art that showcases his most prized culinary tools. Whether he is a backyard BBQ pitmaster or a weekend gourmet, this project offers that masculine-elegant aesthetic found in high-end design boutiques like West Elm or Pottery Barn, but at a fraction of the cost. By using reclaimed timber and high-strength neodymium magnets, you can craft a gift that feels heavy, expensive, and deeply personal. Best of all, this project is the epitome of budget-savvy resourcefulness, allowing you to turn a scrap of hardwood into a $100-value gallery piece for less than the price of a takeout lunch.
The Master Plan: Sourcing Materials on a Dime
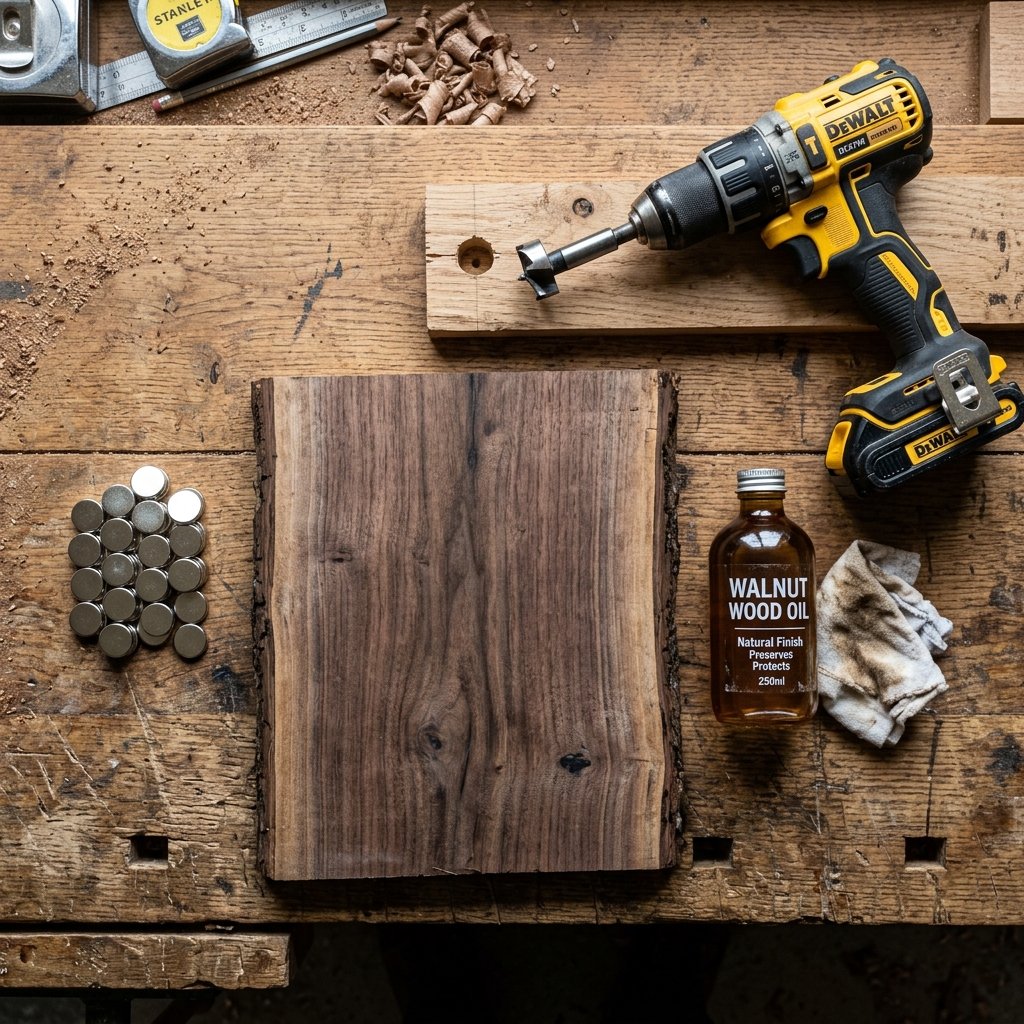
The beauty of this project lies in its simplicity. To achieve that high-end look, the quality of the wood is paramount. However, being resourcefully creative means we aren’t heading to the expensive lumber yard first. Look for offcuts of walnut, cherry, or oak in your own workshop, or check local online marketplaces for furniture makers selling their ‘scraps.’ A piece just 12 to 18 inches long is all you need to create a professional-grade strip.
Essential Materials & Cost Breakdown
| Material | Source | Estimated Cost |
|---|---|---|
| Hardwood Scrap (Walnut/Oak/Maple) | Upcycled/Workshop Scrap | $0 – $5 |
| Neodymium Magnets (1/2″ x 1/8″) | Bulk Online Pack | $8.00 |
| Two-Part Epoxy | Hardware Store | $4.00 |
| Food-Safe Mineral Oil | Kitchen Pantry | $0.00 |
| Keyhole Hangers or Heavy Duty Tape | Existing Hardware | $2.00 |
| Total Investment | $14.00 – $19.00 |
The secret to a ‘pro’ look is the wood thickness. Aim for at least 3/4 of an inch. This provides enough depth to hide the magnets while maintaining structural integrity.
The Science of Attraction: Choosing and Spacing Magnets

Not all magnets are created equal. To hold a heavy cleaver or a chef’s knife securely, you must use Neodymium (Rare Earth) magnets. These are significantly stronger than the ceramic magnets found in craft stores. For a standard 12-inch strip, you will want to create a ‘channel’ of magnetism that covers the entire length so the knives don’t slide or pivot dangerously.
Magnet Compatibility & Strength Guide
| Knife Type | Weight Category | Required Magnet Strength |
|---|---|---|
| Paring Knife | Light | 1 Magnet |
| Chef’s Knife (8-inch) | Medium | 2-3 Magnets (Vertical stack) |
| Meat Cleaver | Heavy | 4 Magnets (Double Row) |
| Bread Knife | Medium-Light | 2 Magnets |
When planning your layout, ensure the magnets are spaced approximately 1 inch apart. This prevents the magnetic fields from interfering with each other while ensuring there are no ‘dead zones’ where a knife might slip. You will be drilling from the backside of the wood, leaving a thin veneer of timber on the front. This is the ‘hidden’ magic that makes the knives appear to stick to the wood itself.
The Build: Precision Drilling and Assembly
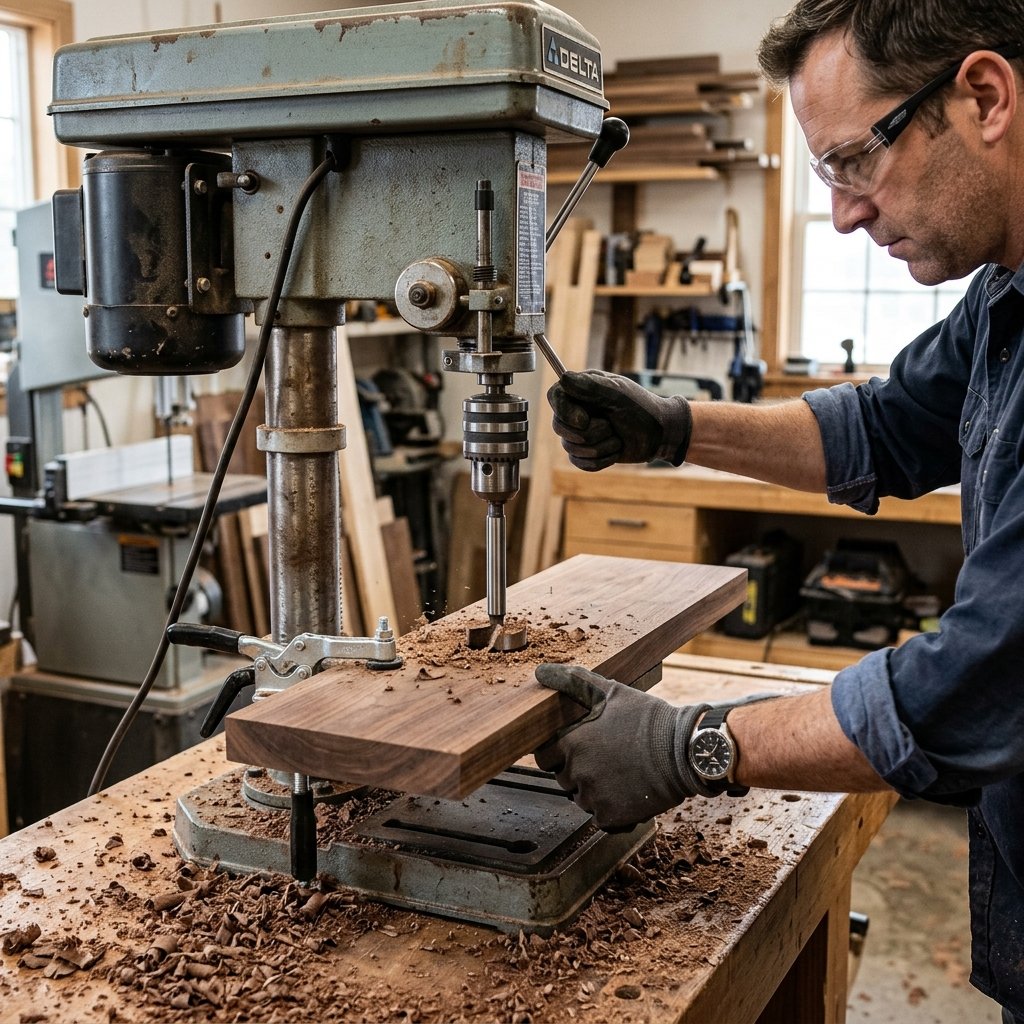
This is where your crafty-expert skills shine. The goal is to drill as close to the front face of the wood as possible without breaking through. The thinner the wood between the magnet and the knife, the stronger the pull.
- Measure and Mark: On the back of your wood, draw a centerline. Mark your holes every inch.
- Set the Depth: Use a Forstner bit that matches the diameter of your magnets. Wrap a piece of painter’s tape around the bit to act as a depth gauge. You want to leave about 1/16 to 1/8 of an inch of wood remaining on the face.
- The Drill Press Advantage: If you have a drill press, use it for maximum precision. If using a hand drill, work slowly and check your depth frequently.
- The ‘Polarity’ Check: Before gluing, ensure all magnets are facing the same direction. If they are flipped, they will repel each other and make the knives jump!
- Epoxy Application: Drop a small amount of two-part epoxy into the hole, press the magnet in, and let it cure. For extra strength, you can stack two magnets in each hole.
Safety Note: Neodymium magnets are incredibly powerful. Keep them away from electronics, pacemakers, and small children. They can pinch skin easily if they snap together unexpectedly.
Finishing Touches: Achieving that Masculine-Elegant Glow
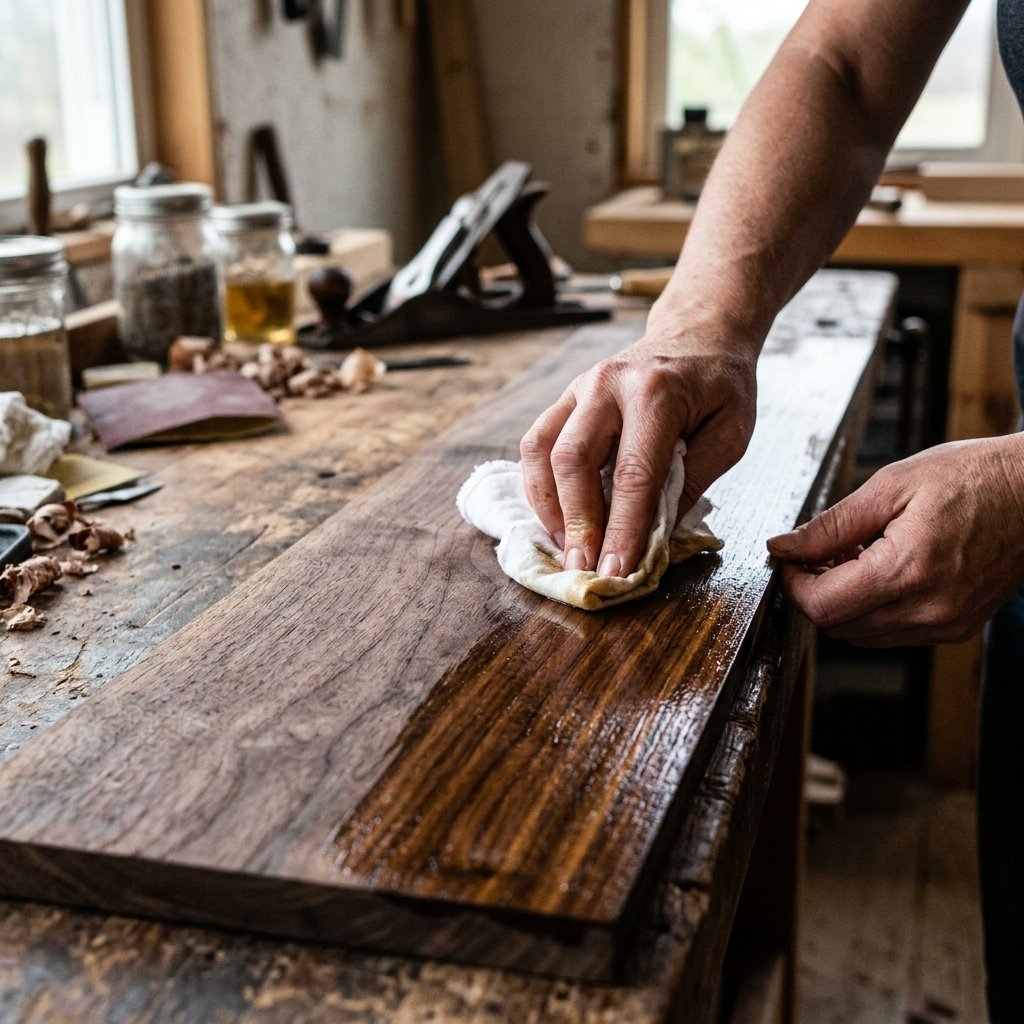
A rugged, handmade gift shouldn’t look ‘crafty’—it should look manufactured. This comes down to the sanding and the finish. Start with a coarse 80-grit sandpaper to remove any saw marks, then work your way up to 120, 220, and finally 400-grit for a finish that feels like silk.
The ‘Wet Look’ Finish
Since this is for the kitchen, avoid toxic varnishes. Instead, use a food-safe mineral oil or a beeswax-oil blend. This penetrates the grain, darkening the wood and highlighting the natural ‘chatoyancy’ (the shimmer of the wood fibers). Apply a liberal coat, let it soak in for 20 minutes, and buff away the excess with a lint-free cloth. Repeat this process 2-3 times until the wood stops ‘drinking’ the oil.
Mounting Options
- Invisible Keyhole Slots: For a true floating look, use a router to cut keyhole slots in the back.
- Heavy-Duty Command Strips: For renters or those who don’t want to drill into tile, high-weight-capacity adhesive strips work surprisingly well given the flat surface area of the wood.
Comparison: DIY vs. High-End Retail
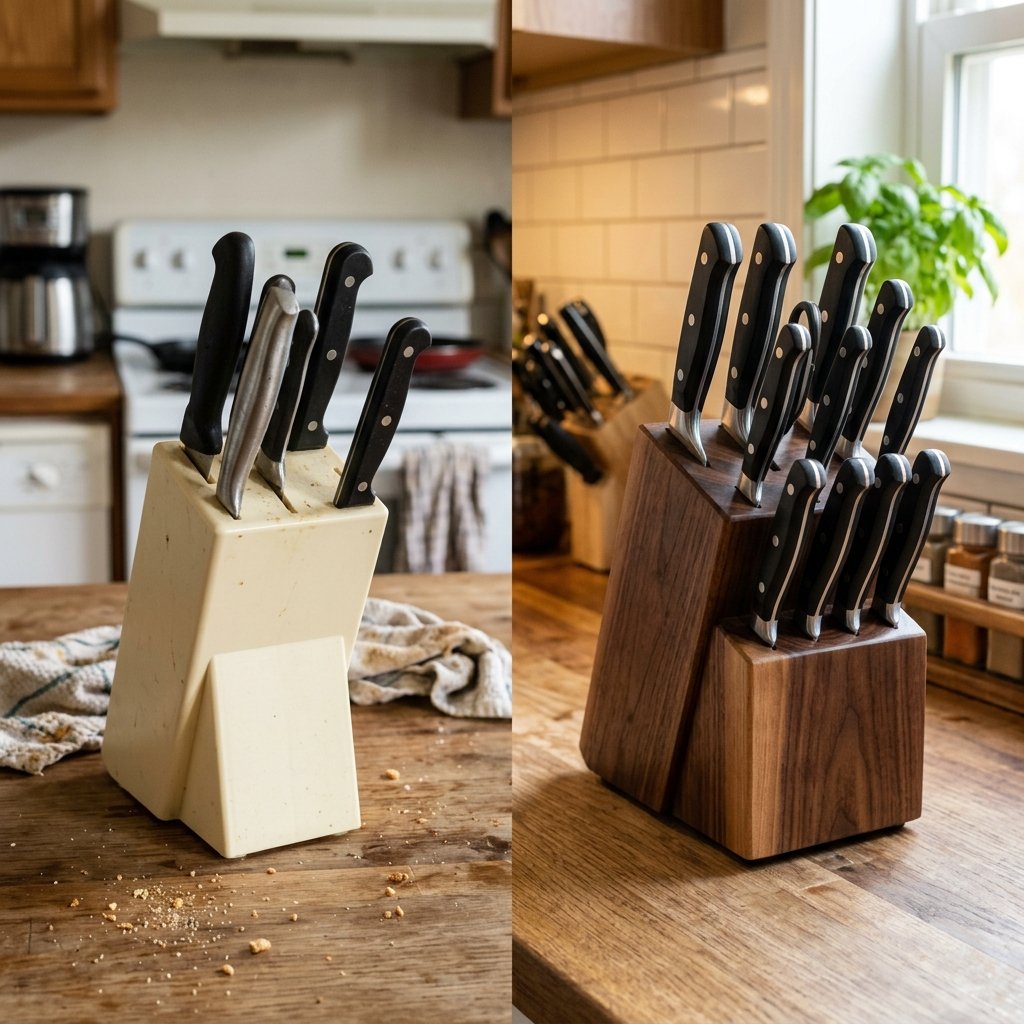
Why bother making this instead of clicking ‘buy’ on Amazon? The difference is in the soul of the material and the weight of the magnets. Most retail strips use cheap pine stained to look like walnut and weak magnetic tape. Your DIY version is a solid slab with industrial-grade pull.
| Feature | Store-Bought (Basic) | Your DIY Masterpiece |
|---|---|---|
| Material | Plastic or Veneer | Solid Hardwood |
| Magnet Strength | Weak (Knives may slip) | Industrial Neodymium |
| Customization | None | Custom Length & Grain |
| Price | $45.00 – $120.00 | ~$15.00 |
| Gifting Sentiment | Generic | Handcrafted/Heirloom |
Conclusion
Crafting this DIY magnetic wooden knife strip is more than just a weekend project; it is an exercise in budget-savvy elegance. You’ve taken a simple piece of timber and, with a few clever steps, turned it into a sophisticated gift that any man would be proud to display in his kitchen. It’s rugged, it’s practical, and it carries the weight of handmade quality that money simply cannot buy at a big-box store. So, grab that scrap of wood, order your magnets, and get to work. You’re not just making a tool holder; you’re building a kitchen centerpiece that will serve him—and his knives—for a lifetime. Happy crafting!

Makenzie is the founder and lead writer at MoneyHackTips.com — a personal finance blog dedicated to delivering street-smart financial wisdom for real people on real budgets. With 300+ published articles covering everything from debt management to investing fundamentals, Makenzie’s mission is to make every dollar work harder. When not writing about money hacks, Makenzie is testing frugal living strategies, optimizing side hustles, and helping readers build financial freedom from scratch.