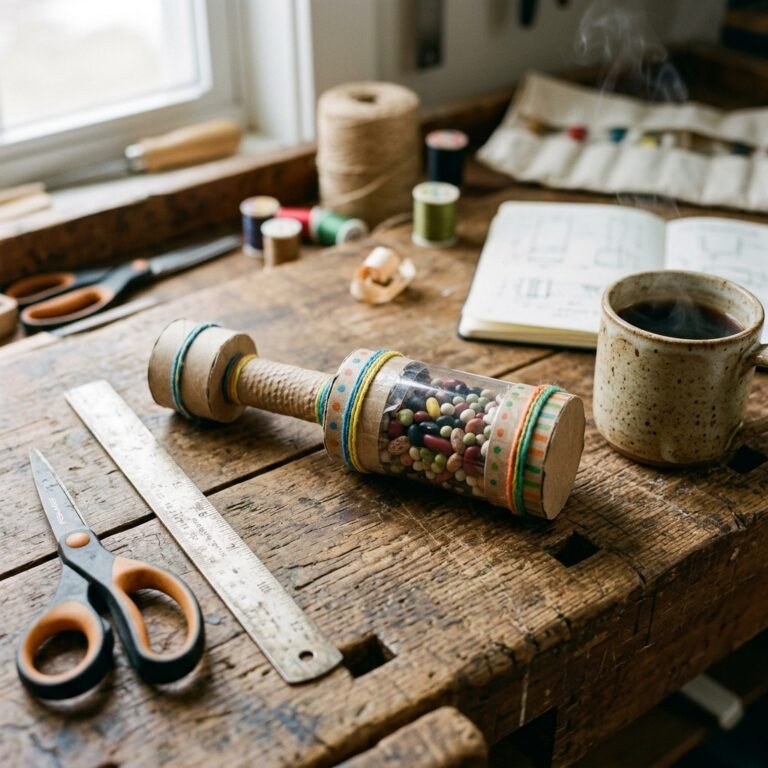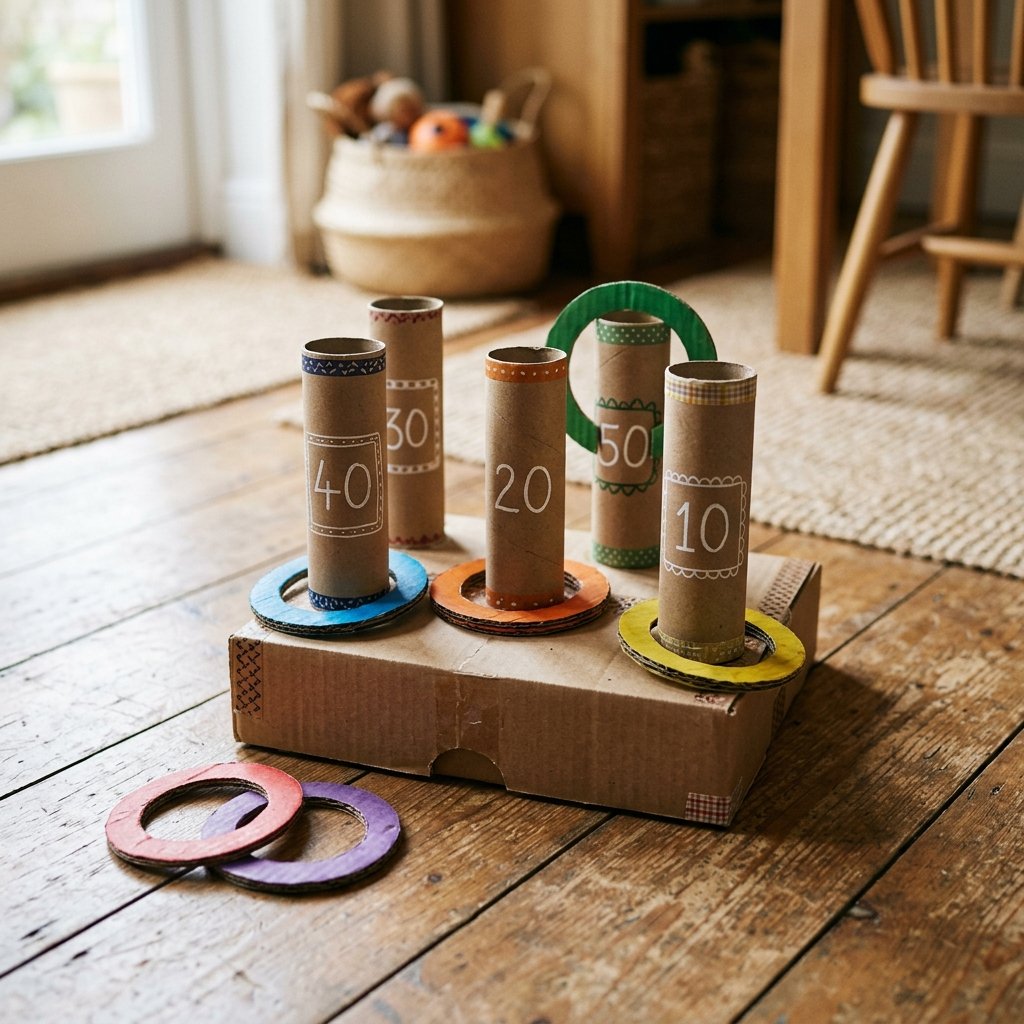

We have all been there: the living room is littered with expensive plastic toys that haven’t been touched in weeks, yet your toddler is complaining of boredom. As a resourceful DIYer, you know the secret that big-box retailers don’t want you to find out: the most engaging toys aren’t bought; they are built. Today, we are going to reclaim that empty Amazon box sitting in your recycling bin and transform it into a rugged, practical, and endlessly entertaining Ring Toss game. This project isn’t just about saving money; it is about teaching your children that creativity is the ultimate currency. In exactly 10 minutes, you can move from ‘I’m bored’ to ‘Watch this, Daddy!’ without spending a single cent.
The Anatomy of an Upcycled Classic: Materials & Budget

Before we dive into the construction, let us look at the logistics. Most parents would head straight to a toy store and drop $20 to $30 on a plastic set that will eventually end up in a landfill. By choosing the upcycling route, you are exercising your craft-expert muscles and keeping your budget intact. Here is everything you need from around the house.
| Material | Source | Estimated Cost |
|---|---|---|
| Large Cardboard Box | Recycling Bin | $0.00 |
| Paper Towel Rolls (3-4) | Kitchen Scraps | $0.00 |
| Duct Tape or Hot Glue | Toolbox | $0.50 |
| Utility Knife or Scissors | Kitchen Drawer | $0.00 |
| Total Project Cost | N/A | Under $1.00 |
Budget Guru Mantra: The best toys are 10% material and 90% imagination. If it comes in a box, the box is usually the better gift.
The 10-Minute Blueprint: Step-by-Step Construction

Efficiency is the name of the game. We are going to build this with the precision of a master tailor and the speed of a handy parent on a mission. Follow these steps to ensure a sturdy build that can withstand the enthusiastic tosses of a three-year-old.
- Prepare the Base: Take your largest flat piece of cardboard (about 18×18 inches). This will be your ‘court.’ If you want a masculine-elegant look, trim the edges neatly with a straight edge.
- Anchor the Posts: Trace the circular end of your paper towel rolls onto the base. Space them at least 6 inches apart. Use your utility knife to cut ‘X’ shapes inside these circles.
- Secure the Uprights: Push the paper towel rolls through the ‘X’ slits. Flip the base over and flare out the bottom of the tubes, taping them flat against the underside. This creates a rugged, stable anchor.
- Fabricate the Rings: Use a large bowl to trace circles on your remaining cardboard. Use a smaller bowl to trace the inner hole. Cut these out to create 4-6 rings. Pro Tip: Double up the cardboard and tape them together for a heavier, more satisfying ‘heft’ when thrown.
Engineering for Durability: The Rugged Upcycler’s Secret
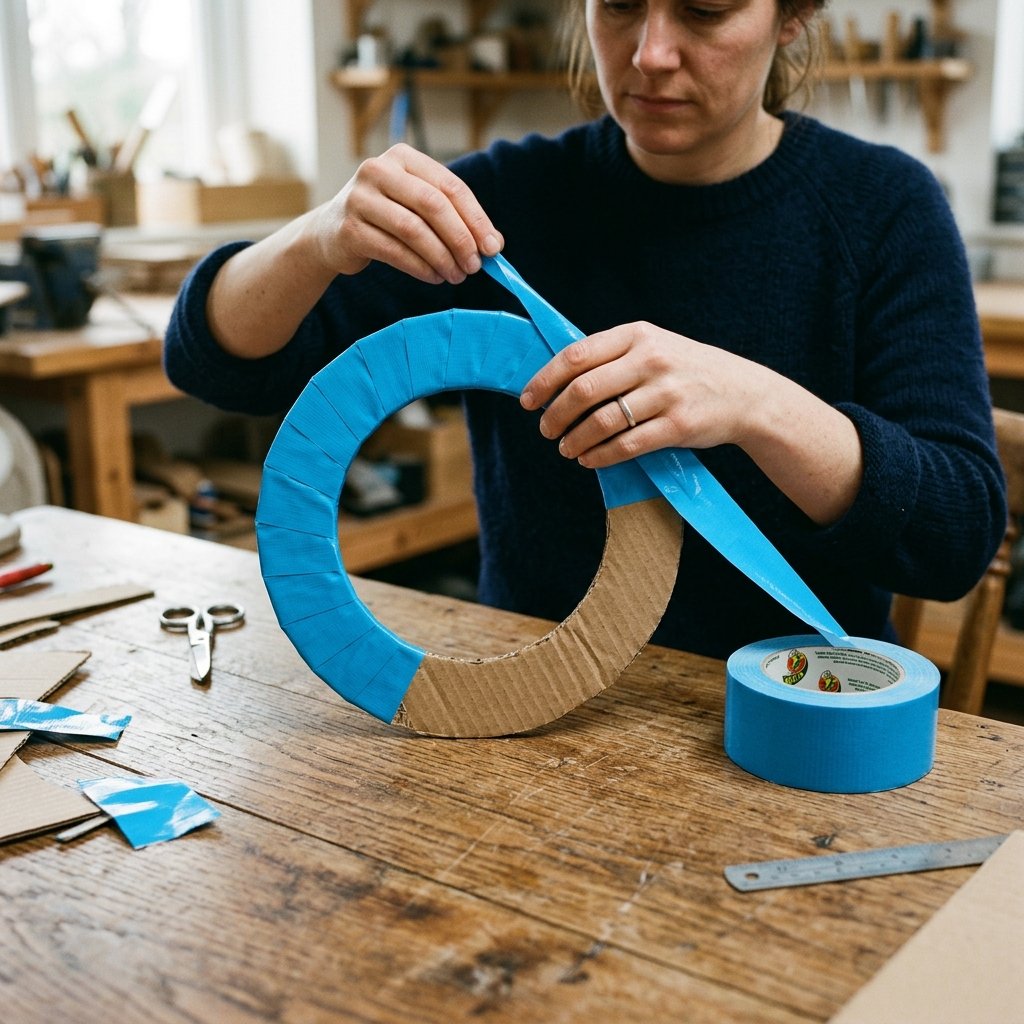
Toddlers are not known for their gentle touch. To ensure this game lasts longer than a single afternoon, we need to apply some practical engineering. A flimsy post will frustrate a child and end the game early. Here is how to reinforce your build like a pro.
- Weight the Base: If you are playing outdoors, tape a few flat stones or spare change to the bottom of the base. This prevents the wind (or a missed throw) from flipping the game.
- Reinforce the Rings: Wrap the cardboard rings entirely in colorful duct tape. This not only adds a ‘finished’ look but prevents the cardboard from bending or fraying over time.
- The Structural Sleeve: If your paper towel rolls feel weak, slide a rolled-up piece of scrap cardboard inside them to double the wall thickness. It makes them extra sturdy for those high-velocity ‘dunks.’
Safety Note: Always handle utility knives with care. Ensure all cardboard edges are smoothed down or taped over to prevent paper cuts during vigorous play.
Educational Variations: Clever Ways to Play

As a clever and budget-savvy parent, you know that play is the best form of learning. Once the basic game is built, you can customize it to help with development. Why settle for a simple toss when you can turn it into a learning laboratory?
Color Coordination
Paint each post a different color using leftover craft paint or markers. Challenge your toddler to match the blue ring to the blue post. This builds visual acuity and cognitive processing.
Point Scoring for Mini-Mathematicians
Write numbers on the base next to each post (e.g., 5, 10, 20). Even if they can’t add yet, they will begin to recognize that certain targets have higher value, introducing the concept of basic arithmetic and strategy.
The Distance Challenge
Mark ‘toss lines’ on the floor using masking tape at 2-foot, 4-foot, and 6-foot intervals. It encourages gross motor skill development and rewards persistence as they move further back.
Conclusion
Banish the boredom and embrace the trash-to-treasure lifestyle. In less time than it takes to drive to the store, you have created a custom, eco-friendly, and durable toy that provides hours of engagement. This DIY cardboard ring toss game is more than just a distraction; it is a testament to your resourcefulness and creativity. So, grab that box, start cutting, and watch your toddler’s face light up with the joy of a game made just for them by their favorite ‘handy’ person. Remember: the best memories aren’t manufactured; they are hand-crafted.

Makenzie is the founder and lead writer at MoneyHackTips.com — a personal finance blog dedicated to delivering street-smart financial wisdom for real people on real budgets. With 300+ published articles covering everything from debt management to investing fundamentals, Makenzie’s mission is to make every dollar work harder. When not writing about money hacks, Makenzie is testing frugal living strategies, optimizing side hustles, and helping readers build financial freedom from scratch.