
Reclaiming the Closet: Why Your Dog Needs a Bespoke Upcycled Collar
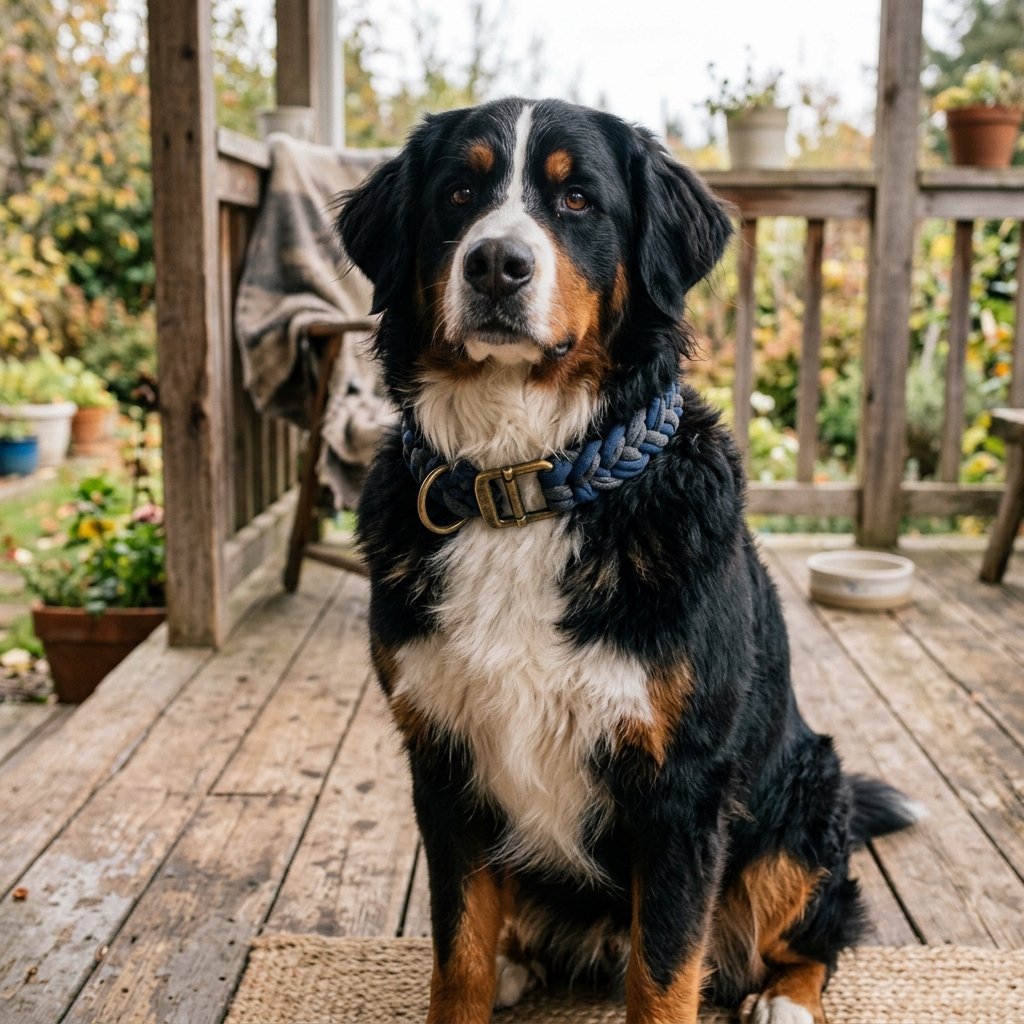
Every frugal DIYer knows the secret thrill of turning a ‘trash’ item into a ‘treasure’ piece of gear. In the world of pet ownership, we are often led to believe that quality requires a hefty price tag at a boutique pet store. But a gentleman crafter or a budget-savvy parent knows better. The The Easiest 10-Minute DIY Braided T-Shirt Yarn Dog Collar Your Pup Will Love isn’t just about saving money; it’s about the marriage of rugged utility and soft comfort. Standard nylon collars can be abrasive, and leather, while handsome, can be expensive and heavy for smaller pups or senior dogs. By upcycling a high-quality cotton jersey t-shirt, you are creating a breathable, washable, and incredibly durable piece of equipment that costs exactly $0.00 out of pocket. This guide will walk you through the engineering of the braid, the selection of the fabric, and the clever integration of hardware to ensure your best friend looks sharp without breaking the bank.
The Raw Materials: Selecting the Ultimate Tee
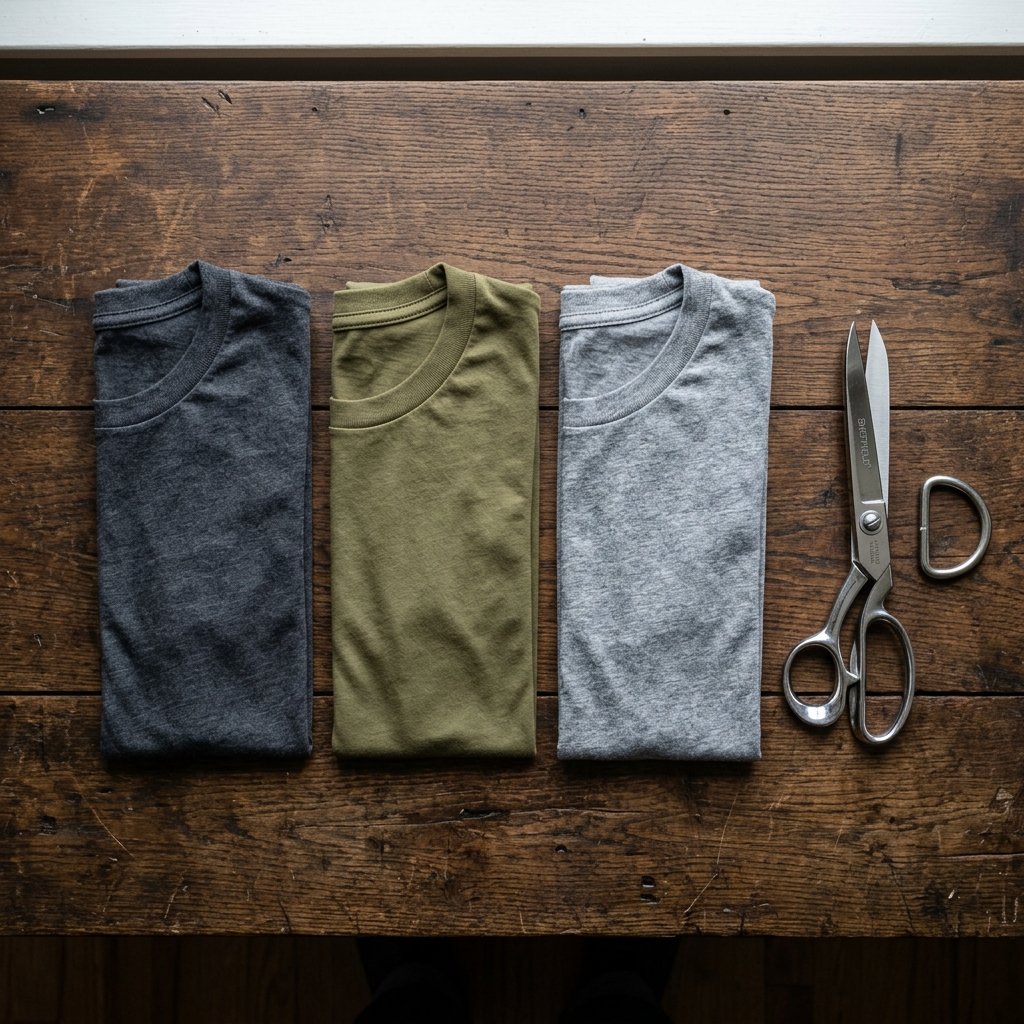
Not all t-shirts are created equal when it comes to yarn production. For a collar that stands the test of time and the rigors of a trip to the park, you want a 100% cotton jersey or a cotton-poly blend with high recovery. Avoid shirts with side seams if possible, as they create weak points in your yarn strips. A ‘heavyweight’ cotton tee will result in a thicker, more masculine-elegant braid, while a lightweight jersey is perfect for smaller breeds.
| Material Item | DIY Source | Estimated Cost |
|---|---|---|
| Old T-Shirt | Closet / Thrift Store | $0.00 |
| D-Ring | Old collar / Hardware bin | $0.00 – $0.50 |
| Side-Release Buckle | Discarded backpack / Old collar | $0.00 – $1.00 |
| Fabric Scissors | Household Tool Kit | $0.00 |
Before you begin cutting, ensure the shirt is clean and free of large holes. We are looking for the ‘stretch’ factor. When you pull jersey fabric horizontally, it curls into a tube—this is the magic of T-shirt yarn (also known as ‘Tarn’). It hides the raw edges and creates a professional, rounded look that mimics expensive climbing rope or paracord gear.
The Engineering of T-Shirt Yarn: The Continuous Loop Method
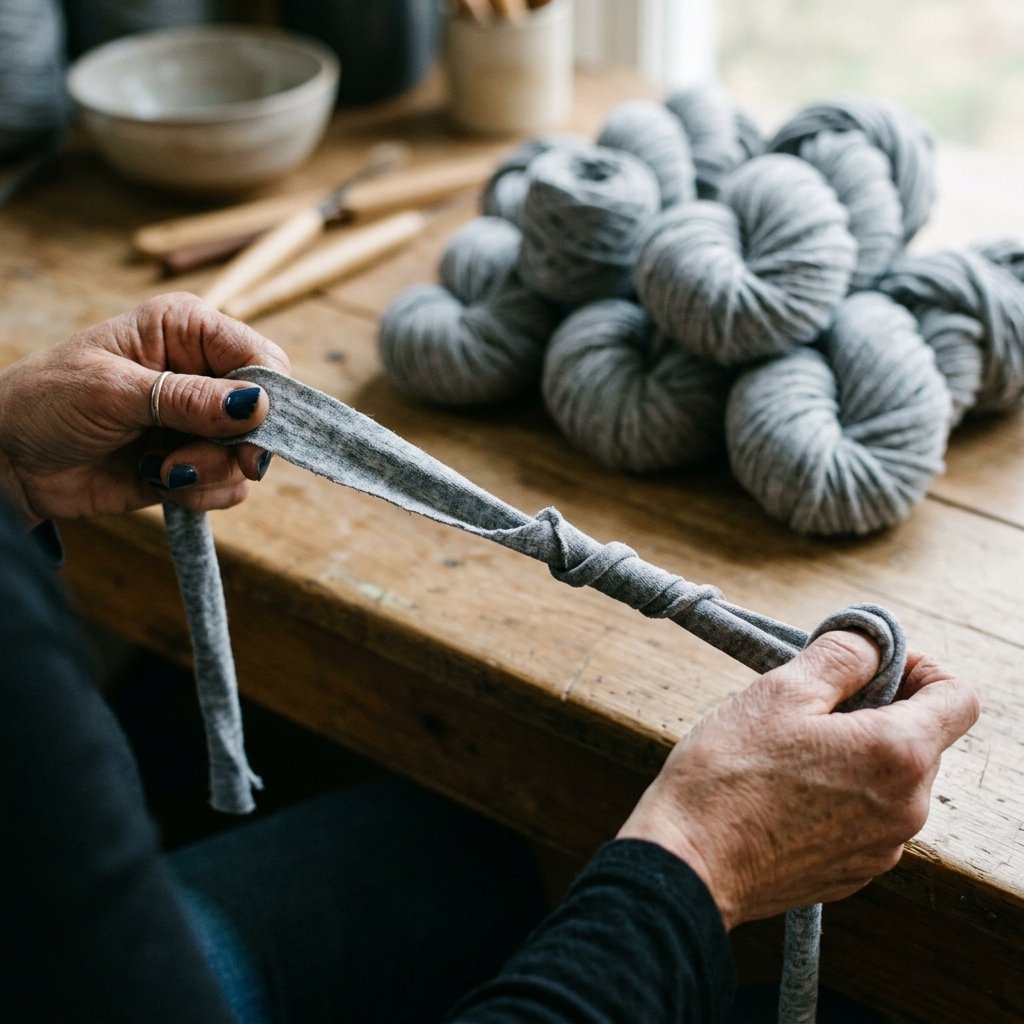
Efficiency is the soul of the frugal crafter. While you could simply cut strips, the continuous loop method ensures you have long, unbroken strands of yarn, which increases the structural integrity of the collar. Follow these steps to prepare your ‘Tarn’:
- Lay the shirt flat and cut off the bottom hem and the area below the armpits. You now have a large fabric tube.
- Fold the tube in half, but leave about 1 inch of the bottom layer protruding at the top.
- Cut slits approximately 1.5 inches wide from the folded edge up to the protruding 1-inch strip, but do not cut through that top strip.
- Open the shirt up so the uncut 1-inch strip is in the center.
- Cut diagonally from the first slit to the second, the second to the third, and so on. This creates one long, continuous strand.
“The secret to high-end DIY is in the preparation. Stretch your yarn strips vigorously after cutting; this forces the edges to curl inward, creating a smooth, durable cord that won’t fray during your dog’s adventures.”
Once stretched, your yarn is ready for the braiding process. For a medium-sized dog, you will need approximately 3 to 4 yards of yarn to account for the shrinkage that occurs during braiding.
The Braiding Architecture: Strength Meets Style
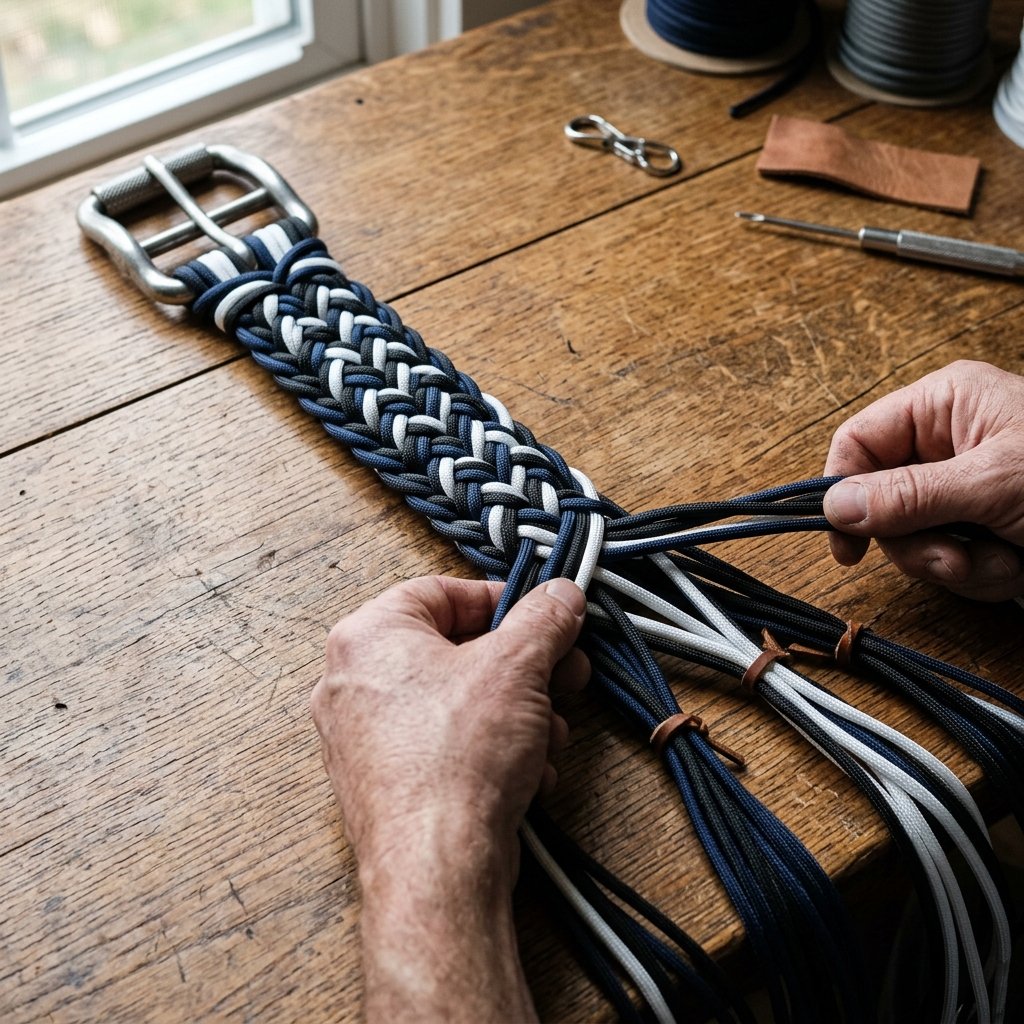
For this 10-minute project, we utilize the Classic 3-Strand Braid, but with a ‘doubled-up’ technique to ensure it is rugged enough for a dog. A single strand braid is too thin; we want a collar that has some ‘heft’ and visual presence.
| Braid Type | Strength Rating | Complexity | Best For |
|---|---|---|---|
| 3-Strand (Single) | Low | Very Easy | Toy Breeds / Cats |
| 3-Strand (Doubled) | High | Easy | Medium to Large Dogs |
| 4-Strand Round | Very High | Moderate | Active/Pulling Dogs |
| Cobra Knot | Extreme | Moderate | Tactical / Large Breeds |
To execute the Doubled 3-Strand Braid:
- Cut six strands of yarn (two for each of the three braiding sections).
- Thread the strands through the ‘female’ end of your buckle and fold them over so you have twelve ends.
- Secure the buckle to a tabletop using a piece of painter’s tape or a heavy weight.
- Divide the strands into three groups of four.
- Perform a standard tight braid, ensuring the tension is consistent throughout. Consistency is key for a professional, masculine-elegant finish.
Hardware Integration and Safety Testing
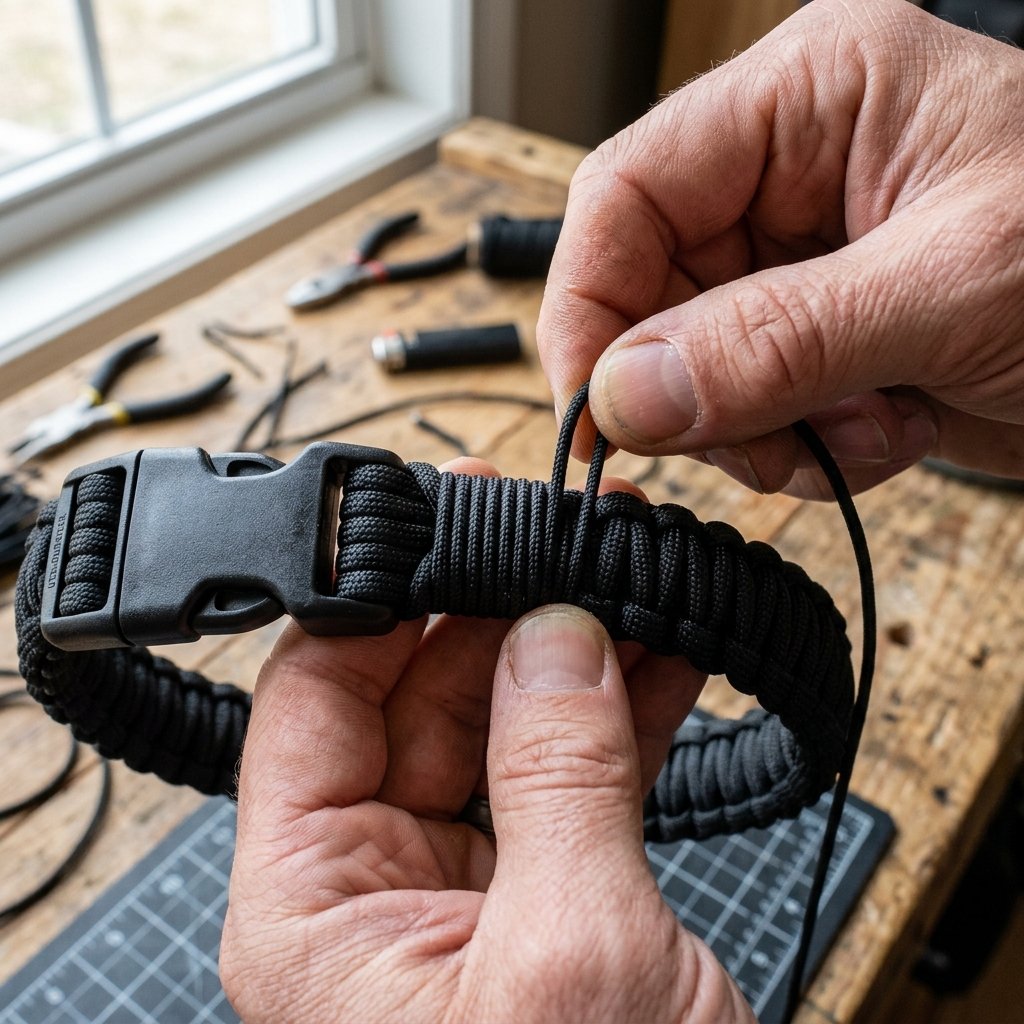
A collar is only as good as its weakest link. When you reach the desired length (measure your dog’s neck and add 2 inches for comfort), it is time to integrate the D-ring and the ‘male’ end of the buckle. This is where we move from ‘crafty’ to ‘rugged.’
Securing the D-Ring
Slide the D-ring onto the braid about two inches before the end. Continue braiding around it to lock it into place. This ring is where the leash will attach, so the braid must be exceptionally tight here. Safety Note: If your dog is a heavy puller, consider adding a few hand-sewn stitches with heavy-duty upholstery thread through the braid at the D-ring point for extra security.
Finishing the Buckle
- Thread the remaining yarn ends through the male buckle piece.
- Fold the ends back over the braid.
- To finish without a sewing machine, use a ‘Whipping Knot’ (a common sailing and bushcraft technique) using a smaller piece of yarn or twine to bind the ends together tightly.
- Trim the excess fabric and tuck the ends under the whipping for a clean, professional look.
“A tool is only useful if it is reliable. Always perform a ‘strength test’ by giving the finished collar several firm tugs before placing it on your dog. If it yields, re-tighten your knots.”
The Final Fit: Customization and Maintenance
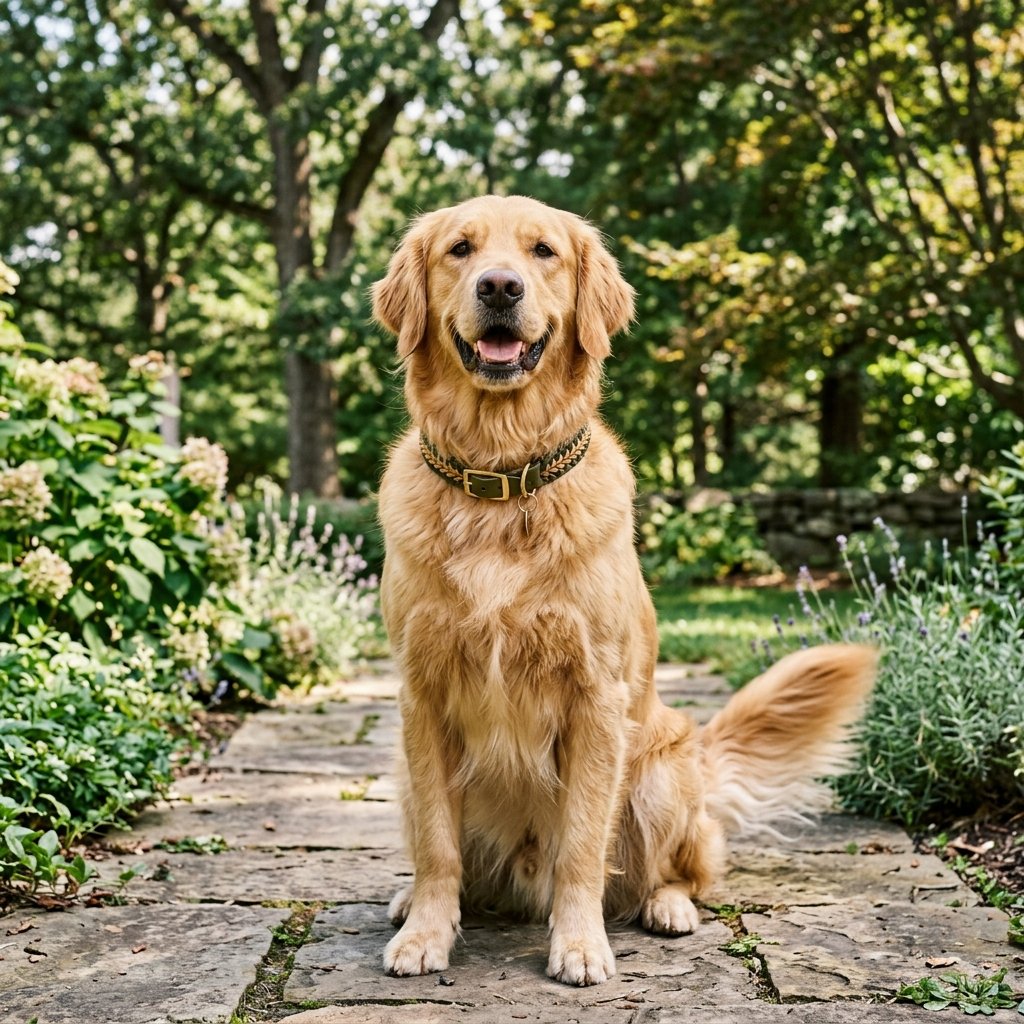
The beauty of the t-shirt yarn collar is its versatility. Because you are the designer, you can customize the aesthetic to match your dog’s personality. For a more rugged, masculine look, choose dark earth tones like olive, charcoal, and navy. For a creative gift-giving vibe, use bright contrasting colors or even ‘bleach-dyed’ t-shirt yarn for a marbled effect.
| Dog Size | Neck Measurement | Braid Length Needed |
|---|---|---|
| Small (10-25 lbs) | 10″ – 14″ | 12″ – 16″ |
| Medium (26-55 lbs) | 14″ – 18″ | 16″ – 20″ |
| Large (56-80 lbs) | 18″ – 22″ | 20″ – 24″ |
One of the greatest benefits of this DIY project is the ease of maintenance. Unlike leather which can crack or nylon which can hold odors, your t-shirt yarn collar is 100% machine washable. Simply toss it in a mesh laundry bag and wash it with your regular clothes. It will come out smelling fresh and looking brand new, which is a win for any handy parent or busy pet owner.
Conclusion
The $0 Masterpiece: A Win for Your Wallet and Your Wardrobe
By spending just 10 minutes and utilizing materials you already had destined for the bin, you have created a bespoke, high-quality accessory that rivals anything found in a boutique. This project embodies the heart of the frugal DIYer: it is resourceful, clever, and deeply practical. You have saved an old shirt from the landfill, saved $20 or more on a store-bought collar, and provided your pup with a comfortable, breathable piece of gear they will truly love. Whether you’re making these as thoughtful gifts for fellow pet lovers or building a ‘wardrobe’ of colors for your own dog, the braided t-shirt yarn collar is a testament to what a little creativity and a rugged DIY spirit can achieve. Now, grab that leash, head outside, and show off your pup’s new custom gear!

Makenzie is the founder and lead writer at MoneyHackTips.com — a personal finance blog dedicated to delivering street-smart financial wisdom for real people on real budgets. With 300+ published articles covering everything from debt management to investing fundamentals, Makenzie’s mission is to make every dollar work harder. When not writing about money hacks, Makenzie is testing frugal living strategies, optimizing side hustles, and helping readers build financial freedom from scratch.