The Badge of Honor: Why We Repair Instead of Replace
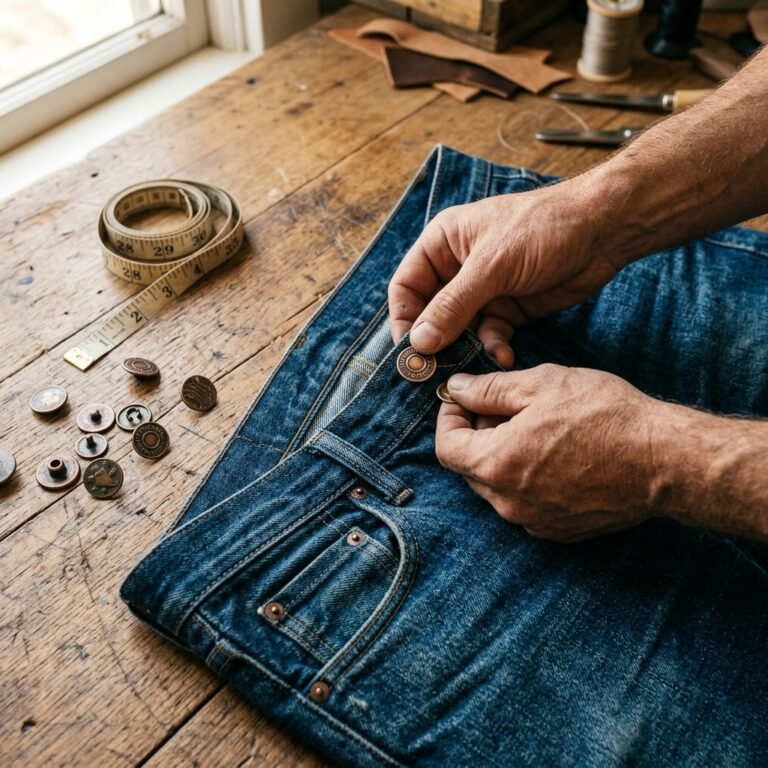
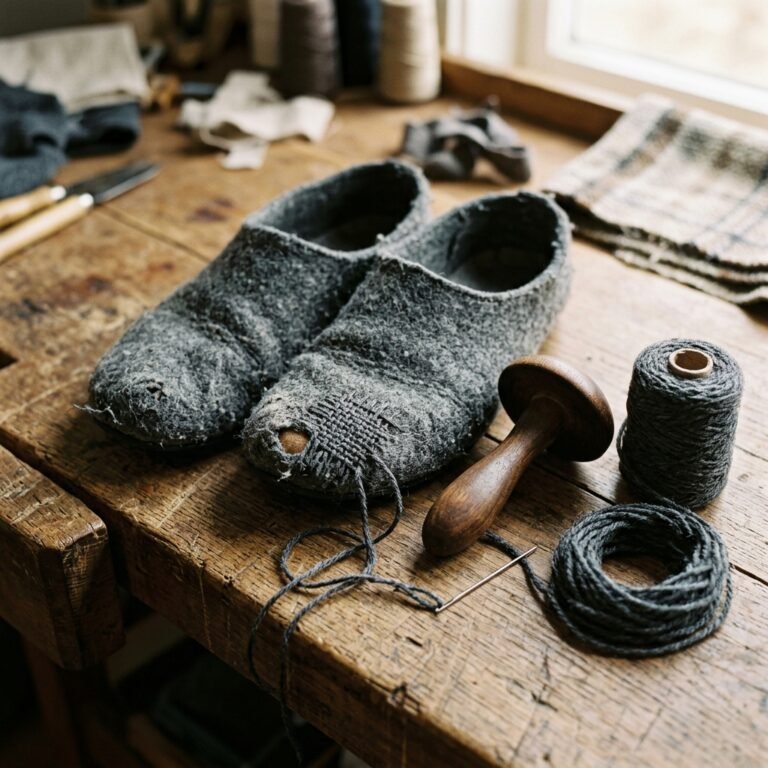
In a world of fast fashion and disposable camping equipment, there is a quiet, rugged dignity in a well-mended piece of gear. When your favorite down jacket snags on a stray branch or your trusty tent catches a spark from the campfire, your first instinct might be to browse for a replacement. Stop right there. You aren’t just looking at a rip; you’re looking at an opportunity to save $200 to $500 while adding a layer of personal history to your equipment. As a frugal DIYer, you know that the best gear isn’t the newest—it’s the stuff that has survived the trenches and come back stronger. This guide will teach you the clever, budget-savvy techniques to perform ‘field surgery’ on your gear, ensuring your outdoor adventures continue without breaking the bank.
The Gear-Medic’s Essential Toolkit: Professional Supplies for Pennies
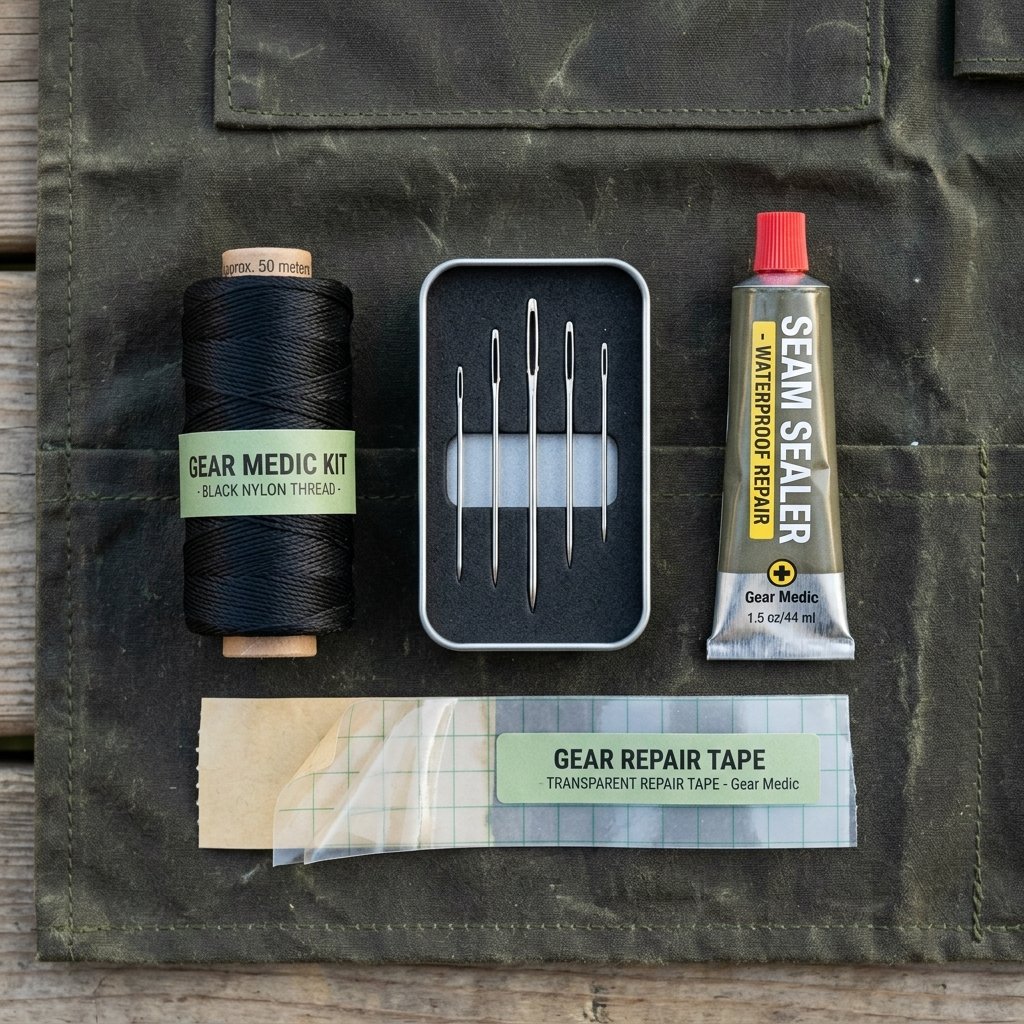
Before we dive into the stitches, we must assemble our kit. You don’t need a $1,000 sewing machine to fix a $400 Patagonia shell. In fact, hand-mending is often superior for technical fabrics because it allows for the precision and delicacy that a machine lacks. Most of these items can be found in your ‘junk drawer’ or purchased for less than the cost of a fancy latte.
Budget Mantra: The most expensive tool is the one you only use once. Invest in quality thread, and the rest will follow.
| Item | Purpose | Estimated Cost |
|---|---|---|
| Heavy-Duty Polyester Thread | Tensile strength for seams | $3.50 |
| Tenacious Tape (Adhesive) | Instant patches for synthetics | $7.00 |
| Curved Upholstery Needles | Navigating tight corners/tents | $2.00 |
| Seam Grip +WP | Waterproofing repairs | $8.00 |
| Total Kit Cost | Professional Grade | $20.50 |
Choosing Your Thread
When repairing tents or technical jackets, avoid 100% cotton thread. Cotton rots over time when exposed to moisture. Instead, opt for heavy-duty polyester or nylon thread. It is UV-resistant and won’t snap when your gear is under tension during a heavy windstorm.
The Invisible Savior: Mastering the Ladder Stitch
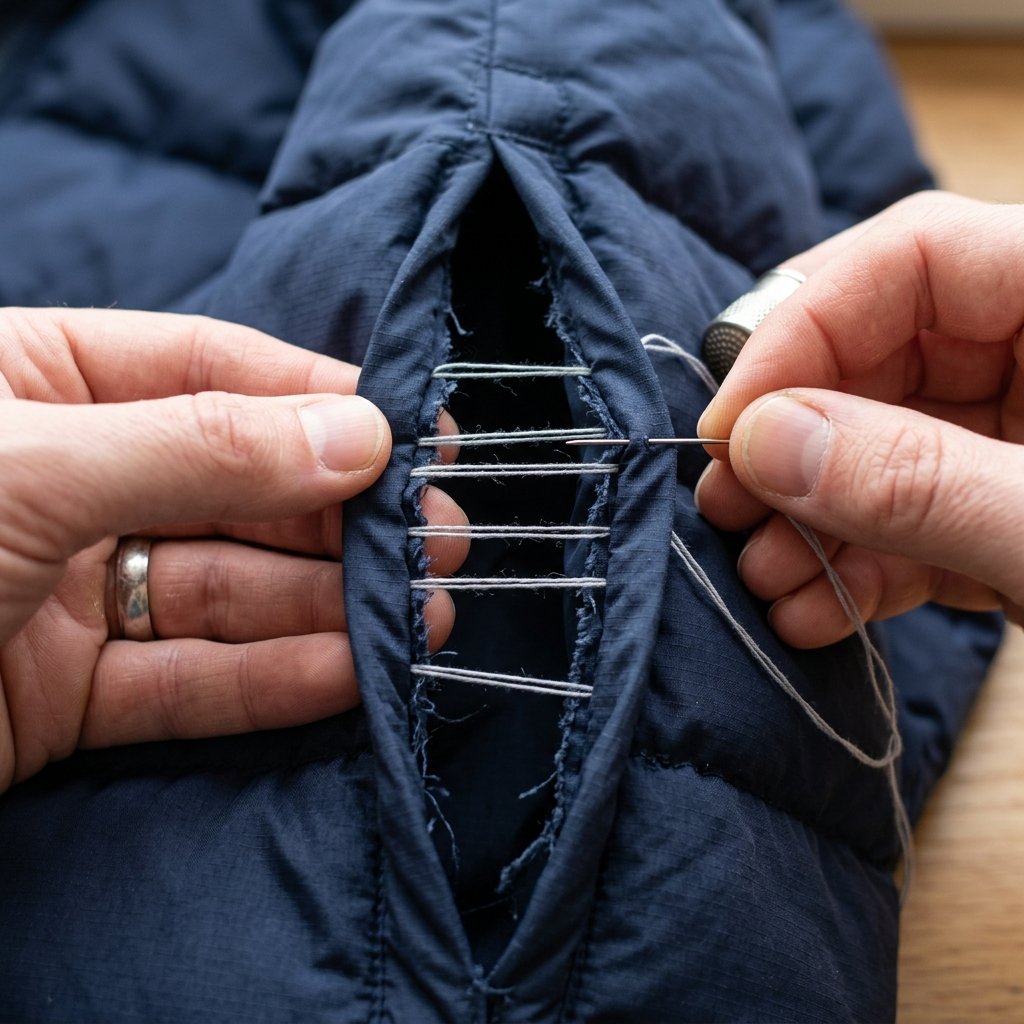
For clean rips along a seam or snags in a down jacket where you want the repair to be ‘unseen,’ the Ladder Stitch (also known as the Invisible Stitch) is your best friend. This is the secret weapon of master tailors and frugal gear-heads alike.
Step-by-Step Invisible Mending:
- Anchor the Thread: Knot your thread and bring the needle up from the inside of the rip, right at the start of the tear.
- The Rung: Cross the gap and take a small horizontal stitch (about 2-3mm) through the fold of the fabric on the opposite side.
- The Ladder: Move back to the first side and take another horizontal stitch. You will see the thread forming ‘rungs’ across the gap.
- The Magic Pull: After about 1 inch of stitching, gently pull the thread taut. The two sides of the fabric will zip together, hiding the thread entirely.
- Secure the End: Tie off the thread with a small hidden knot and bury the ‘tail’ inside the jacket.
Pro Tip: If you are repairing a down jacket, use a toothpick to gently push any escaping feathers back into the baffle before you close the stitch. Don’t pull the feathers out! This reduces the loft and warmth of your coat.
Rugged Resilience: Sashiko-Style Visible Mending

Sometimes, a rip is too large to hide. Instead of a messy ‘hack job,’ embrace the aesthetic of Sashiko—a Japanese folk-mending technique that uses beautiful, functional stitching to reinforce fabric. This turns a repair into a custom design element, making your gear look rugged and ‘expertly used.’
How to Execute a Rugged Patch:
- Material Selection: Find a scrap of durable fabric (old denim, Cordura, or even a heavy canvas).
- The Overlay: Cut the patch so it is 1 inch larger than the hole on all sides.
- The Stitch: Use a bright, contrasting thread (like white or orange) to create rows of running stitches across the patch.
- The Reinforcement: Ensure your stitches go through both the patch and the original garment to distribute the stress.
This method is particularly effective for elbows of work jackets or the floor of a tent where durability is more important than aesthetics. A Sashiko-mended jacket tells a story of survival and resourcefulness.
Technical Fabric Triage: Tents and Waterproof Shells

Tents and rain shells are made of specialized materials like SilNylon or GORE-TEX. You cannot simply sew these without compromising their waterproof integrity. For these, we use Adhesive Triage.
| Fabric Type | Repair Method | Drying Time |
|---|---|---|
| SilNylon (Ultralight Tents) | Silicone-based adhesive + Patch | 24 Hours |
| GORE-TEX (Rain Shells) | Pressure-sensitive tape (Tenacious Tape) | Instant |
| PVC/Vinyl (Heavy Tarps) | Vinyl Cement | 2 Hours |
The ‘No-Sew’ Tent Repair Process:
- Clean the Area: Use an alcohol wipe to remove oils and dirt. This is the most critical step for a permanent bond.
- Round the Corners: If using a repair tape, always cut the patch into a circle or oval. Sharp corners peel easily; rounded edges stay stuck for years.
- Apply Pressure: Place the gear on a hard surface and use the back of a spoon to burnish the patch, forcing the adhesive into the fibers.
- Seal the Perimeter: For tent floors, apply a thin bead of Seam Grip around the edge of the patch to prevent moisture from creeping under.
Hardware Hacks: Fixing Zippers and Snaps

Often, it’s not the fabric that fails, but the hardware. A broken zipper doesn’t mean the jacket is trash—it usually just means the slider has lost its grip. Before you pay a tailor $50 to replace the whole zipper, try this 2-minute fix.
The Pliers Trick:
If your zipper is ‘separating’ (the teeth close but then pop open), the slider has likely stretched out over time. Use a pair of needle-nose pliers to gently squeeze the sides of the slider together. This tightens the gap and allows the slider to engage the teeth properly again. Total cost: $0.
Mending Mantra: A drop of graphite from a pencil or a bit of candle wax can lubricate a stubborn zipper better than any expensive chemical spray.
Conclusion
The Frugal Frontier Awaits
By choosing to repair your gear instead of replacing it, you’ve done more than just save hundreds of dollars. You’ve mastered a skill that makes you more self-reliant, environmentally conscious, and prepared for whatever the wilderness throws your way. Whether it’s an invisible ladder stitch on a down coat or a rugged Sashiko patch on your favorite tent, your repairs are a testament to your resourcefulness. So, the next time you hear that dreaded ‘rip’ in the woods, don’t panic. Reach for your kit, remember these steps, and mend it like a pro. Your wallet—and your gear—will thank you.

Makenzie is the founder and lead writer at MoneyHackTips.com — a personal finance blog dedicated to delivering street-smart financial wisdom for real people on real budgets. With 300+ published articles covering everything from debt management to investing fundamentals, Makenzie’s mission is to make every dollar work harder. When not writing about money hacks, Makenzie is testing frugal living strategies, optimizing side hustles, and helping readers build financial freedom from scratch.