
The Rugged Solution for Scratched Lenses
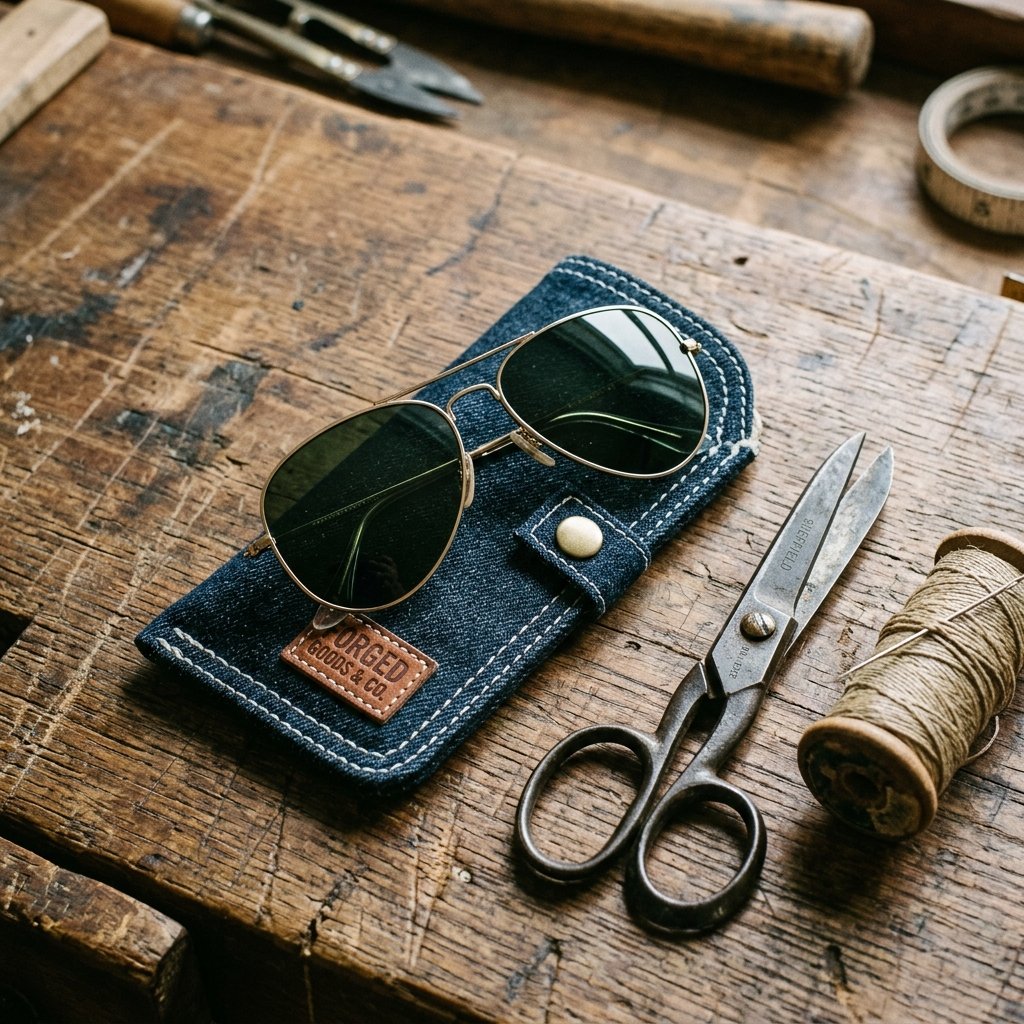
We have all been there: you toss your favorite pair of sunglasses into your bag, center console, or pocket, only to pull them out later and find a fresh, frustrating scratch right across your line of vision. While high-end eyewear often comes with a bulky plastic case, those are rarely pocket-friendly or stylish. Enter the Upcycled Denim Sunglass Case. Denim is one of the most resilient fabrics ever created—originally designed for gold miners and laborers, it is perfectly suited to protect your delicate lenses from the daily grind.
In this guide, we aren’t just making a pouch; we are practicing the art of thrifty resourcefulness. By salvaging fabric from a pair of retired jeans, you are saving money, reducing textile waste, and creating a piece of gear that looks better the more it wears. Whether you are a handy dad looking for a weekend project or a budget-savvy crafter making gifts for the whole family, this tutorial will walk you through the process of creating a masculine-elegant accessory for $0 in materials.
Why Denim? The Science of Fabric Protection
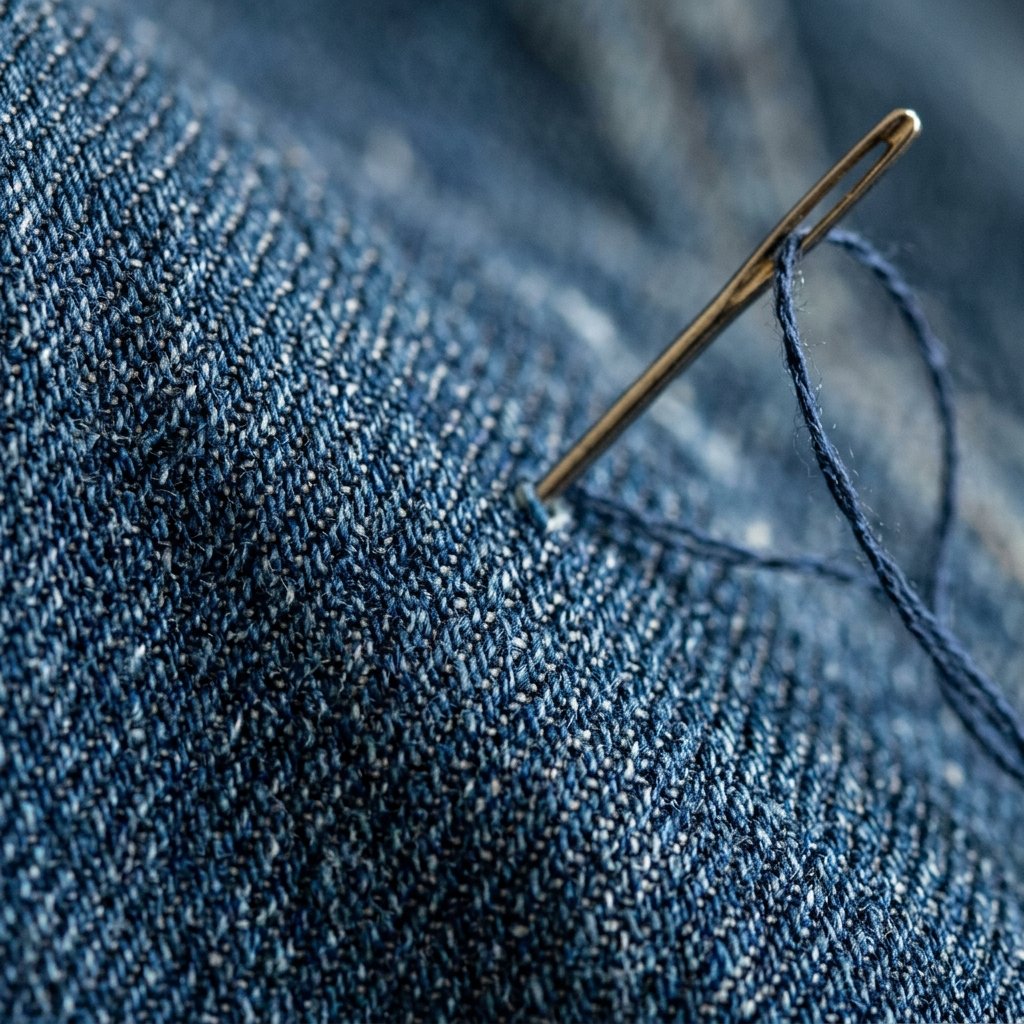
Denim is a sturdy cotton warp-faced textile in which the weft passes under two or more warp threads. This twill weaving produces a diagonal ribbing that gives the fabric its legendary durability. For a sunglass case, denim offers three distinct advantages:
- Shock Absorption: The thick weave provides a natural cushion against minor drops.
- Scratch Resistance: When paired with a soft lining (like an old flannel shirt or microfiber cloth), it creates a dual-layer defense.
- Aesthetic Longevity: Unlike plastic or faux leather, denim develops a unique patina over time, making your case look more sophisticated as it ages.
| Material Choice | Cost | Durability | Eco-Impact |
|---|---|---|---|
| Store-Bought Plastic Case | $15 – $30 | Moderate (Hinges break) | High (Non-biodegradable) |
| Faux Leather Sleeve | $10 – $20 | Low (Peels over time) | Moderate (Chemical heavy) |
| Upcycled Denim DIY | $0 | High (Reinforced seams) | Zero Waste (Upcycled) |
The Toolkit: Gathering Your Scraps
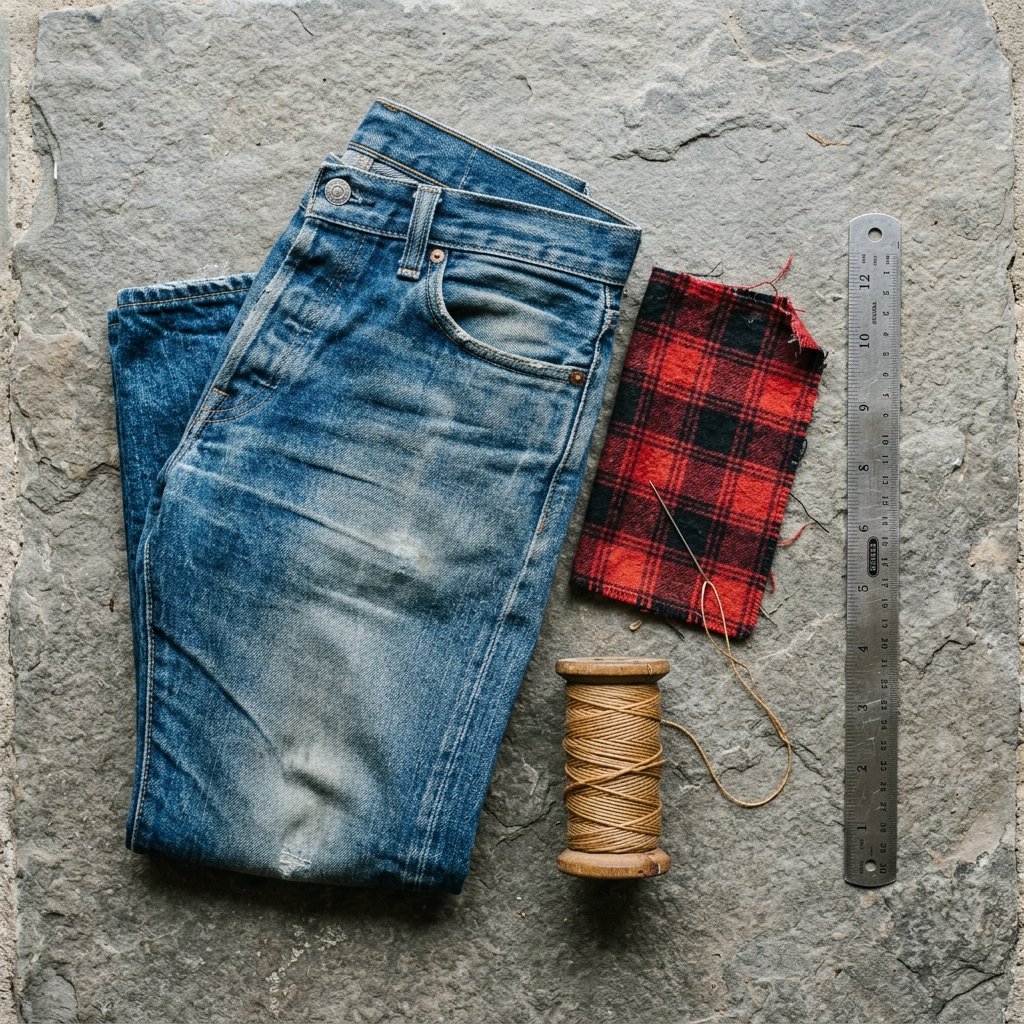
You don’t need a fancy sewing machine to master this project. In fact, hand-stitching provides a rugged, bespoke look that machines often fail to replicate. To get started, raid your ‘to-be-donated’ pile and look for jeans with at least one intact leg or a back pocket. If the jeans are heavily distressed or have holes, even better—those areas add character to the finished product.
Essential Materials Checklist:
- Denim Scraps: Approximately an 8″ x 8″ square (from a pant leg or back pocket).
- Lining Fabric: A scrap of soft cotton, old flannel, or a microfiber cleaning cloth (to prevent lens scratches).
- Heavy-Duty Thread: Contrast colors like gold, tan, or white look best against blue denim.
- Needles: A size 14 or 16 sharp needle is required to pierce through multiple layers of denim.
- Closure: A vintage button, a piece of velcro, or a simple leather cord.
Frugal Guru Tip: If you don’t have heavy-duty thread, you can use dental floss in a pinch! It is incredibly strong, waxed for easy sliding, and gives a cool, industrial aesthetic to your stitching.
Step 1: Measuring and Cutting for a Custom Fit
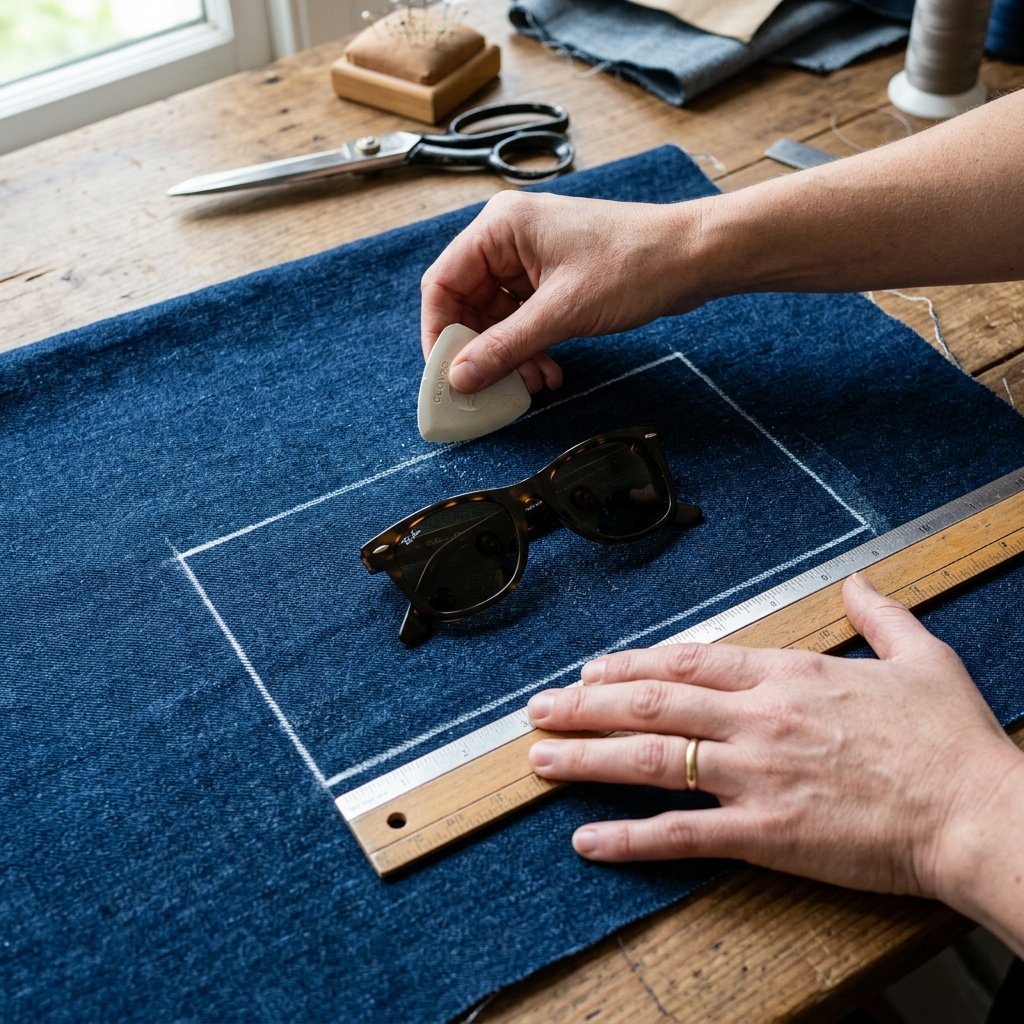
Not all sunglasses are created equal. Oversized aviators need more room than slim reading glasses. To ensure a perfect fit, follow these steps:
- Place your sunglasses on the denim fabric.
- Fold the fabric over the glasses to determine the width. You want about 1 inch of ‘breathing room’ on either side of the widest part of the frames.
- Mark a rectangle that is roughly 7 inches wide by 9 inches long. This allows for a fold-over flap at the top.
- Cut your denim piece and a matching piece of your lining fabric.
If you are feeling particularly clever, use the original hem of the jeans as the top opening of your case. This saves you from having to finish one edge and gives the case an authentic, professional look immediately.
Step 2: The ‘Grandma’s Secret’ Stitching Guide
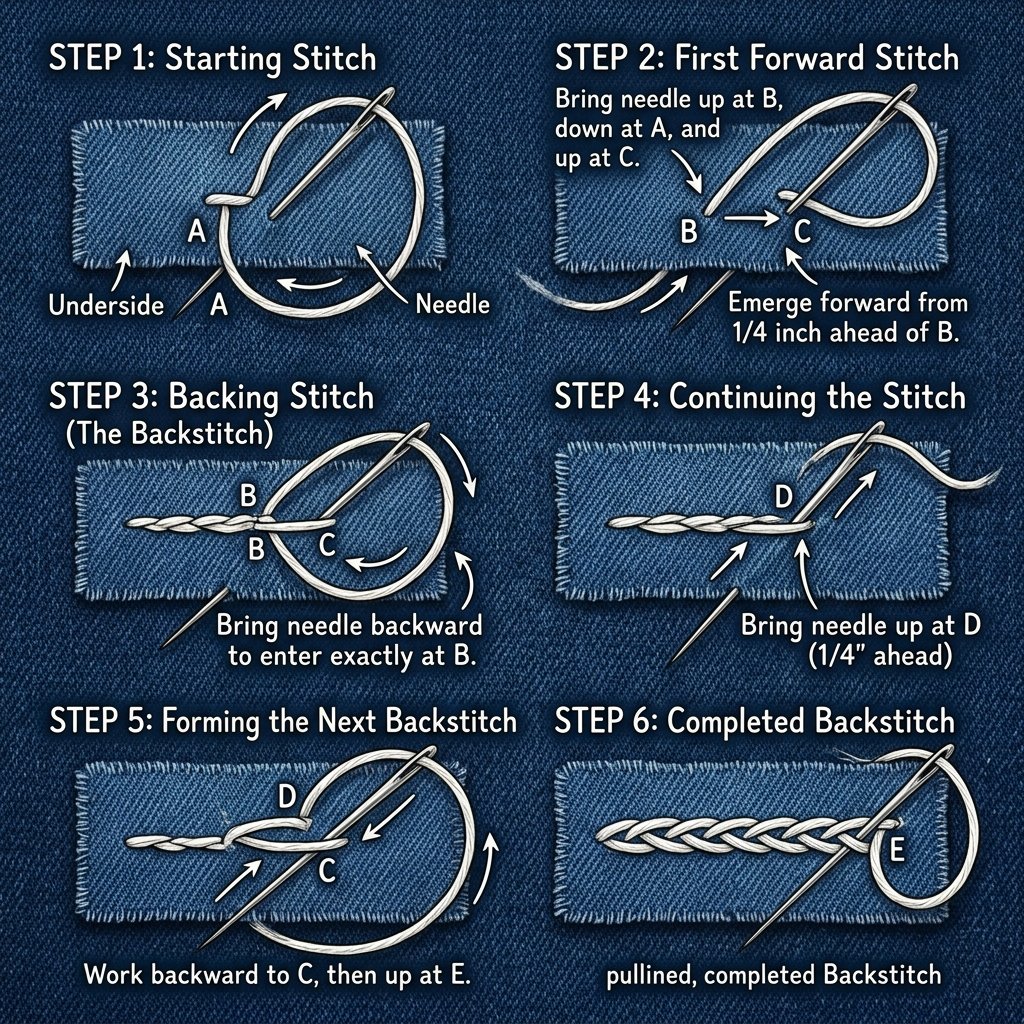
To make this case indestructible, we will use the Backstitch. This is the strongest hand-stitch available and mimics the look of a machine-sewn seam. It is perfect for the thick side-seams of denim.
How to Perform the Backstitch:
- Thread your needle and knot the end. Bring the needle up through both layers of fabric (denim and lining, right sides facing each other).
- Take a small stitch forward (about 1/8 inch).
- Bring the needle back up a stitch-length in front of the first stitch.
- Go back and push the needle down into the hole where the previous stitch ended.
- Repeat this process, always ‘backing up’ into the previous stitch.
Safety Note: Denim is thick! Use a thimble or the edge of a table to help push the needle through the seams to avoid pricking your fingers. If the fabric is too tough, use a small pair of pliers to pull the needle through.
Step 3: Creating the Protective Envelope
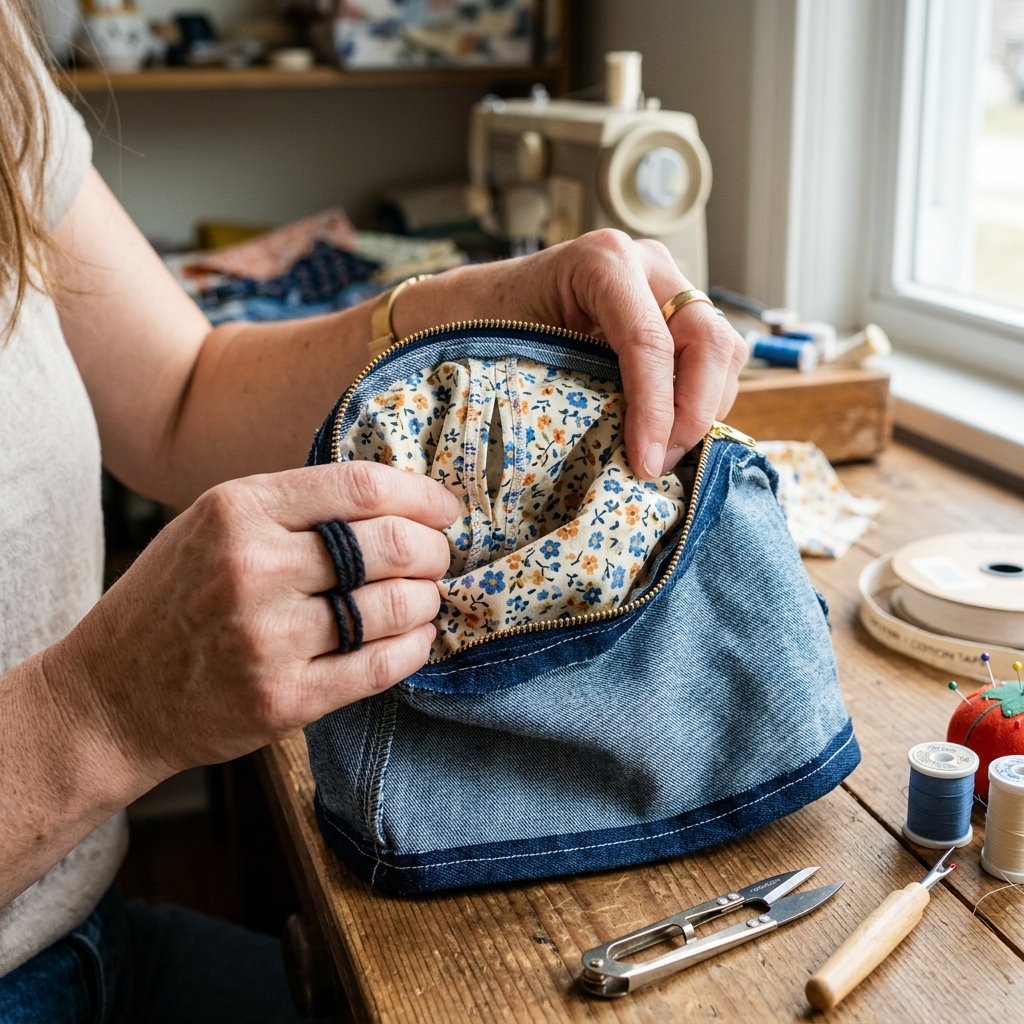
Now that you have your pieces cut and your stitch technique mastered, it’s time for assembly. We will use a ‘turn-and-sew’ method to hide the raw edges inside the case.
- Layering: Place the denim and lining fabric together with the ‘pretty’ sides (right sides) facing each other.
- The First Seam: Sew along the top edge (the 7-inch side). This joins the lining to the denim.
- The Fold: Fold the entire piece in half lengthwise so the denim is on the inside.
- The Side and Bottom: Sew down the long side and across the bottom. Leave the top (where you did the first seam) open.
- The Reveal: Reach inside and pull the fabric through the opening. Like magic, your raw seams are now hidden inside, and your case has a clean, professional finish.
Step 4: The Finishing Touches (Hardware & Style)
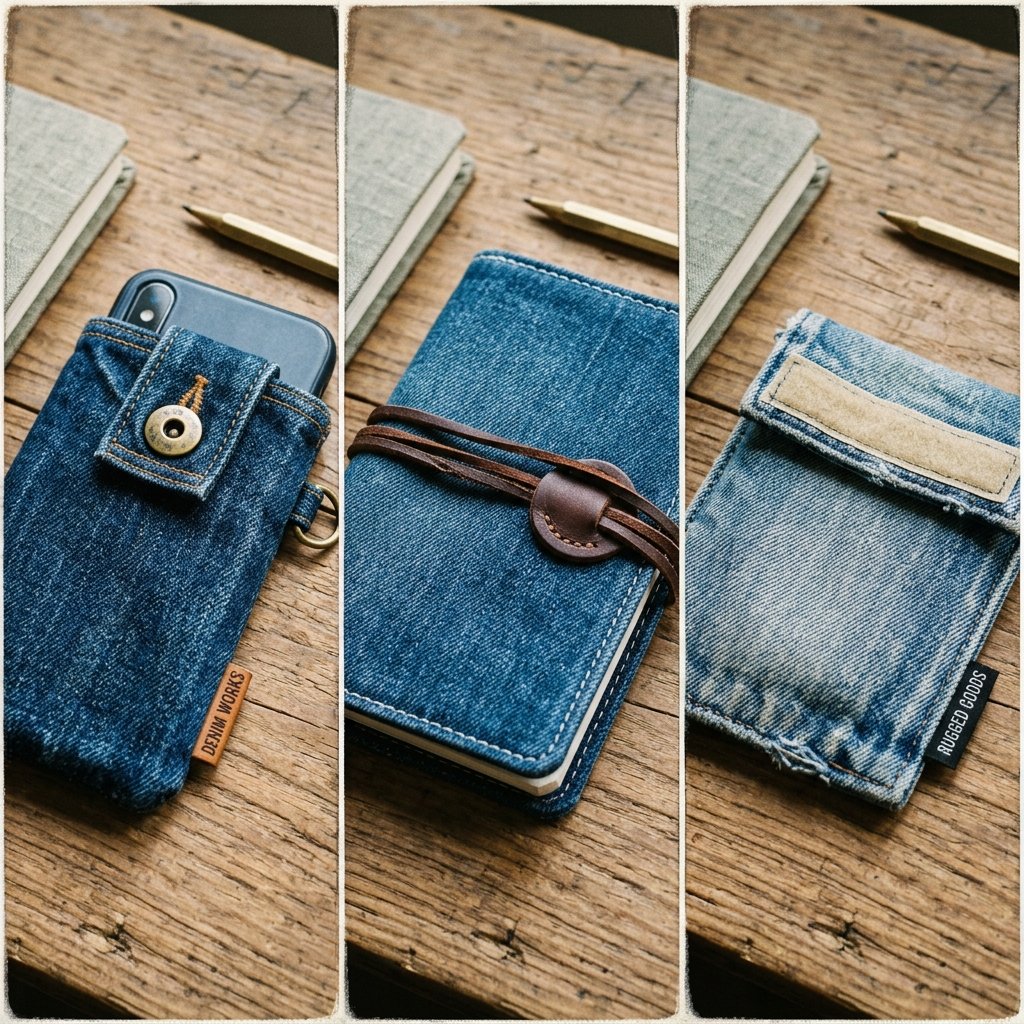
A great DIY project is all in the details. To keep your shades from sliding out, you need a secure closure. Here are three budget-friendly options:
| Closure Type | Difficulty | Style Aesthetic |
|---|---|---|
| The Vintage Button | Easy | Classic & Timeless |
| Leather Cord Wrap | Very Easy | Rugged & Tactical |
| Hook and Loop (Velcro) | Moderate | Functional & Sporty |
For the Leather Cord Wrap, simply sew a small scrap of leather or a sturdy string to the center of the flap. Sew a decorative button to the body of the case. To close, just wind the cord around the button. It’s a clever, no-fail way to secure the case without needing to cut buttonholes.
Conclusion
A Custom Case for the Thrifty Adventurer
Congratulations! You have just turned a piece of ‘trash’ into a high-functioning, stylish accessory that will protect your eyewear for years to come. This project isn’t just about saving $20 at the mall; it’s about the satisfaction of working with your hands and the cleverness of upcycling. Your new denim case is rugged enough for a hiking trip, yet elegant enough to pull out of a suit jacket pocket.
Don’t stop here—once you’ve mastered the denim case, use these same techniques to make padded pouches for your phone, tools, or even a custom roll-up for your favorite pens. The world of frugal DIY is endless when you start seeing ‘scraps’ as ‘possibilities.’ Now, slide your shades into their new home and head out into the sun!

Makenzie is the founder and lead writer at MoneyHackTips.com — a personal finance blog dedicated to delivering street-smart financial wisdom for real people on real budgets. With 300+ published articles covering everything from debt management to investing fundamentals, Makenzie’s mission is to make every dollar work harder. When not writing about money hacks, Makenzie is testing frugal living strategies, optimizing side hustles, and helping readers build financial freedom from scratch.