
The War Against the Waist Gap
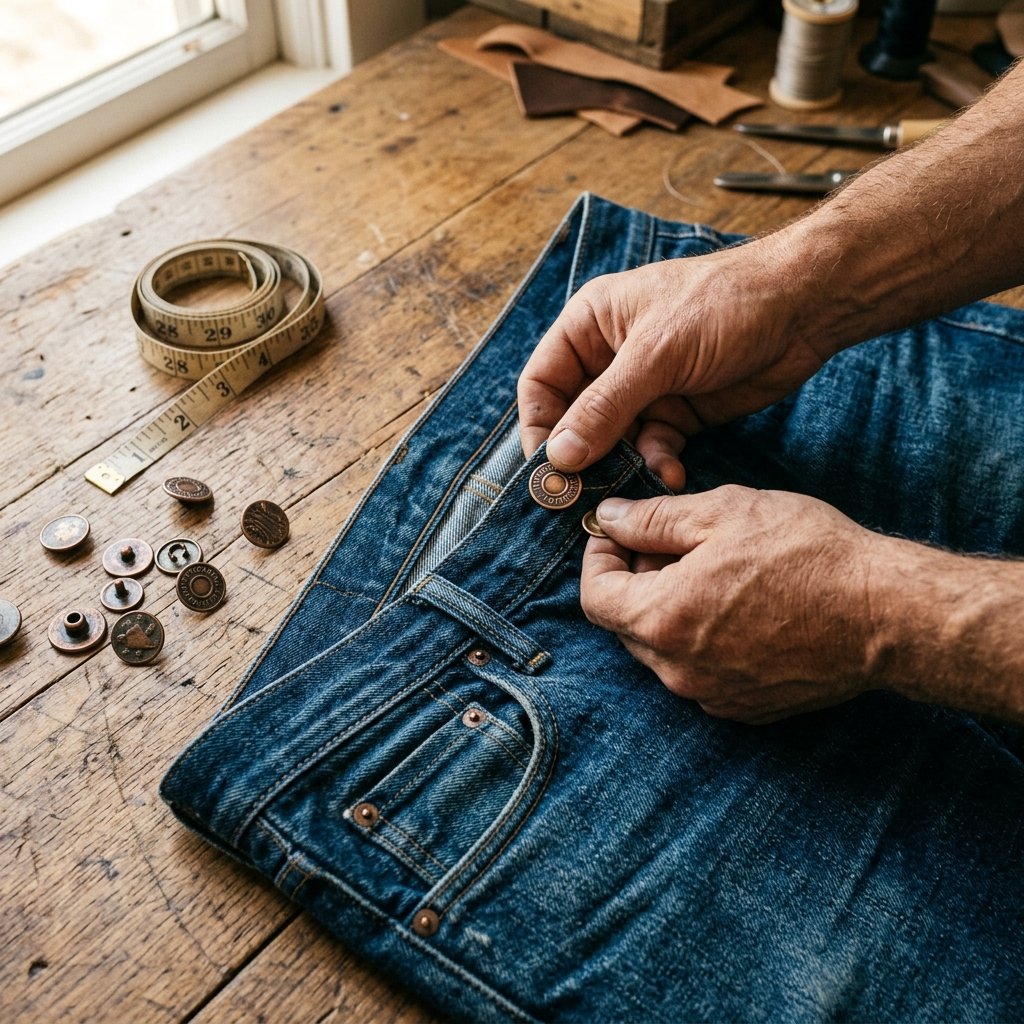
We have all been there: you find a pair of high-quality, rugged denim jeans at a thrift store for a measly $5, or perhaps you have finally broken in your favorite work pants only to realize the waist has stretched out. The result? The dreaded ‘waist gap’—that annoying space at the back of your jeans that makes them slide down and ruins your silhouette. For the frugal DIYer, the solution isn’t a $30 trip to a professional tailor. No, we are far more resourceful than that. Today, we are mastering the art of the no-sew waistband resize. This isn’t just a temporary fix; it is a permanent, rugged solution for anyone who values practicality and a sharp fit without touching a needle and thread. Whether you are a handy parent fixing a child’s hand-me-downs or a budget-savvy crafter looking to save your wardrobe, these hacks will change the way you wear denim forever.
Budget Mantra: A perfect fit is not something you buy; it is something you engineer with what you already have.
The Anatomy of the Gap: Why Store-Bought Jeans Fail Us
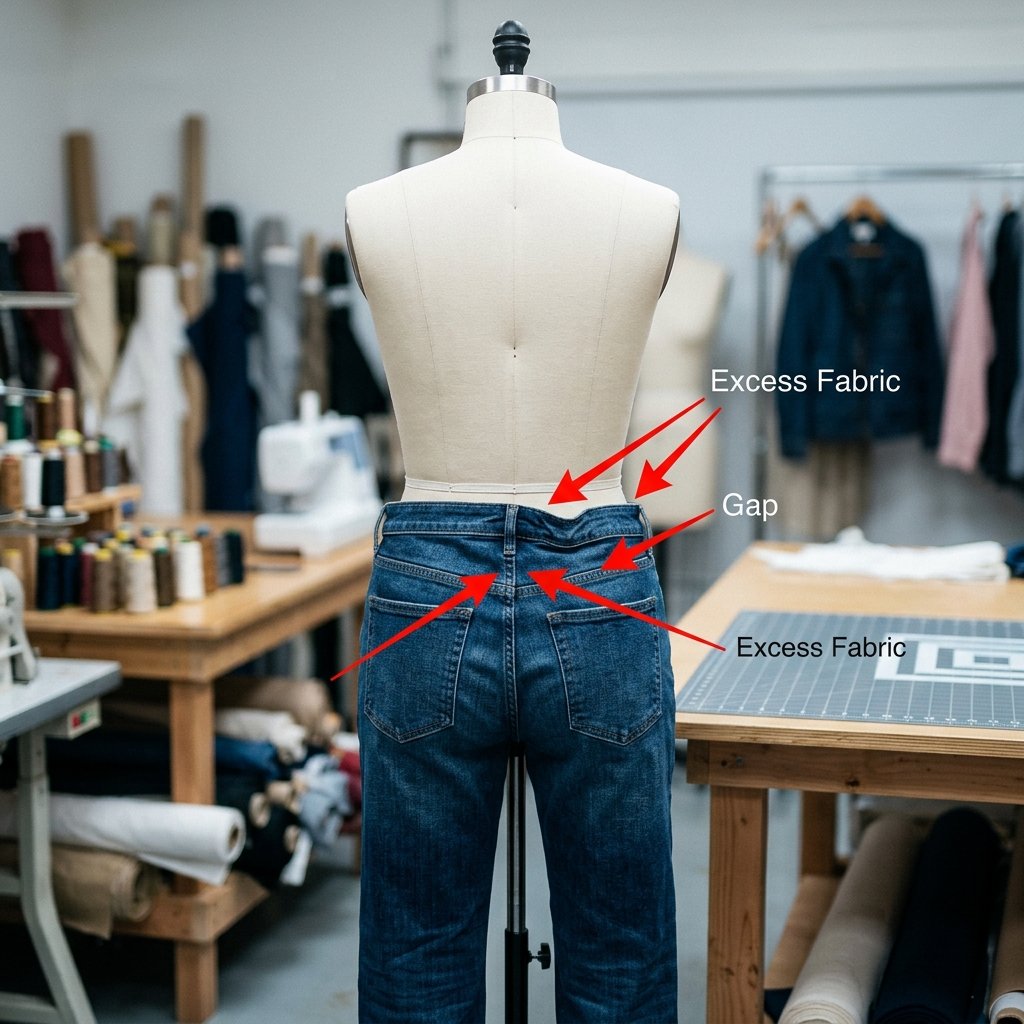
Before we dive into the ‘how,’ we must understand the ‘why.’ Most commercial jeans are manufactured using ‘vanity sizing’ and standardized patterns that assume a specific hip-to-waist ratio. For many of us, if the jeans fit the thighs and glutes, they are inevitably too large at the waist. In the world of professional tailoring, fixing this involves deconstructing the waistband—a process that takes 2 to 3 hours and specialized heavy-duty sewing machines. For the zero-budget enthusiast, we can achieve the same result in 120 seconds. By strategically repositioning the point of tension on the denim, we can cinch the fabric without creating uncomfortable bulk.
| The Problem | The Retail Cost | The DIY Cost | Time Saved |
|---|---|---|---|
| Waistband Gapping | $25.00 – $45.00 | $0.00 – $0.80 | 3-5 Days |
| Slipping Shoulders | $15.00 | $0.10 | 24 Hours |
| Loose Cuffs | $20.00 | $0.00 | Instant |
Method 1: The ‘Instant Button’ Revolution
The Tool: Removable Jean Buttons
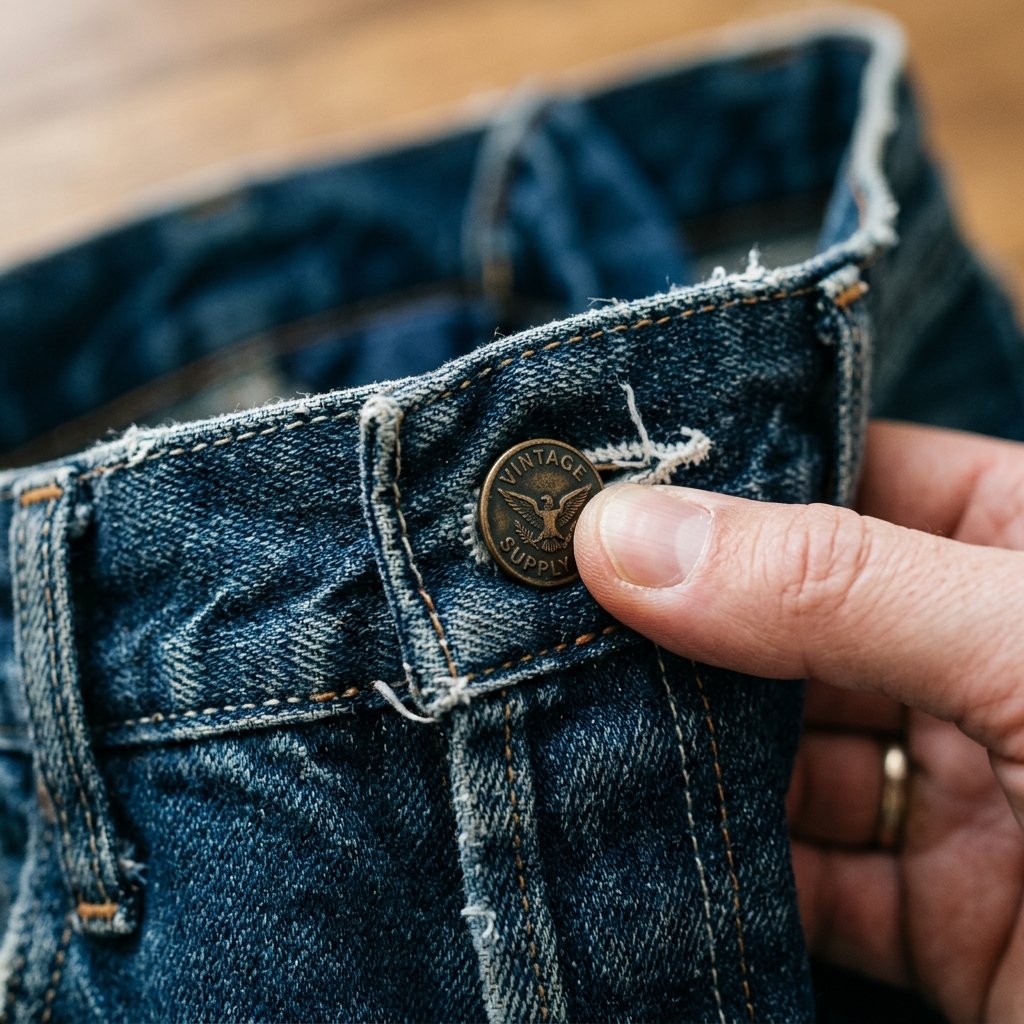
The most effective, rugged, and permanent-feeling hack involves the use of removable metal button pins. These are small, heavy-duty studs that function exactly like the original button on your jeans but can be placed anywhere on the waistband. They are perfect for the masculine-elegant aesthetic as they look like original hardware.
- Step 1: Put on your jeans and pinch the excess fabric at the waist until the fit is snug but comfortable.
- Step 2: Mark the spot where the original button would need to sit to maintain this tension.
- Step 3: Push the sharp point of the removable button through the denim at your marked spot.
- Step 4: Snap the back fastener onto the pin. You have now effectively moved the ‘close point’ of your jeans by 1 to 2 inches.
This method is 100% reversible and works on even the thickest 14oz denim. You can find a pack of 10 for under $8, making each fix cost roughly $0.80.
Method 2: The Hidden Elastic Cinch (The ‘Grandma’s Secret’)
The Internal Tension Hack
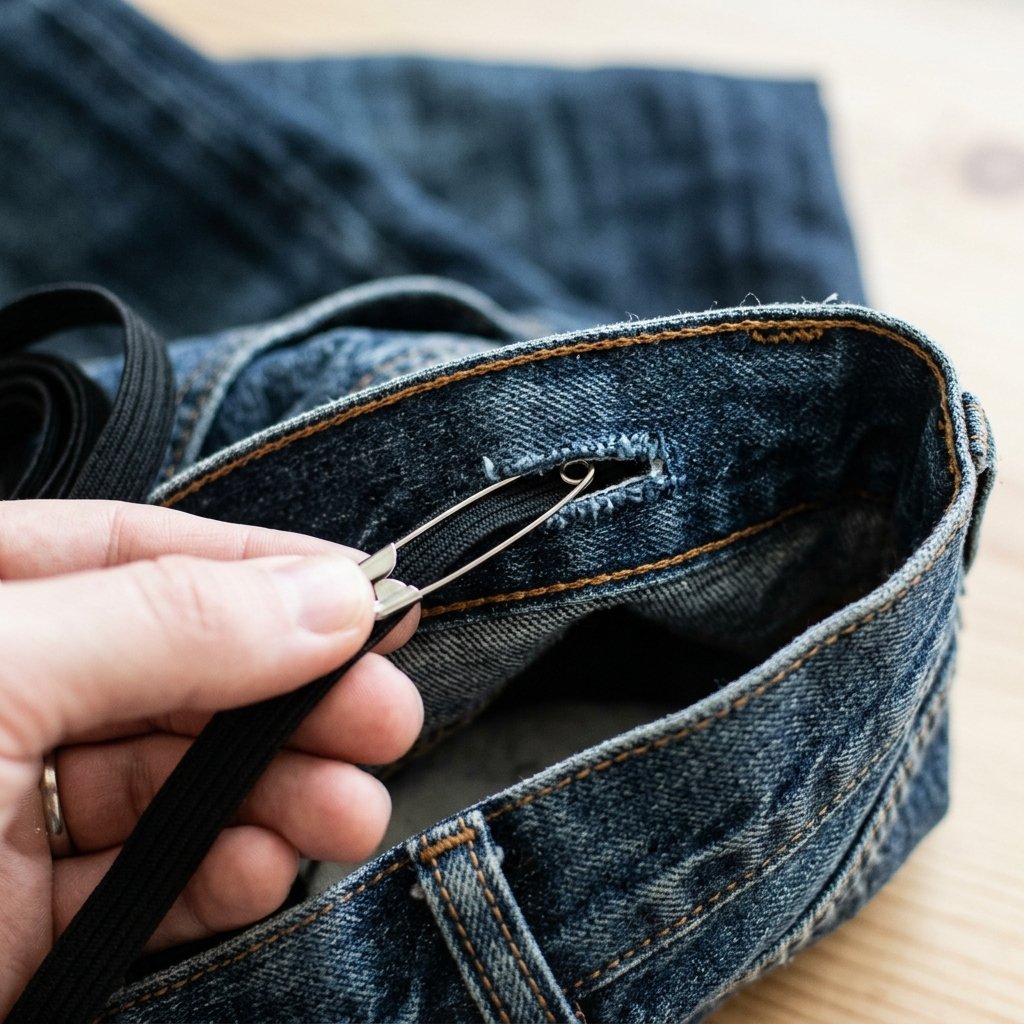
If you prefer a fix that is completely invisible from the outside, the hidden elastic hack is your best friend. This is a favorite for handy parents dealing with growing kids. All you need is a 3-inch piece of elastic and two heavy-duty safety pins.
- Make two tiny slits on the inside layer of the waistband, about 4 inches apart at the back.
- Attach a safety pin to one end of your elastic and thread it through the first slit and out the second.
- Secure both ends of the elastic to the denim using the safety pins (keep them on the inside layer so they don’t touch your skin).
- The elastic will naturally pull the denim together, closing the gap while remaining flexible.
Pro Tip: Use black or navy elastic to match the interior of the denim for a truly ‘stealth’ repair that looks professional.
Method 3: The Rugged Paracord Cinch

The Survivalist Solution
For those who need a fix that can withstand a day of hard labor or hiking, the paracord cinch is the most durable. This uses the existing belt loops to redistribute tension without the need for a bulky belt.
| Material | Strength Rating | Visibility |
|---|---|---|
| Paracord 550 | High (550 lbs) | Low (Hidden by loops) |
| Shoelace | Medium | Low |
| Ribbon | Low | High |
Simply take a 10-inch piece of paracord or a sturdy shoelace. Loop it through the two belt loops closest to the back center seam. Pull them toward each other and tie a secure square knot. This ‘cinches’ the back of the jeans perfectly. Since it is located at the small of your back, your shirt will naturally cover the knot, giving you a bespoke fit for $0.
The Cost-Benefit Analysis: DIY vs. Store-Bought

Let’s talk numbers. Being budget-savvy isn’t just about spending less; it’s about the Return on Investment (ROI) of your time. Fixing a pair of jeans yourself vs. buying a new pair or paying a tailor shows a massive disparity in value.
| Expense Item | New Premium Jeans | Professional Tailor | No-Sew DIY Hack |
|---|---|---|---|
| Initial Cost | $80.00+ | $25.00 | $0.00 – $1.00 |
| Time Investment | 2 Hours (Shopping) | 2 Trips (Drop/Pick) | 5 Minutes |
| Total Savings | $0.00 | $55.00 | $79.00+ |
By utilizing these hacks, a household with four people can easily save over $400 per year on clothing adjustments and replacements. That is money that could be better spent on your next big DIY project or a family experience.
Longevity and Care: Making Your Fix Last Forever

Maintenance for the Resourceful Maker
To ensure your no-sew fix lasts forever, you must follow a few simple maintenance rules. Denim is a ‘living’ fabric that stretches and shrinks with heat and moisture.
Washing Instructions
- Remove Hardware: If you used the ‘Instant Button’ method, remove the button before throwing the jeans in the wash. This prevents the metal from clanking against the drum and ensures the pin doesn’t snag other clothes.
- Cold Water Only: To maintain the tension of the fibers you have just manipulated, always wash your denim in cold water.
- Air Dry: High heat in the dryer can degrade elastic and paracord. Hang your jeans to dry to keep your custom fit crisp.
If you find the gap returning after a few months of heavy wear, simply move your button pin another quarter-inch or tighten your internal elastic. You are now the master of your own wardrobe.
Conclusion
The Freedom of the Perfect Fit
Mastering the no-sew waistband hack is more than just a fashion tip; it is a declaration of independence from the ‘disposable’ culture of modern retail. You don’t need a $500 sewing machine or a $40/hour tailor to look like a million bucks. With a $0.50 button or a scrap of elastic, you have reclaimed your clothes and your budget. Whether you are heading into a business meeting in your ‘masculine-elegant’ chinos or hitting the workshop in your rugged work dungarees, you can now do so with the confidence of a perfect fit. Go forth, stay frugal, and never let a gaping waistband hold you back again!

Makenzie is the founder and lead writer at MoneyHackTips.com — a personal finance blog dedicated to delivering street-smart financial wisdom for real people on real budgets. With 300+ published articles covering everything from debt management to investing fundamentals, Makenzie’s mission is to make every dollar work harder. When not writing about money hacks, Makenzie is testing frugal living strategies, optimizing side hustles, and helping readers build financial freedom from scratch.