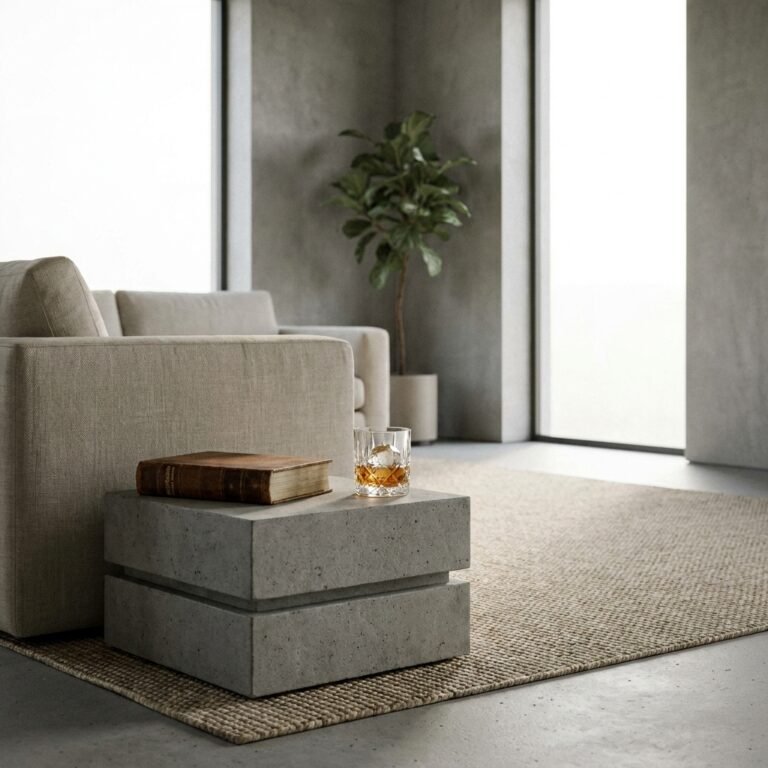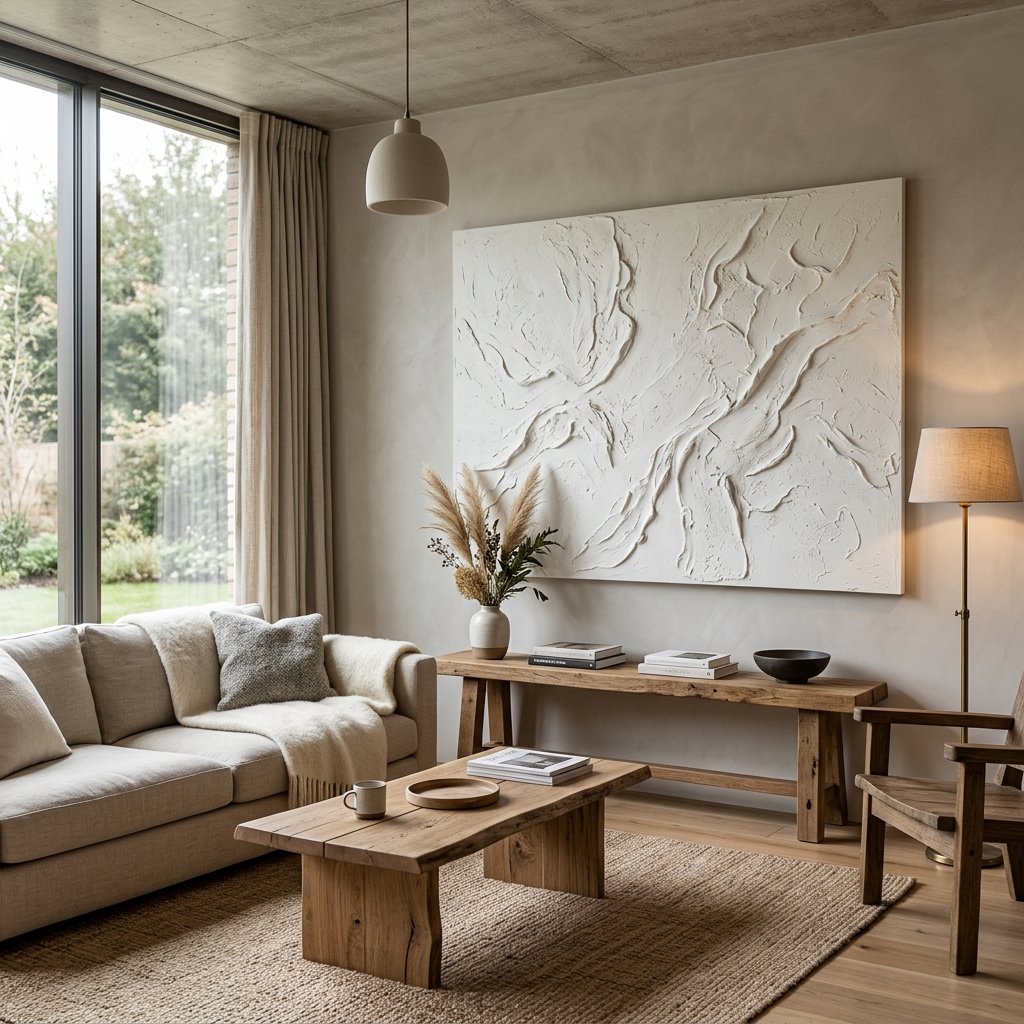

Walk into any high-end interior design showroom today, and you will likely be greeted by the serene, tactile beauty of organic modernism. At the heart of this trend is large-scale, textured plaster wall art. While these pieces often carry price tags ranging from $300 to $1,500, the frugal DIYer knows a secret: the primary ingredient is nothing more than common construction materials. By channeling your inner artisan and utilizing budget-savvy techniques, you can recreate this professional designer look for under $20. This guide will walk you through the ruggedly elegant process of transforming a simple canvas and a bucket of joint compound into a sophisticated statement piece that looks like it was curated from a Soho gallery.
The Master Artisan’s Inventory: Sourcing Your $20 Kit
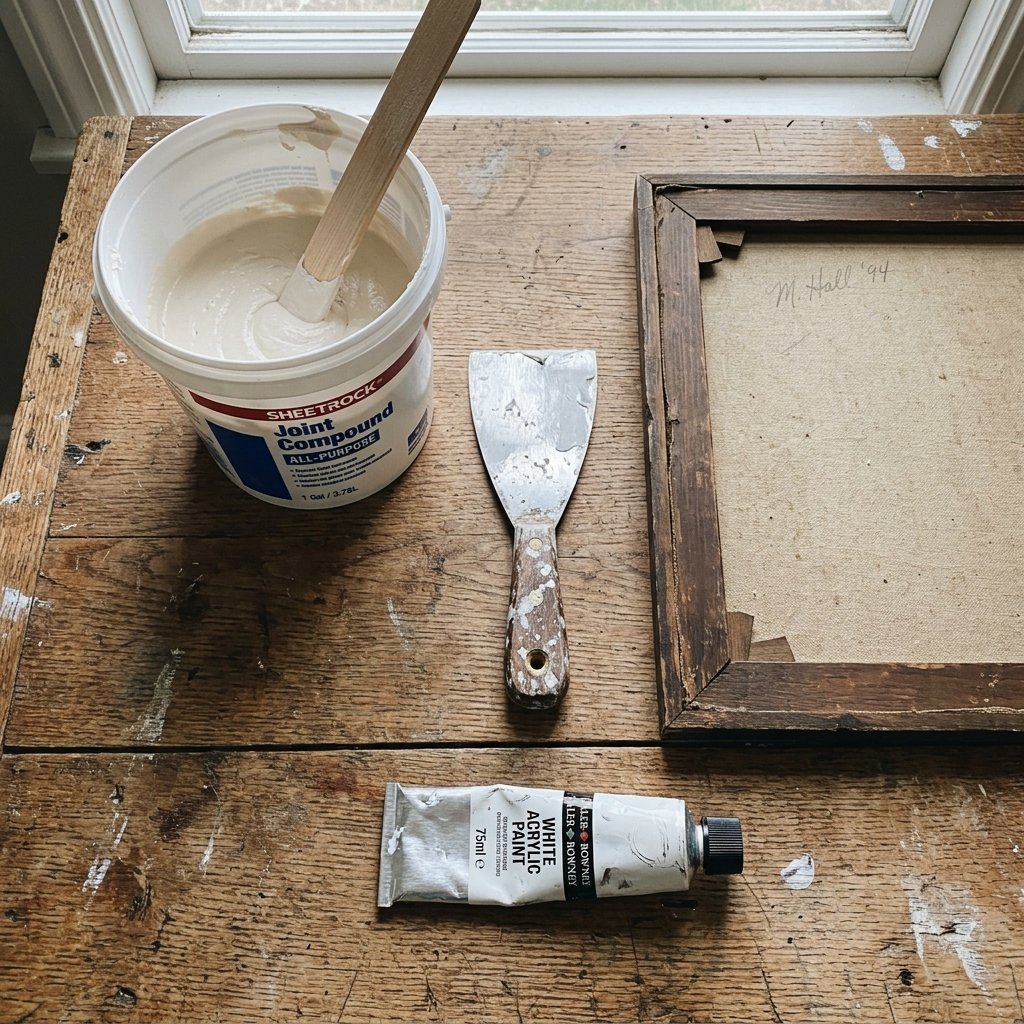
To achieve a professional finish, you don’t need a professional’s budget. You need a clever eye for materials. The beauty of faux plaster art lies in its simplicity. We are looking for high-volume texture and low-cost substrates. Whether you are upcycling an old, dated thrift store painting or starting with a fresh canvas from a discount store, the goal is to keep our overhead low while maximizing the visual impact.
| Item | Source Strategy | Estimated Cost |
|---|---|---|
| Large Canvas (24×36) | Thrift Store or Dollar Store | $5.00 |
| Pre-mixed Joint Compound | Hardware Store (Quart size) | $7.50 |
| Putty Knife/Spatula | Dollar Tree | $1.25 |
| Acrylic Paint (White/Beige) | Craft Store Clearance | $3.00 |
| Sanding Sponge | Existing Tool Kit | $0.00 |
| Total Investment | Resourceful Shopping | $16.75 |
Budget Guru Tip: Never buy new canvases for this project. Scour local thrift stores for ‘ugly’ art with sturdy frames. The plaster will completely cover the old image, giving you a high-quality substrate for pennies.
The Secret Formula: Mastering the Plaster Mixture
Choosing Your Medium
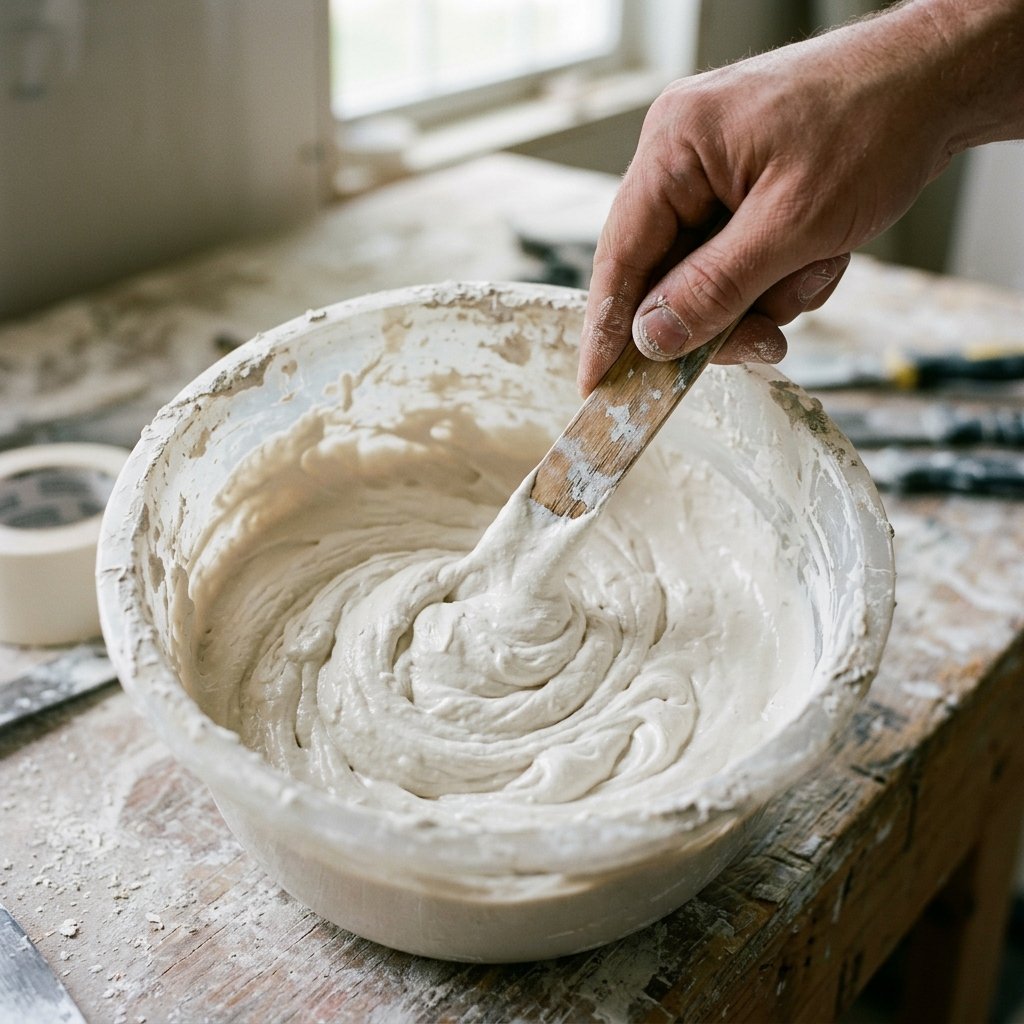
While real plaster of Paris sets very quickly and can be brittle, the clever DIYer uses all-purpose joint compound (drywall mud). It is more forgiving, has a longer working time, and is significantly cheaper. For those who want an even more rugged, stone-like appearance, mixing in a small amount of play sand or coffee grounds can add incredible depth to the texture.
The ‘Designer’ Consistency
To ensure your art doesn’t crack as it dries, you want the consistency of thick cake frosting. If the compound is too thin, it will slump; if it is too thick, it won’t spread smoothly across the canvas. If you are using the baking soda and paint method for smaller pieces, use a 1:1 ratio of acrylic paint to baking soda to create a gritty, matte finish that mimics aged limestone.
The Golden Ratio: For every 2 cups of joint compound, add 1/4 cup of white craft glue (like Elmer’s). This increases the flexibility of the dried plaster and prevents the dreaded ‘shrinkage cracks’ on flexible canvas surfaces.
Technique Masterclass: Creating Organic Textures
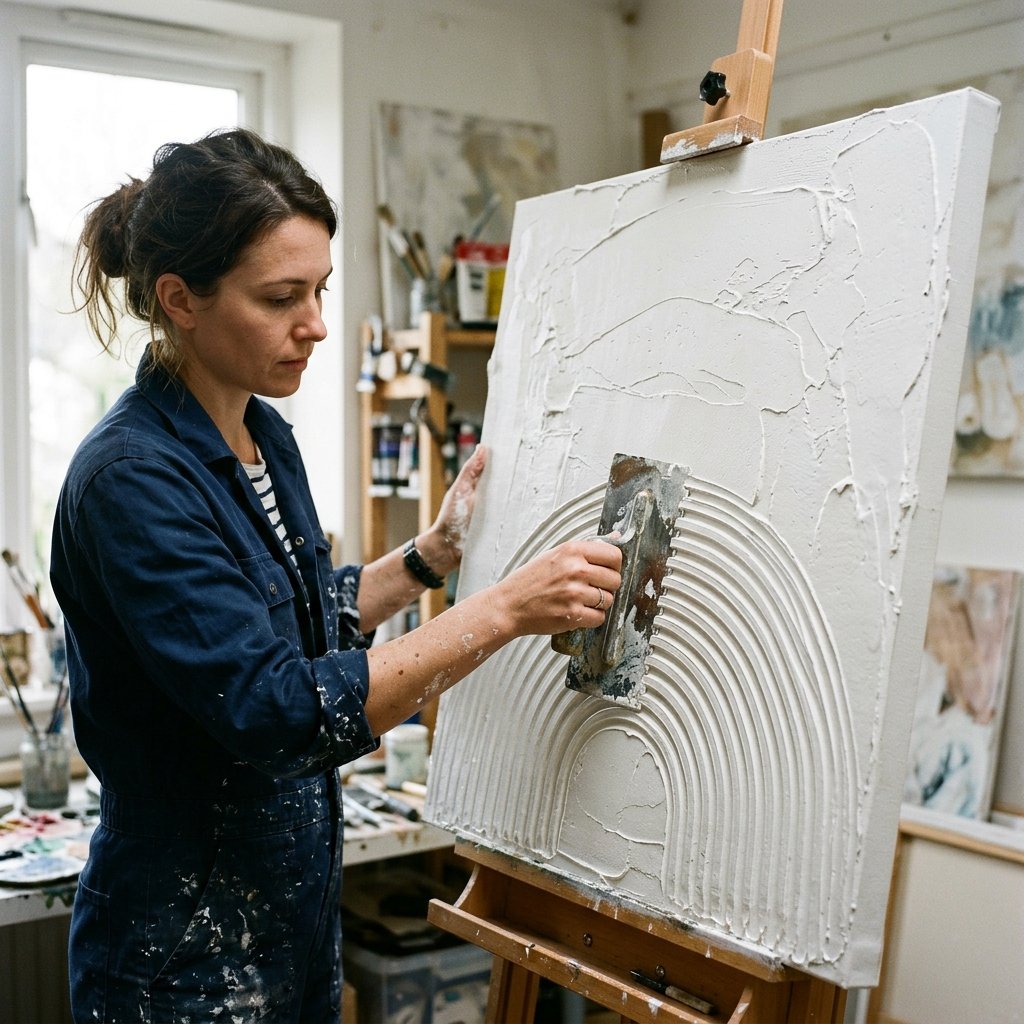
This is where the magic happens. To look like a professional designer, you must move beyond simple flat layers. We are aiming for intentional imperfection. There are three primary styles currently dominating the interior design world:
- The Minimalist Wave: Using a wide-tooth comb or a notched trowel, create long, sweeping horizontal or vertical lines. This creates a rhythmic, architectural feel.
- The Rugged Crag: Use a crumpled piece of plastic wrap or a sea sponge to dab the wet compound. This creates a heavy, stone-like texture that catches shadows beautifully.
- The Abstract Trowel: Apply the compound in short, overlapping strokes with a putty knife, leaving the ‘chatter marks’ visible. This mimics the look of hand-applied Venetian plaster.
Start by applying a base layer approximately 1/8 inch thick across the entire canvas. While wet, use your chosen tool to manipulate the surface. Remember: Less is often more. Do not overwork the material, or it will become muddy and lose its crisp edges.
The Curing Phase: Patience is the Professional’s Tool
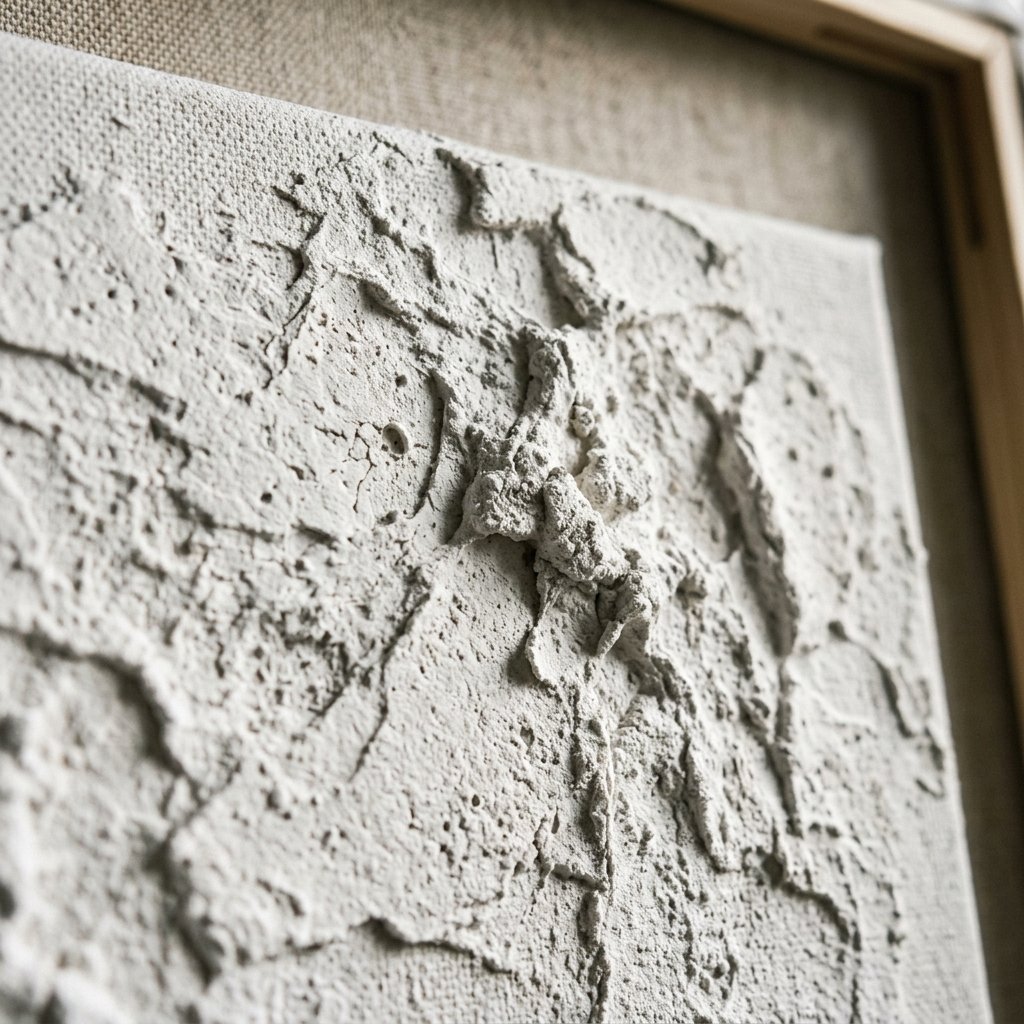
One of the most common mistakes in DIY plaster art is rushing the drying process. Joint compound dries through evaporation. If the surface dries too fast (e.g., using a hair dryer), the top layer will shrink and crack while the bottom remains wet. For a professional, crack-free finish, follow this timeline:
- The Set (0-4 Hours): Leave the piece flat on a level surface. Do not move it, as the weight of the wet mud can cause the canvas to sag.
- The Cure (12-24 Hours): Allow the piece to sit in a room with low humidity. You will see the color shift from a greyish-white to a bright, chalky white.
- The Refinement: Once 100% dry, use a fine-grit sanding sponge (220 grit) to lightly knock down any sharp peaks that look accidental. This gives the piece a soft, stone-like hand-feel.
Safety Note: When sanding joint compound, always wear a dust mask and work in a well-ventilated area. The fine particulates are not something you want to inhale!
The Finishing Touch: Framing for the Gallery Look
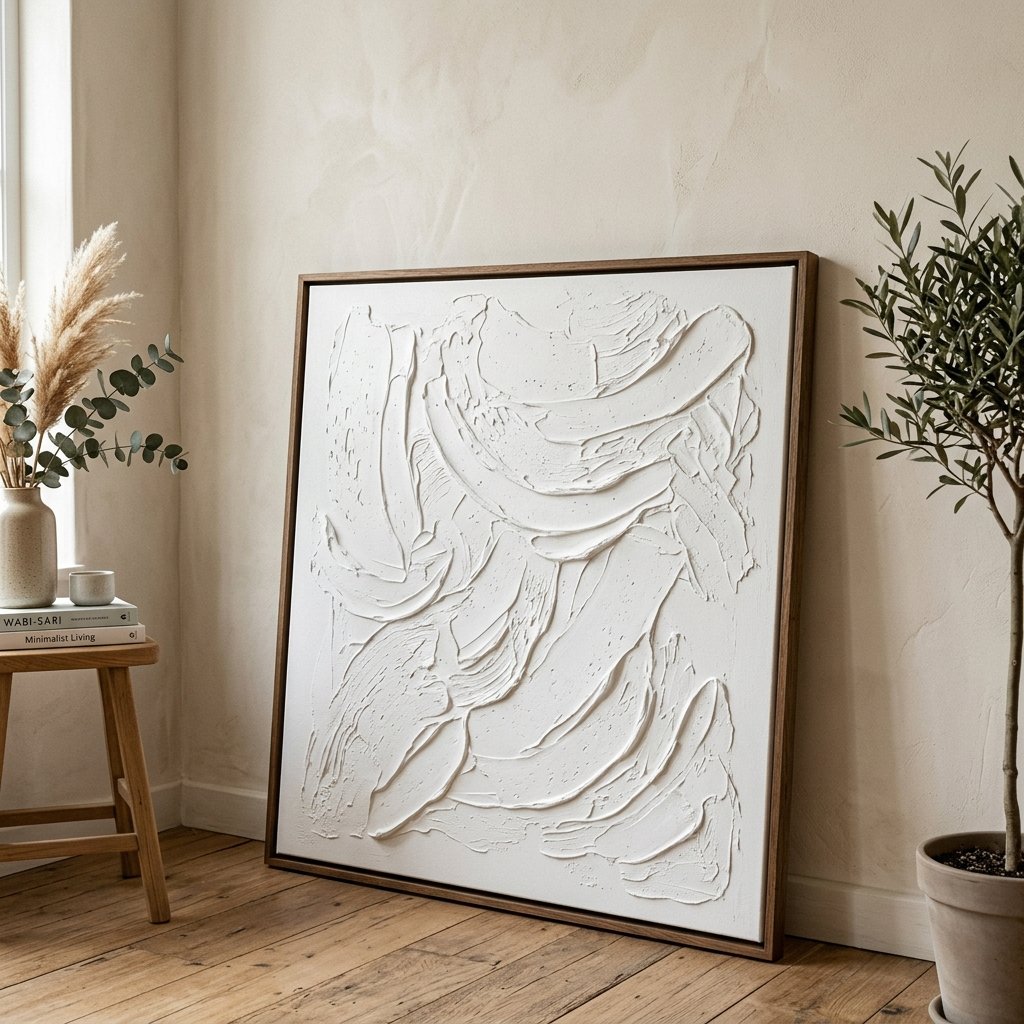
A raw canvas often looks like a craft project; a framed canvas looks like a piece of fine art. To stay under our $20 budget, we will create a ‘floating frame’ using scrap wood or inexpensive lath strips from the hardware store. This adds a masculine-elegant border that elevates the entire project.
| Step | Action | Pro Tip |
|---|---|---|
| 1 | Measure the perimeter | Add 1/4 inch to each side for the ‘float’ gap. |
| 2 | Cut wood strips | Use a simple miter box for 45-degree clean corners. |
| 3 | Stain or Paint | A dark walnut stain provides a rugged contrast to white plaster. |
| 4 | Attach to Canvas | Screw through the back of the frame into the canvas stretcher bars. |
By adding this simple wooden border, you increase the perceived value of the art by hundreds of dollars. The contrast between the organic, white texture and the structured, dark wood is a hallmark of professional interior styling.
Conclusion
Creating professional-grade decor doesn’t require a designer’s bank account; it requires a designer’s mindset. By taking $20 worth of hardware store staples and applying these textured techniques, you have successfully bridged the gap between ‘budget DIY’ and ‘high-end aesthetic.’ Your new faux plaster wall art stands as a testament to your resourcefulness and creative eye. Whether you hang it in a minimalist bedroom or a rugged home office, it provides a sophisticated focal point that will have guests asking which gallery you visited. Now, go forth and upcycle—your walls are waiting for their masterpiece!

Makenzie is the founder and lead writer at MoneyHackTips.com — a personal finance blog dedicated to delivering street-smart financial wisdom for real people on real budgets. With 300+ published articles covering everything from debt management to investing fundamentals, Makenzie’s mission is to make every dollar work harder. When not writing about money hacks, Makenzie is testing frugal living strategies, optimizing side hustles, and helping readers build financial freedom from scratch.