
The Luxury Look for a Fraction of the Price
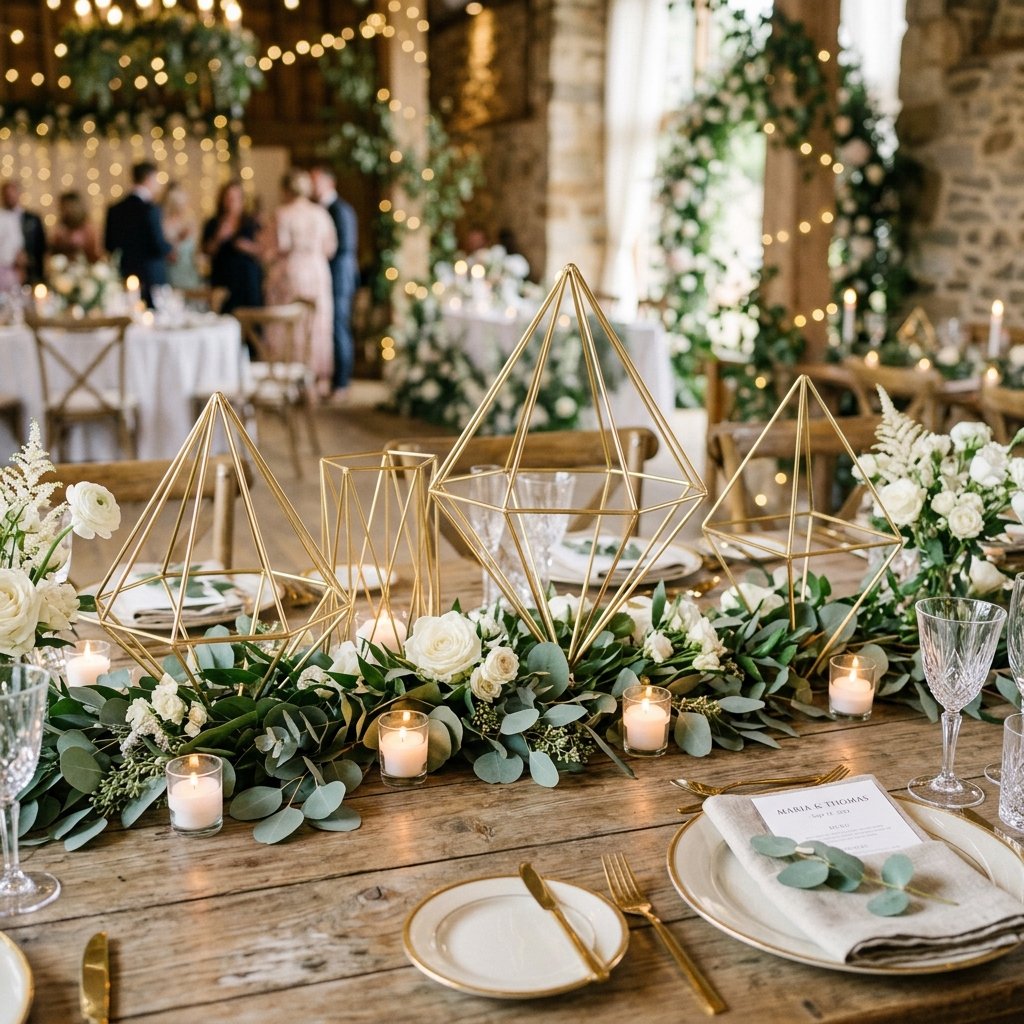
Every modern bride and groom has seen them: those stunning, minimalist geometric brass structures—often called Himmeli—floating over tables or cradling expensive air plants. They scream sophistication, industrial-chic elegance, and, unfortunately, a high price tag. If you were to buy these from a high-end boutique or a wedding rental house, you could easily drop $40 to $75 per piece. For a wedding with twenty tables, that is a $1,500 hole in your budget just for centerpieces.
But here is the secret the wedding industry doesn’t want you to know: you can recreate that exact heavy-metal brass aesthetic using nothing more than plastic cocktail straws, floral wire, and a clever painting technique. In this masterclass, we are going to dive into the resourceful world of ‘trash-to-treasure’ engineering. We will build structural polyhedrons that are lightweight, durable, and indistinguishable from solid brass once the light hits them. Whether you are a frugal DIYer, a budget-savvy bride, or a handy friend helping out, this guide will show you how to dominate your wedding decor without emptying your savings account.
The Blueprint of Savings: Materials and Cost Comparisons
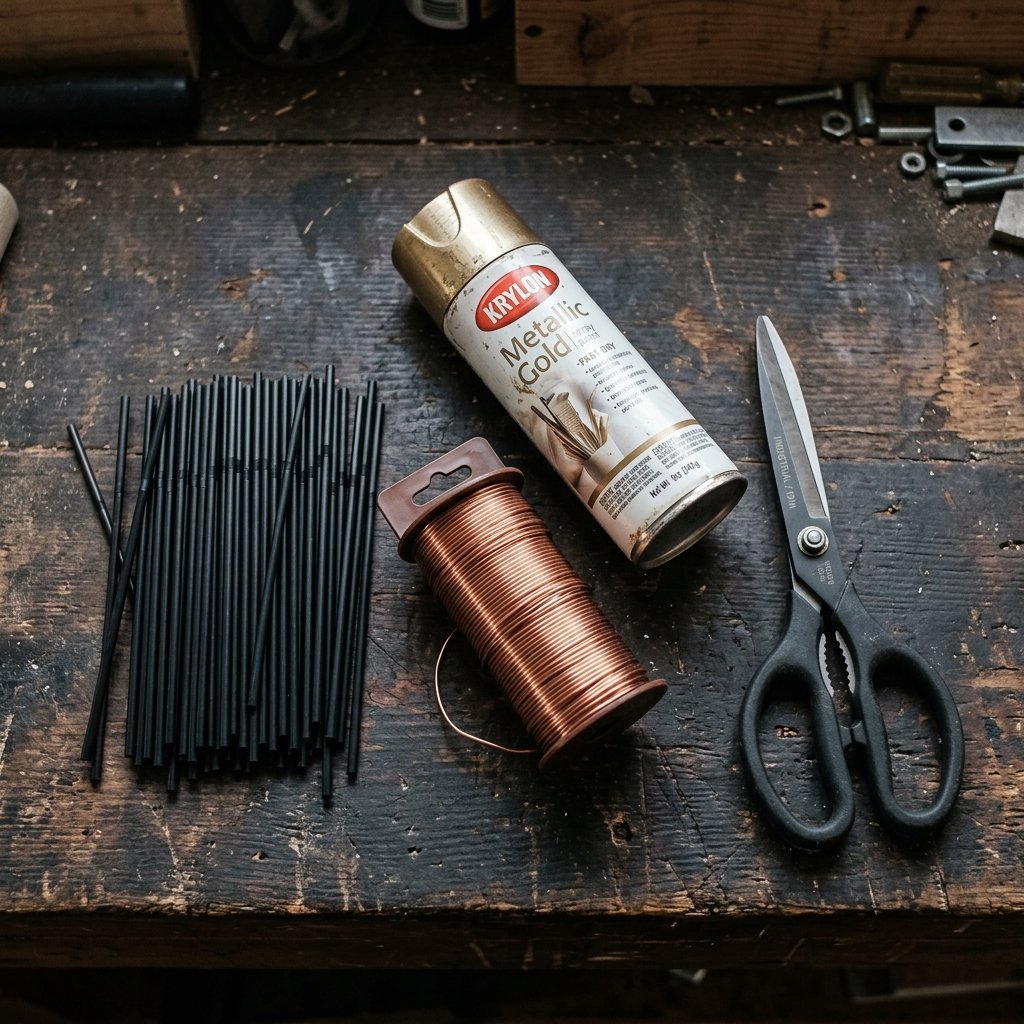
Before we pick up a pair of scissors, let’s look at the cold, hard numbers. The goal here is masculine-elegant engineering. We want structures that are perfectly symmetrical and visually striking. By using plastic straws as our ‘tubing,’ we bypass the need for expensive brass pipes, pipe cutters, and soldering irons.
The DIY vs. Retail Breakdown
When you choose to build these yourself, your primary costs are the ‘skeleton’ (straws and wire) and the ‘skin’ (the metallic finish). Here is how the budget stacks up for a standard 20-table wedding:
| Item | Retail/Rental Cost (20 Units) | DIY Cost (20 Units) | Total Savings |
|---|---|---|---|
| Geometric Centerpieces | $800 – $1,200 | $45 – $65 | $755 – $1,135 |
| Floral Accents | $400 | $120 (Wholesale) | $280 |
| Total | $1,200 – $1,600 | $165 – $185 | ~90% Savings |
The Resourceful Shopping List
- Plastic Cocktail Straws: Look for the thin, black ones (often sold in packs of 500 for $5). They are sturdier than flexible drinking straws.
- 24-Gauge Floral Wire: This provides the internal tension. A large spool costs about $4.
- Metallic Brass Spray Paint: This is where you don’t skimp. Use a high-quality ‘Brilliant Metallic’ or ‘Forged Brass’ finish (approx. $8 per can).
- Precision Snips or Scissors: For cutting your ‘tubing’ to exact lengths.
- Measuring Tape: Essential for maintaining geometric symmetry.
Precision Engineering: The Art of the Geometric Fold
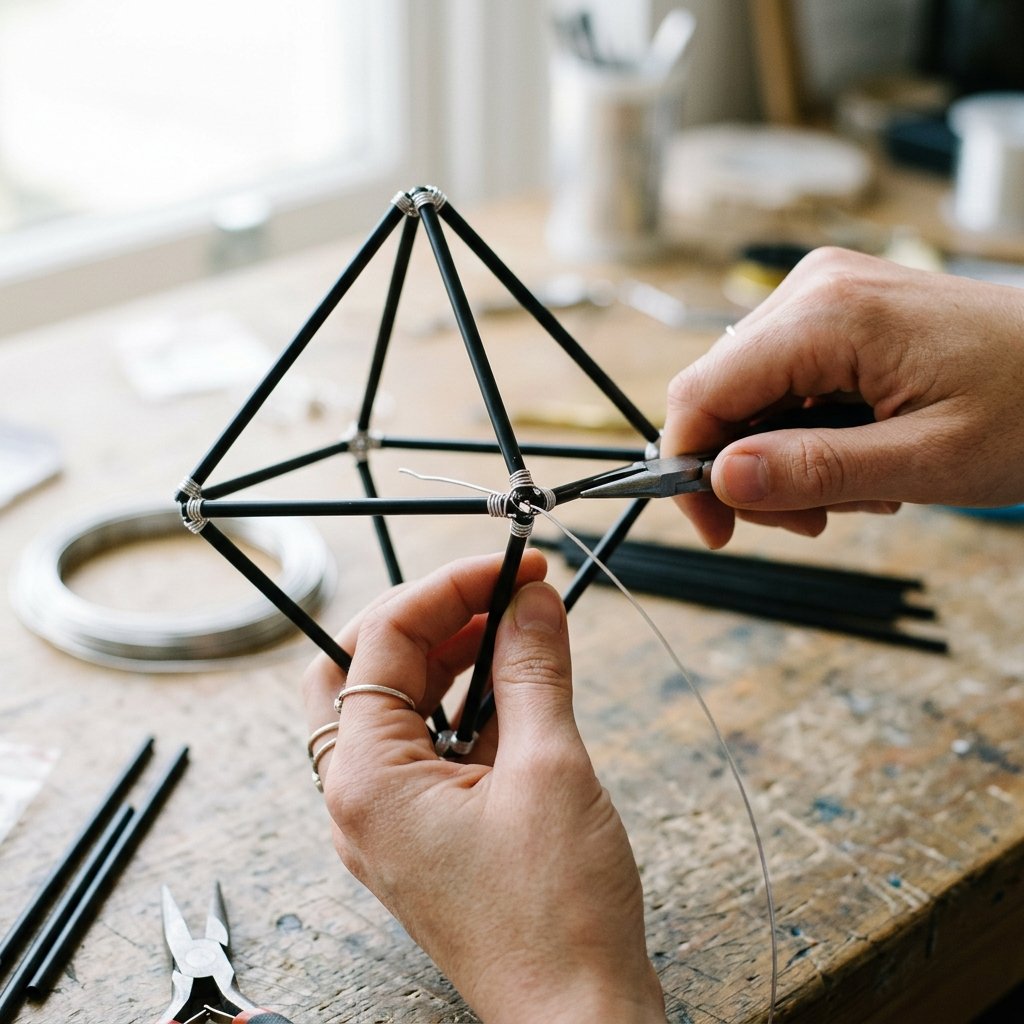
To achieve a high-end look, your geometry must be flawless. We aren’t just stringing straws together; we are creating structural polyhedrons. The most popular shape for weddings is the octahedron (two square-based pyramids joined at the base). This shape provides height and stability.
Step-by-Step Octahedron Construction
- Measure and Cut: Cut 12 straw pieces to exactly 5 inches each. Consistency is the key to a professional finish.
- The Base Square: Thread a long piece of wire through 4 straws. Twist the ends together to form a square. Do not cut the wire; leave a long tail.
- The First Pyramid: Thread 2 more straws onto the wire. Anchor the wire to the opposite corner of your square to create a triangle standing up. Repeat for the other side to complete the top pyramid.
- The Mirror Image: Flip the structure over and repeat the process on the bottom side using the remaining 4 straws.
- Tension Check: Pull the wire taut before the final twist. The structure should feel rigid, not floppy.
“The secret to a rugged, professional-grade Himmeli is internal tension. If your wire is loose, your ‘brass’ will sag. Think like an architect: every joint must be secure.”
The Midas Touch: Mastering the Faux-Brass Finish
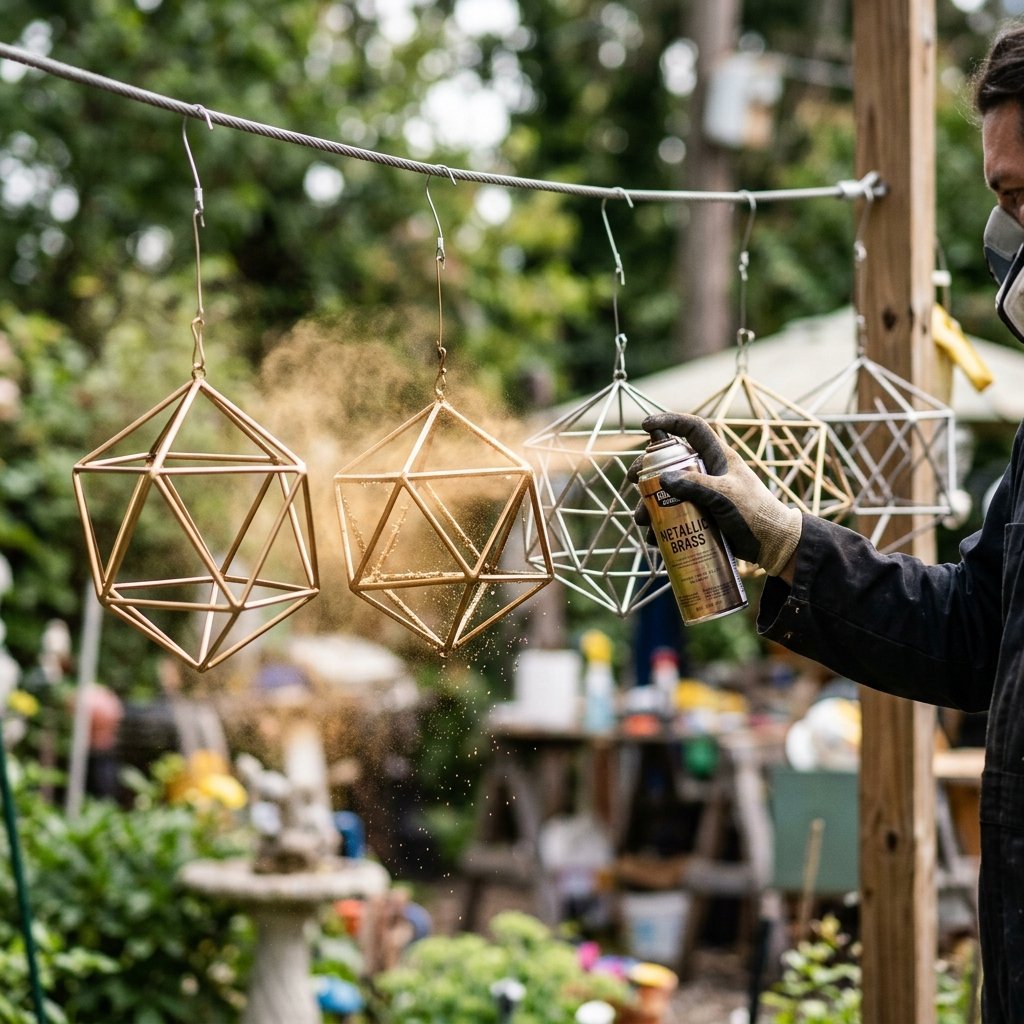
This is the stage where the magic happens. Turning plastic into ‘metal’ requires a specific technique. If you simply spray them, you might get drips or missed spots. We want a finish that looks like brushed, heavy-duty brass.
The Pro-Painter’s Protocol
- The Primer Trick: If you used neon or brightly colored straws, hit them with a flat black primer first. This adds ‘weight’ and ensures the gold doesn’t look translucent.
- The Hanging Method: Do not paint these laying down on cardboard. They will stick and peel. Use a piece of leftover wire to hang the structures from a clothesline or a tree branch. This allows you to spray 360 degrees without touching the piece.
- Dusting, Not Drenching: Apply 3-4 very light ‘dusting’ coats. Wait 10 minutes between each. This prevents the plastic from melting or the paint from sagging at the joints.
- The Topcoat: For an extra-expensive look, use a clear satin sealer. This gives it that ‘cool to the touch’ metallic sheen found in high-end home decor stores.
Safety Note: Always spray paint in a well-ventilated outdoor area. Use a mask to avoid inhaling fumes, especially when doing a bulk run for 20+ centerpieces.
Curating the Tablescape: Styling Like a Pro
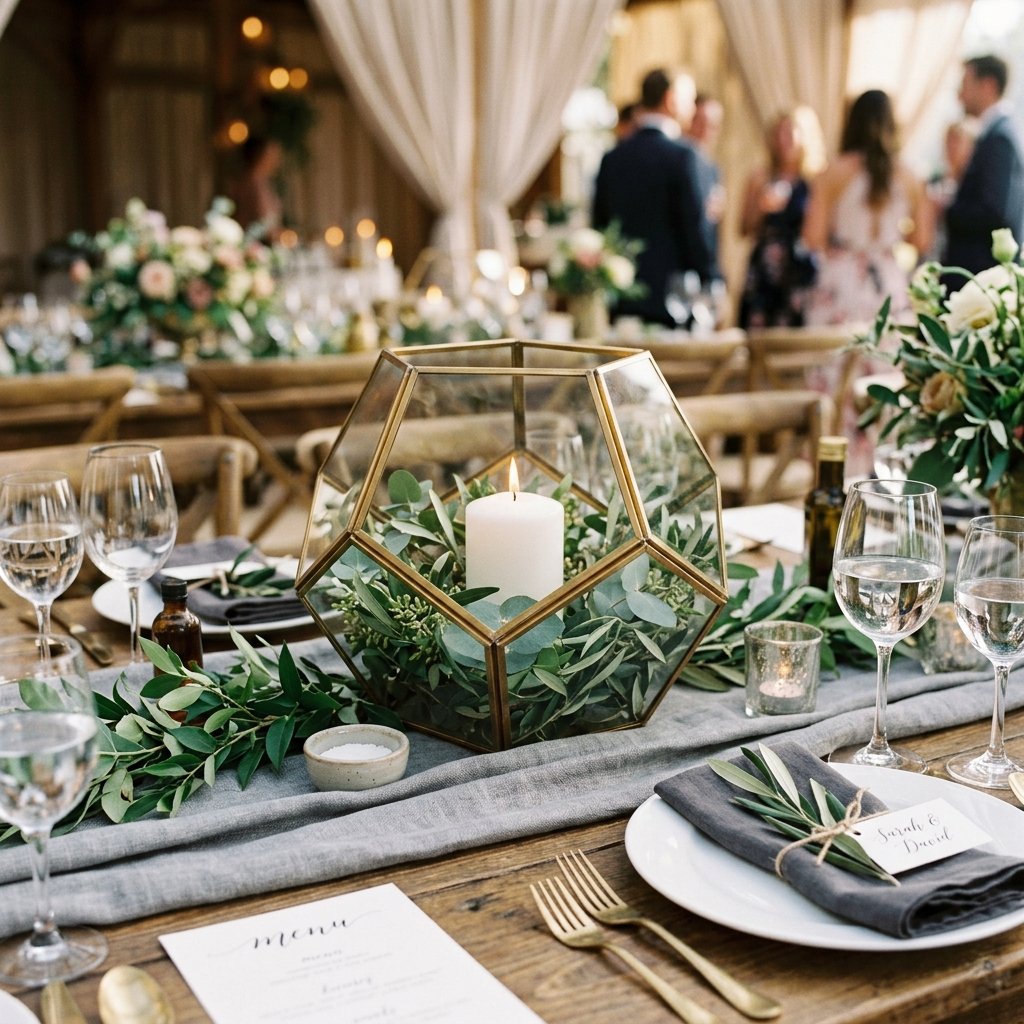
A geometric centerpiece on its own is a bit stark. To make it ‘breath-taking,’ you need to layer textures. We are going for a Masculine-Elegant vibe: clean lines paired with organic softness.
| Styling Element | Budget Source | Effect |
|---|---|---|
| Seeded Eucalyptus | Trader Joe’s / Wholesale | Adds organic movement and covers the table base. |
| LED Pillar Candles | Dollar Tree | Provides a safe, flickering glow inside the structure. |
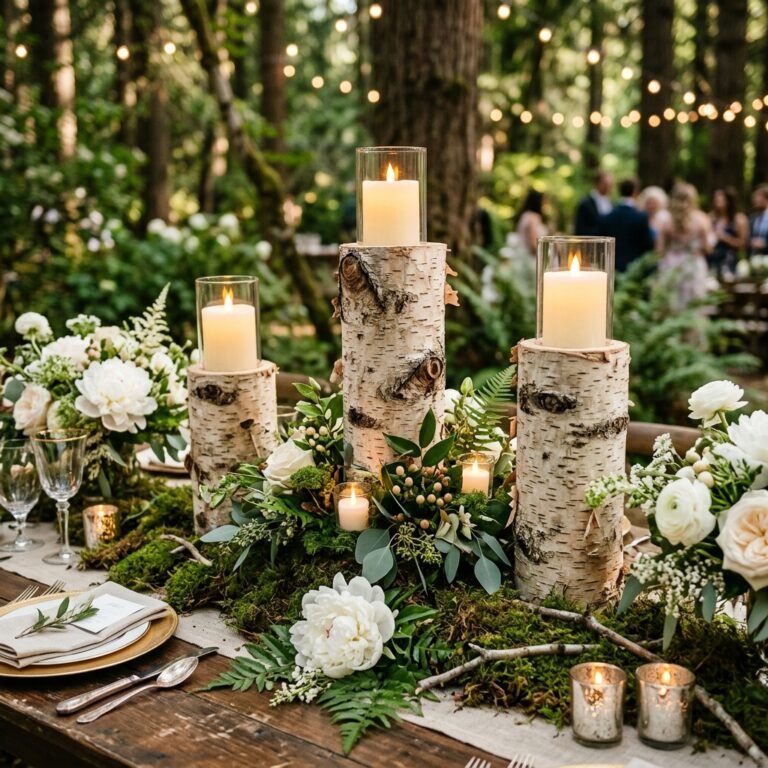
| Faux Moss Rocks | Craft Store Clearance | Adds a rugged, earthy ‘grounding’ to the metal. |
| Cheesecloth Runner | Bulk Fabric Store | Softens the industrial edges of the brass. |
The ‘Floating’ Illusion
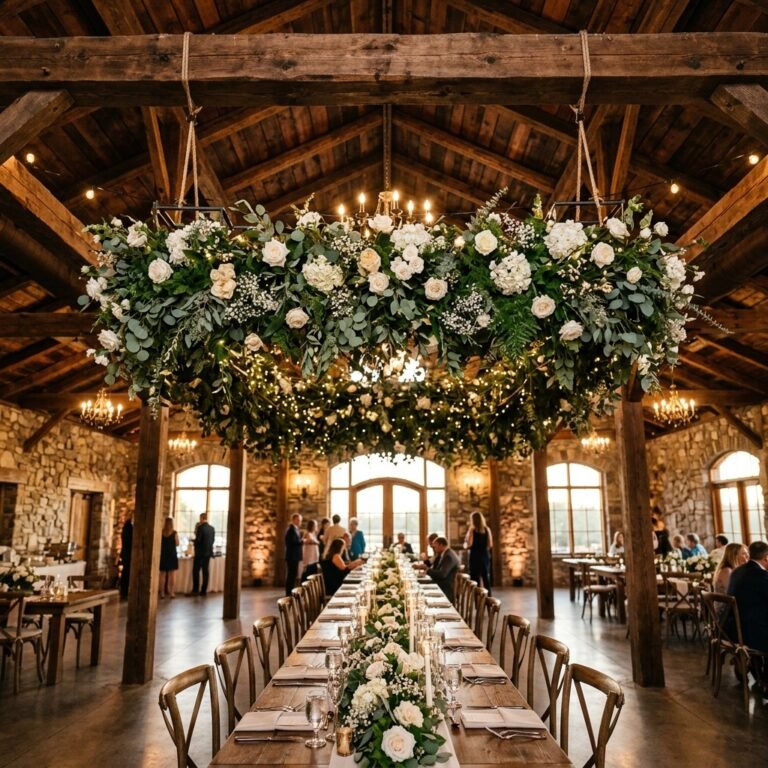
If you want to truly impress your guests, use fishing line to hang varying sizes of these geometric shapes at different heights from the ceiling or a wooden arbor. Because they are made of straws, they are ultra-lightweight (under 2 ounces), meaning you can hang them with simple command hooks or staples without worrying about structural failure.
Logistics and Assembly: The 48-Hour Wedding Countdown
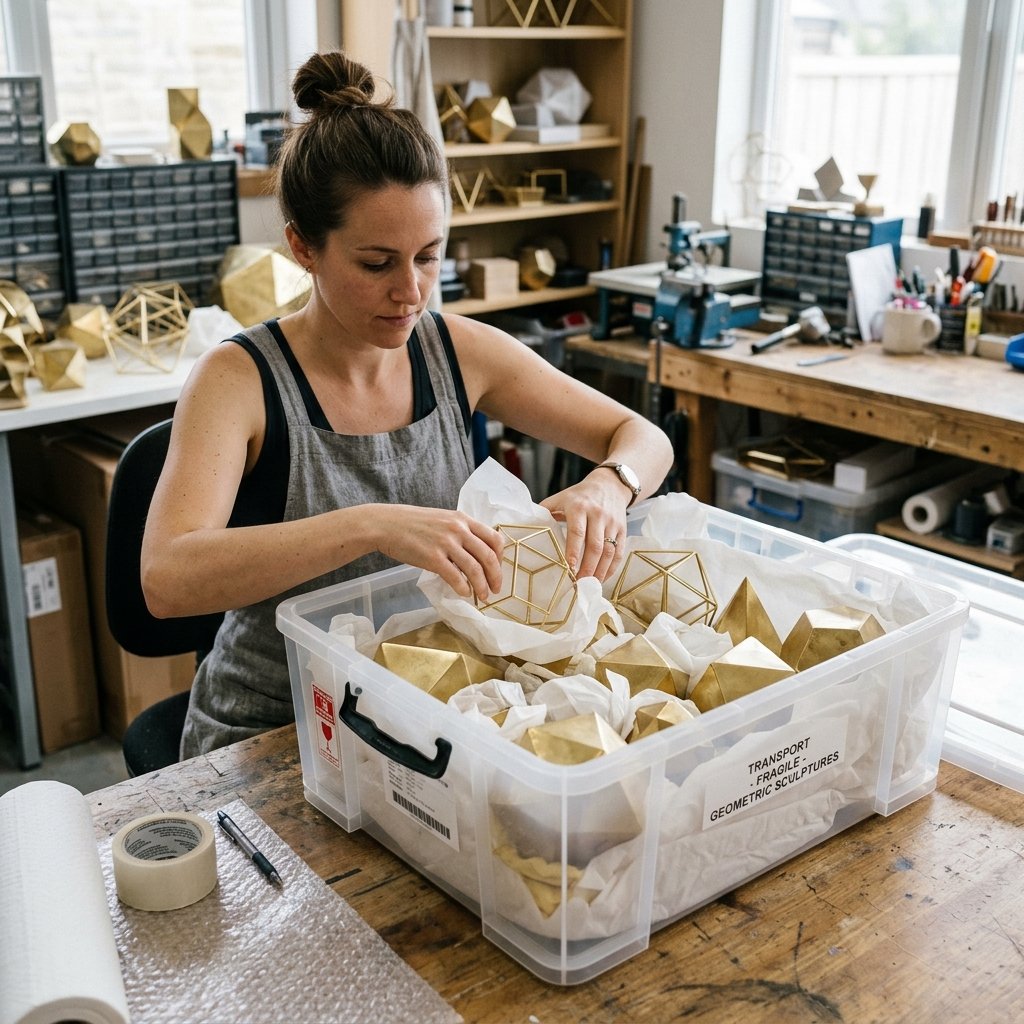
When you are DIYing on this scale, organization is your best friend. You don’t want to be stringing wire the night before the wedding. Follow this tactical timeline to stay stress-free.
The Production Timeline
- 4 Weeks Out: Purchase all materials in bulk. Cut all straw segments and sort them into labeled Ziploc bags (e.g., ‘5-inch segments’, ‘3-inch segments’).
- 3 Weeks Out: The ‘Assembly Line.’ Invite a few friends over, put on a movie, and have a folding party. Aim to complete 5-10 structures per session.
- 2 Weeks Out: The Painting Phase. Dedicate one dry, non-windy day to spray painting all units. Let them cure for 48 hours in a dust-free garage.
- 1 Week Out: Pack them in large plastic bins, separated by tissue paper. Because they are plastic, they won’t shatter like glass, but they can bend if crushed.
“Budget-savvy doesn’t mean last-minute. The difference between a ‘DIY wedding’ and a ‘Designer wedding’ is the time spent on the finish and the logistics.”
Conclusion
A Golden Achievement
By the time your guests sit down for dinner, they will be admiring what looks like a multi-thousand-dollar decor package. They won’t see the $5 box of cocktail straws or the $4 wire; they will see the symmetry, the warm brass glow, and the sophisticated atmosphere you’ve created. This project is the ultimate testament to the resourceful DIY spirit: with a little engineering and a can of spray paint, you can command a room and save your budget for what really matters—like the honeymoon or your first home together. Now, go forth and build something beautiful!

Makenzie is the founder and lead writer at MoneyHackTips.com — a personal finance blog dedicated to delivering street-smart financial wisdom for real people on real budgets. With 300+ published articles covering everything from debt management to investing fundamentals, Makenzie’s mission is to make every dollar work harder. When not writing about money hacks, Makenzie is testing frugal living strategies, optimizing side hustles, and helping readers build financial freedom from scratch.