
The Magic of Suspended Botanicals
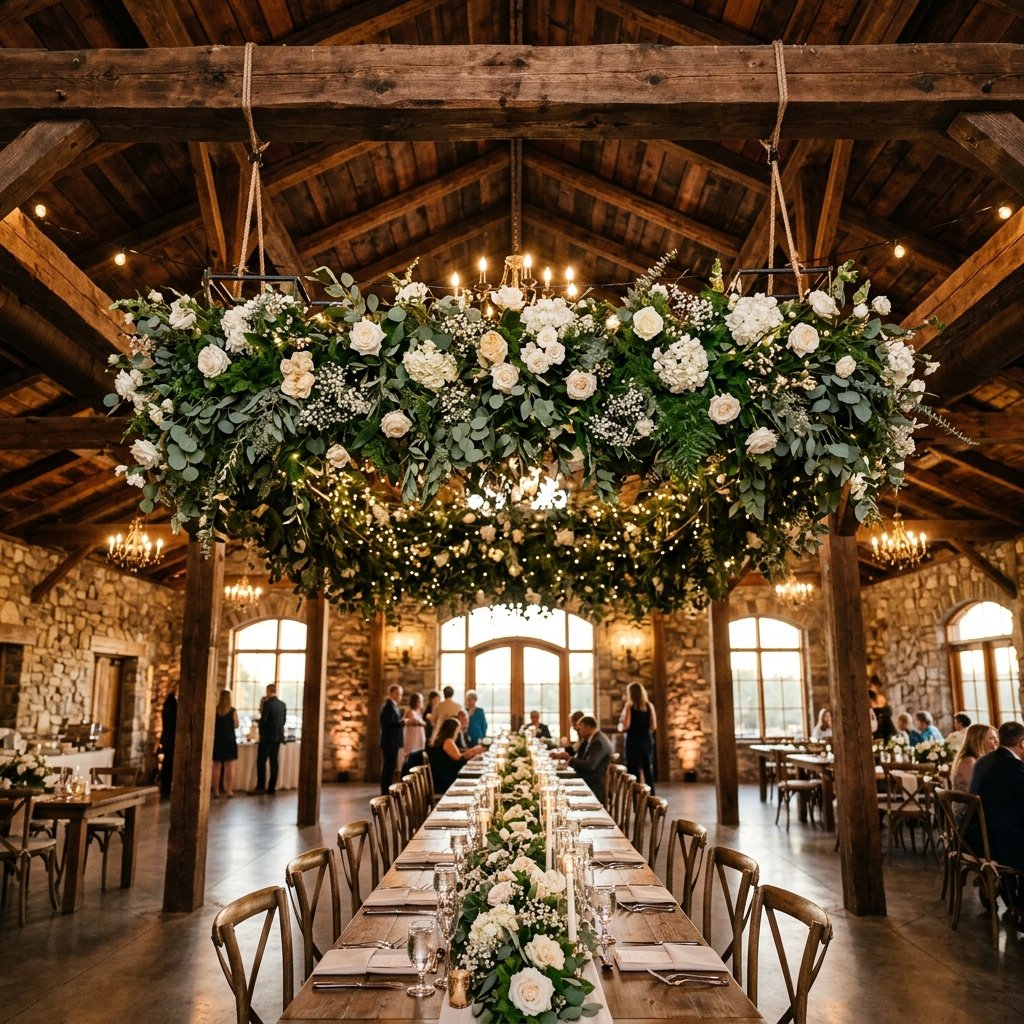
There is something inherently ethereal about flowers suspended in mid-air. It defies gravity and instantly elevates a room from ‘standard party’ to ‘editorial masterpiece.’ However, if you have ever called a professional florist for a quote on a hanging floral cloud or a floral chandelier, you likely experienced immediate sticker shock. Professional installations often start at $800 and can easily soar past $3,000 depending on the scale and flower types. But here is the secret: you do not need a four-figure budget to achieve this look. By adopting a resourceful, ‘trash-to-treasure’ mindset, we can replicate these high-end designs using a mix of foraged materials, clever Dollar Tree hacks, and rugged hardware store staples.
As a seasoned DIYer, I have learned that the key to a ‘jaw-dropping’ result isn’t the price tag of the petals—it is the structural integrity and the layering technique. We are going to build a professional-grade installation that looks like it belongs in a luxury wedding magazine, all while keeping our costs under $50. Whether you are a budget bride, a crafty parent planning a birthday, or an event stylist looking to sharpen your skills, this guide will walk you through the rugged practicality and artistic finesse required to master the art of the floral hang.
The Foundation: Choosing Your Rugged Structural Base
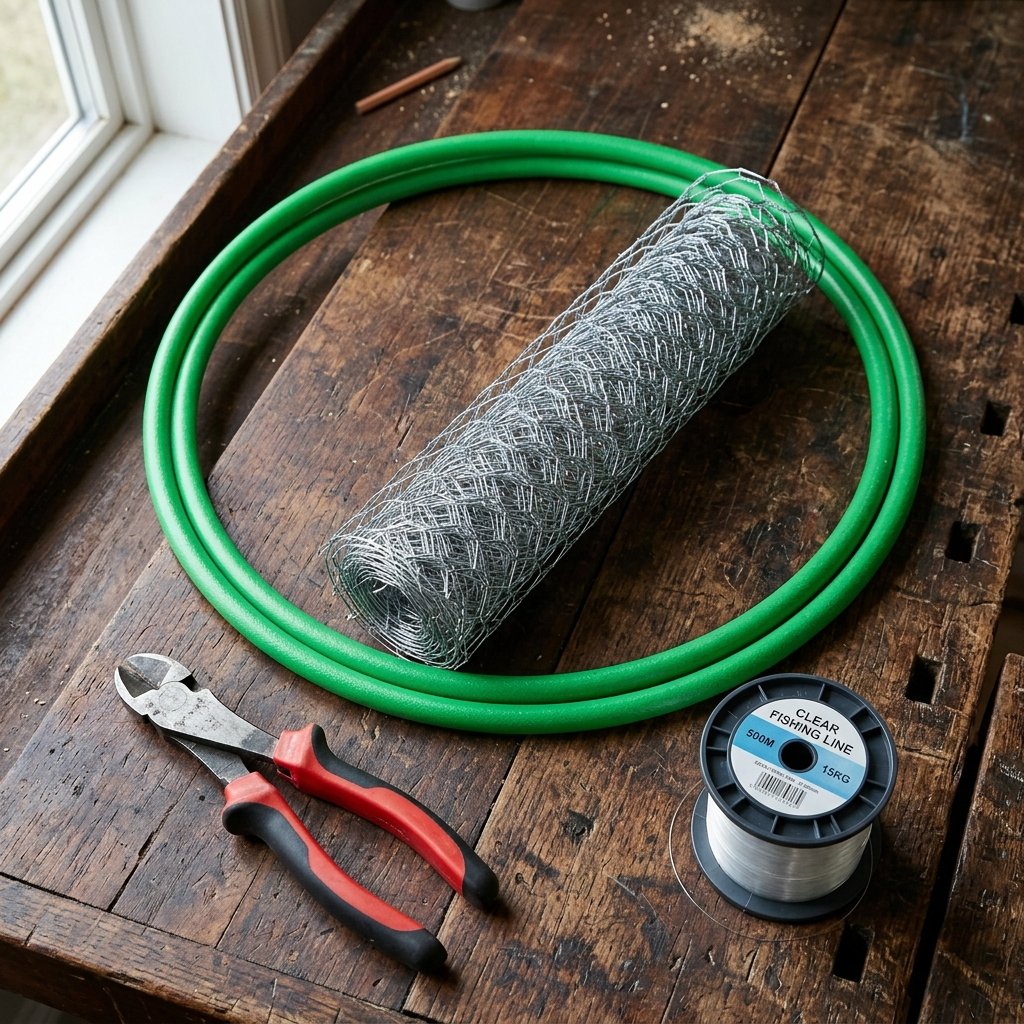
Every great installation begins with a solid, lightweight foundation. You need something that can support the weight of wet floral foam (if using fresh) or the sheer volume of silk stems without sagging. Instead of buying expensive professional floral grids, we are looking at common household items or cheap hardware store finds.
Top 3 Budget Bases
- The Hula Hoop: The ultimate $1.25 hack. A plastic hula hoop from the dollar store provides a perfect circular frame for chandeliers. Spray paint it matte black or metallic gold for a high-end finish.
- Chicken Wire (Poultry Netting): For a ‘floral cloud’ look, nothing beats chicken wire. It is pliable, rugged, and incredibly cheap. You can mold it into spheres or long ‘pillows’ to create organic, floating shapes.
- Upcycled Old Ladders or Branches: For a more masculine-elegant or rustic vibe, a weathered wooden ladder or a large, sturdy fallen branch from your backyard costs $0 and provides a stunning architectural element.
| Base Material | Estimated Cost | Best For… |
|---|---|---|
| Dollar Store Hula Hoop | $1.25 | Circular Chandeliers |
| Chicken Wire (5ft roll) | $8.00 | Organic Floral Clouds |
| Foraged Tree Branch | $0.00 | Rustic/Boho Installations |
| PVC Pipe Frame | $12.00 | Modern Geometric Shapes |
Budget Mantra: Strength is invisible. Don’t worry about how ugly the base is; we are going to bury it in greenery. Focus on secure attachment points!
Sourcing the ‘Petal Power’: Mixing Faux, Fresh, and Foraged
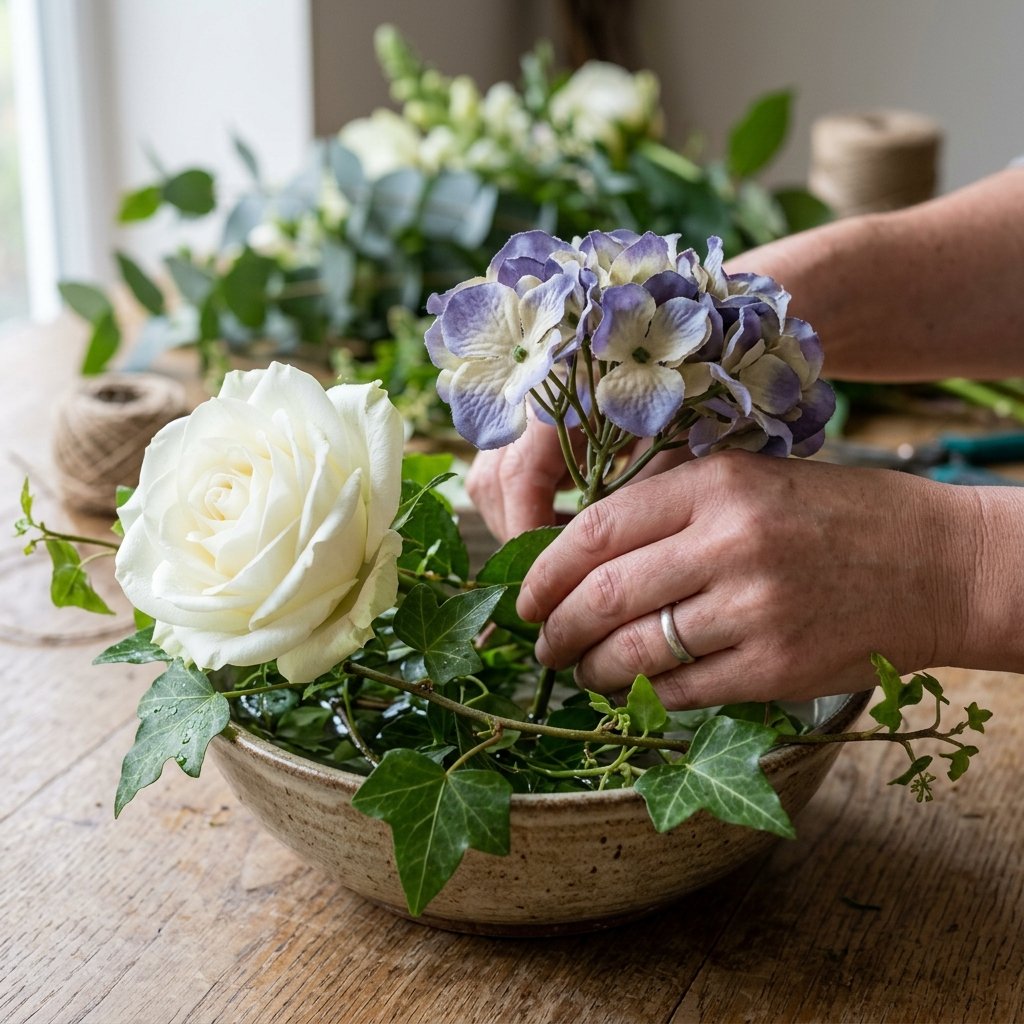
To keep costs at a minimum, we use the ‘Rule of Thirds’ in floral sourcing. This ensures variety and depth without draining your wallet. A professional look comes from texture, not just expensive blooms.
The Rule of Thirds for Budget Florals
- The Foraged Layer (The Bulk): Head to your backyard or a friendly neighbor’s garden. Look for evergreen branches, ivy, maple leaves, or even dried tall grasses. These provide the ‘bones’ of your installation for free.
- The Faux Layer (The Longevity): Use high-quality silk flowers from the Dollar Tree or wait for a 50% off sale at craft stores. These provide the pops of color and can be reused for future projects. Focus on ‘filler’ flowers like baby’s breath or carnations.
- The Fresh Layer (The Fragrance): Spend your actual money here—but sparingly. Buy one or two bunches of ‘statement’ flowers from a local grocery store (like roses or lilies). Because they are mixed with the other layers, they will make the whole installation look and smell ‘real.’
| Source Type | Pros | Cons |
|---|---|---|
| Foraged | 100% Free, Organic shapes | Needs cleaning (bugs/dirt) |
| Dollar Store Faux | Extremely cheap, Never wilts | Can look ‘plastic-y’ if not layered |
| Grocery Store Fresh | Smells amazing, Authentic look | Wilts after 2-3 days |
The Assembly Masterclass: Building Your Installation Step-by-Step
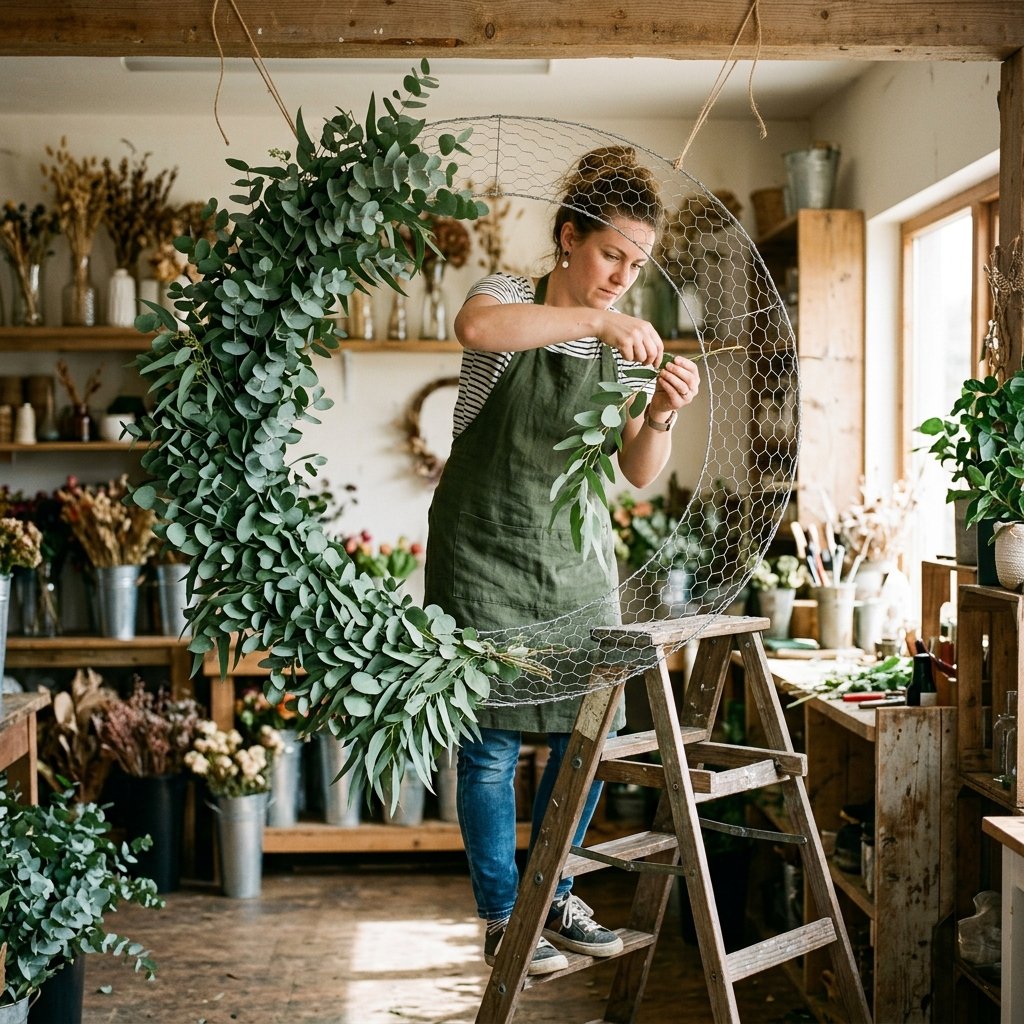
Now we get into the crafty-expert territory. The goal is to build layers so that the internal structure is completely hidden. Follow these steps for a professional finish.
Step-by-Step Construction
- Anchor Your Base: Suspend your base (hula hoop or wire) at eye level while you work. Use heavy-duty fishing line (rated for at least 20 lbs) or black zip ties. It is much easier to design while it is hanging than on a table.
- The Greenery ‘Skeleton’: Start by weaving your foraged greenery into the chicken wire or around the hoop. Secure them with floral wire. Aim for an asymmetrical look—let some pieces drape lower than others to create movement.
- Placing the Focal Points: Insert your largest ‘statement’ flowers (the fresh ones or high-end faux). Space them out unevenly. In nature, things don’t grow in perfect patterns!
- Filling the Gaps: Use your cheaper silk flowers to fill any ‘holes’ where you can still see the chicken wire or hula hoop.
- The ‘Gravity’ Check: Step back 10 feet. Look for any spots where the structure looks thin. Add ‘trailing’ elements like ivy or ribbons to draw the eye downward.
Pro Tip: If using fresh stems, use ‘water picks’ (small plastic tubes filled with water) to keep the flowers hydrated without needing a massive, heavy block of wet foam.
The ‘Floating’ Illusion: Hardware and Safety Logistics
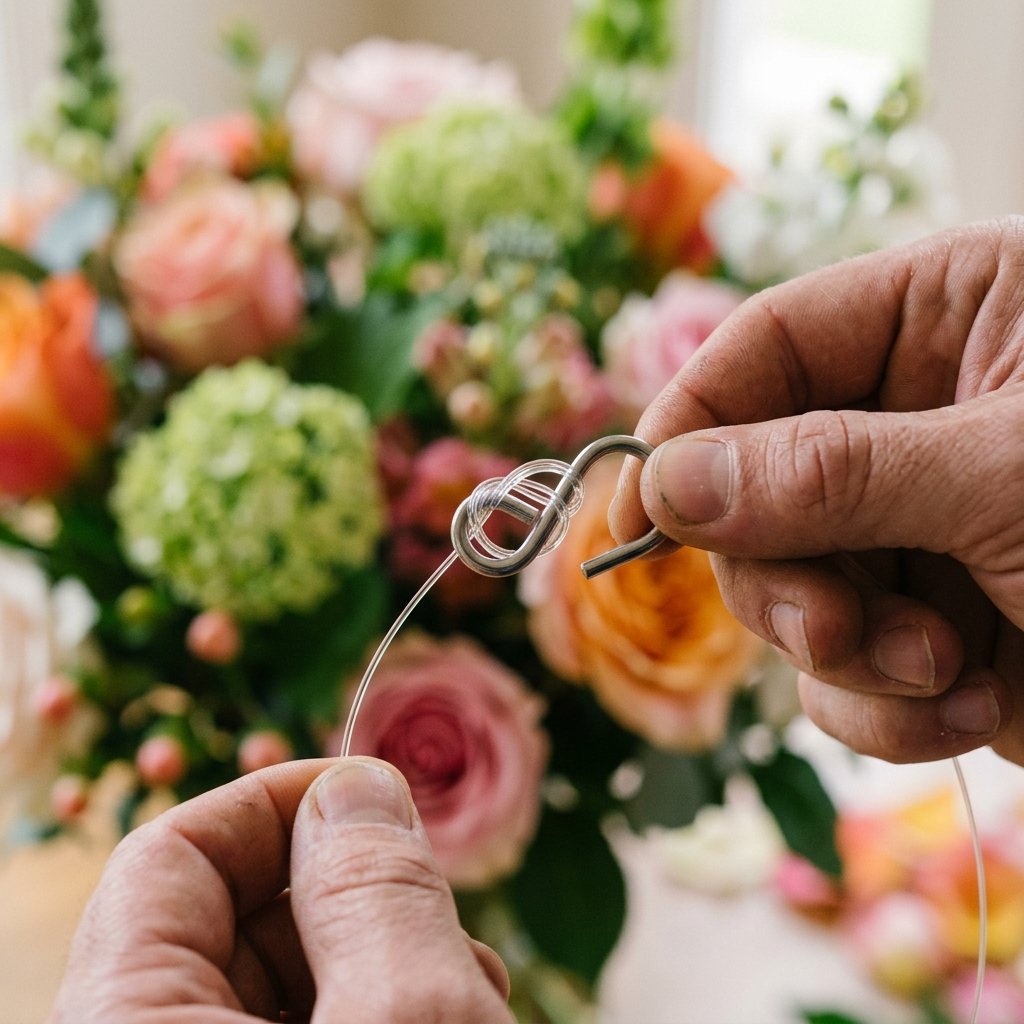
A jaw-dropping installation is only jaw-dropping if it stays in the air. As a ‘handy’ DIYer, you must prioritize safety. We want a ‘masculine-elegant’ approach to hardware—strong, reliable, yet discreet.
Essential Hardware List
- Command Hooks (Heavy Duty): If you cannot drill into the ceiling, use the 15lb-rated Command hooks. Use at least three points of contact to distribute the weight.
- Monofilament (Fishing Line): Use clear line so it disappears against the ceiling. Double-knot every connection point.
- S-Hooks: These are great for attaching the installation to existing light fixtures or beams quickly.
| Component | Weight Capacity | Visibility |
|---|---|---|
| Fishing Line (20lb test) | High | Invisible |
| Zip Ties | Very High | Low (if color-matched) |
| Floral Wire | Medium | Low |
Safety Note: Always weigh your finished installation using a simple luggage scale before hanging. Ensure your ceiling anchors are rated for double that weight to account for any accidental bumps or wind if outdoors.
Styling for the ‘Wow’ Factor: Lights, Ribbons, and Texture
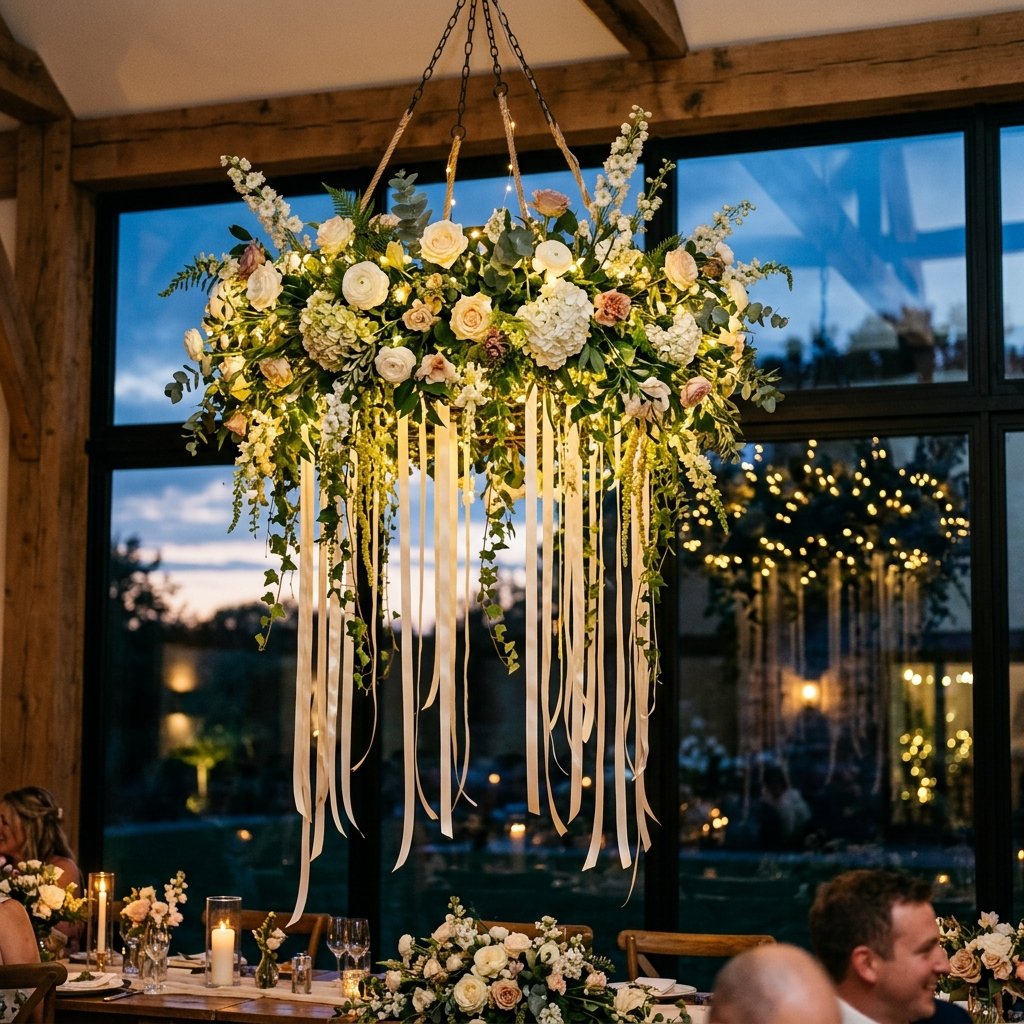
To truly push this into the ‘jaw-dropping’ category, we need the finishing touches. This is where your inner event stylist shines. We are adding depth and a touch of magic.
The Finishing Touches
- Fairy Lights: Weave battery-operated copper wire fairy lights through the greenery. Hide the battery pack in the center of the installation using a zip tie. The warm glow at night is transformative.
- Velvet or Chiffon Ribbons: For a romantic wedding look, hang long strips of torn chiffon or velvet ribbon from the base. Let them catch the breeze.
- Dried Elements: Add dried pampas grass or bleached ruscus for a trendy, modern texture. These are reusable and add a high-end ‘boho’ flair.
By using these layers, you create a 3D experience. People won’t just look at the flowers; they will look through them at the lights and textures, making the installation feel much larger and more expensive than it actually is.
Conclusion
You Are Now a Floral Architect
Creating a jaw-dropping hanging floral installation is not about having a massive budget; it is about having the resourcefulness to see potential in a hula hoop and the patience to layer your foraged finds. By following this guide, you have saved yourself hundreds, if not thousands, of dollars, while creating a focal point that your guests will talk about for years. Remember, the beauty of DIY is in the unique, organic imperfections. Your installation doesn’t need to be perfect—it just needs to be yours. Now, grab your wire cutters, head to the backyard, and start building your masterpiece. You’ve got the skills, the ‘trash-to-treasure’ mindset, and the budget-savvy plan to make it happen!

Makenzie is the founder and lead writer at MoneyHackTips.com — a personal finance blog dedicated to delivering street-smart financial wisdom for real people on real budgets. With 300+ published articles covering everything from debt management to investing fundamentals, Makenzie’s mission is to make every dollar work harder. When not writing about money hacks, Makenzie is testing frugal living strategies, optimizing side hustles, and helping readers build financial freedom from scratch.