
Let’s be honest: most wedding favors end up in the trash or forgotten at the bottom of a purse by the time the reception ends. But you? You’re a resourceful, budget-savvy creator who wants something better for your guests. You want a favor that lives, breathes, and adds a touch of rugged elegance to their homes. Enter the succulent. These hardy little survivors are the ultimate ‘trash-to-treasure’ plant—they can be propagated from a single leaf and thrive in the most unconventional containers. In this masterclass, we are going to dive deep into how you can assemble 15 stunning, high-end lookalike succulent favors for a fraction of the boutique price. Whether you are a handy dad helping with the centerpieces or a frugal bride looking to save hundreds of dollars, this guide is your tactical blueprint for greenery on a dime.
Budget Mantra: A favor should be a gift, not a chore. If it grows, it shows you care.
Mastering the Art of the Green Bargain: Sourcing and Soil
Before we get to the designs, we have to talk logistics. Buying 100 individual succulents at a garden center will bankrupt your budget. To stay under that $2.00 per guest mark, you need to think like a professional wholesaler. Look for ‘plug trays’ online or at local nurseries. These are baby plants grown in tiny plastic cells, often sold in packs of 64 or 128. This brings your cost per plant down to roughly $0.60 to $0.85.
The Secret of Propagation
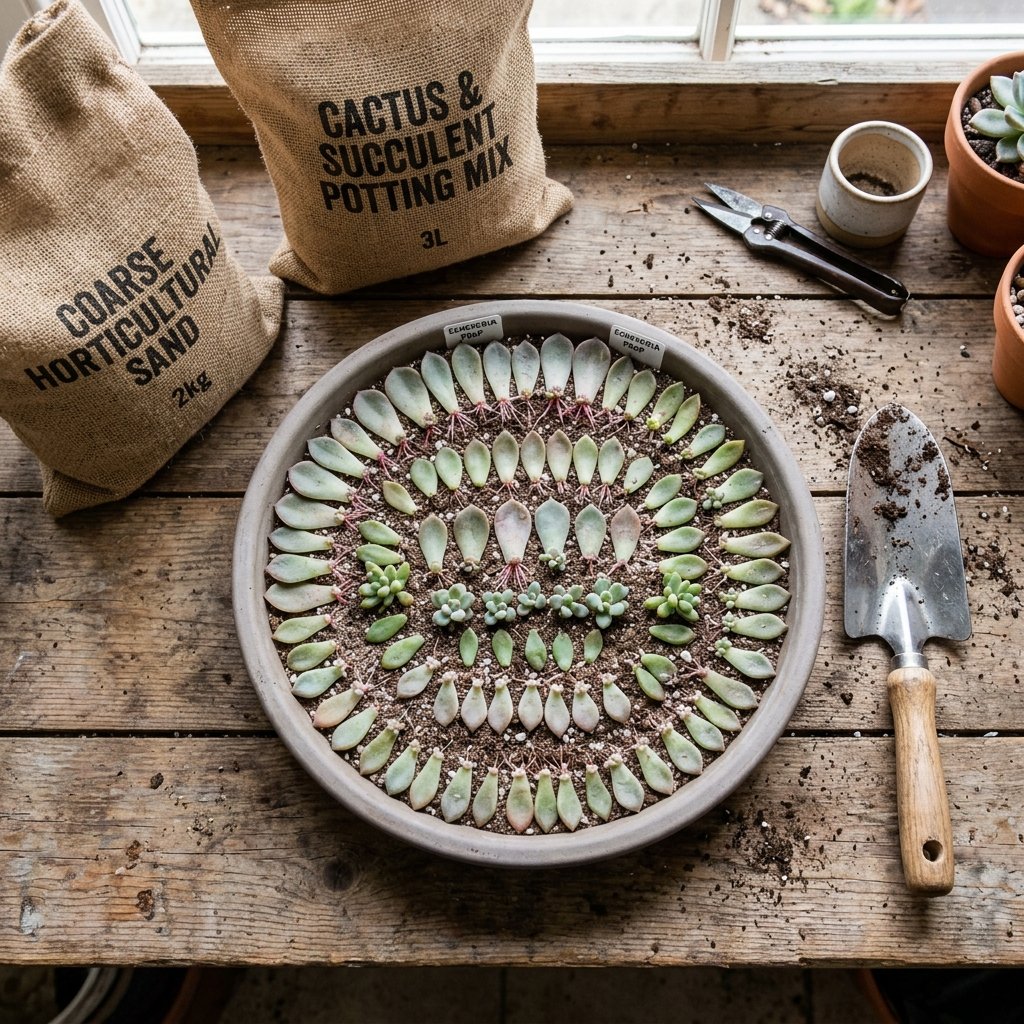
If you have a long lead time (at least 4-6 months), you can grow your favors for $0.00. Simply take leaves from existing succulents, let them callous for 2 days, and lay them on damp soil. Within weeks, tiny ‘pups’ will emerge. This is the ultimate frugal move for the patient crafter.
The Perfect Drainage Mix
Succulents hate ‘wet feet.’ You cannot use standard potting soil alone. Use this ratio for a rugged, fast-draining mix:
| Ingredient | Ratio Part | Benefit |
|---|---|---|
| Standard Potting Soil | 2 Parts | Nutrient base |
| Coarse Sand or Perlite | 2 Parts | Aeration and drainage |
| Pea Gravel (Bottom Layer) | 1 Part | Prevents root rot |
Safety Note: When mixing soil, especially if using perlite, work in a well-ventilated area or wear a mask to avoid inhaling fine dust particles.
The Big 15: Creative DIY Favor Designs
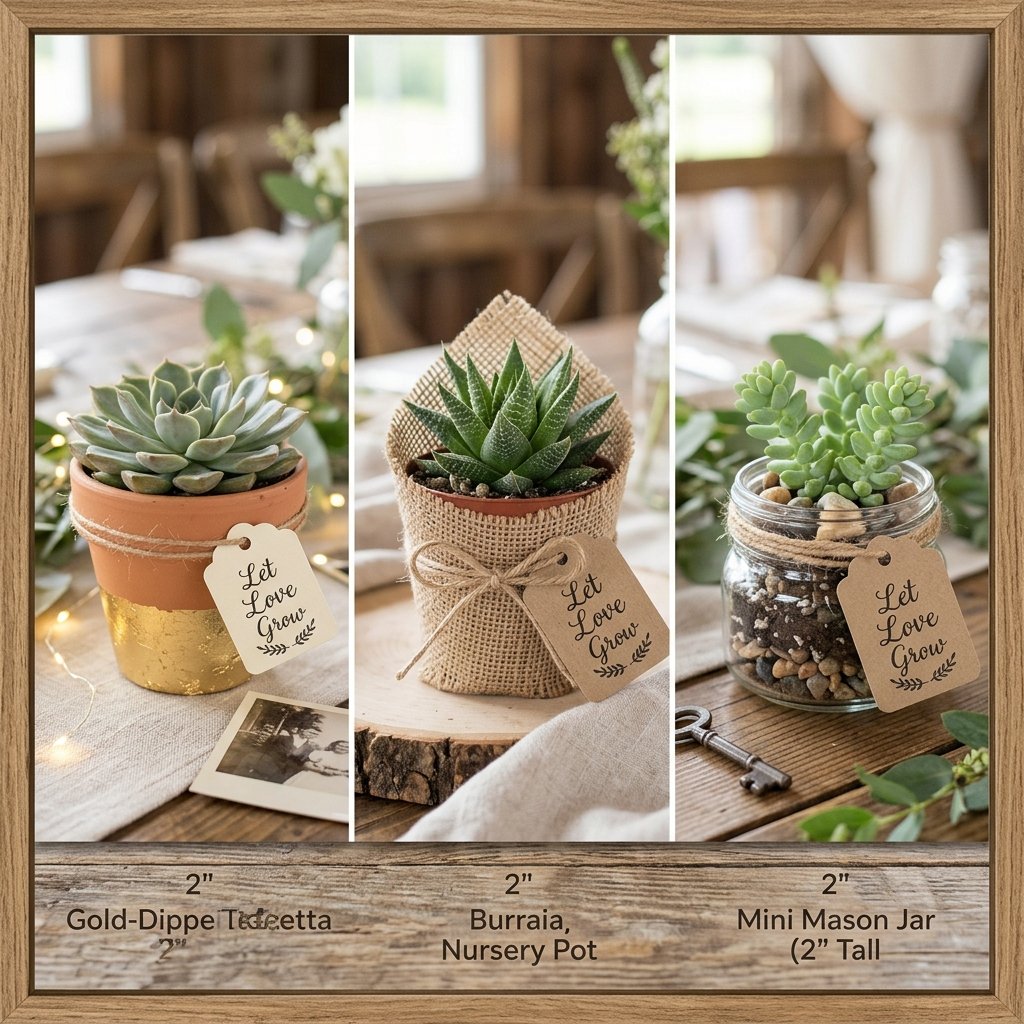
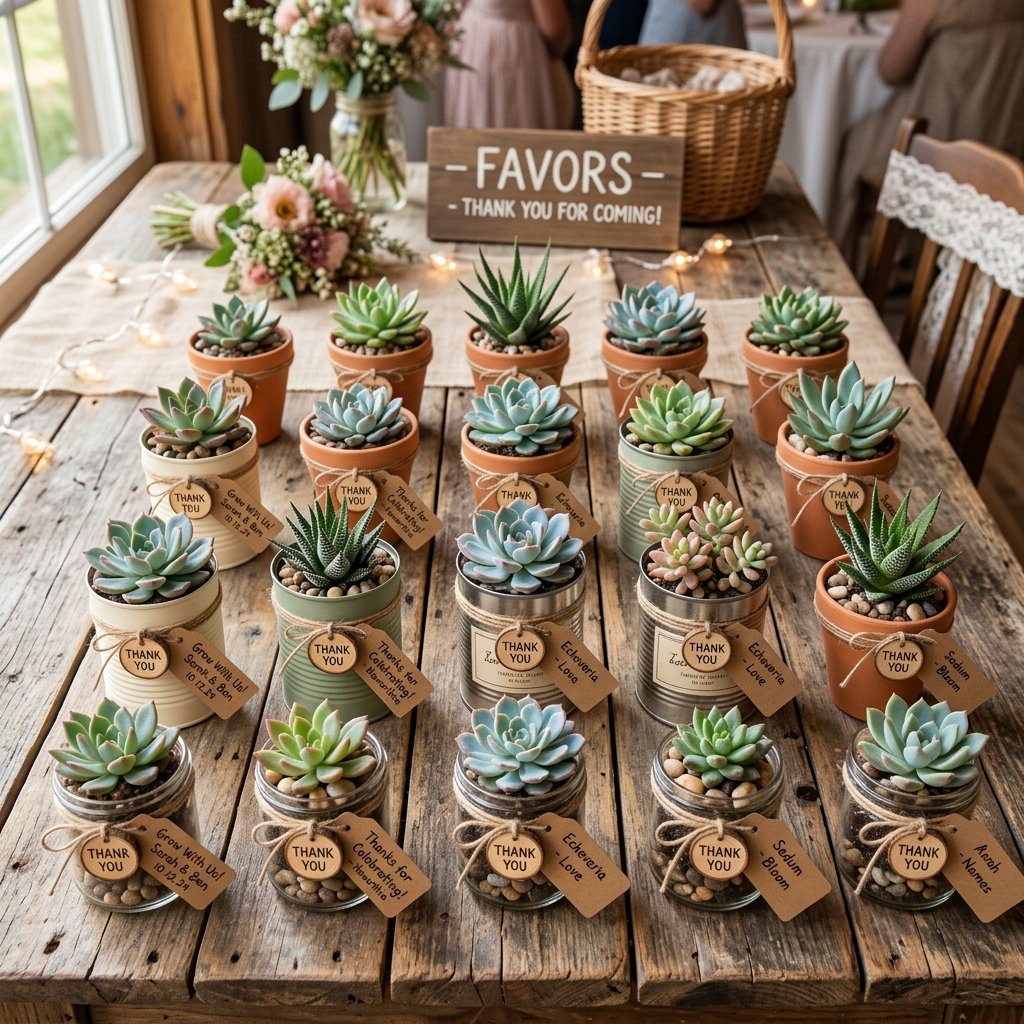
Here are 15 specific ways to package your plants using everyday items, Dollar Tree finds, and upcycled materials. Each of these is designed to look like a $10 boutique item while costing you pennies.
- The Rustic Tin Can: Save your tomato paste or tuna cans. Remove the labels, sand the sharp edges, and give them a quick spray of matte black or metallic copper paint.
- The ‘Mint to Be’ Glass Jar: Buy bulk 2oz glass jars from a wholesaler. Fill the bottom with 1/2 inch of white sand, add the plant, and top with decorative pebbles.
- Gold-Dipped Terra Cotta: Buy mini 2-inch terra cotta pots in bulk. Use painter’s tape to mark a diagonal line and paint the bottom half with metallic gold acrylic paint.
- The Burlap Wrap: For an ultra-frugal option, keep the plants in their plastic nursery pots. Wrap the pot in a 5×5 inch square of burlap and tie with a thick strand of jute twine.
- The Wine Cork Magnet: Using a 1/4 inch drill bit, hollow out the center of a recycled wine cork. Glue a strong neodymium magnet to the back. Plant a tiny succulent cutting inside.
- Thrifted Teacups: Spend a few weekends hitting garage sales. Mismatched vintage teacups make for an eclectic, elegant display.
- Geometric Concrete Pots: Use empty juice cartons or plastic cups as molds. Mix quick-set concrete and pour. These are heavy, rugged, and incredibly modern.
- Kraft Paper Cones: Roll heavy-duty kraft paper into a cone, staple, and drop the plant in. It’s simple, biodegradable, and very ‘farmhouse chic.’
- Marbled Clay Pots: Use white and grey polymer clay. Knead them together partially to create a marble effect, then mold around a small plastic form.
- The Moss-Wrapped Kokedama: Remove the plant from the pot, wrap the root ball in damp sheet moss, and secure it tightly with green floral wire.
- Vintage Spool Planters: Large wooden thread spools from antique shops are perfect for tiny ‘hen and chick’ succulents.
- Book Page Wraps: Use pages from an old, damaged book to wrap the base of your pots. It adds a literary, romantic touch for zero cost.
- Copper Pipe Industrial: Use 2-inch copper pressure couplings from the hardware store. They are the perfect size for a small succulent and look incredibly high-end.
- Painted Mason Jar Minis: Use the smallest 4oz mason jars. Paint the inside with chalk paint for a matte, frosted look that hides the dirt.
- The ‘Let Love Grow’ Seedling Bag: Place the succulent in a small cotton muslin bag. Stamp the front with your wedding date using permanent ink.
The Assembly Line: Mass Production Strategy
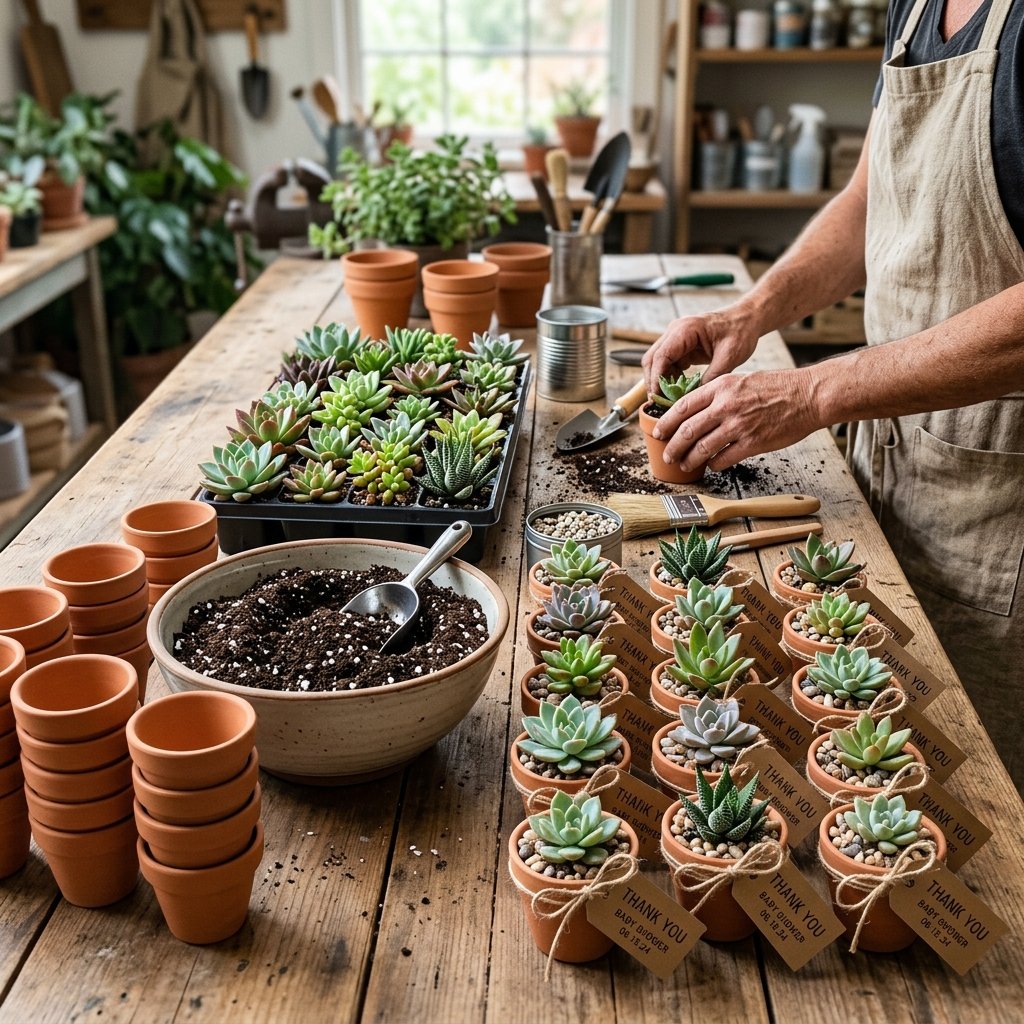
When you are making 100+ favors, you need a tactical plan. Do not try to do this the night before the wedding. Succulents are hardy, but they need time to settle. Aim to finish your favors 7 to 10 days before the big day.
The 5-Step Assembly Process
- Step 1: Prep the Vessels. Clean, paint, or wrap all your containers at once. This is the ‘dirty’ phase.
- Step 2: The Soil Station. Pre-mix your soil in a large bucket. Use a small measuring cup (like a 1/4 cup) to ensure consistent filling.
- Step 3: The Planting. Gently remove the succulent from its nursery tray. Tease the roots slightly and place it in the new vessel.
- Step 4: The Top Dress. Add a layer of fine gravel or moss. This isn’t just for looks; it keeps the soil in place and prevents moisture from rot-prone leaves.
- Step 5: The Tagging. Attach your personalized tags last so they don’t get soiled or wet during the planting process.
Pro-Tip: Use a small paintbrush to brush away any stray soil from the succulent leaves. It makes the final product look professional and polished.
Budget Breakdown: DIY vs. Professional Florist
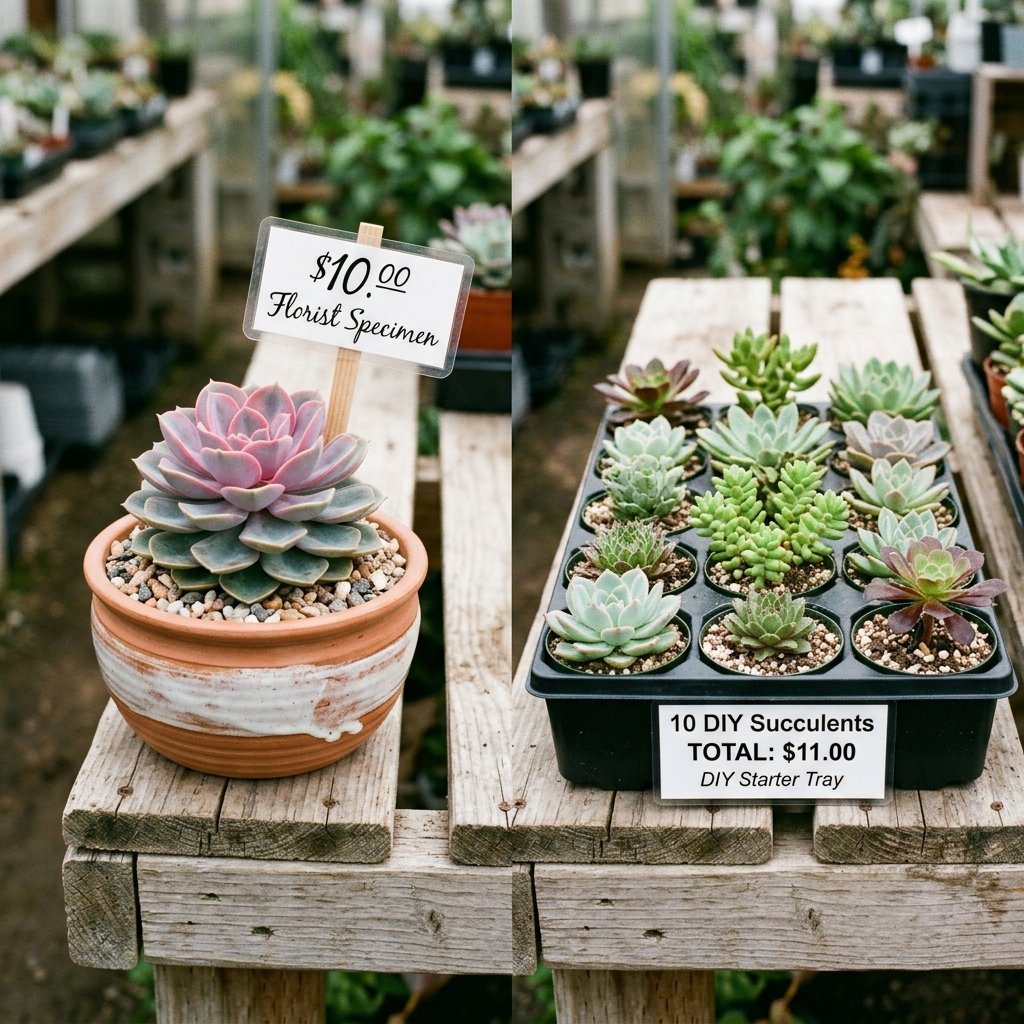
Why do we do this? For the savings. When you hire a florist to provide succulent favors, you aren’t just paying for the plant; you are paying for their labor, studio overhead, and markup. By being your own ‘labor force,’ you can save enough to upgrade your honeymoon or open bar.
| Item | Professional Florist Price | DIY Budget Price |
|---|---|---|
| Mini Succulent Plant | $4.50 | $0.75 (Wholesale) |
| Decorative Vessel | $3.00 | $0.25 (Upcycled/Bulk) |
| Soil & Top Dressing | Included | $0.10 |
| Labor & Assembly | $2.50 | $0.00 (Crafty Expert) |
| Total Per Favor | $10.00 | $1.10 |
For a wedding of 150 guests, the DIY route saves you $1,335.00. That is a massive win for any frugal couple.
The Final Flourish: Presentation and Care
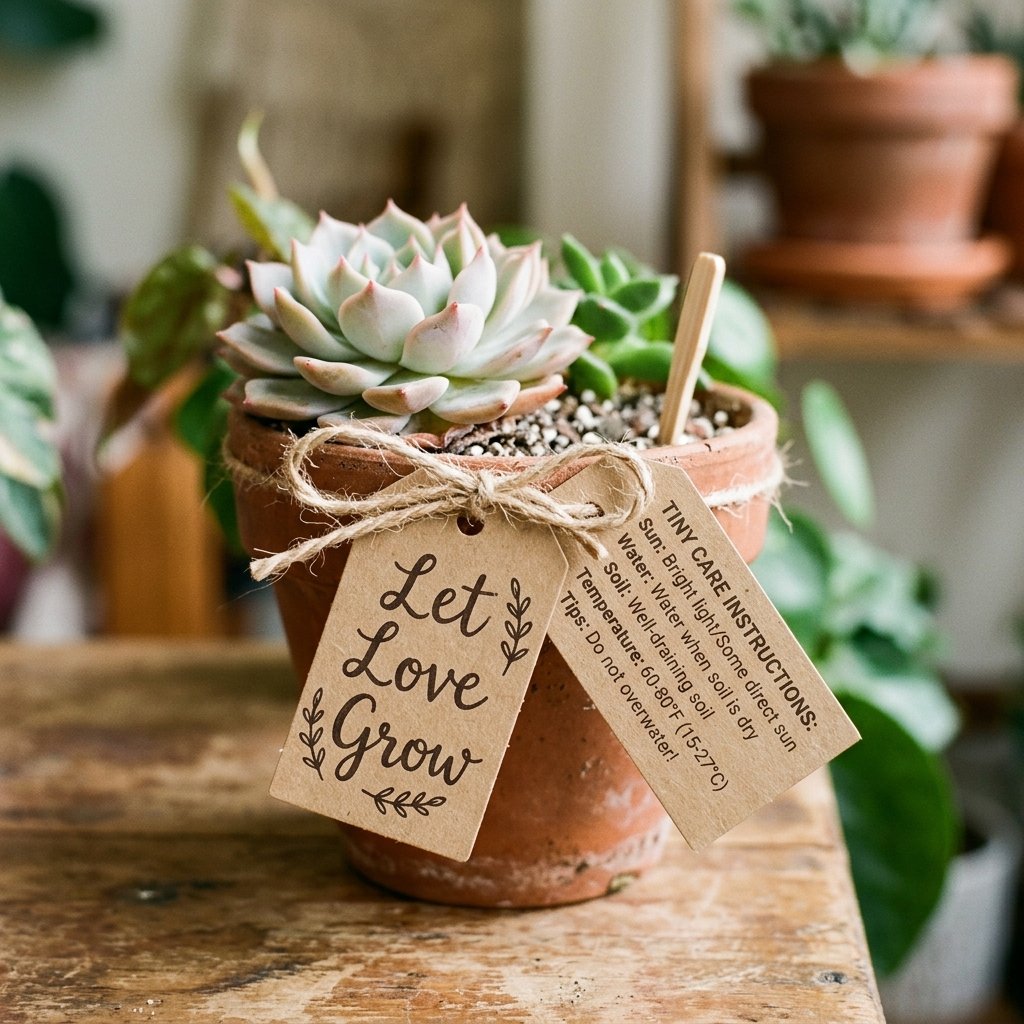
A succulent favor is only as good as its presentation. How you display them at the venue matters. Group them on a tiered wooden ladder for a rugged, vertical garden look, or use them as place card holders at each setting.
Care Instructions for Guests
Since not everyone has a green thumb, include a small note on the back of your ‘Thank You’ tag. This ensures your gift survives long after the wedding cake is eaten.
- Light: Place in a bright, sunny window.
- Water: Only water when the soil is completely dry (about every 2 weeks).
- Drainage: Do not overwater; succulents prefer to be neglected rather than pampered.
By providing these simple instructions, you turn a ‘decoration’ into a ‘long-term memory’ for your guests.
Conclusion
Creating 15 cheap DIY succulent wedding favors is more than just a cost-saving measure; it’s a way to infuse your personality and handiwork into your special day. From the rugged charm of an upcycled tin can to the sophisticated elegance of a gold-dipped pot, these favors prove that you don’t need a massive budget to leave a lasting impression. You’ve got the tools, the soil ratios, and the sourcing secrets—now it’s time to get your hands a little dirty and let your love grow. Happy crafting!

Makenzie is the founder and lead writer at MoneyHackTips.com — a personal finance blog dedicated to delivering street-smart financial wisdom for real people on real budgets. With 300+ published articles covering everything from debt management to investing fundamentals, Makenzie’s mission is to make every dollar work harder. When not writing about money hacks, Makenzie is testing frugal living strategies, optimizing side hustles, and helping readers build financial freedom from scratch.