
The Secret to High-End Florals Without the High-End Price Tag
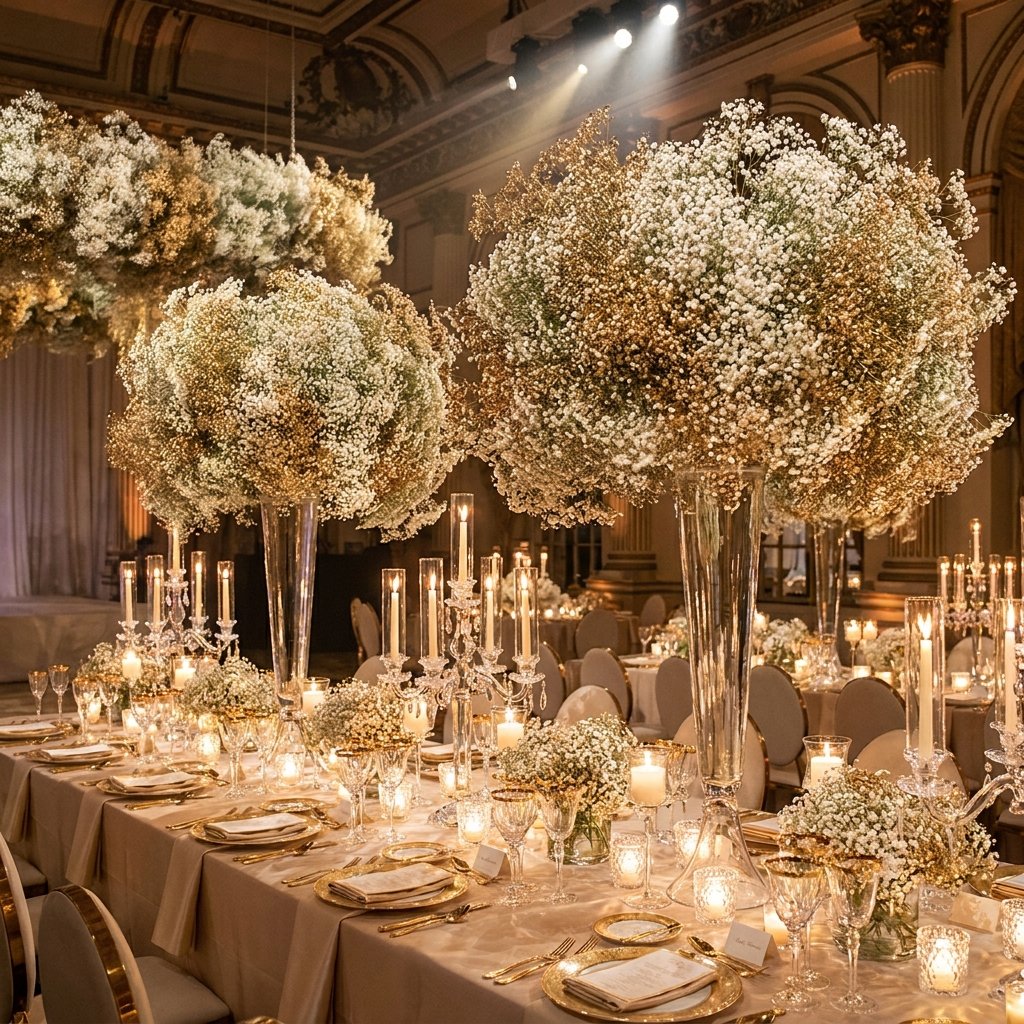
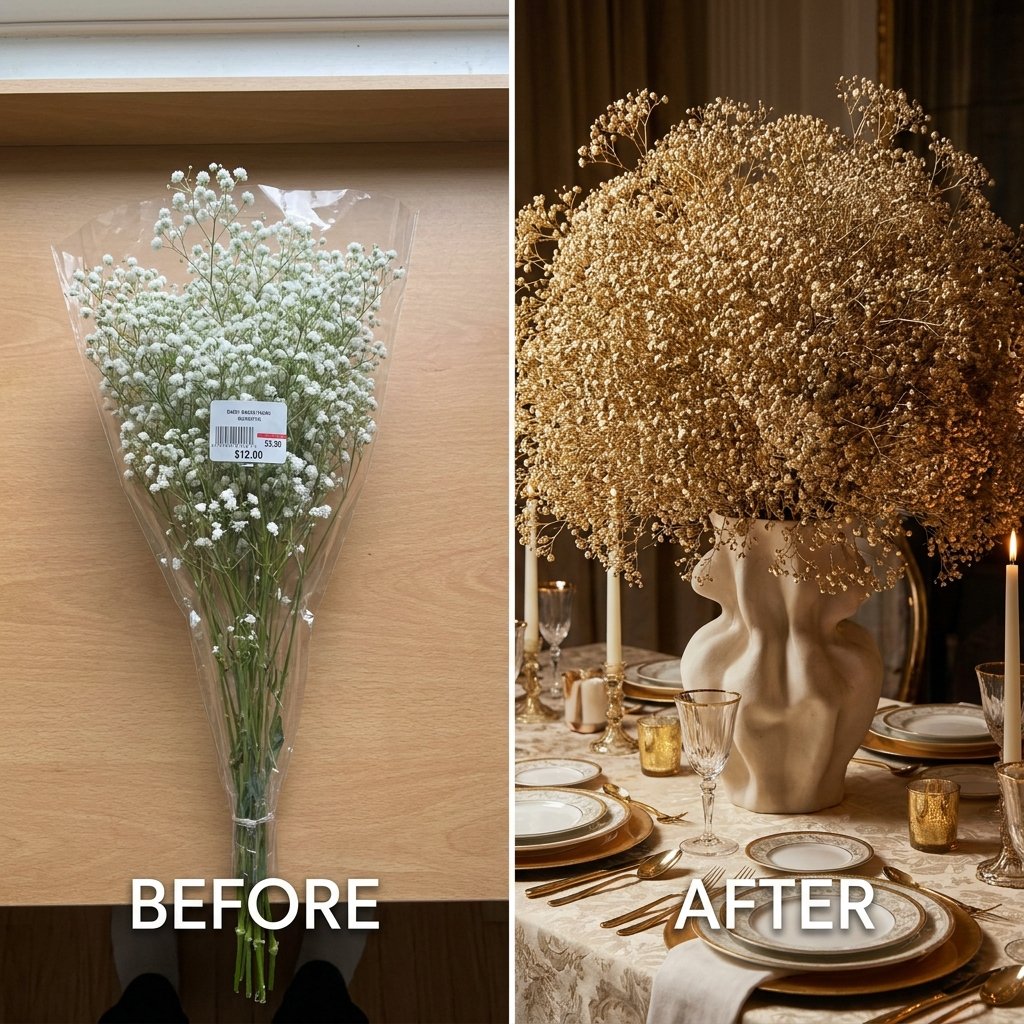
For decades, baby’s breath (Gypsophila) was relegated to the role of the ‘filler flower,’ a humble backdrop for more expensive blooms like roses or peonies. But times have changed. Today, the most resourceful and budget-savvy decorators are flipping the script, turning this affordable staple into the main event. By applying a bit of crafty expertise and a few cans of spray paint, you can transform a $1.25 bunch of grocery store flowers into a $200-lookalike centerpiece that breathes masculine elegance and rugged sophistication into any event.
Whether you are a budget bride looking to save thousands on your floral bill, a handy parent planning a graduation party, or a creative gift-giver wanting to elevate a simple bouquet, this guide is your masterclass. We aren’t just ‘painting flowers’; we are architectural stylists creating ‘floral clouds’ that look like they stepped out of a luxury magazine. Let’s dive into the ruggedly practical steps of turning trash-tier budgets into treasure-tier aesthetics.
The Budget Breakdown: Why Baby’s Breath Wins
Maximizing Every Penny
The beauty of baby’s breath lies in its volume. Unlike a lily or a tulip, which occupies a single point of space, a single stem of baby’s breath branches out into hundreds of tiny florets. This ‘volume-to-cost’ ratio is the clever crafter’s best friend. When you spray paint these stems, you add a layer of texture and light reflection that makes the arrangement look intentional and expensive rather than ‘cheap filler.’
Estimated Florist vs. DIY Price Comparison
| Item | Professional Florist Price | DIY Budget Price |
|---|---|---|
| Large Baby’s Breath Centerpiece | $150 – $350 | $15 – $25 |
| Gold/Metallic Coating Surcharge | $50+ | $4.99 (Can of Paint) |
| Delivery and Setup | $100 – $500 | $0 (Self-Installed) |
| Total Per Table | $300 – $900 | $20 – $30 |
By choosing the DIY route, you are saving approximately 90% of the cost. This allows you to reallocate your hard-earned money toward other priorities, like the honeymoon or a down payment on a home, without sacrificing the ‘dream’ aesthetic of your event.
Sourcing and Preparation: Finding the Best Blooms
Where to Buy in Bulk
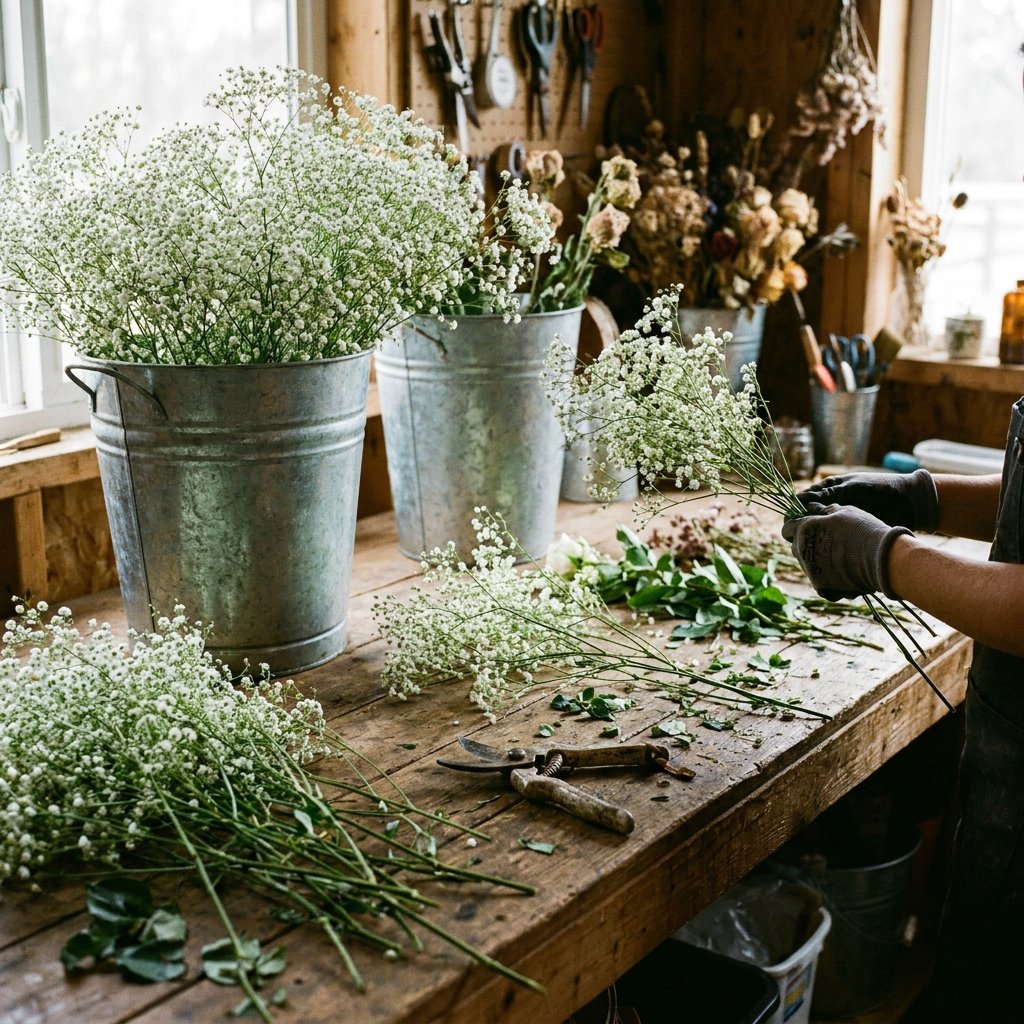
To achieve the ‘cloud’ effect, you need density. I recommend sourcing your baby’s breath from wholesale clubs like Costco or Sam’s Club, or ordering in bulk from local grocery store floral departments. You can often get a massive ‘grower’s bunch’ for under $15. Look for the ‘Million Star’ variety for the tiniest, most cloud-like florets.
Preparation Steps
- Hydrate First: Even if you plan to dry them eventually, give the stems a fresh 45-degree angle cut and place them in room temperature water for 2 to 4 hours. This ensures the florets are fully open and ‘fluffy’ before painting.
- Shake and Dry: Before painting, shake the stems gently to remove excess water. The paint will not adhere to wet petals.
- The ‘Fluff’ Technique: Gently pull the branches apart to create more space between the florets. This prevents the paint from clumping and creates a more natural, airy look.
“Budget Mantra: The more you fluff, the less you spend. Volume is created by air, not just stems.”
The Spray Painting Masterclass: Techniques and Safety
Choosing the Right Paint
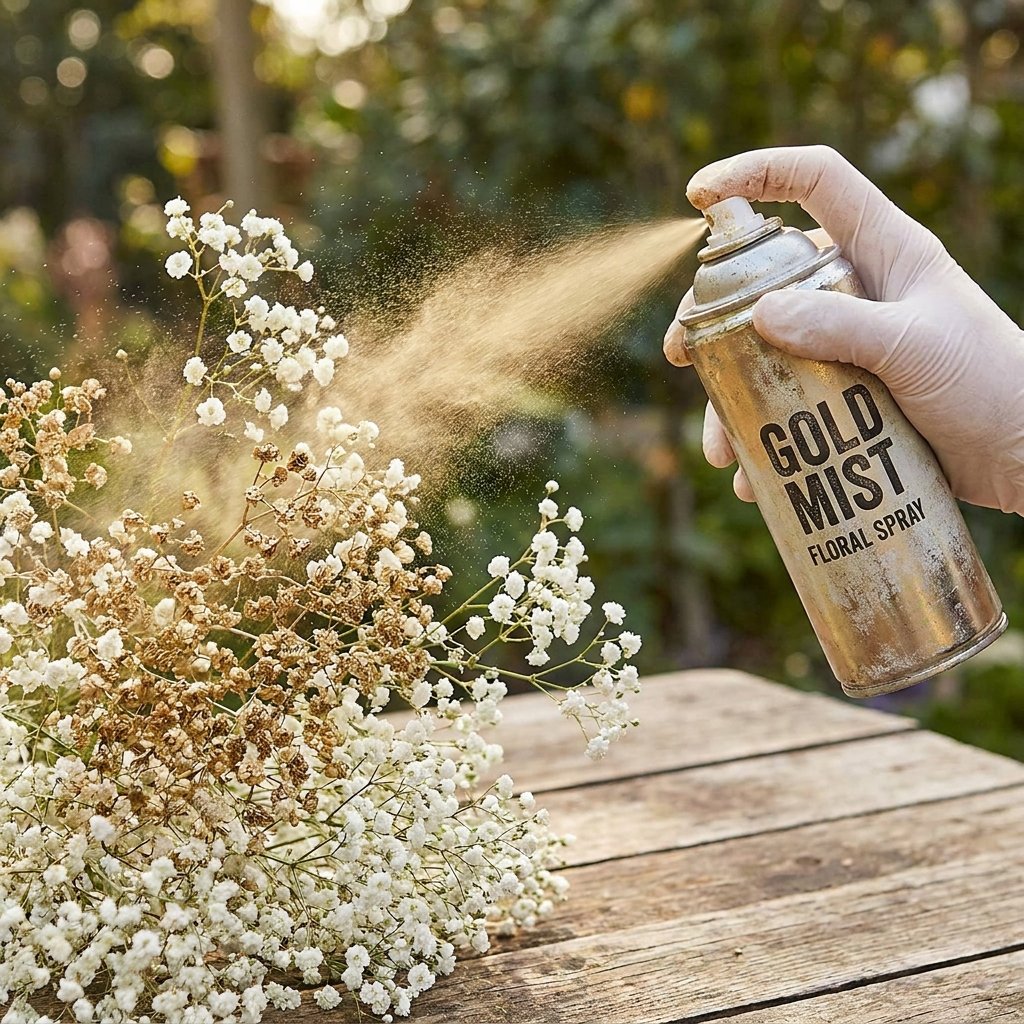
Not all spray paints are created equal. For a professional finish, use specialized floral sprays like Design Master. However, if you are on a strict budget, standard high-quality metallic spray paints (like Rust-Oleum) work perfectly well on baby’s breath because the flowers are hardy and have very little surface moisture compared to roses.
The Painting Process
- Step 1: Ventilation. Always work in a well-ventilated area or outdoors. Wear a mask to avoid inhaling fumes.
- Step 2: The ‘Mist’ Method. Hold the can 12 to 15 inches away from the flowers. Do not saturate them. Use light, sweeping motions to ‘mist’ the color onto the florets.
- Step 3: Rotation. Rotate the bunch as you spray to ensure 360-degree coverage. Don’t forget to spray from the bottom up to catch the undersides of the stems.
- Step 4: Layering. If you want a deep gold or solid black, apply two thin coats rather than one thick, drippy coat. Wait 10 minutes between layers.
Safety Note: Spray paint is flammable. Keep your workspace away from open flames or candles during the painting and drying process. Ensure the flowers are 100% dry before placing them near table candles.
Assembly: Creating the ‘Cloud’ Architecture
The Secret of the Floral Grid
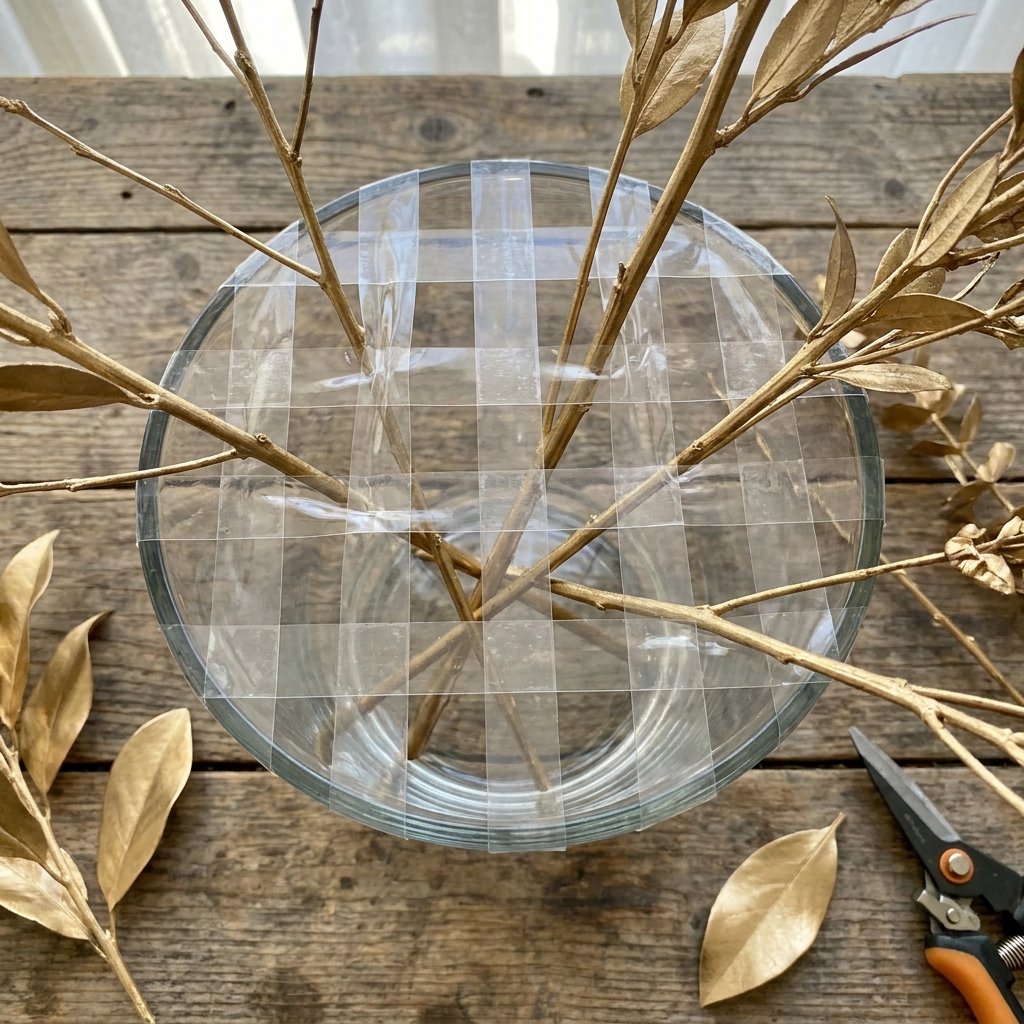
To get that high-end, overflowing look, you can’t just stick the stems in a vase. You need structure. This is where the ‘Handy Upcycler’ mindset comes in. Use clear waterproof floral tape or even simple scotch tape to create a grid over the mouth of your vase.
Assembly Instructions
- The Grid: Create a # hashtag pattern with tape across the top of your vase. This allows you to place stems at angles, keeping them from falling to the sides.
- The Foundation: Start with the largest, fluffiest stems at the bottom of the grid, angling them outward to create width.
- The Core: Build up the center with shorter, denser stems to create height and hide the tape grid.
- The ‘Whimsical’ Stems: Take a few unpainted or differently colored stems and poke them out further than the rest to give the arrangement movement and a ‘dream-like’ quality.
Vase Selection Table
| Vase Style | Effect | Best For |
|---|---|---|
| Tall Cylinder | Modern & Sleek | High-ceiling venues |
| Low Compote Bowl | Romantic & Full | Round dinner tables |
| Upcycled Wine Bottles | Rustic & Rugged | Casual outdoor weddings |
Creative Color Palettes for Every Vibe
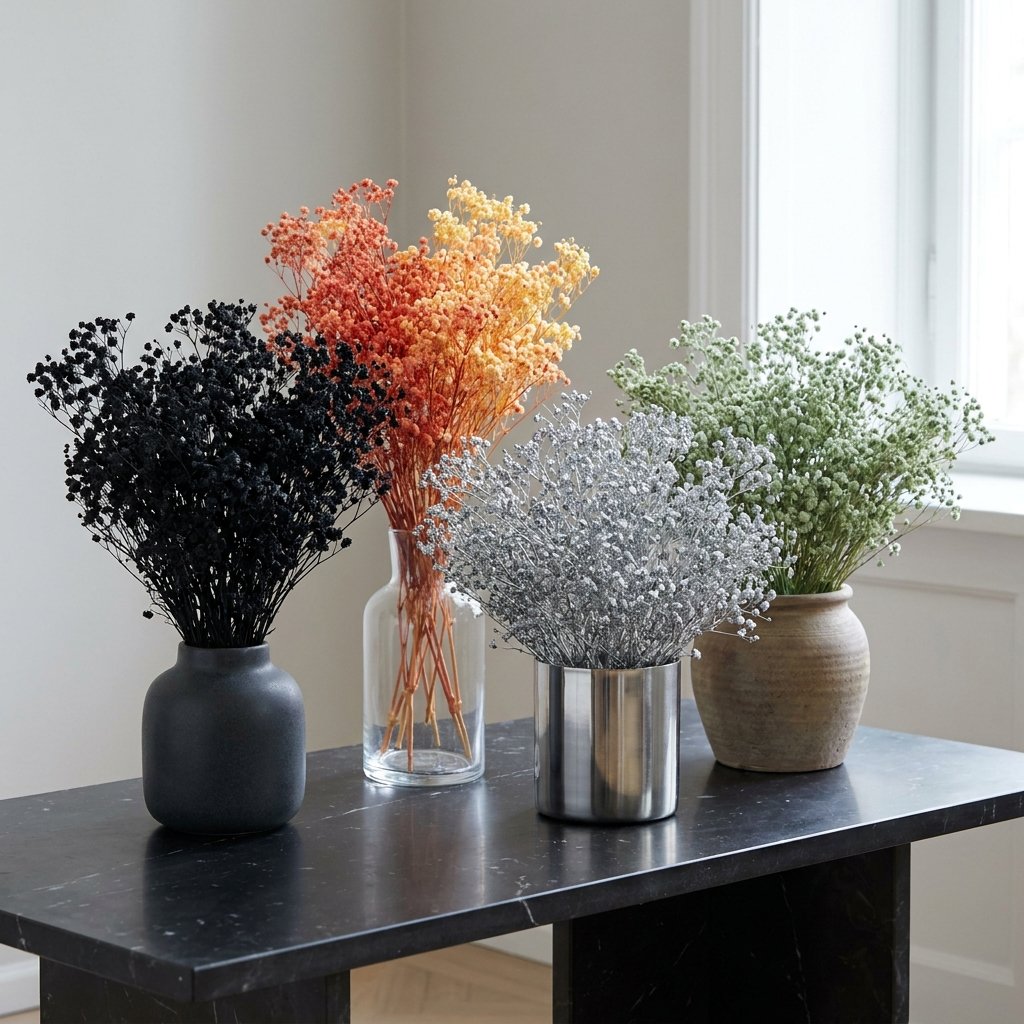
Beyond Gold and Silver
While metallic gold is the gold standard for luxury, don’t be afraid to experiment with other palettes to match your specific theme. Baby’s breath takes color beautifully, allowing for clever, mood-shifting designs.
- The Masculine-Elegant Look: Use matte black or deep charcoal spray paint. Pair with white candles and slate coasters for a rugged, sophisticated vibe.
- The Sunset Dream: Use a ‘gradient’ technique. Spray the bottom of the bunch a deep terracotta, the middle an apricot orange, and leave the tips white.
- The Frosted Winter: Use a light dusting of silver followed by a ‘glitter’ spray. This looks incredible for December weddings or holiday parties.
- The Monochromatic Pop: Paint the flowers the exact same color as your vase (e.g., all sage green) for a high-concept, designer look that costs less than $10.
Conclusion
A Dream Realized on a Budget
Creating stunning centerpieces doesn’t require a massive bank account; it requires a bit of resourcefulness and the willingness to see the potential in the ‘common.’ By using these spray-painting techniques, you’ve taken a humble flower and elevated it to a piece of art. These arrangements aren’t just beautiful; they are a testament to your creativity and budget-savvy nature. Whether they are gracing a wedding aisle or a dining room table, your spray-painted baby’s breath clouds will leave guests wondering which high-end florist you hired. Only you (and your wallet) will know the truth: that elegance can truly be found on a dime.

Makenzie is the founder and lead writer at MoneyHackTips.com — a personal finance blog dedicated to delivering street-smart financial wisdom for real people on real budgets. With 300+ published articles covering everything from debt management to investing fundamentals, Makenzie’s mission is to make every dollar work harder. When not writing about money hacks, Makenzie is testing frugal living strategies, optimizing side hustles, and helping readers build financial freedom from scratch.