
The Flannel Graveyard: From Closet Clutter to Cabin-Core Chic
We all have them: that one favorite flannel shirt with the frayed cuffs, the one with the permanent grease stain on the elbow, or the ‘lucky’ hunting shirt that has seen better days. Before you even think about tossing those well-loved fabrics into the rag bin or, heaven forbid, the trash, let’s talk strategy. As a budget-savvy upcycler, you know that high-quality flannel is a workhorse fabric that only gets softer with age. In the world of high-end home decor, a single ‘rugged’ flannel pillow can retail for anywhere from $35 to $65 at boutiques like Pottery Barn or West Elm. But for us? It costs exactly $0 and about 30 minutes of our time.
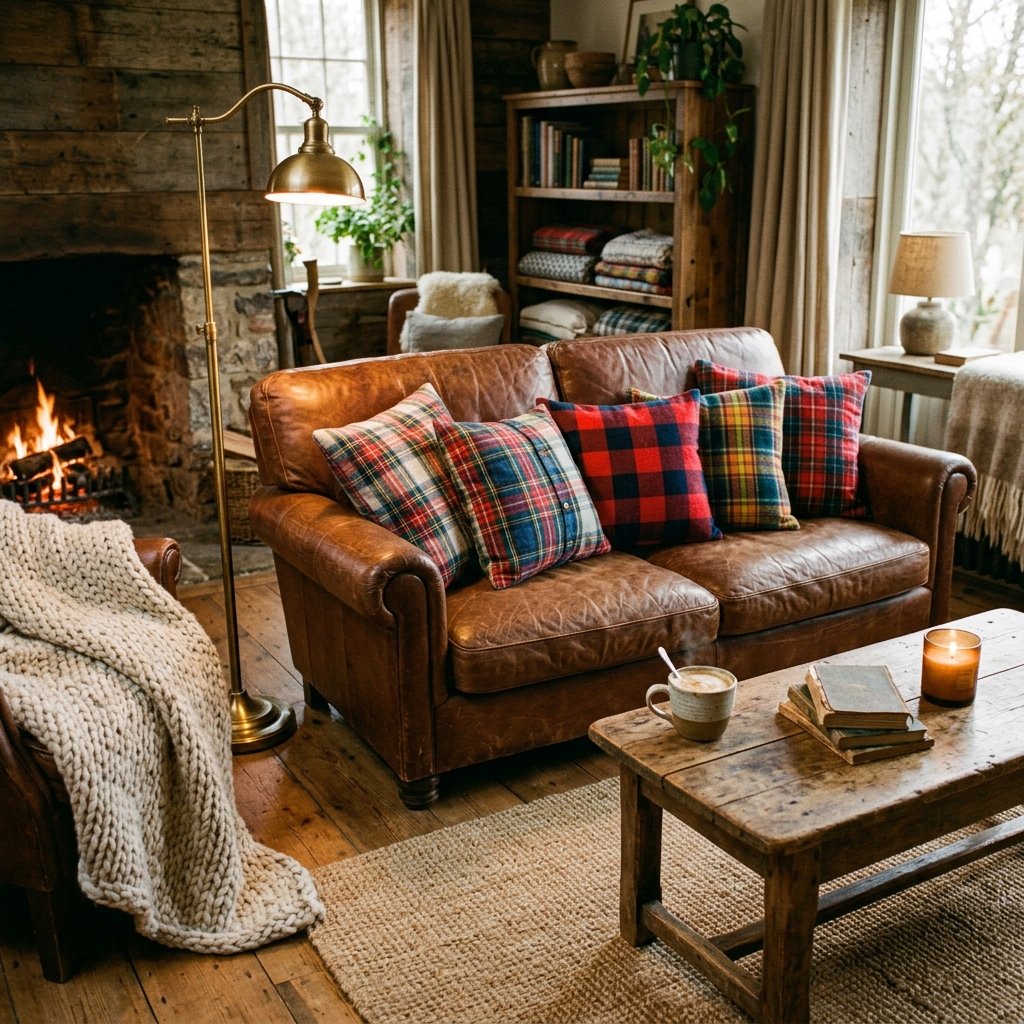
In this guide, we are going to dive deep into the art of the ‘Trash-to-Treasure’ transformation. We aren’t just making pillows; we are preserving memories and creating masculine-elegant accents that bring warmth to any room. Whether you are a handy dad looking to save a buck or a frugal crafter aiming for that perfect Pinterest-worthy porch, these techniques will turn your ‘garbage’ into the most talked-about piece in your living room.
“Frugality isn’t about having less; it’s about making more out of what you already have.”
The Anatomy of a Flannel Upcycle: Selecting Your Scraps

Choosing the Right Candidate
Not all flannels are created equal. When you are scouting your closet or the local thrift store’s $1 bin, look for 100% cotton flannel. It breathes better, feels softer, and handles the needle with more grace than synthetic blends. Check for thinning areas; while we love a ‘distressed’ look, we want the structural integrity of the pillow to last for years.
Store-Bought vs. Zero-Budget DIY
Let’s look at the numbers. Why spend your hard-earned cash on mass-produced polyester when you can have custom, heavy-duty cotton for free?
| Feature | Boutique Flannel Pillow | DIY Upcycled Shirt Pillow |
|---|---|---|
| Cost | $45.00+ | $0.00 (using old shirts) |
| Material | Thin Poly-Cotton Blend | Heavy-Duty 100% Cotton |
| Closure | Cheap Plastic Zipper | Original Wood/Pearl Buttons |
| Character | Generic Pattern | Personal History & Unique Wear |
The Essential Upcycler’s Toolkit: Crafting with What You Have
Gathering Your Gear
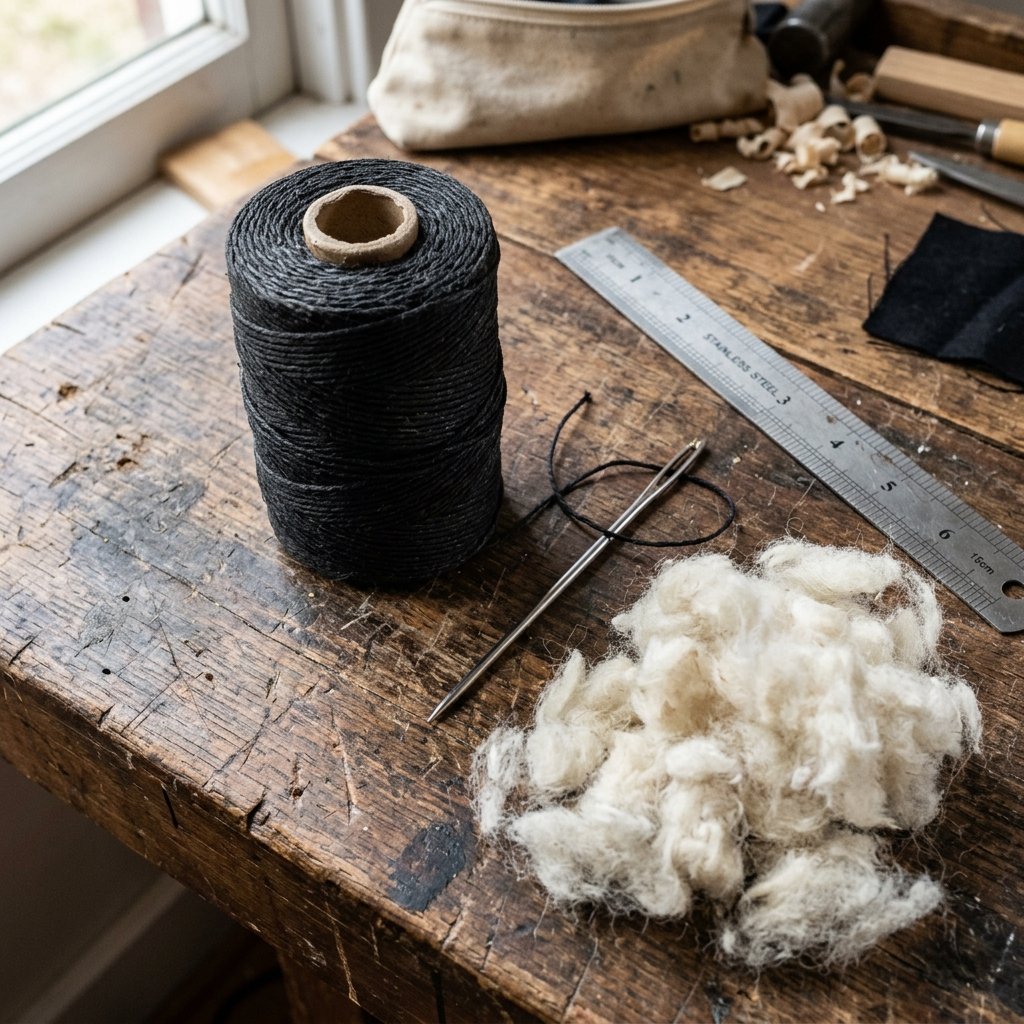
You don’t need a $500 sewing machine to achieve professional results. In fact, many of the most durable ‘rugged’ pillows are finished by hand. Here is your tactical list of supplies:
- The Shirt: Preferably a Large or XL to maximize fabric yield.
- Stuffing: You can buy poly-fill, but the true frugal guru uses the ‘guts’ of old, flat bed pillows (washed first!) or fabric scraps.
- Needle and Thread: Use a heavy-duty upholstery thread or doubled-up all-purpose thread for those thick flannel seams.
- Measuring Tool: A simple ruler or even a piece of cardboard cut to your desired pillow size (usually 16×16 or 18×18 inches).
Safety Note: Always check the pockets of your shirts for stray nails, coins, or lighters before you start cutting. Your shears (and your fingers) will thank you!
The ‘Lazy’ Genius Button-Down Method: Built-in Closures
Step-by-Step Execution
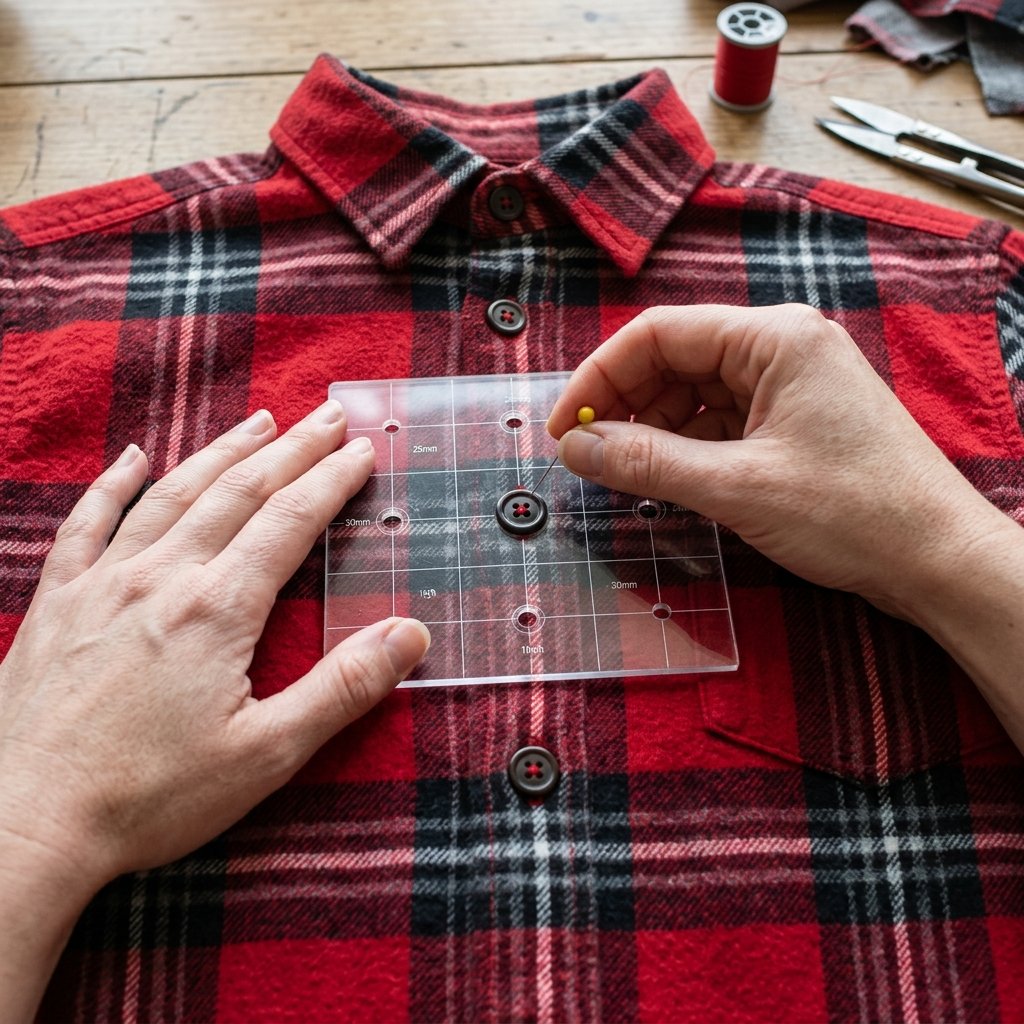
This is the holy grail of flannel upcycling. By using the front of the shirt, you utilize the existing buttons as your pillow closure. No zippers, no complicated buttonholes, and 100% functionality.
- Button the Shirt: Make sure the shirt is fully buttoned and laid flat, front-side up.
- The Template: Place your pillow form (or a square piece of cardboard) over the center of the buttons. Ensure the buttons are perfectly centered.
- Pinning: Pin through both layers (front and back of the shirt) around the perimeter of your template, leaving a 1-inch seam allowance.
- Cutting: Cut through both layers. You now have two squares: one with buttons down the middle and one solid back piece.
- The Stitch: Turn the pieces so the ‘right sides’ (the fuzzy, pretty sides) are facing each other. Sew around all four edges.
- The Reveal: Unbutton the shirt through the middle, reach inside, and pull the fabric through to flip it right-side out. Boom! You have a professional-looking pillow cover.
Rugged Stitches: Mastering the Ladder Stitch and Sashiko Accents
The Secret of the Invisible Seam
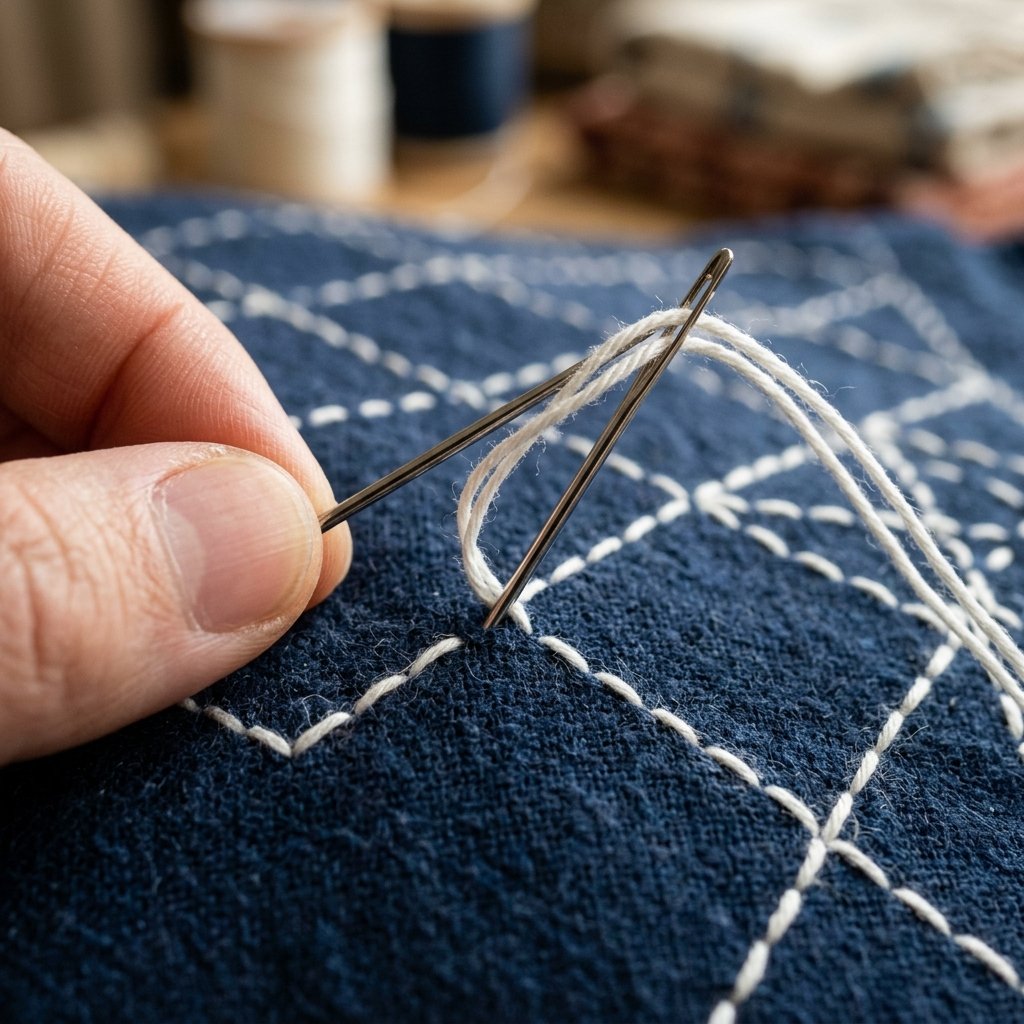
If you aren’t using the button-down method and need to close a seam from the outside, the Ladder Stitch is your best friend. It creates a nearly invisible closure that looks like it was done by a machine.
Problem vs. Stitch Solution Guide
| Fabric Issue | Recommended Stitch | Difficulty Level |
|---|---|---|
| Closing a stuffed pillow | Ladder Stitch | Easy |
| Reinforcing a thin elbow patch | Sashiko (Running Stitch) | Moderate |
| Joining two different flannels | Backstitch | Easy |
| Decorative edging | Blanket Stitch | Moderate |
For those who want a more ‘masculine-elegant’ or ‘industrial’ look, try Sashiko stitching. Use a contrasting thick white thread to create geometric patterns over any holes or thin spots. It turns a flaw into a high-end design feature.
From Lumberjack to Luxury: Styling and Functional Hacks
The Pocket Remote Holder
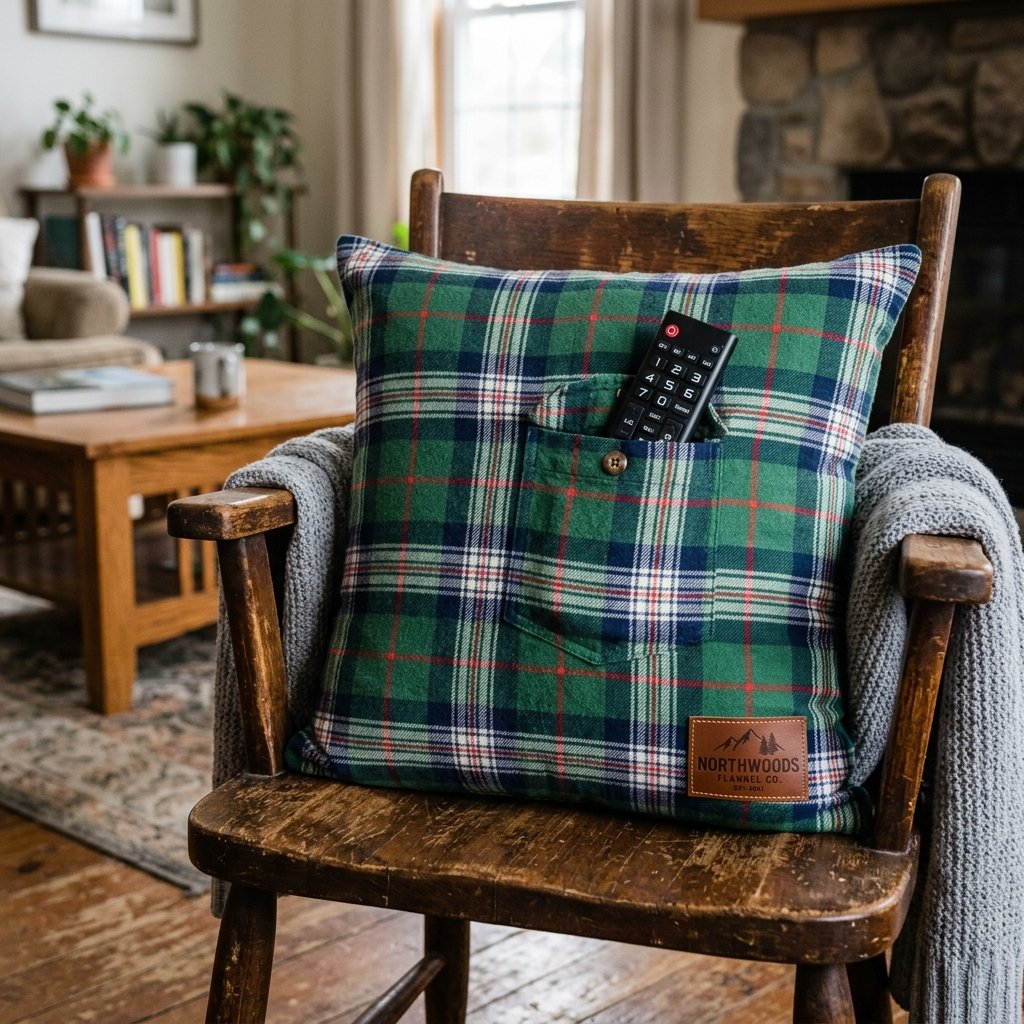
Don’t let the chest pocket go to waste! When cutting your fabric, try to position the shirt’s pocket on the front ‘face’ of your pillow. This creates a built-in holster for your TV remote, phone, or a pair of reading glasses. It’s practical, clever, and looks intentionally designed.
Adding Texture with Mixed Media
If you have some scrap leather from an old belt or a discarded handbag, cut small 2×2 inch squares and sew them onto the corners of your flannel pillow. This ‘mixed media’ approach mimics the $100+ designer pillows found in luxury mountain lodges. It adds a rugged, sophisticated weight to the soft flannel.
Pro-Tip: If the flannel is very soft or ‘floppy,’ iron a piece of cheap fusible interfacing to the back of the fabric before sewing. It gives the pillow a crisp, high-end structure for less than $1.
Built to Last: Maintenance and Care for Your Upcycled Decor
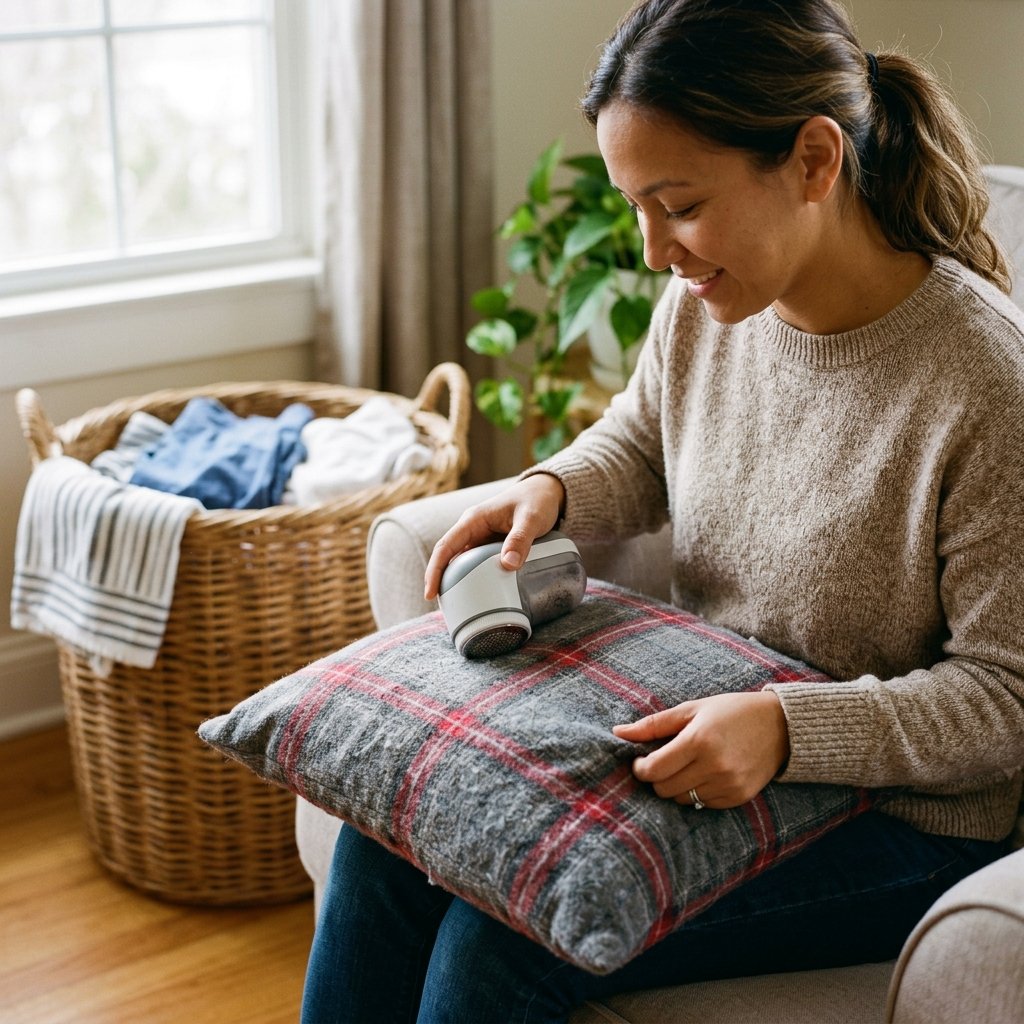
Because you used a real shirt, your new pillow is much more durable than a cheap store-bought cover. However, flannel can ‘pill’ over time. To keep your pillows looking brand new, follow these simple maintenance steps:
- Wash Cold: Always wash the covers in cold water to prevent shrinking, especially if you used a 100% cotton shirt.
- Turn Inside Out: Button the cover and turn it inside out before tossing it in the machine to protect the fabric surface.
- The Razor Trick: If the fabric starts to pill (those little fuzz balls), gently run a cheap disposable razor over the surface. It will shave the pills right off, leaving the flannel smooth.
- Air Dry: To maintain the loft of the fibers, air drying is best. If you must use a dryer, use the low heat setting.
Conclusion
Your Zero-Dollar Home Revolution
By now, you’ve realized that your closet isn’t just full of old clothes—it’s a goldmine of raw materials. Turning a discarded flannel shirt into a gorgeous, cozy pillow is more than just a craft project; it’s a statement against ‘fast furniture’ and a win for your wallet. You’ve saved $40 or more per pillow, kept textiles out of the landfill, and created a piece of decor that actually has a story to tell.
Whether you’re gifting these for Father’s Day, staging a budget-friendly porch makeover, or just nesting for the winter, remember that the best things in life aren’t bought—they’re made. So, the next time you see a flannel with a missing cuff link or a frayed collar, don’t see trash. See your next favorite pillow. Happy crafting, you savvy upcycler!

Makenzie is the founder and lead writer at MoneyHackTips.com — a personal finance blog dedicated to delivering street-smart financial wisdom for real people on real budgets. With 300+ published articles covering everything from debt management to investing fundamentals, Makenzie’s mission is to make every dollar work harder. When not writing about money hacks, Makenzie is testing frugal living strategies, optimizing side hustles, and helping readers build financial freedom from scratch.