
The Frugal Hunter’s Guide to Feline Comfort
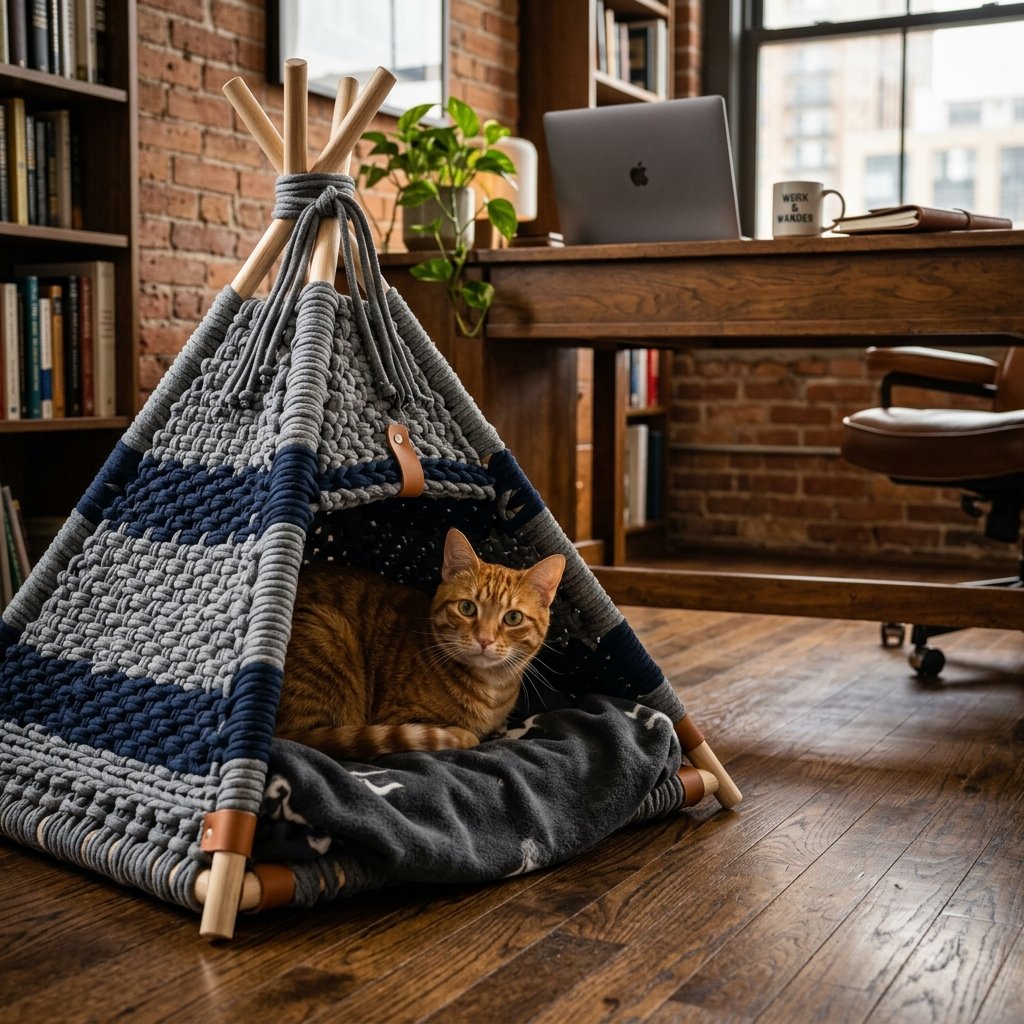
Let’s face the facts: your cat is a tactical genius with a taste for luxury but a complete disregard for your bank account. We’ve all been there—spending $50 or $100 on a plush, store-bought cat bed only to watch our feline overlords spend the next six months sleeping inside the cardboard shipping box it came in. It’s time to outsmart the system. As a resourceful DIYer, you know that the best materials aren’t found in a catalog; they’re sitting in your rag bin or at the bottom of your dresser. We are going to take those retired cotton tees—the ones with the faded logos and the ‘character’ holes—and transform them into a structural masterpiece: the Upcycled T-Shirt Yarn Teepee.
This project isn’t just about saving money; it’s about upcycling with intent. By using ‘tarn’ (t-shirt yarn), we create a breathable, scent-familiar, and incredibly durable fabric that appeals to a cat’s natural nesting instincts. This guide will walk you through the engineering of the frame, the alchemy of creating continuous yarn from a flat garment, and the rugged weaving techniques required to build a sanctuary that looks like it belongs in a high-end interior design magazine rather than a landfill. Prepare to save 100% of the retail cost while providing your cat with a fortress they’ll actually use.
The Scavenger’s Inventory: Materials and Cost Comparison
Sourcing Your Supplies
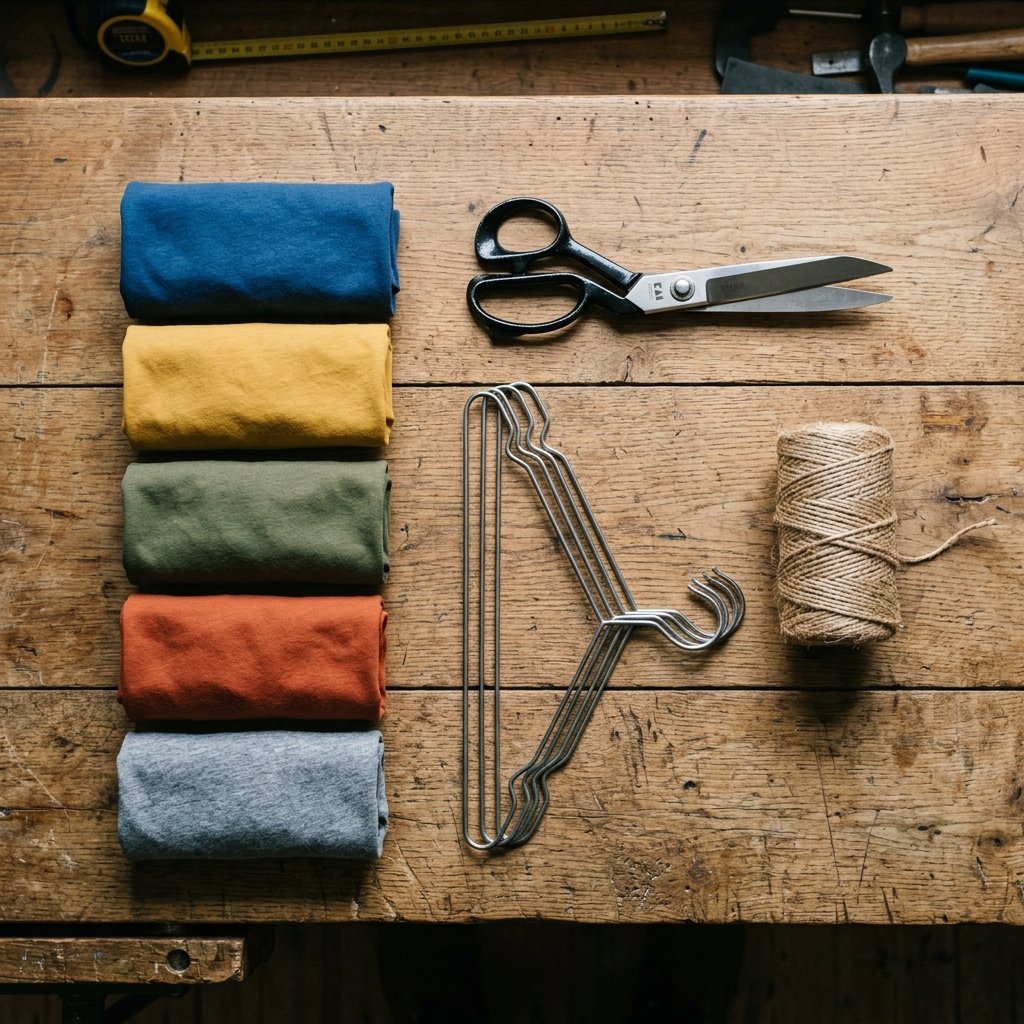
Before we pick up the shears, we need to gather our components. The beauty of this build is that it relies on basic household geometry and discarded textiles. You are looking for 100% cotton t-shirts. Why cotton? It has the perfect amount of stretch and, more importantly, it holds your scent, which acts as a natural calming agent for your pet. You’ll need approximately 4 to 6 large shirts to generate enough yardage for a medium-sized cat.
Budget Mantra: The most expensive tool is the one you only use once. Use what you have to build what you need.
For the frame, we aren’t buying expensive dowels. We are going to scavenge four heavy-duty wire hangers or, if you want a more rugged, ‘woodsman’ aesthetic, four straight fallen branches from the backyard. If you use wire hangers, you’ll be doubling them up for structural integrity.
| Material | DIY Scavenged Cost | Retail Store Price |
|---|---|---|
| 4-6 XL Cotton T-Shirts | $0.00 (Old Rags) | $45.00 (New Bed) |
| 4 Support Poles (Hangers/Branches) | $0.00 | $12.00 (Wooden Dowels) |
| Binding Material (Twine/Wire) | $0.00 (Junk Drawer) | $5.00 |
| Cushion Base (Old Pillowcase) | $0.00 | $15.00 |
| Total Investment | $0.00 | $77.00 |
The Alchemy of Tarn: Creating Continuous T-Shirt Yarn
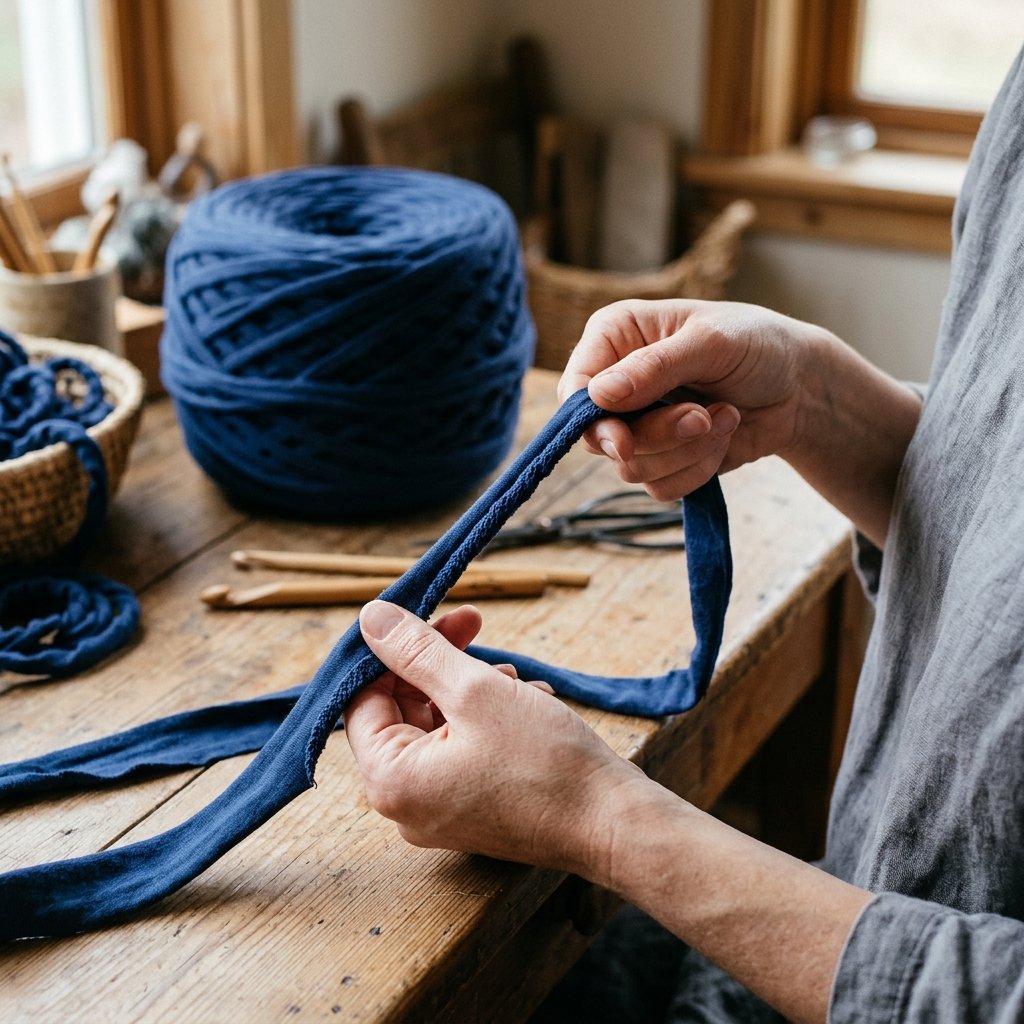
The Art of the Spiral Cut
To turn a shirt into a functional building material, we must convert a 2D garment into a 1D string of incredible length. Most amateurs simply cut strips and knot them together. We are craftier than that. We are going to use the Continuous Spiral Method to create one unbroken strand of yarn per shirt, which ensures our teepee has no unsightly knots and maximum structural strength.
- Lay the shirt flat on your workspace and cut off the bottom hem and the top portion (from the armpits up). You are left with a fabric tube.
- Fold the tube in half, but leave about 1 inch of the bottom layer protruding past the top layer.
- Cut strips 1.5 inches wide through both layers, stopping exactly at the start of that 1-inch overhang. Do not cut all the way through the overhang!
- Open the shirt so the uncut 1-inch section is facing you. You will see a series of slits.
- Cut diagonally from the first slit to the second, the second to the third, and so on. This creates one continuous spiral of fabric.
- The Stretch: Grab the yarn and pull it tight. The raw edges will curl inward, creating a rounded, durable cord that looks like high-end upholstery piping.
This process should take approximately 10 minutes per shirt. Once finished, roll the yarn into a ‘center-pull’ ball to keep your workspace organized and efficient.
Engineering the Apex: Building the Teepee Frame
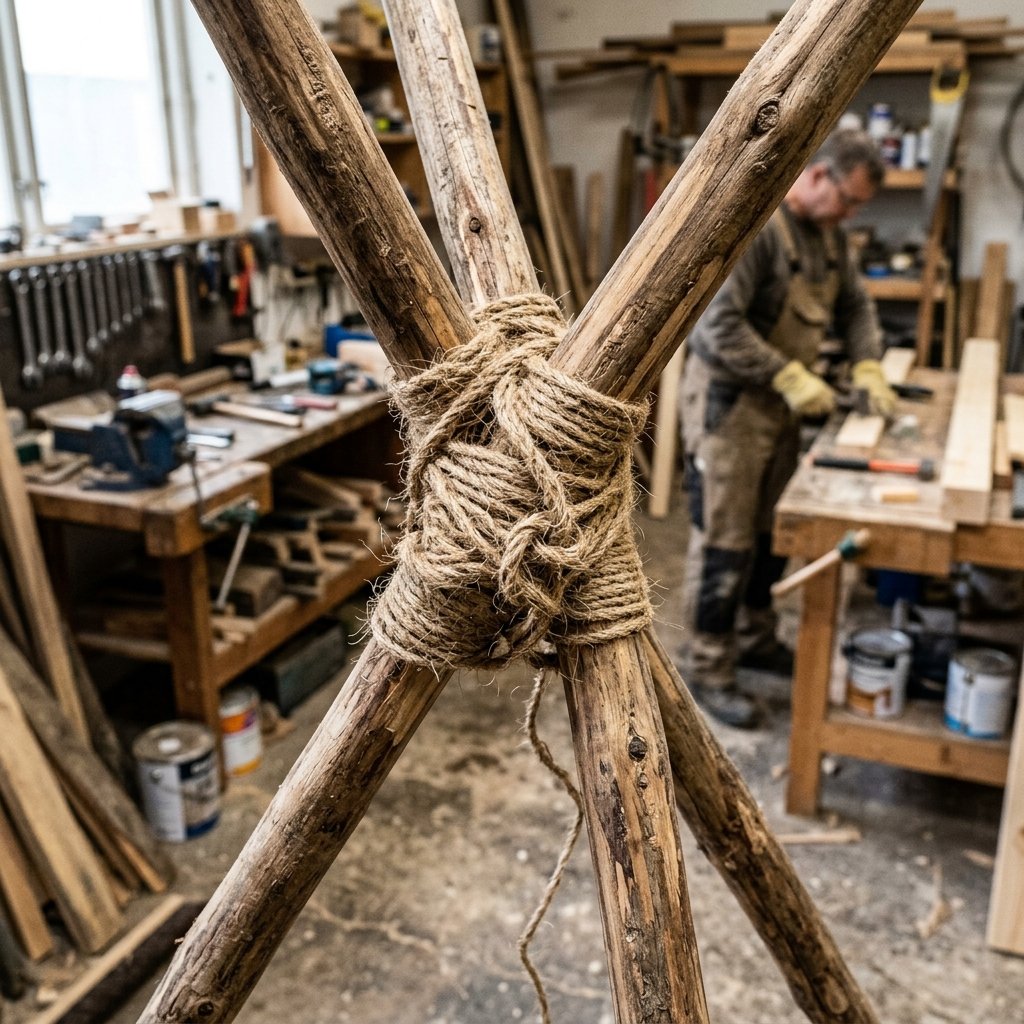
The Four-Pole Foundation
A teepee is only as good as its skeleton. We need a frame that can withstand a 12-pound cat performing a high-speed tactical entry. If using wire hangers, straighten them out using pliers. Group them into pairs and twist them together to create two ultra-strong support rods. Repeat this so you have four rods total, each roughly 24 to 30 inches long.
- Step 1: Gather the tops of your four poles. Cross them about 3 inches from the top to create a ‘V’ shape at the apex.
- Step 2: Use a scrap piece of yarn or twine to lash them together using a Square Lashing technique. Wrap the cord horizontally and vertically until the joint is immovable.
- Step 3: Spread the legs of the poles out to form a square base. Each leg should be approximately 18 inches apart.
- Step 4: To prevent the legs from sliding outward on smooth floors, create a ‘base perimeter’ by tying a piece of yarn around the bottom of each pole, connecting them in a square. This locks the geometry in place.
Structural Tip: If your cat is a ‘scratcher,’ consider wrapping the bottom 4 inches of each pole in sisal rope before adding the t-shirt yarn for extra utility.
The Weaving Protocol: Skinning the Sanctuary
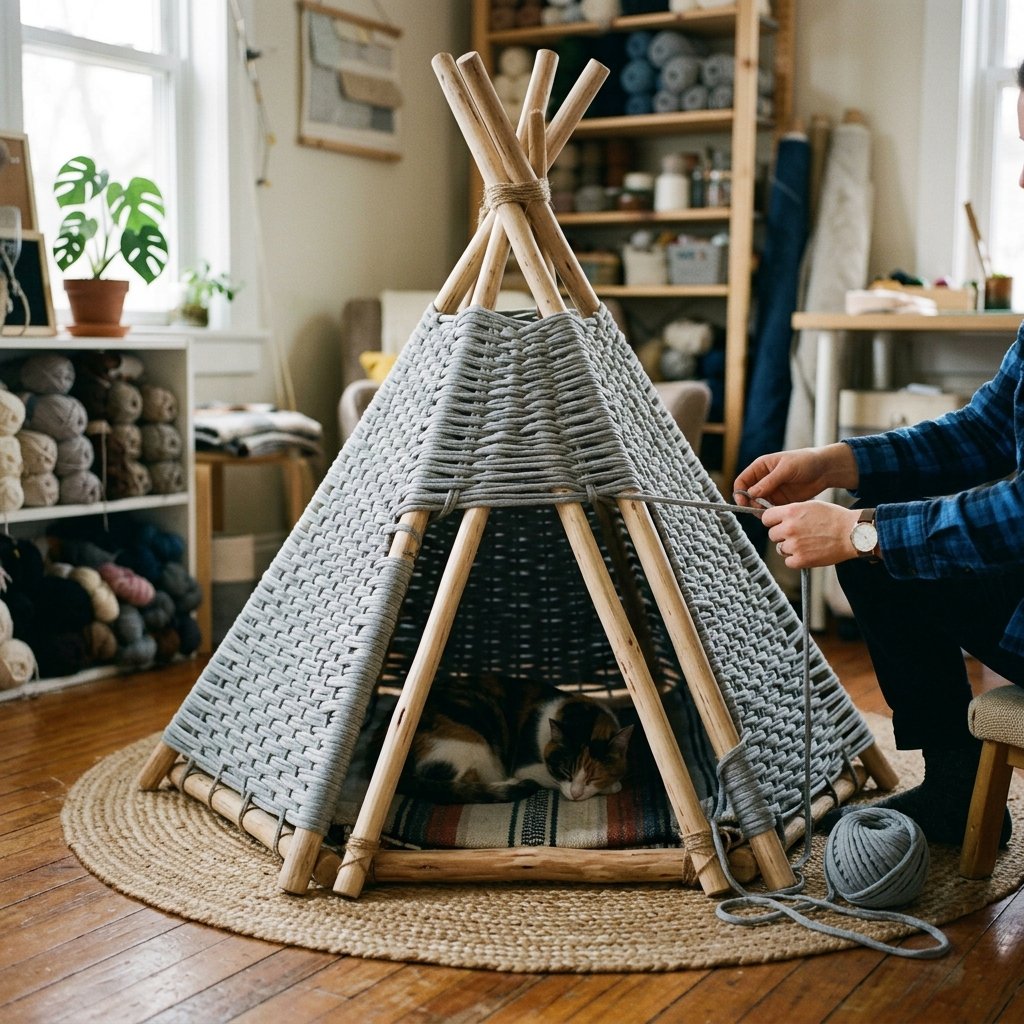
The Over-Under Strategy
Now we apply the ‘skin’ to our frame. We aren’t just draping a shirt over the poles; we are weaving the yarn to create a custom, ventilated mesh. This provides the cat with a sense of security while allowing them to keep an eye on their ‘territory’ through the gaps.
- Tie the end of your first ball of yarn to one of the back poles at the bottom.
- Begin wrapping the yarn around the frame, moving from pole to pole. Wrap the yarn once around each pole to secure it before moving to the next.
- Continue this upward in a spiral. For a more ‘designer’ look, use a simple weave: go over the first pole, under the second, over the third, etc.
- Leaving the Entrance: When you reach the height where you want the door (usually 2 inches from the bottom), stop wrapping in a full circle. Instead, wrap to the ‘door pole,’ reverse direction, and wrap back the way you came. This creates a triangular opening.
- Once you reach the top 3/4 of the frame, tie off your yarn with a hidden double-knot on the inside of a pole.
This weaving process is meditative and should take about 45 minutes. The result is a rugged, flexible wall that moves with the cat but won’t collapse.
Interior Mapping: Comfort and Scent Optimization

The Finishing Touches
Your cat won’t care about the structural integrity if the floor is cold. We need to finish the interior with the same frugal mindset. Take an old pillow or a stack of folded fleece blankets and place them inside. To make it truly irresistible, take the very last scrap of your T-shirt yarn and tie a small ‘pom-pom’ or a feather to the apex of the teepee, hanging down inside the entrance.
The Scent Trick
If your cat is hesitant to enter their new lair, don’t force them. Take a piece of clothing you’ve recently worn and tuck it inside. Your scent signals that this is a safe, communal space. You can also sprinkle a pinch of dried catnip onto the floor of the teepee to initiate the ‘first contact.’
| Feature | Benefit for the Cat | Maintenance |
|---|---|---|
| Woven Walls | Airflow & Visibility | Vacuum with brush attachment |
| Cotton Yarn | Scent Retention (Comfort) | Spot clean with damp cloth |
| Suspended Toy | Mental Stimulation | Replace when frayed |
| Raised Apex | Natural Nesting Shape | N/A |
Conclusion
A Zero-Budget Victory
Congratulations. You’ve successfully turned a pile of potential trash into a piece of functional pet furniture that would retail for a premium in any boutique pet store. By utilizing the Continuous Spiral Cut and a simple Four-Pole Frame, you’ve provided your cat with a sanctuary that is breathable, washable, and filled with the comforting scent of home. This project is a testament to the power of the frugal mindset: why buy when you can build something better, sturdier, and more meaningful with your own two hands? Your cat now has a $0 fortress, and you have the satisfaction of a job well done. Now, sit back and watch as your cat finally abandons that cardboard box for their new upcycled throne.

Makenzie is the founder and lead writer at MoneyHackTips.com — a personal finance blog dedicated to delivering street-smart financial wisdom for real people on real budgets. With 300+ published articles covering everything from debt management to investing fundamentals, Makenzie’s mission is to make every dollar work harder. When not writing about money hacks, Makenzie is testing frugal living strategies, optimizing side hustles, and helping readers build financial freedom from scratch.