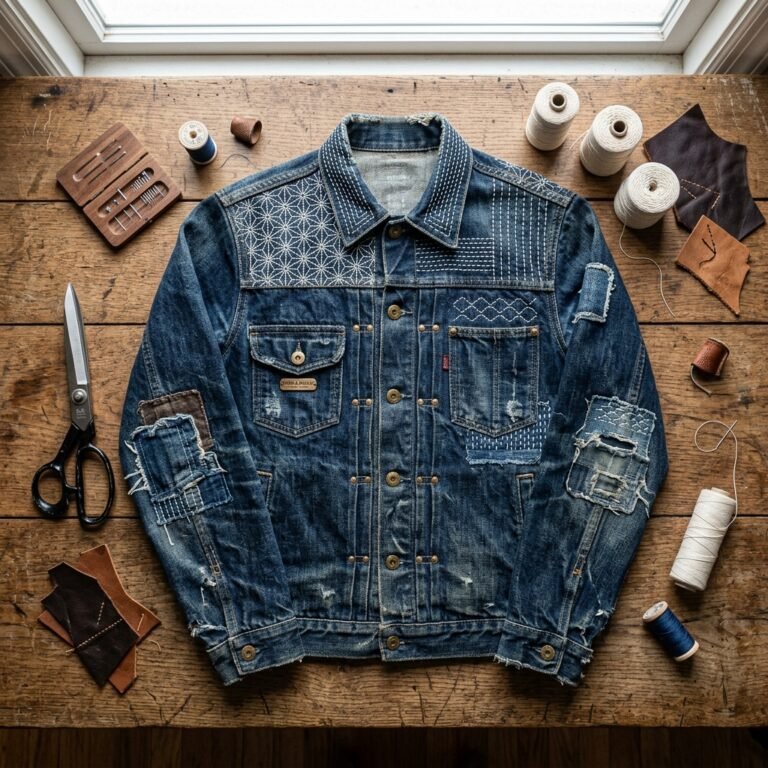
We have all been there. You invest in a premium, ultra-warm down puffer jacket to brave the bitter winter winds, only to brush past a rogue thorny branch, catch it on a sharp car door edge, or stand just a little too close to a crackling campfire. In a split second, your $200 investment is bleeding expensive white down feathers all over the driveway. For many, a torn winter coat feels like a total loss. The immediate reaction is often to toss it in the donation bin or relegate it to the back of the closet while begrudgingly pulling out the credit card for a replacement. But if you are a resourceful upcycler, a handy parent, or a frugal DIYer, you know that a snag is never the end of the road.
“A true resourceful upcycler knows that a snag is not a death sentence for your gear—it is simply an opportunity to prove your self-reliance and keep your hard-earned money in your wallet.”
Welcome to the ultimate guide on modern gear repair. Today, we are going to bypass the expensive tailor, skip the frustrating needle and thread, and utilize a rugged, budget-savvy technique that will save your coat in exactly 2 minutes. Repairing your own gear is not just about saving money; it is a satisfying, masculine-elegant skill that honors the materials and extends the lifespan of your wardrobe. Whether you are dealing with a microscopic pinhole that is leaking fluff, a jagged L-shaped tear from a hiking accident, or a melted campfire burn, this crafty-expert approach will restore your jacket’s waterproof integrity and aesthetic appeal without breaking the bank. Grab your supplies, clear off your workbench, and let us dive into the art of the 2-minute puffer jacket rescue.
The Golden Rule of Nylon: Why You Must Put Down the Needle and Thread

When faced with a torn garment, your instinct might be to reach for your trusty sewing kit. While hand-sewing, darning, and invisible mending are incredible skills for denim, wool, and cotton, they are the absolute worst enemies of a down puffer jacket. To understand why, we have to look at the anatomy of your winter coat. Puffer jackets are typically constructed from high-denier ripstop nylon or polyester. These synthetic fabrics are woven incredibly tightly and often treated with a Durable Water Repellent (DWR) coating to keep rain and snow out, while simultaneously keeping the microscopic quills of down feathers trapped inside.
The Problem with Punctures
When you take a sewing needle to nylon, you are permanently puncturing the waterproof membrane. Unlike natural fibers that can shift and close back up around a thread, synthetic fibers snap and leave permanent holes. Here is what happens if you try to sew a puffer jacket:
- Feather Leakage: Every single needle hole becomes a new escape route for the fine down clusters. You will look like you are molting every time you wear the coat.
- Water Seepage: Those same needle holes allow moisture from rain and snow to seep into the down insulation. Wet down loses its loft and its ability to retain body heat, rendering your winter coat useless.
- Fabric Puckering: Hand-stitching creates tension. On slippery nylon, this tension causes the fabric to pucker, wrinkle, and look incredibly messy, drawing more attention to the tear than the hole itself.
Instead of sewing, the modern frugal craftsman relies on high-tech adhesives. Specialized nylon repair tape (often known as Tenacious Tape or gear patches) is the secret weapon in any rugged mending arsenal. These tapes use an ultra-aggressive adhesive formulated specifically to bond with synthetic fabrics, creating a flexible, waterproof, and airtight seal that moves with the jacket. It is the ultimate practical solution for the handy dad or budget-savvy mom looking to salvage expensive winter wear.
The Budget-Savvy Breakdown: DIY Repair vs. Professional Tailoring
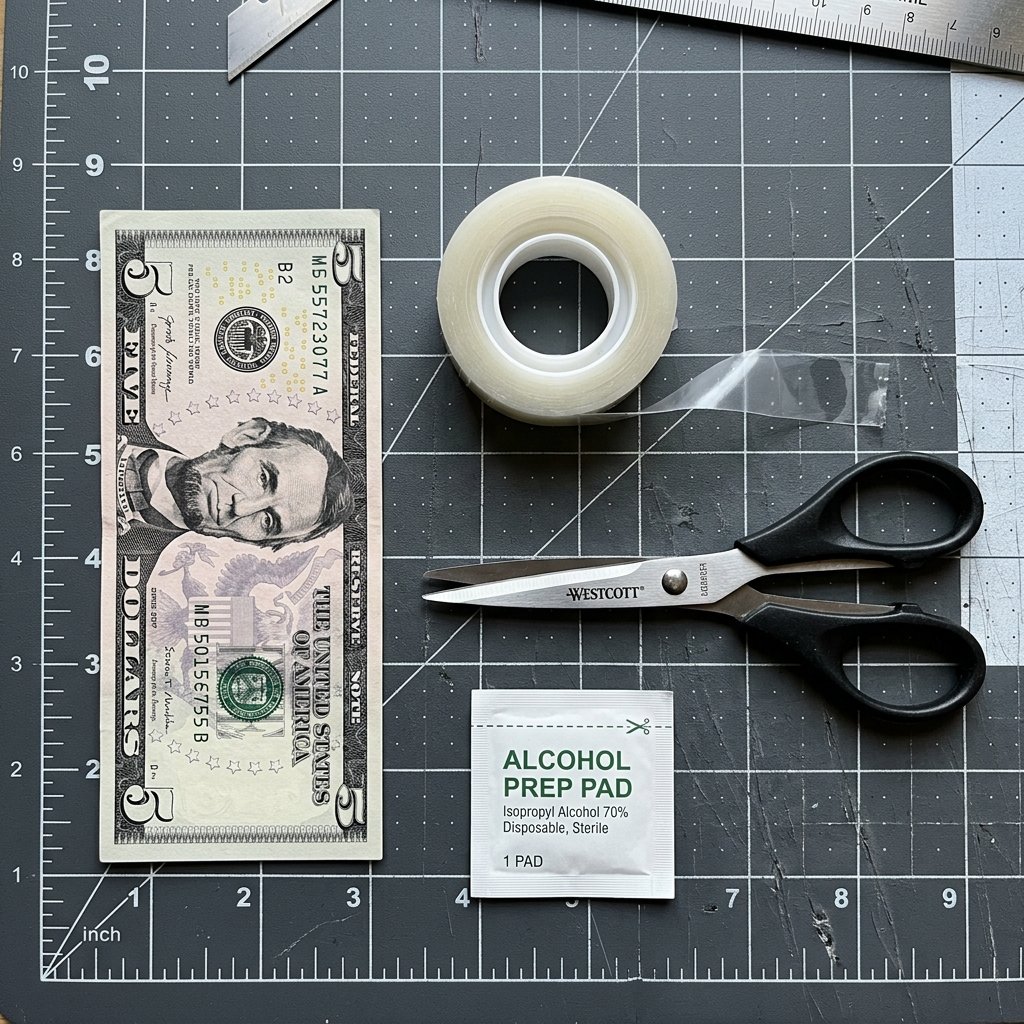
Before we get our hands dirty with the repair process, let us talk numbers. Being a frugal DIYer is all about understanding the value of your time and materials. Taking a torn puffer jacket to a professional gear repair shop or a specialized tailor can be shockingly expensive, often costing a significant percentage of what you originally paid for the coat. On the other hand, replacing the jacket entirely is a massive blow to the budget. Let us look at the hard data to see exactly why this 2-minute DIY method is the ultimate financial win.
| Repair Method | Estimated Cost | Time Required | Waterproof Integrity | Aesthetic Result |
|---|---|---|---|---|
| DIY Nylon Repair Patch | $5.00 (per roll/pack) | 2 minutes | 100% Watertight | Sleek, rugged, minimal |
| Professional Gear Tailor | $45.00 – $85.00 | 2 to 4 weeks | High (if seam-sealed) | Nearly invisible |
| Traditional Hand-Sewing | $0.00 (materials on hand) | 15 minutes | Poor (leaks down/water) | Puckered and messy |
| Replacing the Jacket | $150.00 – $400.00+ | 0 minutes | Perfect | Brand new |
As the table clearly demonstrates, investing a mere $5.00 in a roll of high-quality repair tape yields a perfectly functional, watertight repair in a fraction of the time it takes to drive to a tailor. Plus, one roll of tape or a single pack of patches contains enough material to fix dozens of future tears, making the cost-per-repair mere pennies. This is the definition of clever, budget-savvy living.
Wrangling the Fluff: How to Save Escaping Down Feathers
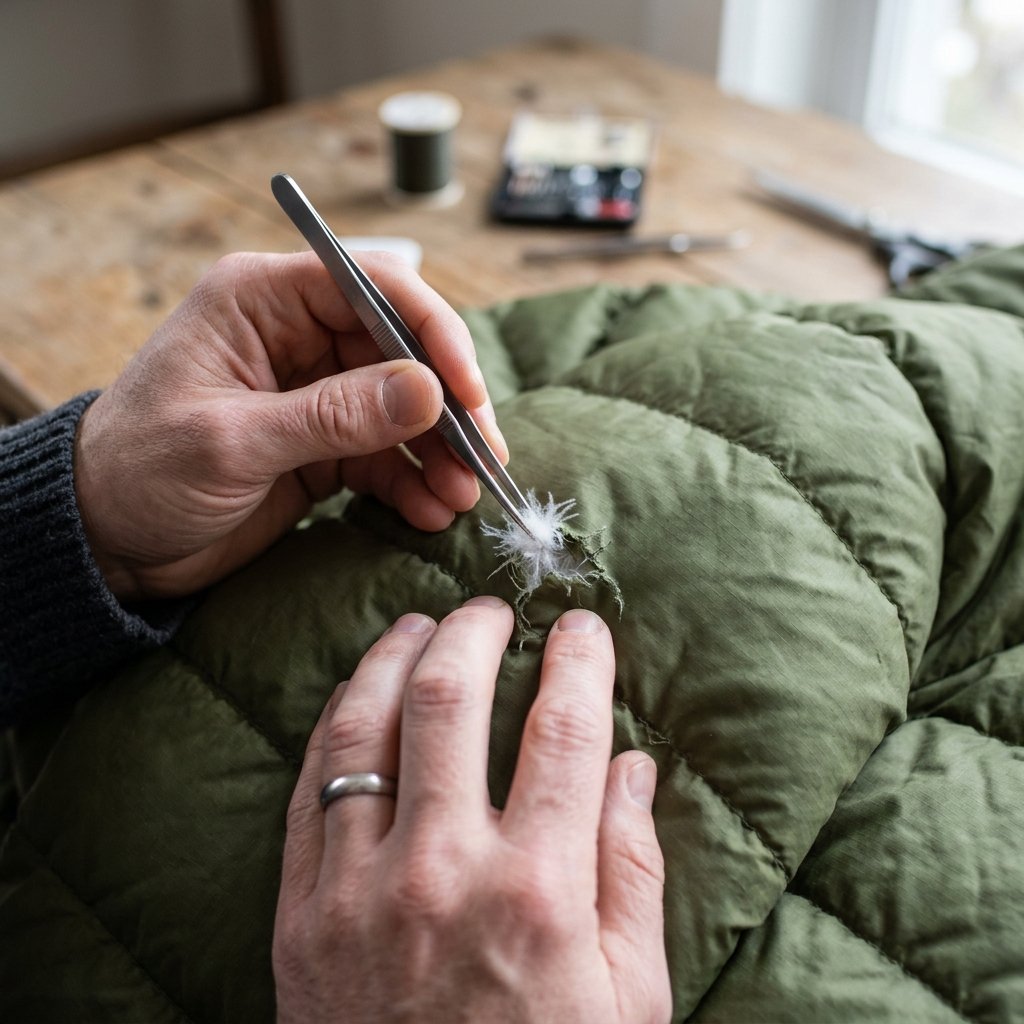
The most panic-inducing part of tearing a puffer jacket is the sudden explosion of feathers. Down clusters are incredibly lightweight and prone to catching static electricity, meaning they will cling to your hands, your clothes, and your workbench. Your first mission in this 2-minute repair is to secure the perimeter and save the insulation.
The Tweezers and Tuck Technique
Do not pull the feathers out! Even if a feather is hanging halfway out of the tear, pulling it will often drag a chain of intertwined down clusters along with it, emptying the jacket baffle and leaving you with a cold spot. Instead, you need to gently coax the insulation back into its home.
- Step 1: Eliminate Static. Slightly dampen your fingertips with water. This kills the static electricity and prevents the feathers from sticking to your skin.
- Step 2: The Gentle Push. Using the blunt end of a pair of tweezers, a toothpick, or just your dampened fingers, gently push the escaping feathers back through the hole.
- Step 3: Clear the Edges. Ensure that absolutely no feather wisps are laying across the edges of the tear. The repair tape needs to bond directly to the nylon fabric; if it sticks to a stray feather, it will create a channel for water and air to enter, compromising the seal.
“Treat the down insulation like gold dust. Every cluster you push back into the baffle is another degree of warmth saved for the harsh winter ahead.”
The 2-Minute Miracle Fix: Step-by-Step Patching Like a Pro

Now that the feathers are secured, it is time for the main event. This process is incredibly fast, but precision is key. The difference between a patch that peels off in the first rainstorm and a patch that outlasts the jacket itself comes down to preparation and application technique. Follow these steps meticulously.
Step 1: Prep and Clean the Surface
Adhesives hate dirt, oils, and DWR coatings. Even if your jacket looks clean, microscopic body oils and dirt are sitting on the surface. Take a standard rubbing alcohol wipe (or a cotton swab dipped in isopropyl alcohol) and vigorously clean the area immediately surrounding the tear. Let it air dry completely, which should only take about 30 seconds. This step strips away surface oils and ensures a bulletproof bond.
Step 2: Cut the Patch and Round the Edges
Measure your tear. Cut a piece of your nylon repair tape so that it extends at least 1/2 inch beyond the tear in every direction. Now, for the most critical secret of the pros: never leave square corners. Grab your scissors and trim the four corners of your patch to make them perfectly round. Square corners are notorious for catching on backpack straps, car seats, or other fabrics, leading to premature peeling. A rounded patch is aerodynamic and snag-proof.
Step 3: Peel, Place, and Press
Lay the jacket flat on a hard, smooth surface like a table or workbench. Carefully peel the paper backing off the patch, being mindful not to touch the adhesive with your fingers. Center the patch over the tear and lay it down smoothly. Start from the center and press outward to eliminate any air bubbles. Finally, use the back of a spoon or your thumb to apply heavy, firm pressure across the entire patch for about 30 seconds. The adhesive is pressure-sensitive, meaning the harder you press, the deeper the glue sets into the woven fibers of the nylon.
Tackling Campfire Burns and Jagged L-Shaped Tears
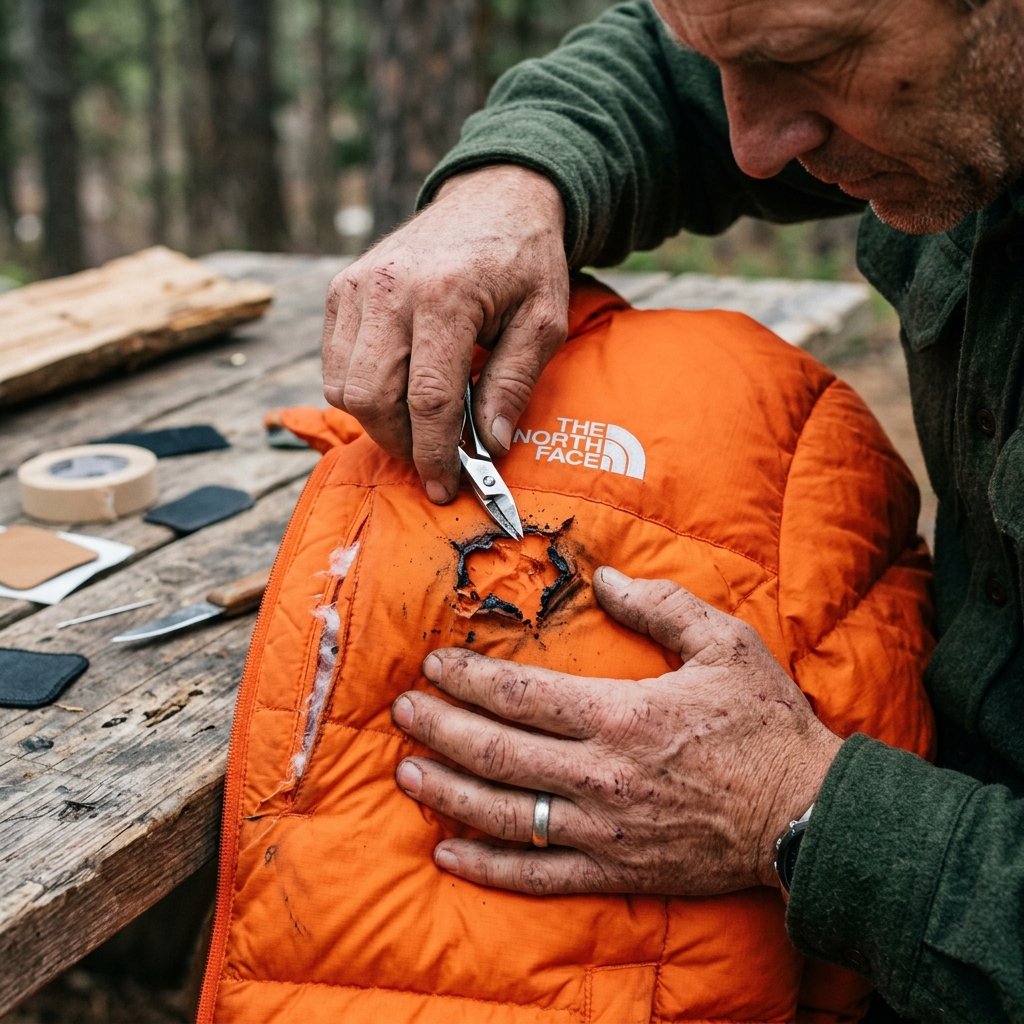
While a simple straight snag is easy to fix, real life in the great outdoors often throws more complex damage our way. If you are a rugged camper or a handy dad who spends time around the fire pit, you are likely dealing with melted burn holes or nasty, jagged L-shaped tears. These require a slightly modified approach to ensure a seamless repair.
The Campfire Burn Hole
When an ember lands on a synthetic puffer jacket, it instantly melts the nylon, creating a hole with a hard, crusty, raised edge. If you try to put a flat patch over a raised, melted edge, the patch will not sit flush, creating air gaps that will eventually peel. Before cleaning with alcohol, take a small pair of nail clippers or fine cuticle scissors and carefully snip away the hard, melted plastic rim of the burn hole. You want the fabric to be as flat and pliable as possible before applying your rounded patch.
The Jagged L-Shaped Tear
L-shaped tears are tricky because the flap of fabric wants to pucker. To master this, you need to act like a surgeon. Lay the jacket perfectly flat. Use small pieces of standard transparent scotch tape to temporarily hold the L-shaped flap perfectly in place, aligning the woven grid of the ripstop nylon as closely as possible. Once the flap is secured and flat, apply your permanent nylon repair patch directly over the whole area. After the permanent patch is set, you can gently peel away the temporary scotch tape from underneath the edges if any is exposed, or simply leave it trapped beneath the waterproof seal.
Visible Mending: Turning Tears into Badges of Honor for Kids’ Coats
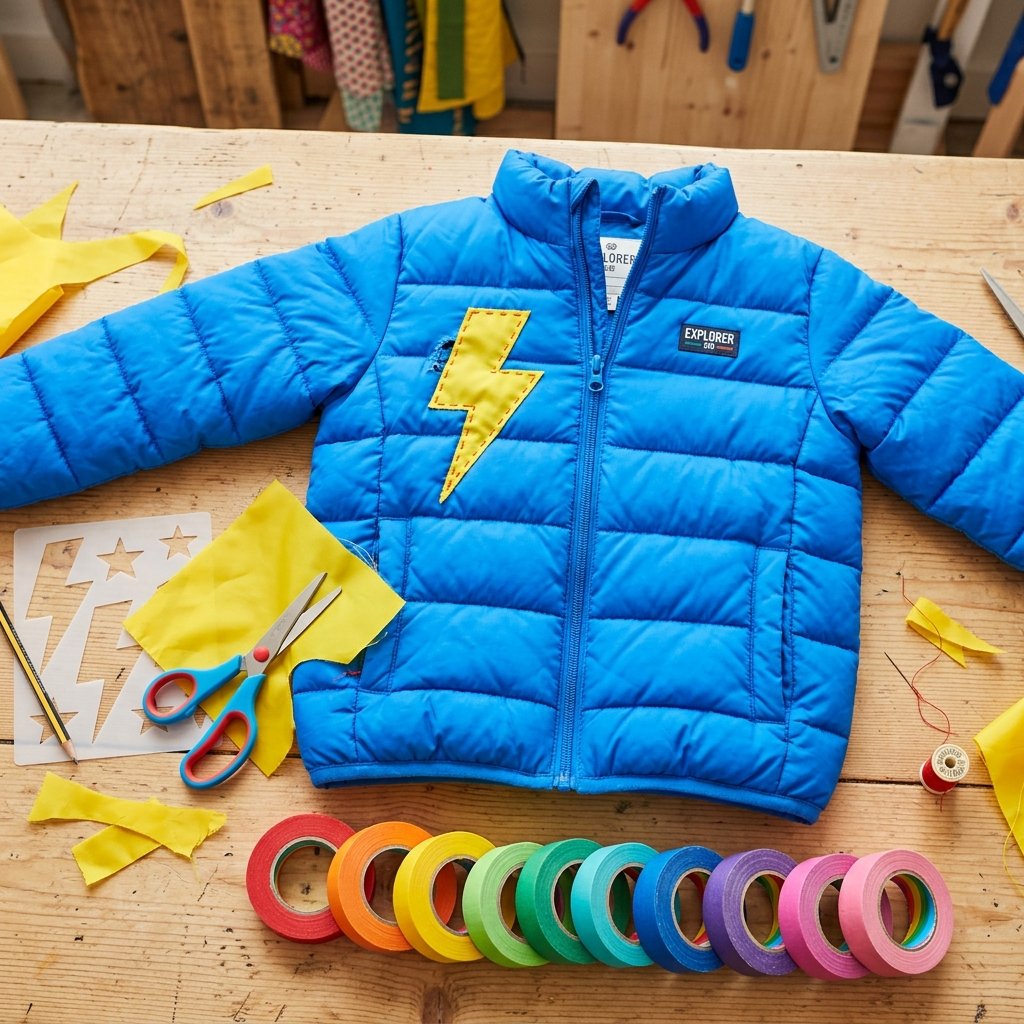
If you are a parent, you know that kids can destroy winter gear faster than you can buy it. They slide down rough concrete hills, snag their sleeves on chainlink fences, and generally treat their clothing like armor. Instead of trying to hide the repairs with perfectly color-matched tape, why not lean into the “visible mending” trend? This creative, crafty approach turns a frustrating tear into a custom, personalized badge of honor.
The Art of the Custom Patch
Nylon repair tape comes in a massive variety of bold colors, from neon green and bright pink to reflective silver. Instead of a boring circle, use a stencil to cut the tape into fun, empowering shapes. For a ripped knee on snow pants or a torn elbow on a puffer coat, cut the patch into the shape of a lightning bolt, a star, a dinosaur, or a rugged geometric mountain peak. Not only does this fix the $60 coat in under 2 minutes, but it also gives your child a unique, customized piece of gear that they will be proud to wear.
“Visible mending teaches our children a beautiful lesson: things that are broken do not need to be thrown away; they can be repaired, improved, and made entirely our own.”
For added safety during dark winter evenings, consider using specialized reflective gear tape. Patching a tear with reflective tape serves a dual purpose: it seals the down feathers perfectly while adding high-visibility safety features to your child’s outerwear. It is the ultimate handy-parent hack.
Rugged Maintenance: Washing and Caring for a Patched Puffer Jacket
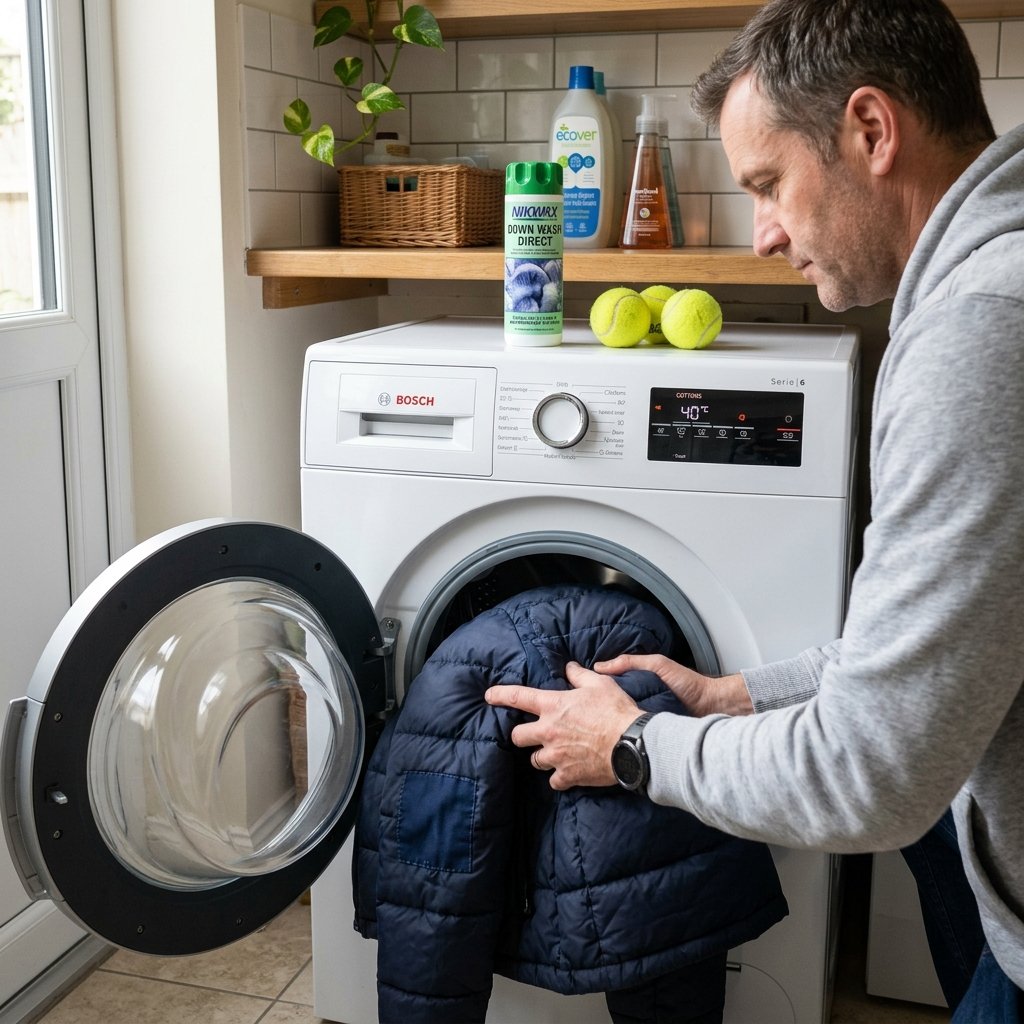
You have successfully mended your jacket, saved yourself a small fortune, and kept your favorite piece of gear out of the landfill. But the journey of a frugal upcycler does not end with the repair. Proper maintenance is essential to ensure that your 2-minute fix lasts for years to come. The most common question after patching a jacket is: Can I still wash it? The answer is a resounding yes, provided you follow a few rugged maintenance rules.
The 24-Hour Curing Rule
While the patch will stick immediately and you can wear the jacket right away, the adhesive needs time to fully cure and bond with the synthetic fibers. Do not wash the jacket for at least 24 hours after applying the patch. Giving the glue a full day to set ensures maximum waterproof integrity.
Washing Best Practices
- Use a Front-Loading Washer: Top-loading machines with central agitators are too rough on delicate down baffles and can catch the edges of your patch. Always use a front-loading machine or a top-loader without an agitator.
- Choose the Right Detergent: Standard laundry detergents strip the natural oils from down feathers, causing them to become brittle and lose their fluff. Always use a specialized down wash or a gentle, residue-free detergent.
- Cold Water, Gentle Cycle: Wash the jacket on a delicate cycle with cold water to prevent the adhesive from softening.
- The Tennis Ball Drying Trick: Never air-dry a down jacket; the feathers will clump together and mildew. Toss the jacket into the dryer on a low heat setting along with three clean tennis balls or wool dryer balls. The balls will bounce around, breaking up the clumps of down and restoring the jacket’s original, puffy loft. The low heat will also help to further set the adhesive on your repair patch!
By mastering these simple, budget-savvy techniques, you transform from a mere consumer into a capable caretaker of your gear. You save money, you reduce waste, and you walk out into the winter cold with the quiet confidence of someone who knows exactly how to fix what gets broken.
Conclusion
Throwing away a perfectly good, expensive winter coat over a minor tear is a tragedy of modern consumerism. But armed with a little knowledge, a roll of high-quality nylon repair tape, and 2 minutes of your time, you can intercept that waste and reclaim your gear. This simple mending technique is the epitome of the frugal, rugged DIY spirit—it is practical, it is incredibly cost-effective, and it requires no specialized tailoring skills. Whether you are patching up your own heavy-duty camping jacket, rescuing your child’s favorite snow coat with a creative visible mend, or simply proving your self-reliance, you now possess the skills to handle whatever winter throws your way. So, next time you hear that dreaded ripping sound, do not panic. Grab your alcohol wipes, wrangle those feathers, and patch it like a pro. Stay warm, stay resourceful, and happy mending!

Makenzie is the founder and lead writer at MoneyHackTips.com — a personal finance blog dedicated to delivering street-smart financial wisdom for real people on real budgets. With 300+ published articles covering everything from debt management to investing fundamentals, Makenzie’s mission is to make every dollar work harder. When not writing about money hacks, Makenzie is testing frugal living strategies, optimizing side hustles, and helping readers build financial freedom from scratch.