
The Hidden Treasure in Your Donation Pile
We all have that one drawer. You know the one. It is overflowing with old promotional t-shirts, faded band tees, and shirts with mysterious stains that completely ruined the fabric. Your first instinct might be to bag them up and drop them off at a donation center, or worse, throw them straight into the trash. But hold on a second! As a resourceful, budget-savvy crafter, you need to look at those discarded garments not as trash, but as premium crafting materials waiting to be unlocked. Welcome to the world of zero-waste upcycling, where we transform the forgotten and the frayed into rugged, masculine-elegant, and undeniably gorgeous home decor.
Today, we are going to dive deep into a crafty-expert secret that will save you serious money: making your own continuous t-shirt yarn (affectionately known as t-yarn) and knotting it into a stunning DIY macrame wall hanging. And the best part? You can complete this entire project in under 60 minutes. Store-bought macrame cord can easily cost you upwards of $20 to $30 a spool, and trendy boutique wall hangings often retail for $100 or more. By utilizing items you already own, your out-of-pocket expense for this project is exactly $0.00.
“The most sustainable and budget-friendly material on earth is the one you already have sitting in your closet. Embrace the rugged charm of repurposing!”
Whether you are a frugal DIYer looking to spruce up your living space, a handy parent wanting a fun weekend project, or a creative gift-giver searching for a thoughtful, handmade housewarming present, this tutorial is tailored just for you. We will walk through the clever mechanics of turning a standard cotton tee into yards of workable cord, foraging for the perfect natural anchor, and mastering the essential knots needed to create a heavily textured, visually striking piece of art. Roll up your sleeves, grab your sharpest fabric scissors, and let us turn that textile trash into absolute treasure.
The Clever Crafter’s Guide to Harvesting T-Shirt Yarn
Why T-Shirt Yarn is the Ultimate Budget Hack
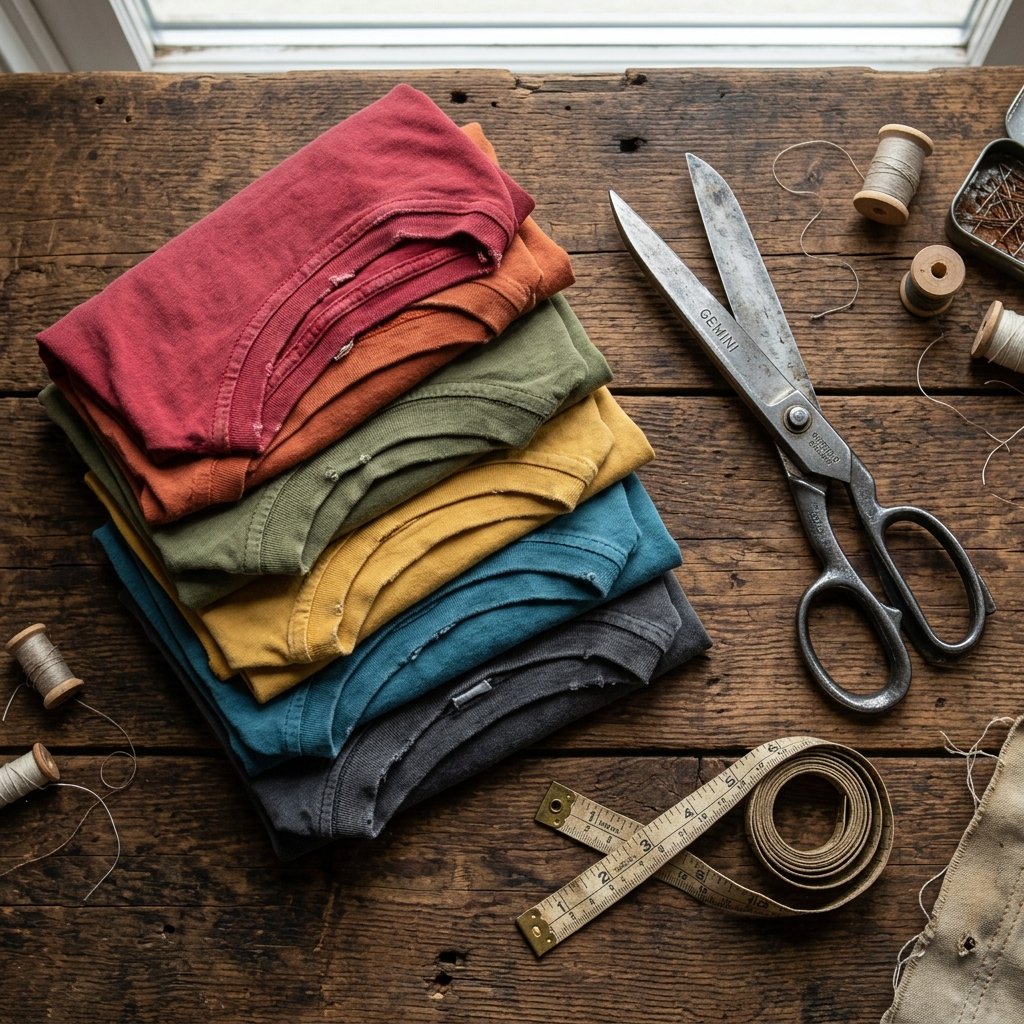
Before we start cutting, let us talk about why t-shirt yarn is such a phenomenal material for macrame. Traditional macrame cord is usually made from twisted cotton rope, which is beautiful but can be expensive and unforgiving on the fingers. T-shirt yarn, on the other hand, is made of jersey knit fabric. When you cut jersey knit into strips and pull it, the raw edges naturally curl inward, creating a smooth, tubular, and incredibly durable cord. It has a slight stretch, a chunky, rugged texture, and an organic drape that gives your wall hangings a modern, relaxed aesthetic.
The Zero-Budget Economics
Let us break down the actual savings. When you are a frugal DIYer, every penny counts. Buying premium craft supplies for every new hobby can drain your wallet quickly. Upcycling eliminates this barrier to entry.
| Material Type | Average Cost | Environmental Impact | Texture & Style |
|---|---|---|---|
| Store-Bought Cotton Macrame Cord (100 yards) | $15.00 – $25.00 | High (New manufacturing, packaging, shipping) | Uniform, traditional, stiff |
| Boutique Pre-Made Wall Hanging | $75.00 – $150.00+ | Medium (Often shipped globally) | Standardized, lacks personal touch |
| Upcycled T-Shirt Yarn (DIY) | $0.00 (100% Free) | Zero-Waste (Saves textiles from landfills) | Chunky, rugged, unique, organic drape |
Selecting the Perfect Candidate
Not all t-shirts are created equal when it comes to making yarn. For the best results, you want to hunt through your stash for a shirt that meets specific criteria. Look for shirts that are 100% cotton or a high cotton-blend (like 95% cotton and 5% spandex). The fabric needs to be a standard jersey knit so that it rolls properly when stretched. Avoid shirts with heavy side seams if possible, as seamless tubular shirts (often used for cheap promotional tees) yield the smoothest, most continuous yarn. Do not worry if the shirt has a massive graphic on the chest or a coffee stain near the collar; we will only be using the bottom half of the shirt, from the armpits down to the hem.
The Magic Continuous Cut Technique
Turning One Shirt into 20 Yards of Cord
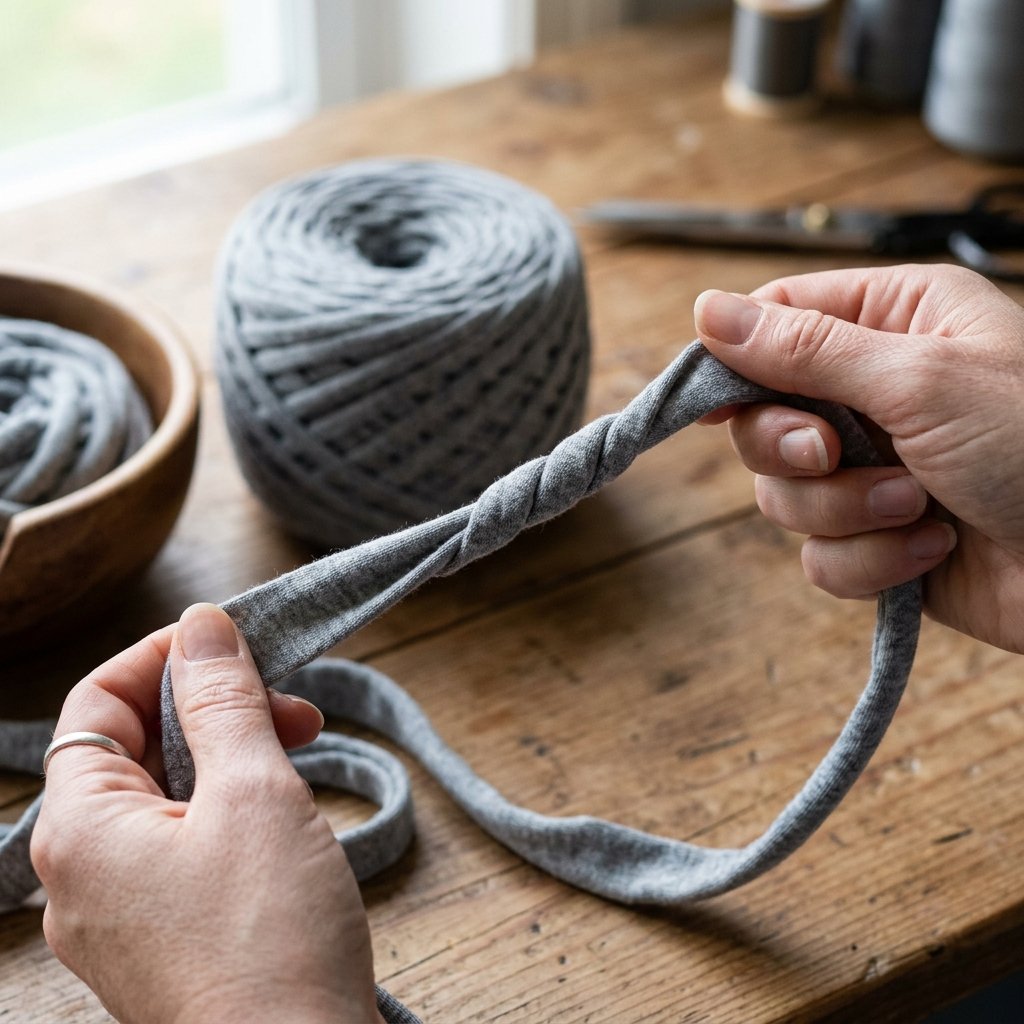
This is where the real crafty magic happens. If you simply cut horizontal rings out of your shirt, you will end up with a bunch of disconnected loops. While loops are great for making potholders, we need long, continuous strands for macrame. The secret lies in a clever spiral-cutting technique that transforms the barrel of the shirt into one massive, unbroken piece of yarn.
“Safety Note: Always use proper fabric shears for this step. Standard paper scissors will chew the fabric, cause hand fatigue, and leave you with jagged edges that refuse to roll up neatly. Keep your fingers clear of the blades!”
Step-by-Step Harvesting Instructions
- Prep the Canvas: Lay your t-shirt completely flat on a large table or cutting mat. Smooth out any wrinkles. Using your fabric shears, cut horizontally straight across the shirt just below the armpits. Discard the top half (or save it for cleaning rags!). Next, cut off the thick bottom hem. You are now left with a fabric tube.
- The Strategic Fold: Fold one side of the tube over to the other side, but leave about a 1-inch gap at the top edge. The bottom edge should be folded perfectly, but the top edge of the bottom layer should stick out an inch past the top layer.
- Cut the Strips: Starting from the folded bottom edge, cut strips about 1 to 1.5 inches wide, cutting upwards toward the top edge. Stop cutting about 1 inch before you reach the very top edge of the bottom layer. Do not cut all the way through! You want the strips to remain attached at that top margin.
- Unfold and Reveal the Spine: Carefully unfold the shirt. You will see a solid “spine” of uncut fabric down the middle, with loops hanging off both sides like a ribcage.
- The Diagonal Magic Cut: Slip your arm through the tube so the uncut spine is resting on your forearm. To create a continuous strand, you must cut diagonally. Cut from the outside edge into the first slit. Then, cut from the first slit diagonally across to the second slit on the other side. Continue this diagonal cutting pattern all the way down the spine.
- The Stretch: Once you have one giant, continuous strip of fabric, the final step is the most satisfying. Take the strip in both hands and pull it firmly, stretching it section by section. As you stretch the jersey knit, the raw edges will magically roll inward, hiding the cuts and forming a perfect, chunky cord. Roll it into a ball, and you are ready to knot!
Foraging for the Perfect Rugged Anchor
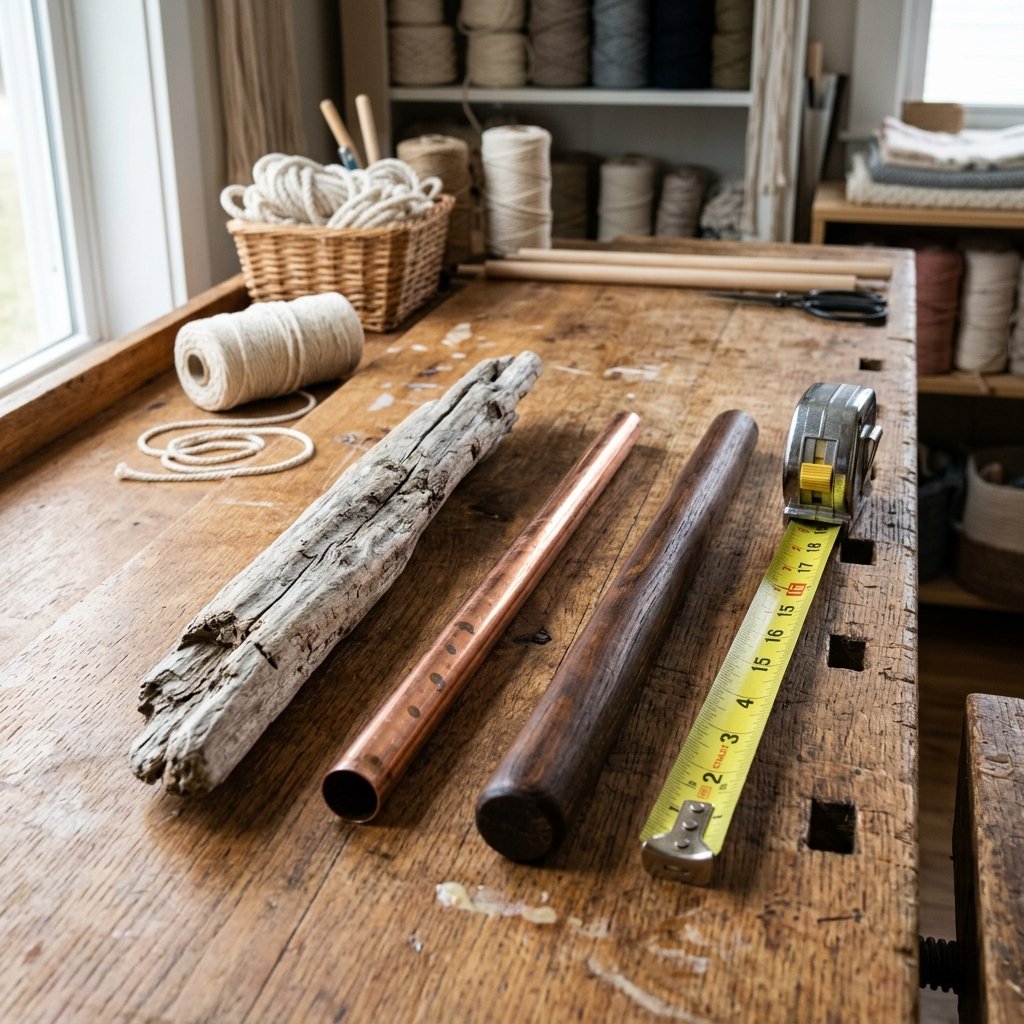
Finding Beauty in Nature and Hardware
Every gorgeous macrame wall hanging needs a strong foundation to hang from. While you could easily go to a craft store and buy a perfectly sanded wooden dowel for $5, where is the fun in that? As resourceful upcyclers, we know that the best materials are often found for free in nature or deep in the garage.
Top Budget-Savvy Anchor Options
- Foraged Driftwood: This is the gold standard for a rugged, masculine-elegant, boho look. Take a walk along a beach, lake, or river and look for a sturdy piece of wood about 12 to 18 inches long. The natural curvature and weathered texture of driftwood contrast beautifully with the soft t-shirt yarn.
- Fallen Branches: If you do not live near water, a standard fallen tree branch works perfectly. Look for oak, maple, or birch. Simply peel off any loose bark and give it a quick sanding.
- Copper Pipes: For an industrial, modern edge, check your garage for leftover plumbing scraps. A half-inch copper pipe provides a brilliant metallic pop that looks incredibly high-end.
- Old Broomsticks: Do not throw away that broken broom! Saw off a section of the wooden handle, give it a quick coat of dark walnut stain or black spray paint, and you have a sleek, sturdy dowel.
“Pro Tip for Foragers: If you bring wood in from outside, bake it in your oven at 200 degrees Fahrenheit for about 45 minutes. This will dry out any residual moisture and ensure no unwanted microscopic critters make their way into your home decor.”
Once you have selected your anchor, tie a piece of twine, sturdy string, or a thin piece of your newly made t-yarn to both ends to serve as the hanging string. Hang your anchor on a nail in the wall, a doorknob, or a rolling garment rack. Having the anchor suspended at eye level will make tying your knots infinitely easier and save your back from hunching over a table.
Master the Three Essential Macrame Knots
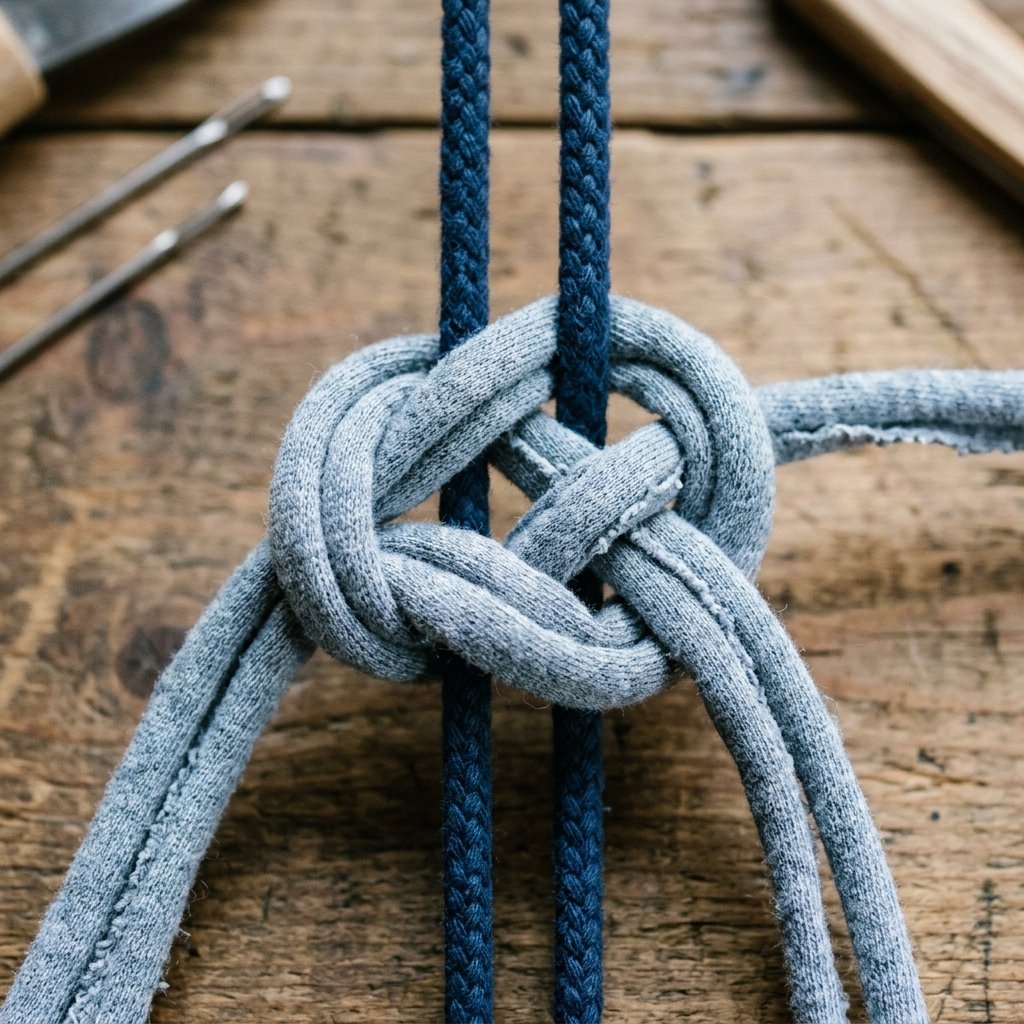
The Frugal Crafter’s Knot Tying Masterclass
Macrame might look incredibly complex, but it is actually just a series of repeated basic knots. You do not need to memorize a massive encyclopedia of sailing knots to create something beautiful. For our 60-minute wall hanging, you only need to master three foundational techniques. T-shirt yarn is thicker than standard cord, which means your knots will work up incredibly fast, saving you time and effort.
1. The Lark’s Head Knot (The Attachment Knot)
This is how you secure your yarn to your anchor. It is the starting point for almost every macrame project.
- Cut a piece of t-yarn to your desired length (for this project, cut strips about 6 feet long).
- Fold the strip exactly in half to form a loop at the top.
- Place the loop over your driftwood or dowel, pushing it from the front to the back.
- Reach through the loop, grab the two dangling tail ends, and pull them through the loop.
- Pull the tails tight to secure the knot against the wood. Repeat this until your anchor is full.
2. The Square Knot (The Workhorse)
The square knot is the bread and butter of macrame. It requires four cords to complete: two outer “working” cords and two inner “filler” cords.
- Take four hanging cords. The middle two will remain perfectly still.
- Take the far-left cord and cross it horizontally over the two middle cords, creating a shape that looks like the number “4”.
- Take the far-right cord, place it over the tail of the left cord, tuck it behind the two middle cords, and pull it out through the loop of the “4” on the left side. Pull both outer cords tight. This is a half-square knot.
- To complete the square knot, do the exact same thing in reverse. Take the far-right cord, cross it over the middle cords (making a backwards “4”). Take the left cord, go over the tail, behind the middle, and out through the loop on the right. Pull tight.
3. The Double Half-Hitch Knot (The Line Maker)
This knot is used to create beautiful diagonal or horizontal lines that frame your piece and add structural elegance.
- Select a “holding cord.” This is the cord that will dictate the direction of your line. Hold it diagonally across the other hanging cords.
- Take the next available hanging cord (the “working cord”) and loop it over and around the holding cord, pulling it through its own loop. Pull tight.
- Repeat step 2 with the exact same working cord. (Hence the name “double” half-hitch).
- Move to the next hanging cord and repeat the process, always maintaining the angle of your holding cord.
The 60-Minute Masterpiece: Step-by-Step Pattern
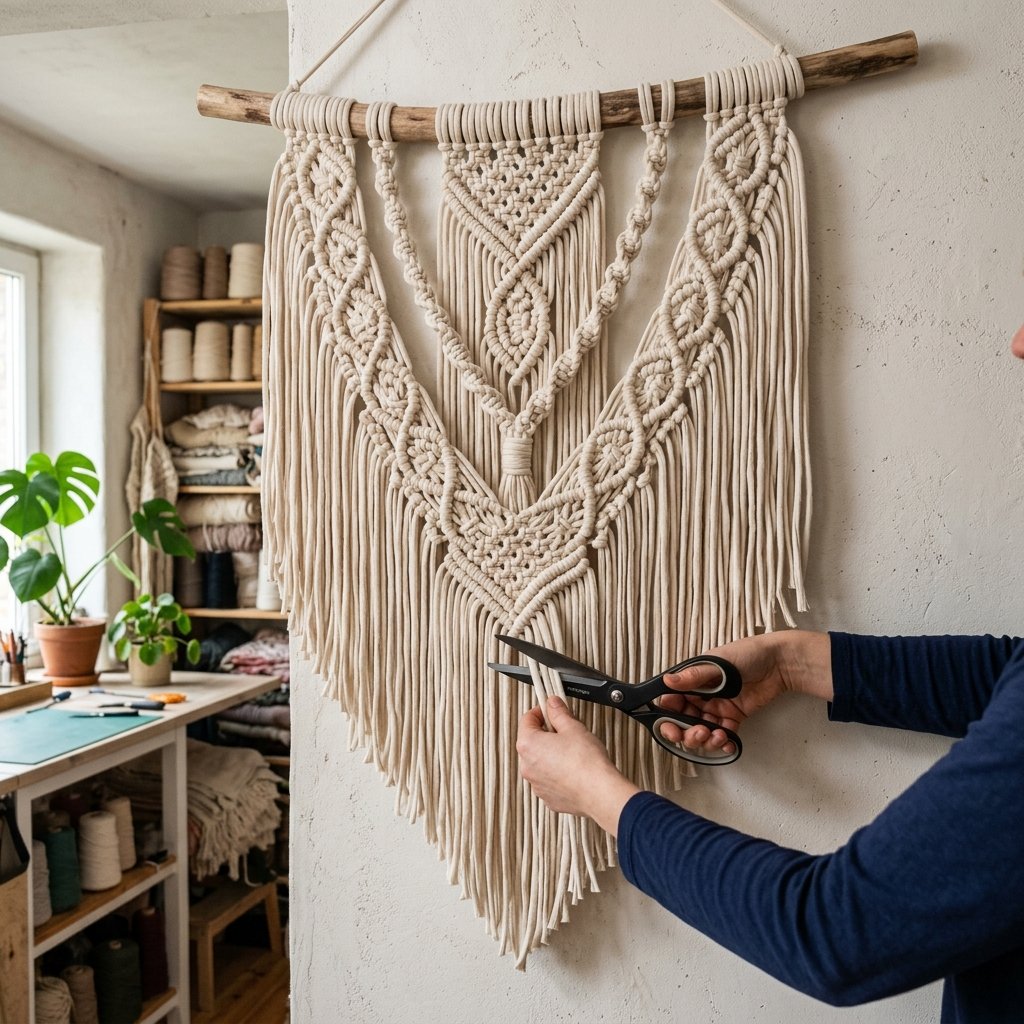
Assembling Your High-End Dupe
Now that you have your zero-cost t-yarn, your foraged driftwood, and your knot knowledge, it is time to assemble the piece. Because t-shirt yarn is chunky, this project works up astonishingly fast. Set a timer; you will be amazed at what you can accomplish in under an hour.
| Project Specs | Details |
|---|---|
| Estimated Time | 45 – 60 Minutes |
| Total Cost | $0.00 |
| Materials Needed | 1 Large T-Shirt, 1 Branch/Dowel, Scissors |
| Cords Required | 10 to 12 cords, each cut to 6 feet long |
The Step-by-Step Build
- Mounting: Attach all 10 to 12 of your 6-foot cords to your driftwood using the Lark’s Head Knot. Ensure they are pushed tightly together in the center of the wood. You will now have 20 to 24 individual strands hanging down.
- Row 1 (Square Knots): Starting from the far left, take the first four cords and tie a complete Square Knot. Move to the next group of four cords and tie another Square Knot. Continue this across the entire row until you have a straight horizontal line of 5 or 6 square knots.
- Row 2 (Alternating Square Knots): To create a beautiful mesh pattern, we will alternate. Skip the first two cords on the far left. Take the next four cords (which will be two cords from your first knot and two from your second knot) and tie a Square Knot. Continue across the row, and leave the last two cords on the far right unknotted.
- Row 3: Go back to using all the cords, just like Row 1. Tie a full row of Square Knots straight across. You have now created a thick, textured block of macrame.
- The V-Shape Finale: To give the piece a modern, elegant drape, we will taper the knots into a “V” shape. Count your cords to find the exact center. Take the cord just to the left of center, and use it as your holding cord for a Double Half-Hitch line, working diagonally down to the left. Then, take the cord just to the right of center, and work a Double Half-Hitch line diagonally down to the right.
- The Trim: Step back and admire your work. The hanging tail cords will likely be uneven. Take your sharp fabric shears and cut the bottom of the cords into a sharp “V” shape that mirrors the angle of your half-hitch knots. Leave the ends long and dramatic!
Advanced Customizations & Masculine-Elegant Styling
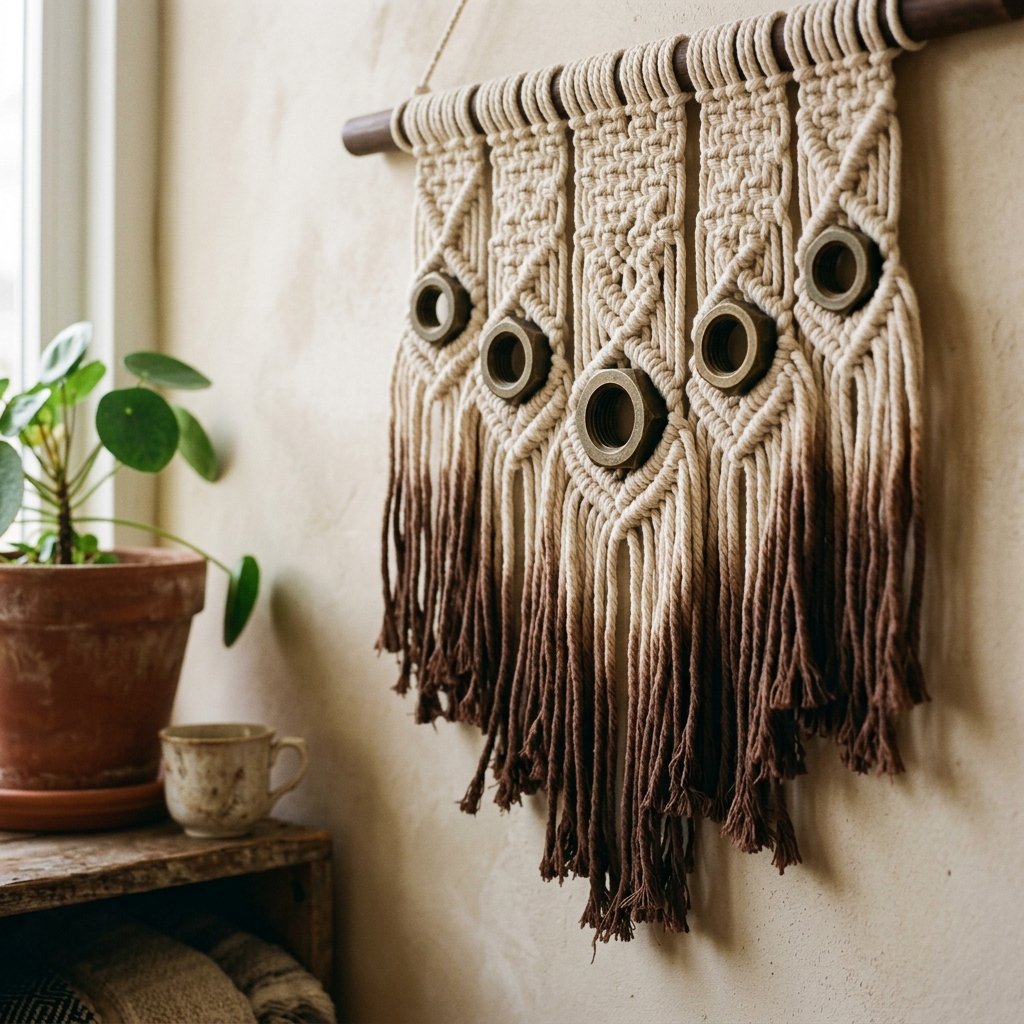
Elevating Your Trash-to-Treasure Masterpiece
The basic pattern is beautiful on its own, but as a resourceful upcycler, you know that customization is where your personality shines. Because you saved so much money on materials, you can afford to get creative with the finishing touches. Here are a few clever ways to upgrade your macrame wall hanging to look like a piece of high-end, boutique gallery art.
Dyeing Your T-Shirt Yarn
If the old shirts you used were a drab, stained white or an unappealing gray, do not panic. T-shirt yarn takes dye exceptionally well since it is made of cotton. For a rugged, earthy look, try natural dyeing! You can boil avocado pits to achieve a stunning dusty blush pink, use coffee grounds for a rich, masculine espresso brown, or use turmeric for a vibrant mustard yellow. Simply dip-dye the bottom fringe of your finished wall hanging into a pot of coffee-dye for a trendy ombre effect that costs absolutely nothing.
Incorporating Hardware and Beads
To lean into a practical, masculine-elegant aesthetic, try weaving hardware into your piece. Instead of traditional wooden macrame beads, head to your garage or local hardware store. Thread oversized brass hex nuts, copper couplings, or large steel washers onto your cords before tying your square knots. The juxtaposition of the soft, chunky upcycled cotton against cold, heavy industrial metal creates a striking visual contrast that demands attention.
Maintenance and Care
Your upcycled macrame wall hanging is incredibly durable, but it does require a little bit of care to keep it looking sharp. Gravity is your friend here; over time, the t-shirt yarn will relax and stretch slightly, making the piece look even better. If your wall hanging gets dusty, simply take it outside and give it a gentle shake. If the bottom fringe starts to curl up too much, you can lightly mist it with water from a spray bottle and gently run your fingers through the cords to straighten them out. Because it is made of t-shirts, it is technically machine washable, but we highly recommend spot-cleaning only to preserve the integrity of your hard-earned knots!
Conclusion
The Power of Frugal Creativity
And there you have it! In less time than it takes to watch an episode of your favorite television show, you have successfully rescued an old garment from the landfill and transformed it into a stunning, highly textured piece of home decor. You learned the clever geometry behind continuous t-shirt yarn, you foraged for a rugged natural anchor, and you mastered the foundational knots of macrame—all while keeping your budget strictly at $0.00.
This project is the absolute epitome of what it means to be a resourceful upcycler. It proves that you do not need an endless budget or expensive craft store hauls to create a beautiful, welcoming home. The next time you clean out your closet, look at those stained, stretched-out shirts with a new perspective. They aren’t trash; they are the raw materials for your next great masterpiece. So go ahead, hang your new macrame art proudly on your wall, tell your guests exactly how little you spent on it, and keep on crafting, creating, and upcycling with confidence!

Makenzie is the founder and lead writer at MoneyHackTips.com — a personal finance blog dedicated to delivering street-smart financial wisdom for real people on real budgets. With 300+ published articles covering everything from debt management to investing fundamentals, Makenzie’s mission is to make every dollar work harder. When not writing about money hacks, Makenzie is testing frugal living strategies, optimizing side hustles, and helping readers build financial freedom from scratch.