
Let us be completely honest for a second: if you are a parent, your house is likely a revolving door of shipping boxes. Whether it is diapers, bulk groceries, or random household supplies, corrugated cardboard is the unsung byproduct of modern domestic life. But before you break down those boxes and haul them to the curb, take a closer look. To the frugal DIYer and crafty upcycler, that pile of brown cardboard is not trash; it is a goldmine of raw, rugged crafting potential.
Today, we are channeling our inner resourceful artisans to create a beautifully rustic, zero-waste educational toy: a DIY Cardboard Animal Matching Game. Store-bought Montessori-style memory games made from wood or thick chipboard can easily set you back $20 to $40. Why spend that hard-earned cash when you can build something equally durable, fully customizable, and environmentally friendly for exactly $0.00?
The ultimate parenting hack is realizing that the box the toy came in is usually more entertaining than the toy itself. We are just taking that universal truth and elevating it.
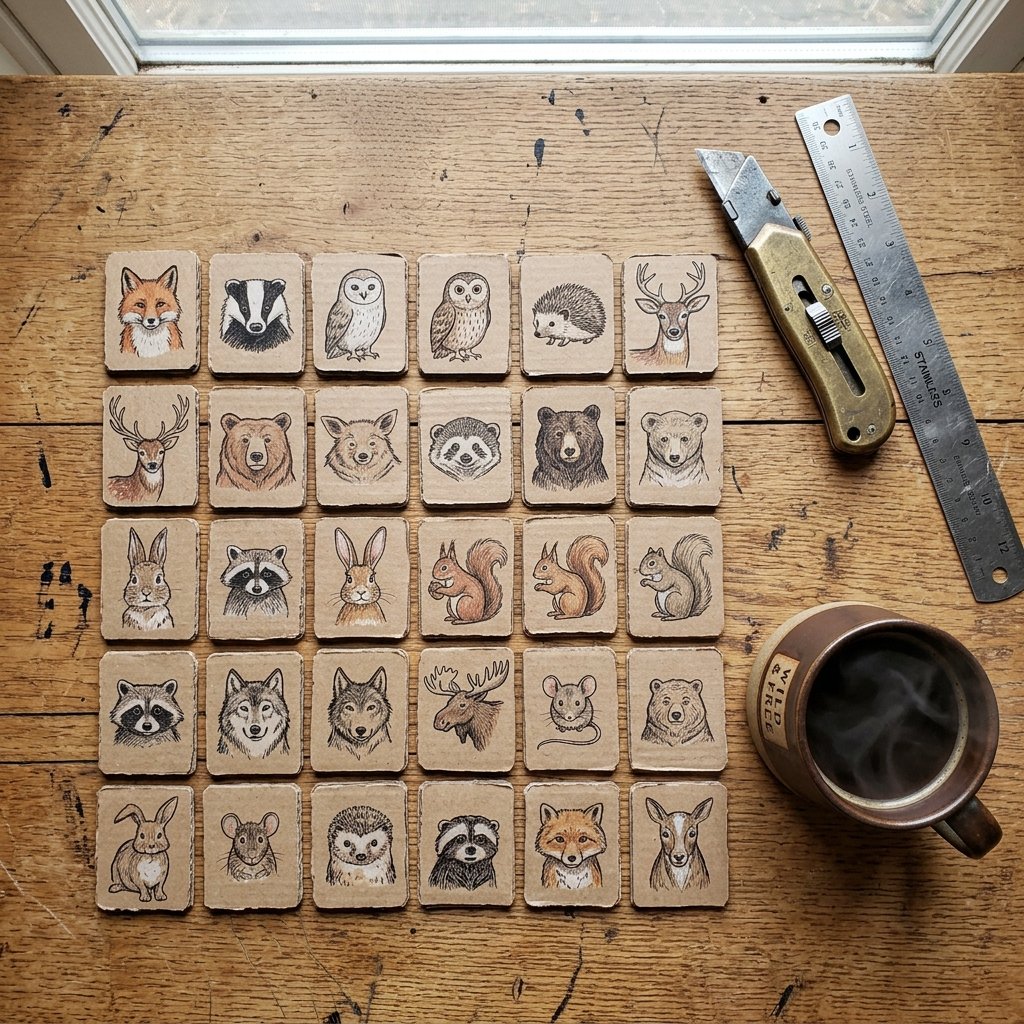
This project is perfect for handy moms and dads who want to spend a quiet evening crafting something meaningful. Armed with a utility knife, a metal ruler, and a little bit of creativity, you will transform everyday shipping boxes into a high-quality cognitive development tool for your preschooler. Not only does this save money, but it also teaches your little ones the invaluable lesson of upcycling and resourcefulness.
The Frugal Parent’s Philosophy: Why Upcycled Toys Win
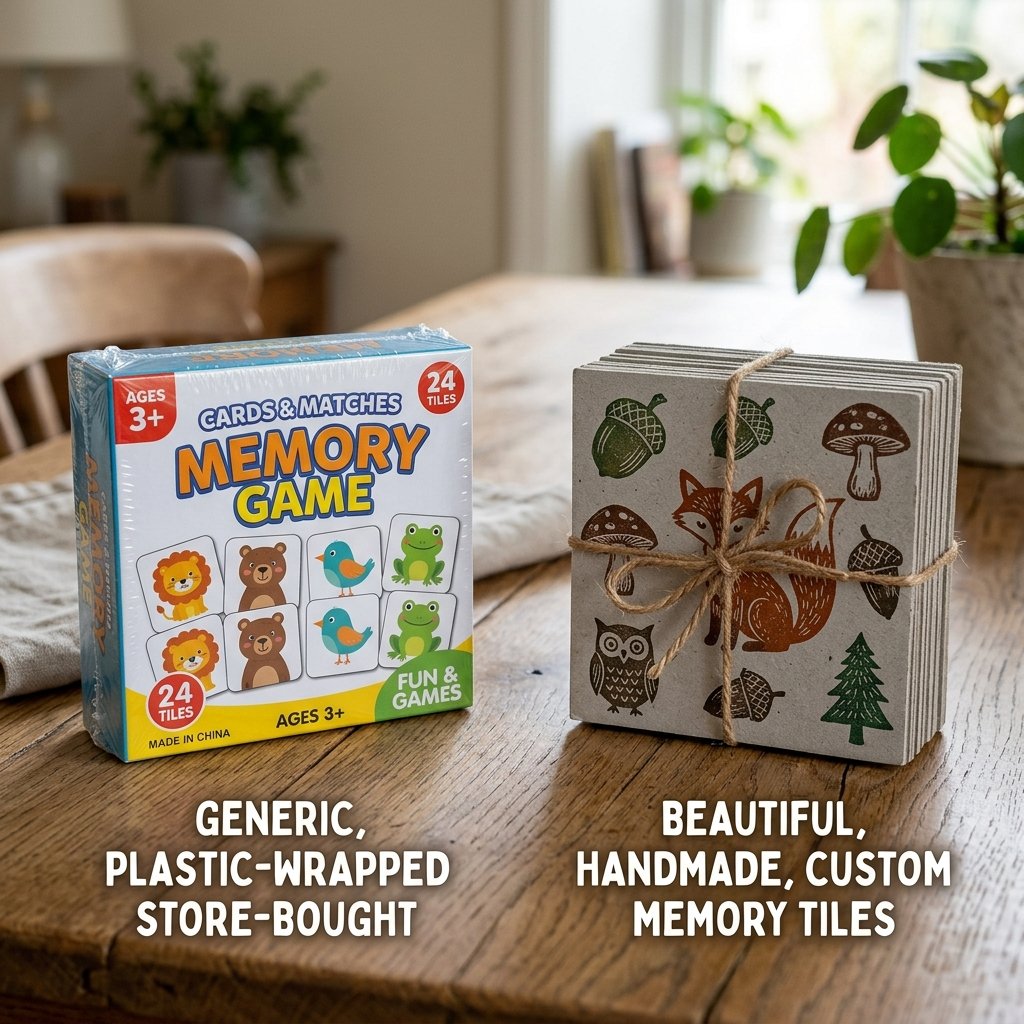
The True Cost of Preschool Entertainment
When you step into a high-end toy boutique, you are immediately bombarded with earth-toned, minimalist wooden toys promising to boost your child’s cognitive development. While the Montessori aesthetic is undeniably beautiful, the price tags are often staggering. As budget-savvy parents, we have to ask ourselves: are we paying for the educational value, or are we paying for the trendy packaging?
Cardboard is nature’s perfect building block for DIY toys. It is lightweight, surprisingly structural, and delightfully forgiving. A double-walled shipping box has a rugged integrity that, when cut cleanly and sealed properly, mimics the satisfying heft of a wooden tile. By choosing to upcycle, you are reclaiming your budget and reducing household waste. Let us look at the real numbers when you choose to roll up your sleeves instead of swiping your credit card.
| Toy Option | Aesthetic / Material | Estimated Cost | Environmental Impact |
|---|---|---|---|
| Boutique Wooden Game | Premium Wood / Minimalist | $25 – $45 | New materials, shipping footprint |
| Big Box Store Game | Flimsy Cardstock / High Gloss | $10 – $15 | Plastic wrapping, easily destroyed |
| The Zero-Waste DIY | Rugged Upcycled Cardboard | $0.00 | 100% Recycled, Carbon Negative |
The savings are undeniable. That $30 you saved can go straight into the college fund or buy a few extra lattes for your tired, hard-working self. More importantly, when a toddler inevitably bends, chews, or loses a piece of your DIY game, you will not feel a single pang of financial regret. You just head back to the recycling bin and make a replacement in exactly 5 minutes.
Scavenging & Prepping: Your Zero-Budget Material List
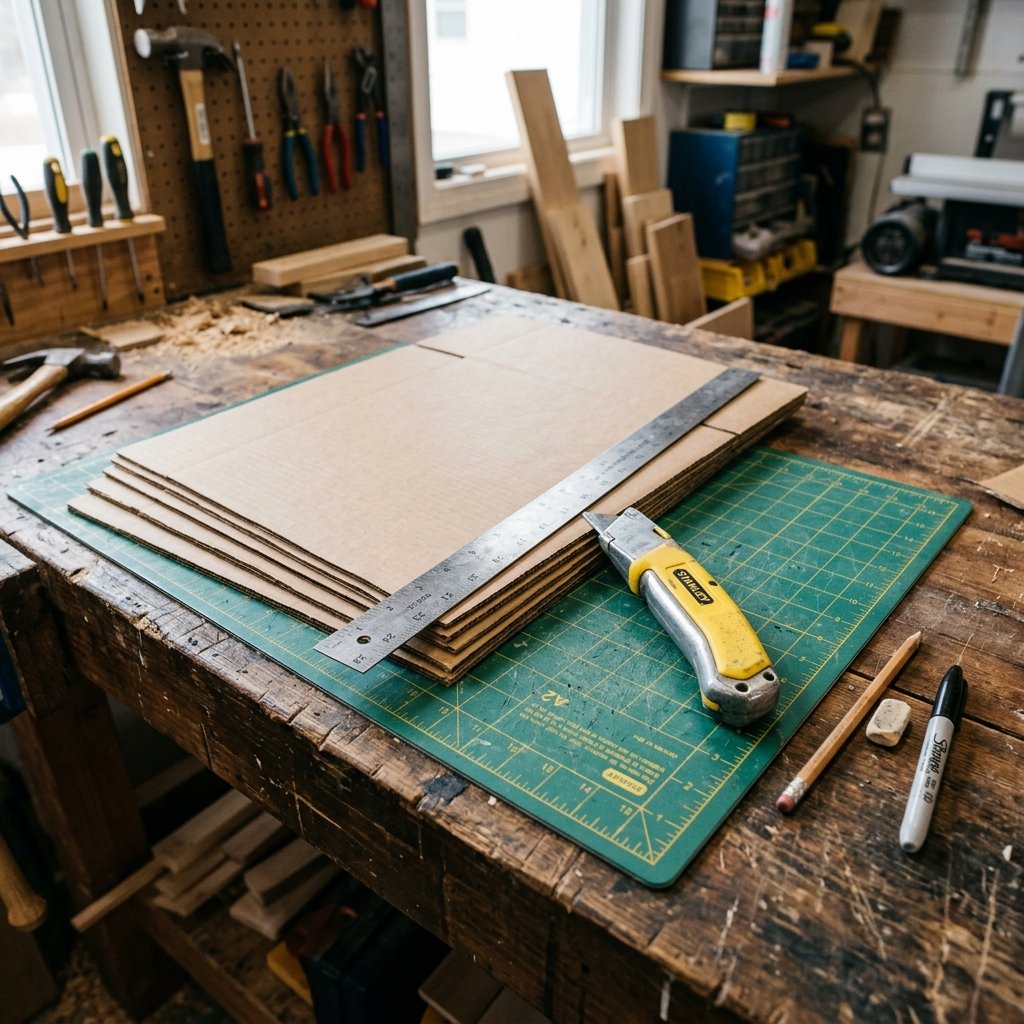
Hunting for the Perfect Cardboard
Not all cardboard is created equal. For a project that needs to withstand the chaotic energy of a preschooler, you need to select your materials with the discerning eye of a master craftsman. You are looking for corrugated cardboard—specifically, boxes that are clean, dry, and free of heavy creases or greasy food stains.
The Anatomy of Good Cardboard
- Single-Wall Corrugated: The standard Amazon box. Great for the tiles, easy to cut, but requires a sharp blade to prevent tearing.
- Double-Wall Corrugated: Found on heavy appliance boxes. Harder to cut, but yields incredibly thick, premium-feeling tiles that mimic wood.
- Solid Bleached Sulfate (SBS): Cereal boxes. Too thin for our main tiles, but excellent for making stencils.
Your Crafting Arsenal
You do not need a fancy workshop to pull this off, but using the right tools will elevate your project from looking like a school project to a boutique-quality toy. Here is what you need to gather from your toolbox and junk drawer:
- Heavy-Duty Utility Knife: A fresh, sharp blade is non-negotiable. A dull blade will crush the cardboard flutes instead of slicing them.
- Metal Ruler or Straight Edge: Essential for perfectly straight, uniform cuts. Do not use a plastic ruler; your knife will shave the plastic right off.
- Self-Healing Cutting Mat: To protect your dining room table from your rugged handiwork. A large piece of scrap wood works too.
- Fine-Tip Permanent Markers: For drawing the animal silhouettes.
- PVA Glue or Mod Podge (Optional): For sealing the edges and making the tiles toddler-proof.
Safety First: Utility knives are unforgiving. Always cut away from your body, keep your non-dominant hand well clear of the cutting path, and make multiple shallow passes rather than trying to force the blade through thick cardboard in one go.
Crafting the Tiles: Precision Cutting for a Premium Feel
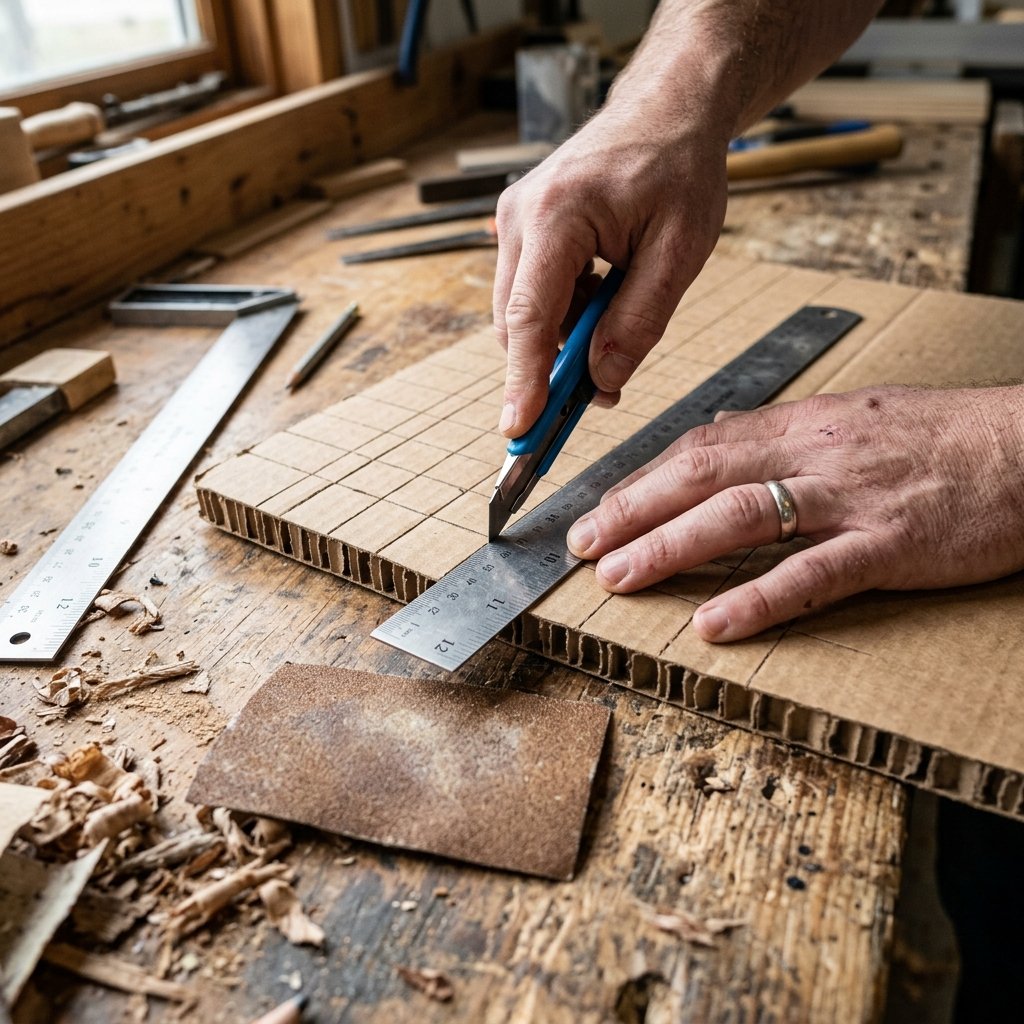
The Art of the Cut
The secret to making upcycled cardboard look expensive lies entirely in the precision of your cuts. If your tiles are jagged, uneven, or crushed, the game will look like trash. If they are perfectly square with clean, crisp edges, they will look like a deliberate, artistic choice.
Step-by-Step Tile Construction
- Flatten and Inspect: Break down your chosen box. Cut away the flaps and any sections with packing tape or heavy shipping labels. You want a clean, blank canvas.
- Measure the Grid: Using your metal ruler and a pencil, map out a grid on the cardboard. For a preschool matching game, a size of 3 inches by 3 inches is the golden ratio. It is large enough to prevent choking hazards and perfect for clumsy little hands to grasp.
- The First Score: Align your metal ruler along your pencil line. Press down firmly on the ruler so it does not slip. Take your utility knife and lightly score the top layer of the cardboard. Do not try to cut all the way through yet.
- The Deep Cut: Run the blade through the scored line a second and third time, applying slightly more pressure until you slice cleanly through the bottom layer. This multi-pass technique prevents the corrugated flutes from crushing.
- Sand the Edges (The Crafter’s Secret): Yes, you can sand cardboard! Take a piece of fine-grit sandpaper (around 220 grit) and lightly swipe it across the cut edges of your tiles. This removes any tiny paper frays and gives the tile a soft, finished feel.
For a standard matching game, you will want 24 tiles total, which will give you 12 matching pairs. If your child is younger, start with 12 tiles (6 pairs) to keep them from getting overwhelmed.
Designing the Animals: Three Resourceful Methods
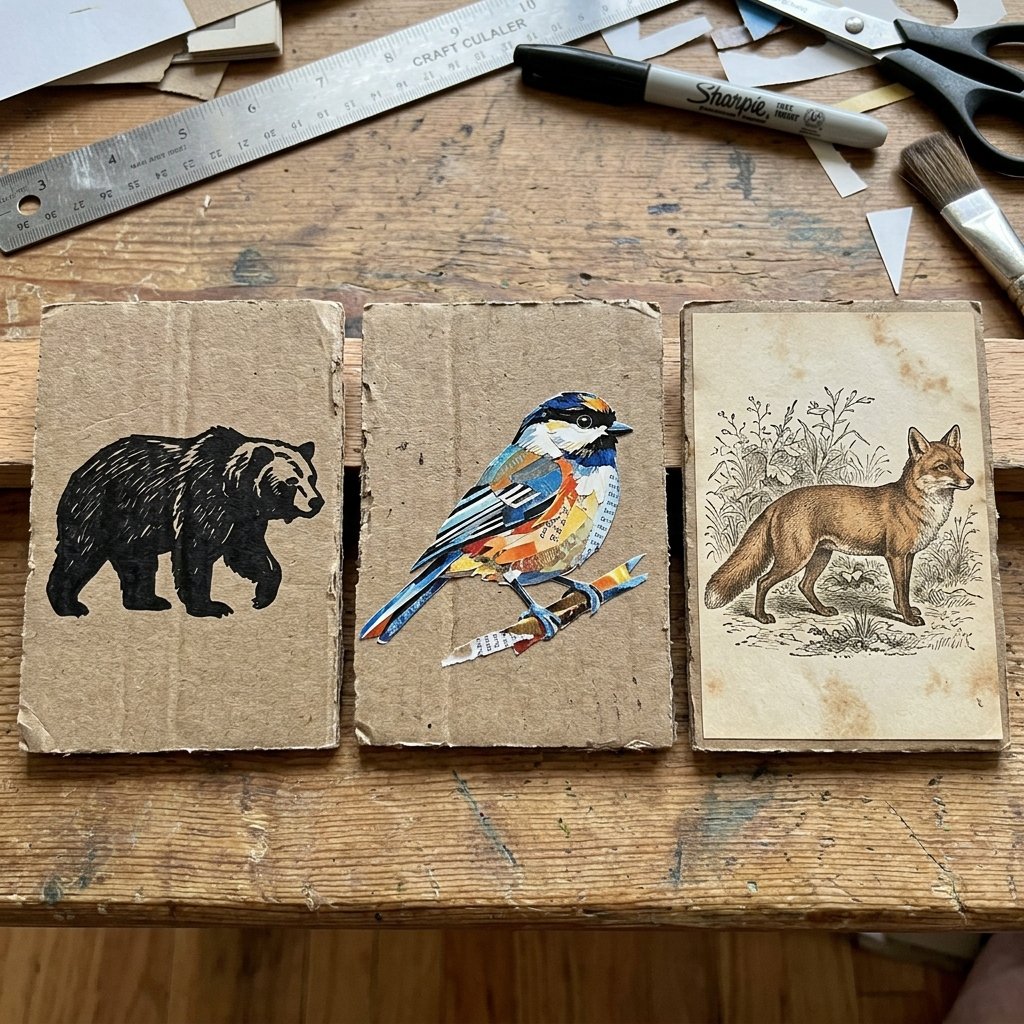
Bringing the Wild to Your Living Room
Now that you have your perfectly cut blank tiles, it is time to add the animals. You do not need to be a classically trained artist to make these look phenomenal. As a resourceful upcycler, you have three fantastic, budget-friendly options depending on your skill level and what you have lying around the house.
Method 1: The Sharpie Minimalist (For the Doodler)
If you have a steady hand, simple line-art or silhouette drawings look incredibly chic on the brown kraft background of the cardboard. Think woodland creatures: a bear, a fox, an owl, a rabbit. Stick to black ink for a modern, high-contrast look. If you are nervous about freehanding, pull up simple animal clip art on your phone, place a piece of thin paper over the screen to trace a stencil, and transfer it to the cardboard.
Method 2: The Magazine Upcycler (For the Collage Artist)
Dive back into your recycling bin and pull out old nature magazines, catalogs, or even junk mail. Hunt for pictures of animals. Cut them out and use a glue stick to paste them onto your tiles. This method adds a fun, eclectic, and colorful vibe to the game. Just ensure you find two relatively similar pictures of a dog, a cat, or a bird to create the matching pairs.
Method 3: The Print-and-Paste (For the Perfectionist)
If you want a flawless, uniform look, head to your computer. There are thousands of free, public-domain vintage animal illustrations online. Print out 12 pairs of animals on regular printer paper. Cut them into 2.5-inch squares and glue them perfectly to the center of your 3-inch cardboard tiles. The brown cardboard border framing the white paper creates a beautiful, rustic, framed effect.
| Design Method | Time Investment | Vibe / Aesthetic | Skill Level Required |
|---|---|---|---|
| Sharpie Minimalist | 30 Minutes | Modern, Rustic, Clean | Medium |
| Magazine Upcycler | 1 Hour | Eclectic, Colorful, Raw | Low |
| Print-and-Paste | 20 Minutes | Vintage, Uniform, Boutique | Low |
Seal the Deal: Making Your Game Toddler-Proof
Armor-Plating Your Upcycled Masterpiece
Preschoolers are forces of nature. They spill juice, they chew on things, and they possess a grip strength that defies logic. If you hand them raw cardboard, your beautifully crafted game might only survive a week. To ensure your zero-waste toy lasts for years (and can be passed down to younger siblings), we need to toddler-proof it.
The DIY Mod Podge Sealant
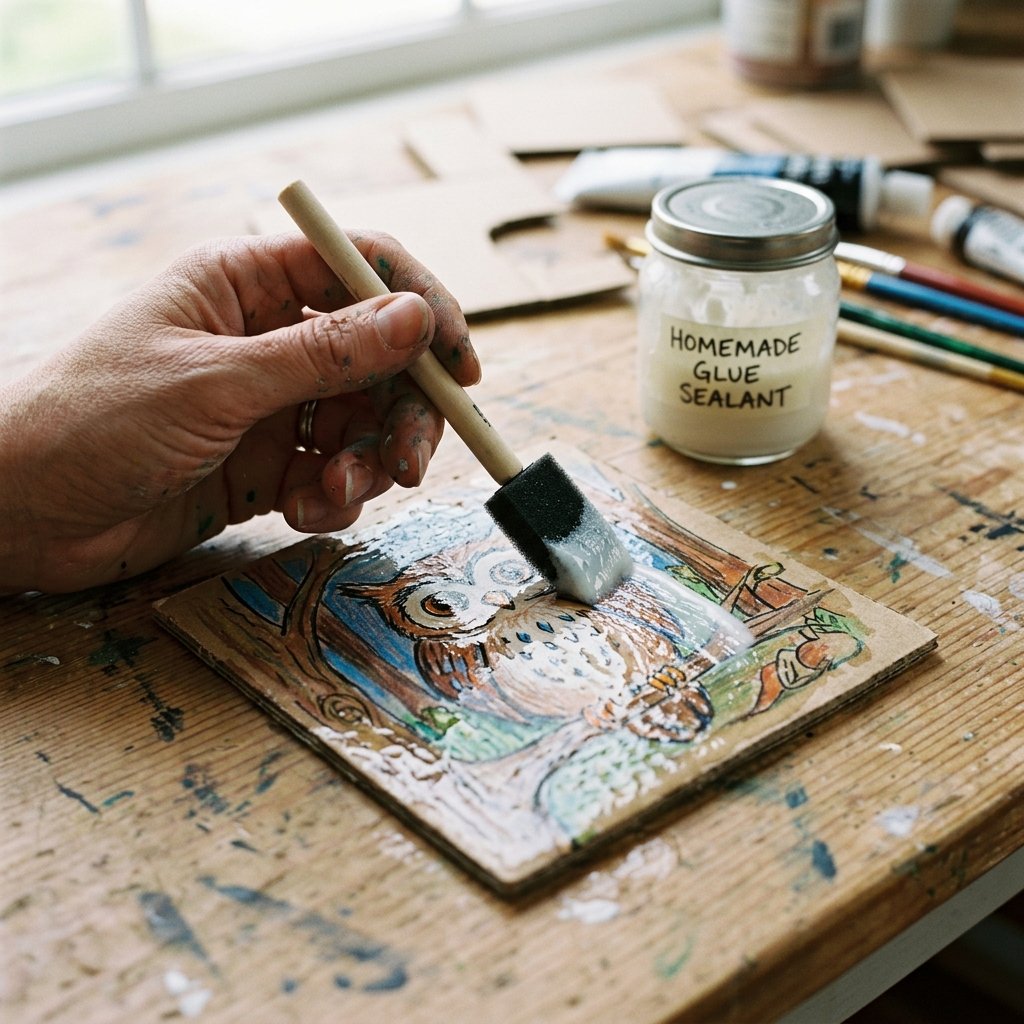
You do not need to buy expensive craft sealants. You can make a highly effective, water-resistant glaze using standard white school glue (PVA glue) and water. Here is the frugal crafter’s recipe:
The Frugal Glaze Formula: Mix 3 parts white school glue with 1 part water in a small jar. Shake vigorously until it reaches the consistency of thin pancake batter.
Using a foam brush or a scrap piece of sponge, paint a thin, even layer of this mixture over the top of your tiles (the side with the animal). Let it dry completely—usually about 20 minutes—and then apply a second coat. Once dry, this creates a protective, wipeable film that guards against sticky fingers and minor spills.
Reinforcing the Edges
The edges where the corrugated flutes are exposed are the most vulnerable part of the tile. If your child is a picker, they will try to peel the layers apart. To prevent this, take a small amount of your undiluted white glue and run a thin bead along the exposed corrugated edges. Use your finger to smooth it out and push it into the holes. When it dries clear, it acts like a structural resin, locking the layers together and giving the tile incredible rigidity.
Gameplay Variations: A Toy That Grows With Your Child
Maximizing the Educational Mileage
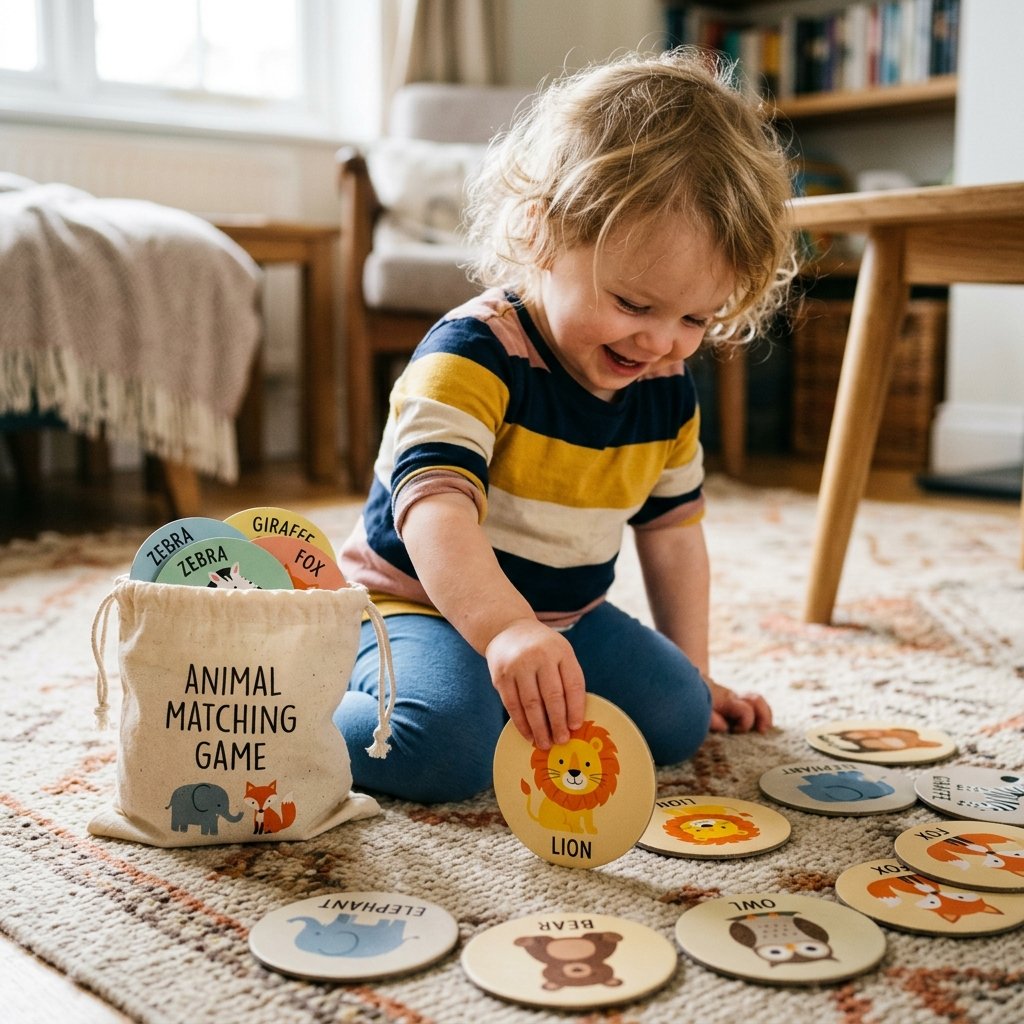
The true brilliance of this budget-savvy project is its versatility. You have not just made a game; you have crafted a multi-functional educational tool. As your child grows and their cognitive abilities develop, the way they interact with these rugged little cardboard squares can evolve.
Phase 1: Simple Vocabulary and Sorting (Ages 2-3)
Before they understand the concept of a memory game, leave the tiles face up. Ask your child to simply find the two animals that match. This builds visual discrimination and vocabulary. You can also ask them to sort the animals by attributes: Can you put all the animals that fly in one pile, and all the animals that swim in another?
Phase 2: The Classic Memory Game (Ages 3-5)
This is the main event. Start small. Choose 4 pairs (8 tiles). Shuffle them and lay them face down in a grid. Players take turns flipping over two tiles. If they match, the player keeps them. If not, they flip them back over in the exact same spot. This exercises short-term memory, spatial awareness, and the all-important preschool skill of taking turns and handling frustration.
Phase 3: Stacking and Building (Any Age)
Because you took the time to seal and reinforce the edges, these thick cardboard tiles make excellent lightweight building blocks. When the matching game is over, challenge your preschooler to build the tallest tower they can, or line them up like dominoes. It is an impromptu fine-motor skills workout that costs absolutely nothing.
Storage: The Finishing Touch
Do not throw these beautiful tiles into a plastic zip-top bag! Maintain the rustic, upcycled aesthetic by storing them properly. If you have an old cigar box, a spare mason jar, or a leftover canvas drawstring bag from a pair of shoes, repurpose it. You can even use your Sharpie to draw a custom logo on the bag: “Daddy’s Safari Match Game” or “The Great Cardboard Menagerie.” It turns a zero-budget craft into a treasured family heirloom.
Conclusion
Creating a DIY Cardboard Animal Matching Game is the ultimate testament to resourceful parenting. It proves that you do not need to spend a fortune at boutique toy stores to provide your child with high-quality, developmentally appropriate, and aesthetically pleasing educational tools. By raiding your recycling bin, wielding a utility knife with precision, and adding a touch of artistic flair, you have transformed literal trash into a family treasure.
This zero-waste project is more than just a frugal craft; it is a mindset. It teaches our children that creativity is more valuable than consumption, and that with a little effort, we can build the things we need with our own two hands. So the next time an Amazon delivery arrives, do not just see a box to be broken down. See the endless possibilities waiting inside the cardboard. Happy crafting, and enjoy the games!

Makenzie is the founder and lead writer at MoneyHackTips.com — a personal finance blog dedicated to delivering street-smart financial wisdom for real people on real budgets. With 300+ published articles covering everything from debt management to investing fundamentals, Makenzie’s mission is to make every dollar work harder. When not writing about money hacks, Makenzie is testing frugal living strategies, optimizing side hustles, and helping readers build financial freedom from scratch.