
Turning Trash into Treasure: The Ultimate Frugal Parenting Hack
Listen up, handy parents, frugal DIYers, and upcycling enthusiasts! We all know that raising kids in today’s world can be expensive, and teaching them the value of a hard-earned dollar is more critical than ever. But who says financial literacy has to be boring or require a trip to a high-end toy boutique? As crafty experts and budget-savvy creators, we possess the ultimate superpower: the ability to look at a recycling bin and see infinite possibilities. Today, we are going to tackle a project that is equal parts practical, educational, and ridiculously fun. We are going to transform a standard, everyday plastic bottle into an adorable, fully functional piggy bank, and we are going to do it in exactly 10 minutes.
This isn’t just about saving a few bucks on a store-bought bank—although keeping that cash in your wallet is always a massive win. This is about instilling a rugged, resourceful mindset in the next generation. When a child builds their own savings vessel out of ‘trash,’ they develop a profound sense of ownership over both the craft and the coins that go inside it. They learn that value isn’t just found on store shelves; it’s created with our own two hands, a little imagination, and a hot glue gun. Whether you are a handy dad looking for a quick weekend garage project with the little ones, or a crafty mom wanting to weave a lesson on sustainability into an afternoon art session, this DIY plastic bottle piggy bank is your golden ticket.
“The best way to teach a child to save is to let them build the bank. When they invest their creativity into the vessel, they will be eager to invest their pennies into its belly.” – The Frugal Crafter’s Manifesto
So, roll up your sleeves, grab that empty soda or water bottle from the recycling bin, and let’s get resourceful. We are about to embark on a zero-budget masterclass in upcycling that will leave your kids beaming with pride and ready to start their financial journey.
The Economics of Upcycling: Why Build When You Can Buy?
The True Cost of Store-Bought Toys
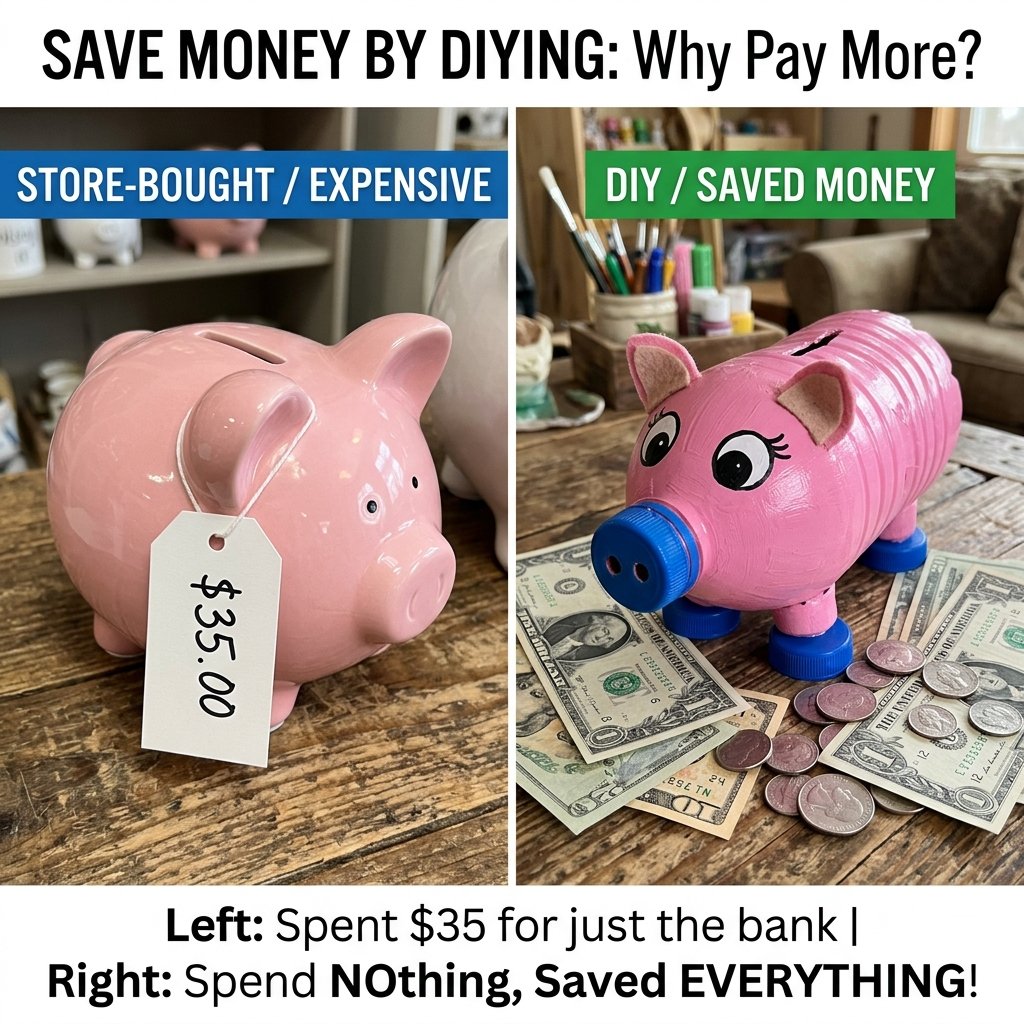
Let’s talk numbers, because as budget-savvy upcyclers, we know that every dollar saved is a dollar earned. If you wander down the aisle of any major big-box retailer or browse online stores, a basic, uninspired ceramic or plastic piggy bank will easily set you back anywhere from $15 to $30. Add in licensed characters, electronic coin counters, or fancy paint jobs, and you are suddenly looking at a $50 investment just to hold your child’s spare change. It’s a fundamental irony: spending a small fortune on a device meant to teach frugality.
The Zero-Budget Advantage
By opting for a DIY approach, you are effectively slashing that budget to absolutely zero. We are utilizing materials that have already served their primary purpose and are destined for the landfill. A standard PET plastic bottle is incredibly durable, lightweight, and perfectly shaped for our needs. By repurposing it, we not only save money but also impart a crucial lesson in environmental stewardship. We are showing our kids that being resourceful is a sign of intelligence and creativity, not deprivation.
| Material / Item | Store-Bought Equivalent Cost | Our Frugal DIY Cost |
|---|---|---|
| Piggy Bank Base | $15.00 – $30.00 | $0.00 (Recycled 16oz or 2-liter bottle) |
| Legs / Stand | $5.00 (Integrated ceramic/wood) | $0.00 (4 saved bottle caps) |
| Paint & Decor | $10.00 (Pre-painted designs) | $0.00 – $1.00 (Scrap paper, leftover acrylics) |
| Educational Value | Minimal (Passive consumption) | Priceless (Hands-on creation & ownership) |
| Total Estimated Cost | $30.00 – $45.00+ | Under $1.00 |
As you can see from our breakdown, the savings are undeniable. But the real return on investment here is the bonding time and the life skills acquired. When you sit down at the craft table with your child, you are doing more than just gluing plastic; you are building memories, fostering fine motor skills, and opening a dialogue about money management that will serve them for a lifetime.
Gathering Your Scraps: The Ultimate Frugal Supply List
Raiding the Recycling Bin
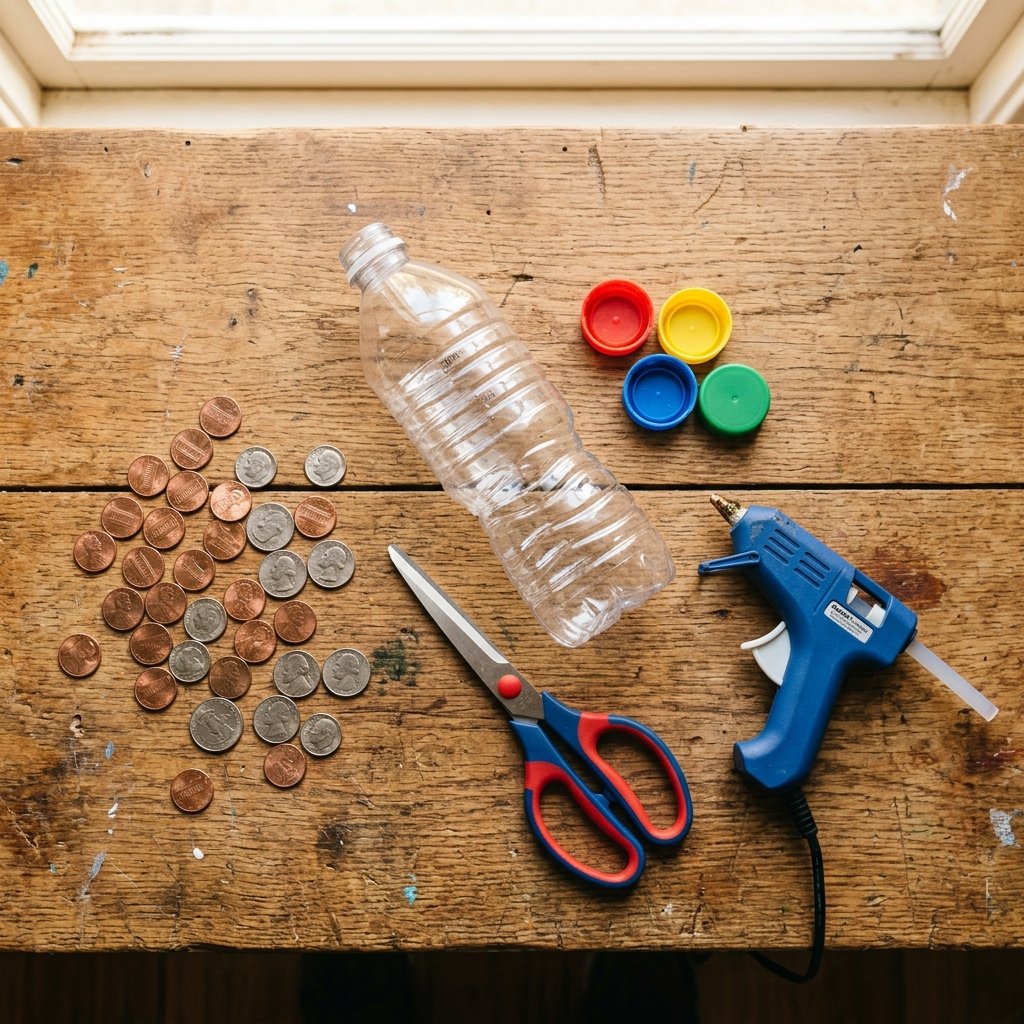
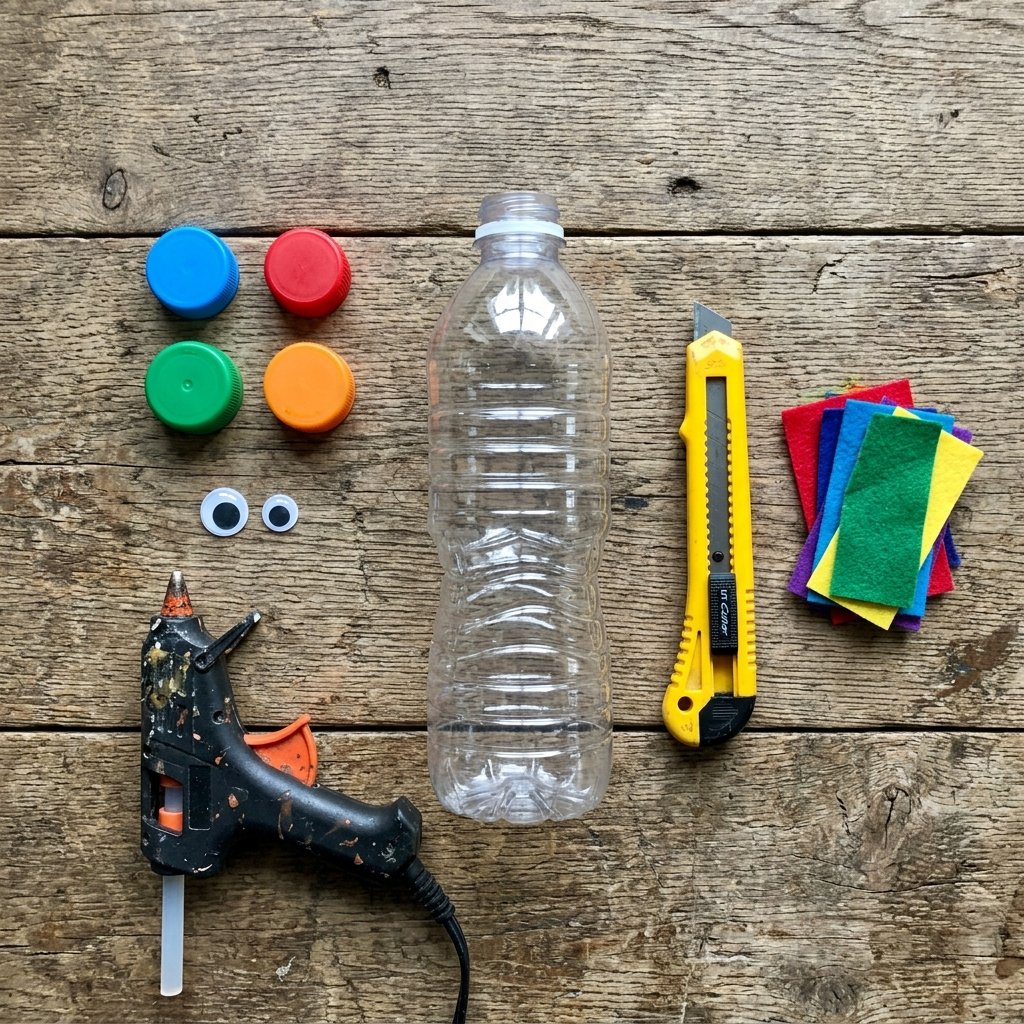
The beauty of this project lies in its rugged simplicity. You do not need to make a trip to the craft store. In fact, I actively encourage you not to. Everything you need is likely sitting in your kitchen, garage, or recycling bin right now. This is where the thrill of the hunt comes in. Teach your kids to look at household waste with an eagle eye, identifying potential building materials where others see trash.
The Master Material List
- One Plastic Bottle: A standard 16oz water bottle works great for a small bank, but a 2-liter soda bottle makes a fantastic, high-capacity jumbo pig. Ensure it is thoroughly washed and completely dried inside to prevent any mold or sticky residue from ruining the coins.
- Four Extra Bottle Caps: These will serve as the sturdy little legs for our pig. Save them from milk jugs, soda bottles, or juice cartons. Uniformity in size helps, but mismatched colors add a quirky, crafty charm.
- Crafting Knife or Box Cutter: This is the one tool that requires adult supervision and a steady hand. A sharp blade is essential for cutting a clean coin slot.
- Adhesive: A hot glue gun is your best friend here for instant, durable bonds. If you are working with very young kids and want them to do the gluing, heavy-duty double-sided tape or craft glue dots are a safe, mess-free alternative.
- Decorations (The Fun Part!): Scrap construction paper, leftover felt, googly eyes from an old craft kit, a permanent marker, and maybe a splash of acrylic paint if you want to completely transform the bottle’s exterior.
Safety First, Crafters: Whenever wielding a craft knife or box cutter to slice through PET plastic, always cut away from your body. Plastic can be tough and unpredictable. Parents, handle the coin slot incision yourselves, and let the kids take over for the decorating phase. Keep the hot glue gun resting safely on a heat-proof surface!
Once you have your materials corralled on your workbench or kitchen table, you are ready to start the clock. Ten minutes is all it takes to turn this pile of recycling into a functional piece of financial art.
The 10-Minute Blueprint: Building Your Bottle Bank Step-by-Step
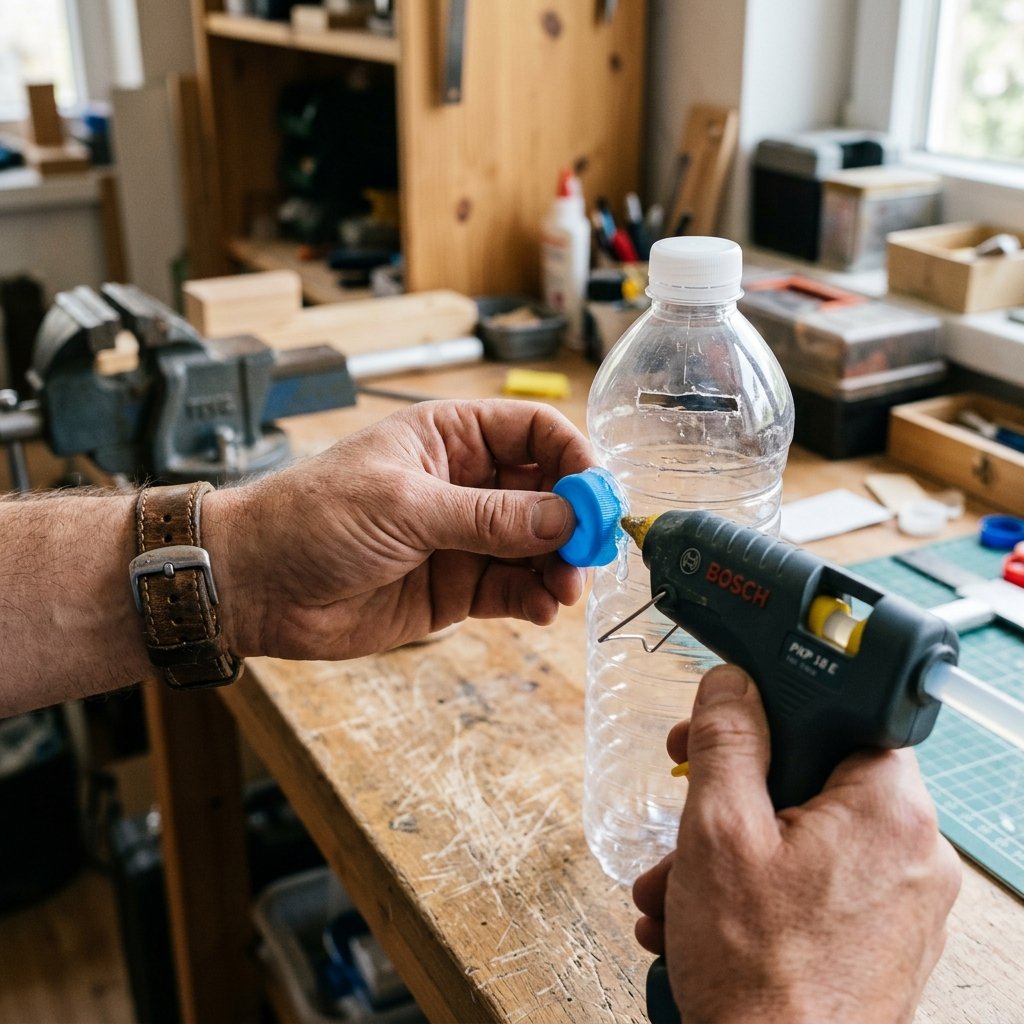
Precision Crafting on a Deadline
Alright, makers, it is time to get down to business. This is where your practical, hands-on skills shine. We are going to execute this build with military precision, ensuring a sturdy, beautiful result in record time. Follow these steps, and watch the magic unfold.
Step 1: The Coin Slot Incision (Minute 1-2)
First things first, we need a way to get the money into the bank. Lay your clean, dry bottle flat on your work surface. Identify the top-center of the bottle (this will be the pig’s back). Using your craft knife, carefully score a rectangular slot about 1.5 inches long and 0.25 inches wide. This is large enough to comfortably accept quarters and folded bills without letting them easily fall back out. Pro Tip: If the plastic is too rigid, briefly run a lighter flame over the blade of your craft knife (adults only!) to help it melt smoothly through the plastic for a cleaner cut.
Step 2: Attaching the Landing Gear (Minute 3-5)
A pig needs legs to stand proudly on a dresser. Take your four saved bottle caps. Apply a generous ring of hot glue to the top rim of each cap. Quickly and firmly press them onto the bottom side of the bottle, opposite your coin slot. Space them out evenly so the bottle balances perfectly without rocking. Hold each cap in place for about 10 seconds until the glue sets. You now have a stable chassis for your upcycled bank.
Step 3: Crafting the Face and Ears (Minute 6-8)
The original bottle cap that came with your bottle is going to serve as the pig’s snout. You can leave it as is, or wrap it in a scrap of pink paper. Use a black permanent marker to draw two small dots on the cap for the nostrils. Next, grab your scrap paper or felt and cut out two small, teardrop-shaped ears. Fold a tiny flap at the base of each ear to create a gluing surface. Attach the ears just behind the snout using a dab of hot glue. Add your googly eyes (or draw them on) just above the snout.
Step 4: The Curly Tail Finale (Minute 9-10)
No pig is complete without a curly tail! Cut a thin strip of paper or use a leftover piece of pipe cleaner. If using paper, wrap it tightly around a pencil to give it a permanent springy curl. Glue it to the back end of the bottle. In exactly 10 minutes, you have transformed a piece of single-use plastic into an adorable, custom-built savings companion. It’s rugged, it’s resourceful, and it’s ready for action.
Customization Station: Unleashing Creative Upcycling
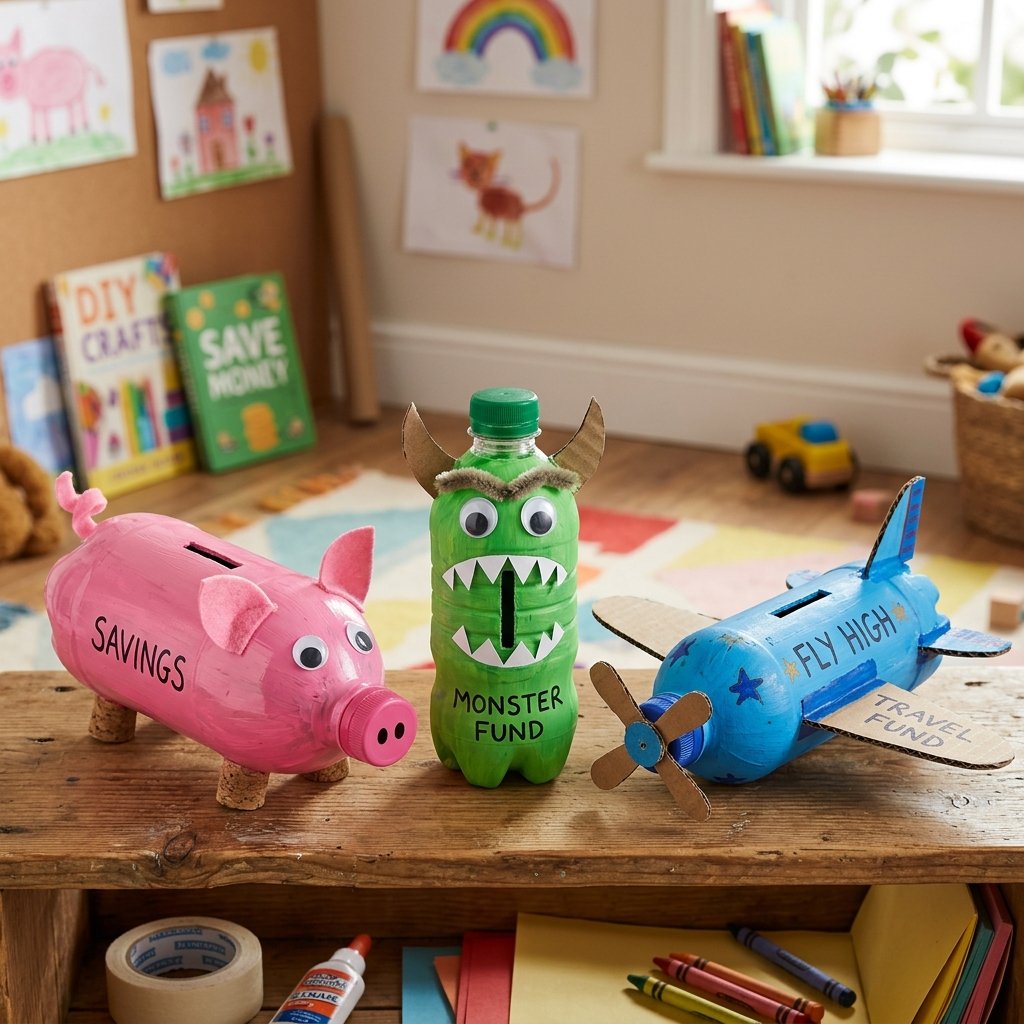
Beyond the Basic Pig: Designing with Scraps
While the classic pink piggy bank is iconic, the true joy of DIY lies in infinite customization. This is where your kids can really let their imaginations run wild, turning their bank into a reflection of their own unique personalities. As resourceful upcyclers, we don’t need to buy expensive craft kits to make this happen; we just need to look at our scrap bin with a fresh perspective.
Themed Bank Variations
- The Superhero Vault: Does your child love comic books? Wrap the bottle in leftover wrapping paper or paint it in bold primary colors (red, blue, yellow). Cut a tiny cape out of an old, stained t-shirt or scrap fabric and glue it around the bottle’s neck. Draw a custom superhero logo on the side. This bank protects their savings from the evil forces of impulse buying!
- The Monster Muncher: Instead of a pig, turn the bottle into a hungry monster that ‘eats’ coins. Paint the bottle green or purple. Cut jagged teeth out of white paper and glue them around the coin slot. Add multiple googly eyes of varying sizes. This is a fantastic, slightly edgy option that appeals to older kids or boys looking for something more rugged than a traditional pig.
- The Aviator Jet Bank: Turn the bottle sideways, but instead of pig legs, use cardboard scraps from cereal boxes to cut out wings and a tail fin. Hot glue them to the sides and back. The bottle cap becomes the nose cone of the jet. This teaches kids that saving money is the fuel that will help their dreams take flight.
“Upcycling is not just about making do; it is about making better. A plastic bottle is a blank canvas. Let your child’s imagination dictate the design, and they will forge an unbreakable bond with their new savings tool.”
Encourage your kids to use markers, leftover stickers, yarn for hair, or even decoupage the bottle with old comic book pages. The more effort they put into the exterior, the more pride they will take in filling the interior. Plus, this extensive customization process easily stretches a 10-minute craft into an hour-long, deeply engaging weekend activity that keeps them away from screens.
Financial Literacy for Kids: The ‘Spend, Save, Give’ Method
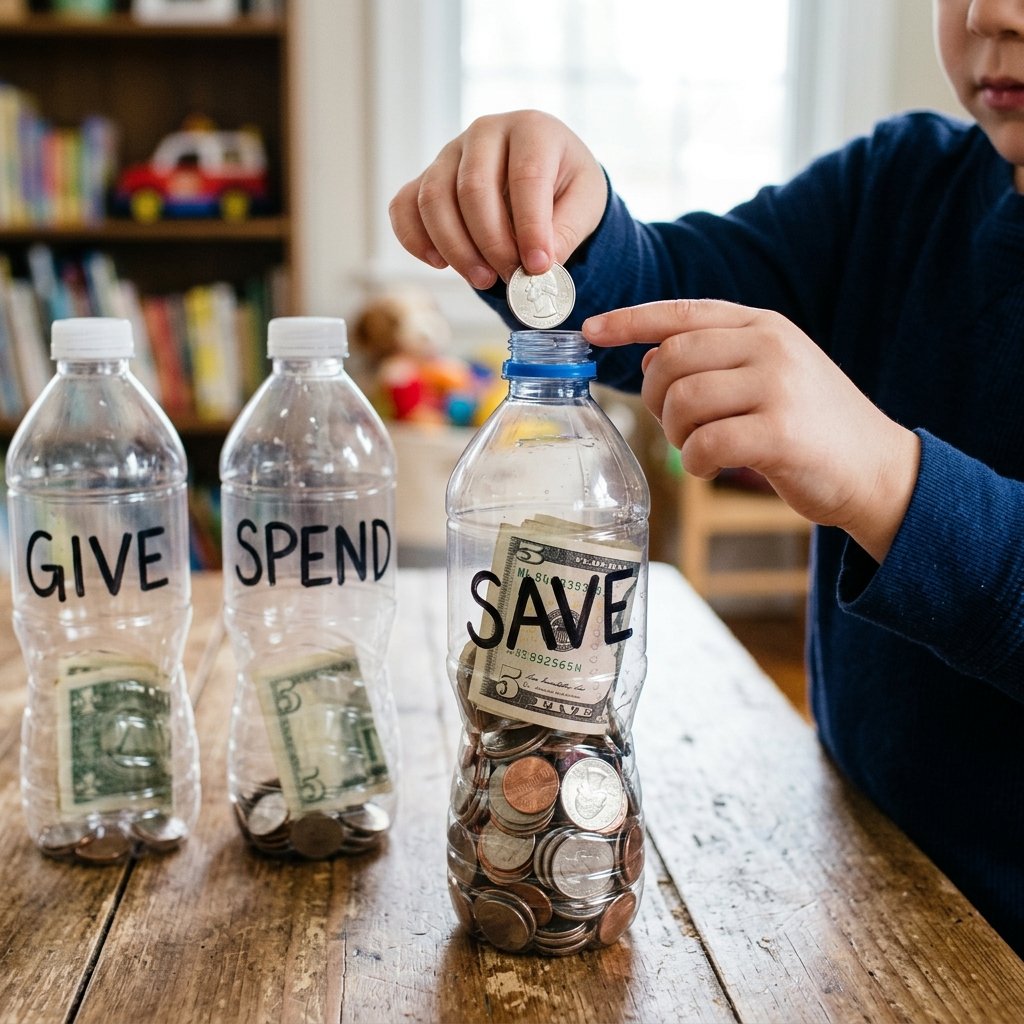
Putting the Bank to Work: Practical Money Lessons
Building the bank is only the first half of the equation. Now comes the truly vital part: utilizing this rugged little upcycled creation to teach foundational financial literacy. As handy parents, we know that tools are only as good as the hands that wield them. This piggy bank is a tool for building wealth-management skills early in life.
The Three-Pillar System
Instead of just blindly dropping coins into the bank until it’s full, use the clear nature of the plastic bottle to your advantage. Because the bottle is transparent, kids get a powerful visual representation of their wealth growing over time. To take this to the next level, consider making three separate bottle banks, representing the core pillars of financial responsibility:
- The ‘Save’ Bank: This is for long-term goals. Whether it is a new Lego set, a bicycle, or just building a safety net, this money is untouchable for everyday desires. The transparent bottle allows them to draw a line with a marker halfway up, setting a visual milestone to strive for.
- The ‘Spend’ Bank: This is their walking-around money. It teaches them how to handle impulse control. If they want a candy bar at the checkout lane, it comes from this bank. When it’s empty, it’s empty. This teaches the harsh but necessary reality of finite resources.
- The ‘Give’ Bank: Cultivating generosity is just as important as cultivating wealth. A portion of their allowance or chore money goes here, destined for a local charity, an animal shelter, or buying a gift for a sibling. It teaches empathy and community responsibility.
| Income Source | Save Allocation (%) | Spend Allocation (%) | Give Allocation (%) |
|---|---|---|---|
| Weekly Allowance | 40% | 50% | 10% |
| Birthday / Gift Money | 50% | 40% | 10% |
| Extra Chore Earnings | 70% | 30% | 0% |
Sit down with your kids and establish a ‘payday’ routine. When you hand over their allowance (in small bills and coins to allow for division), have them physically distribute the money into their respective upcycled banks based on the ratios you agree upon. This tactile, hands-on routine solidifies the abstract concept of budgeting into a concrete, weekly habit. They aren’t just saving money; they are managing a micro-economy housed in recycled plastic!
Troubleshooting & Maintenance: Keeping Your Upcycled Bank Intact
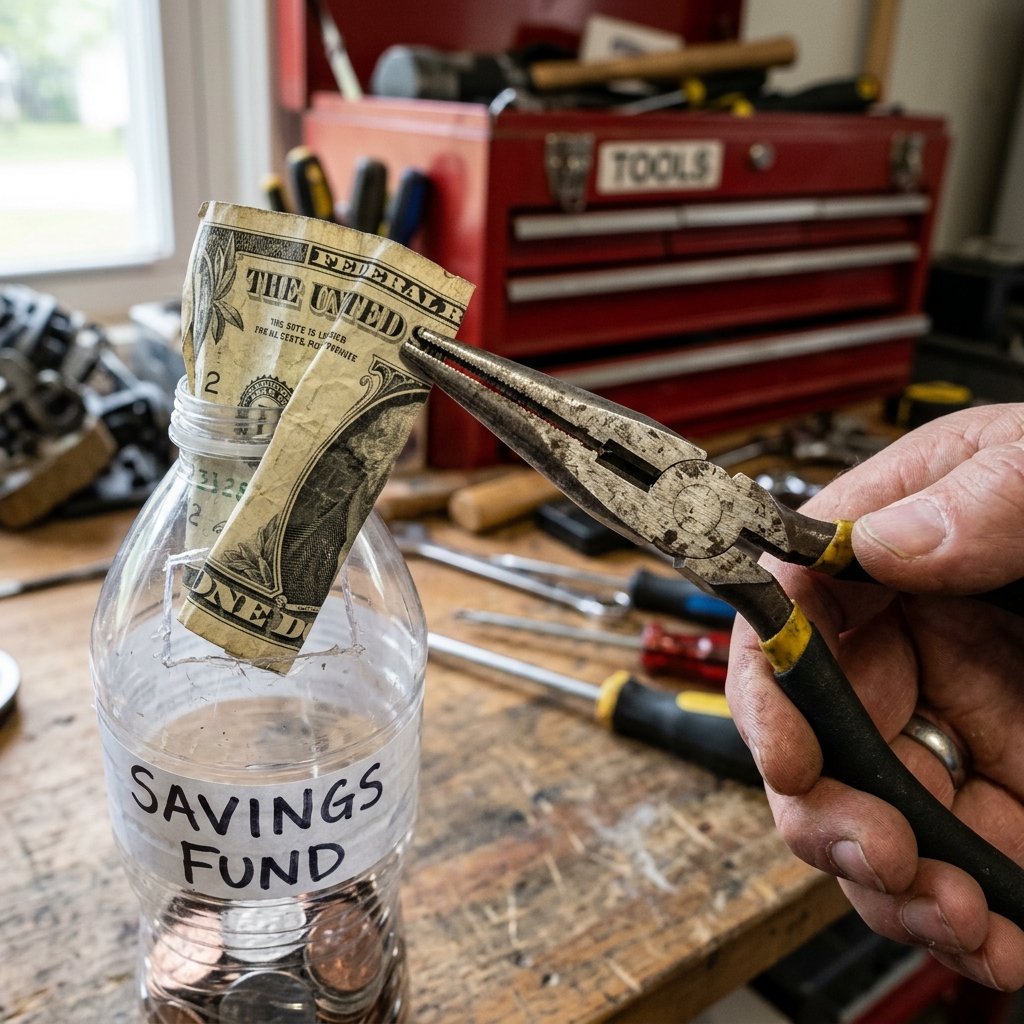
Rugged Repairs for Crafty Mishaps
Let’s be realistic: kids are tough on their belongings. Even a sturdy PET plastic bottle might take a tumble off a high dresser or get squeezed a little too enthusiastically during a counting session. As master menders and practical problem-solvers, we don’t throw things away when they break; we fix them. Here is your quick-reference guide to maintaining your DIY piggy bank.
Common Issues and Quick Fixes
- Loose Legs (Bottle Caps Falling Off): Hot glue can sometimes become brittle over time, especially if the bank is kept in a cold room. If a leg pops off, simply scrape away the old dried glue with your craft knife, rough up the plastic surface slightly with a piece of sandpaper (this gives the new glue better ‘tooth’ to grip onto), and reapply a fresh bead of hot glue. Repair time: 2 minutes.
- Jammed Coin Slot: If your child tries to shove a folded dollar bill and three quarters in at the exact same time, the slot might jam. Do not try to force it with a finger. Grab a pair of needle-nose pliers from your toolbox, gently reach into the slot, and extract the blockage. If the slot is consistently too small, use your craft knife to shave an extra millimeter off the edge.
- Retrieving the Money: The classic piggy bank dilemma! When it is finally time to cash out, you have two options. Option A (The Frugal Route): Carefully use your craft knife to cut a larger, three-sided trap door in the bottom or back of the bank. Fold it open, dump the coins, and tape it shut for reuse. Option B (The Smash-and-Grab): Since the materials cost zero dollars, you can simply slice the bottle in half, recycle the plastic, and spend another 10 minutes building a brand new one next weekend!
“A true DIYer knows that maintenance is just an extension of the crafting process. Every repair is an opportunity to improve the design and teach your kids the value of taking care of their possessions.”
By teaching your kids how to fix their bank rather than immediately discarding it, you are reinforcing the very principles of upcycling and frugality that inspired the project in the first place. You are raising resilient, capable humans who know how to handle a hot glue gun and a budget with equal confidence.
Conclusion
Empowering the Next Generation of Frugal Makers
And there you have it, my fellow handy parents and upcycling warriors! In just 10 minutes, armed with nothing but a discarded plastic bottle, a few spare caps, and a dash of resourcefulness, you have created a powerful educational tool. You have saved yourself $30 at the big-box store, kept a piece of plastic out of the landfill, and, most importantly, you have spent quality, hands-on time teaching your children the invaluable lessons of financial literacy and creative self-reliance.
This DIY plastic bottle piggy bank is more than just a cute craft; it is a gateway to a frugal, mindful lifestyle. It proves that we do not need to spend money to teach our kids how to save money. By embracing the trash-to-treasure ethos, we empower them to look at the world differently—to see potential where others see waste, and to understand that their own two hands are their greatest asset. So, keep those hot glue guns loaded, keep raiding the recycling bin, and keep fostering that brilliant, budget-savvy creativity in your home. The financial future of your kids (and the health of your wallet) has never looked brighter!

Makenzie is the founder and lead writer at MoneyHackTips.com — a personal finance blog dedicated to delivering street-smart financial wisdom for real people on real budgets. With 300+ published articles covering everything from debt management to investing fundamentals, Makenzie’s mission is to make every dollar work harder. When not writing about money hacks, Makenzie is testing frugal living strategies, optimizing side hustles, and helping readers build financial freedom from scratch.