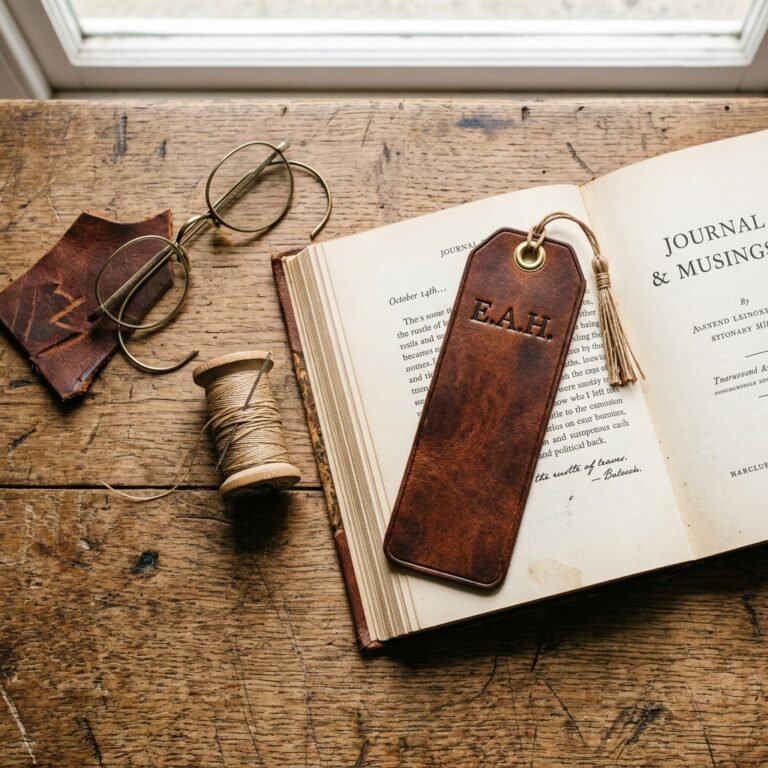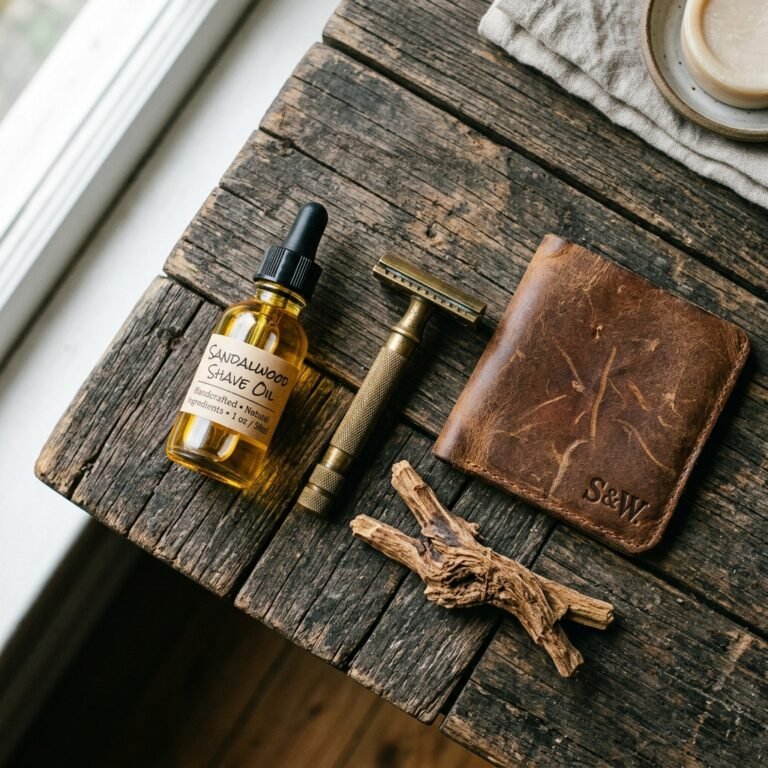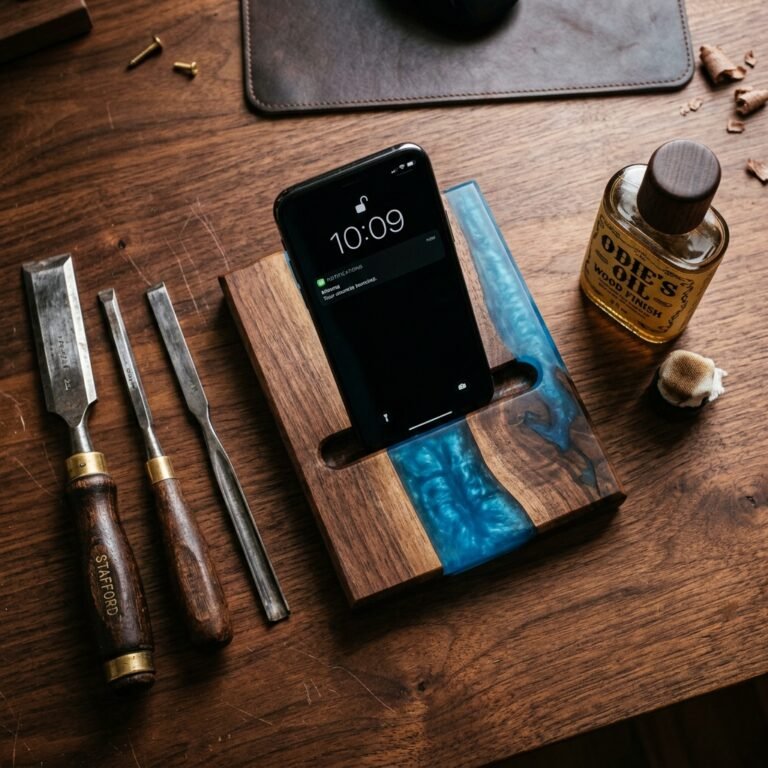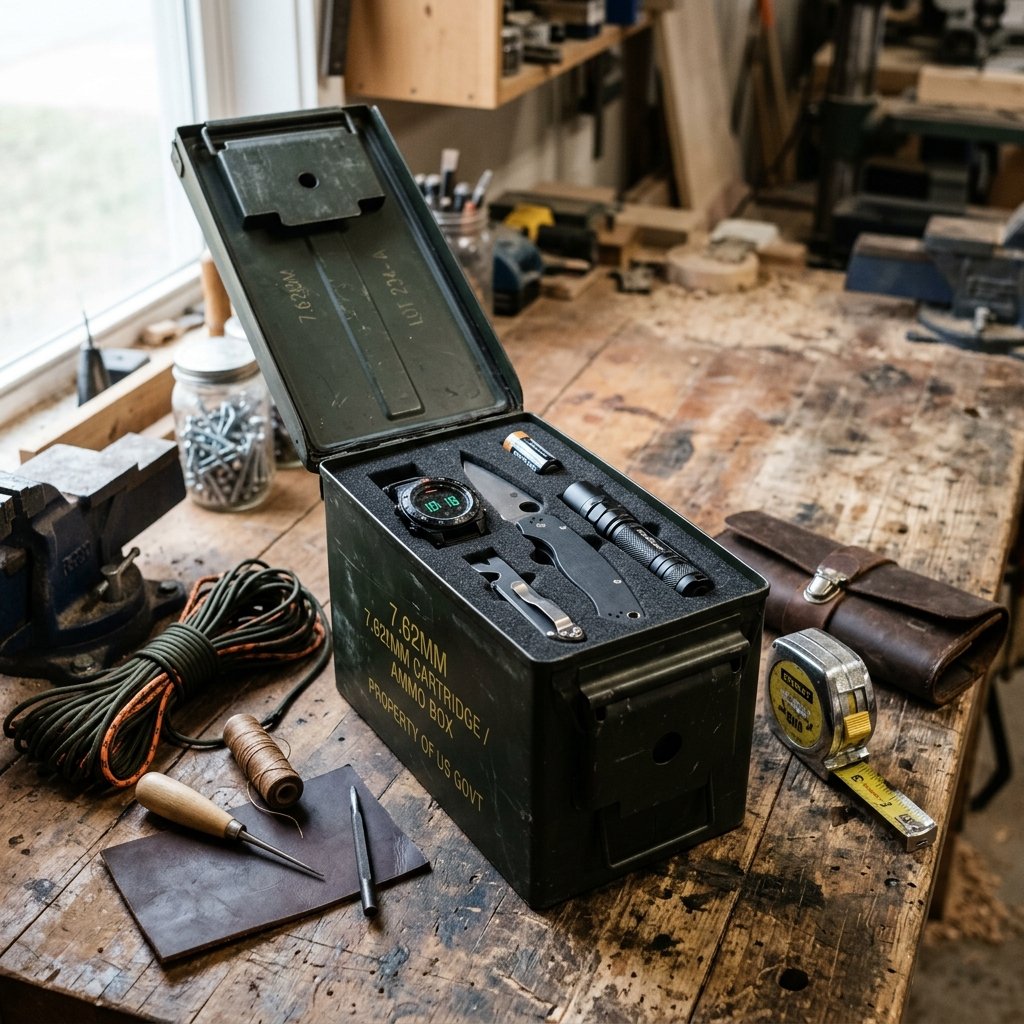

Let us be completely honest for a moment: finding a genuinely useful, thoughtful, and cool gift for the men in our lives can feel like navigating an absolute minefield. Whether you are shopping for a handy dad, a rugged outdoorsman, or a guy who simply loves his everyday carry (EDC) gadgets, the standard store-bought options are often overwhelmingly generic or outrageously expensive. Those high-end, brand-name tactical organizers and valet boxes can easily set you back $150 to $300. But what if I told you that with a little frugal ingenuity, some elbow grease, and about $20, you could build him a bespoke, heirloom-quality tactical organizer that looks like it came straight out of an elite specialty catalog?
Welcome to the ultimate trash-to-treasure masterclass for the masculine aesthetic. Today, we are going to take a humble, cheap surplus ammo can and transform it into the coolest DIY tactical organizer he has ever seen. This project perfectly marries the rugged durability of military surplus with the refined, bespoke elegance of a custom valet tray. It is the perfect budget-savvy project for frugal DIYers, crafty gift-givers, and upcyclers looking to create something that is just as practical as it is handsome.
Ammo cans are the unsung heroes of the upcycling world. They are completely waterproof, virtually indestructible, and possess a rugged charm that fits perfectly on a garage workbench, a sleek office desk, or tucked into the trunk of a car. By customizing the interior with precision-cut foam, adding magnetic tool strips, and finishing the exterior with a custom paracord wrap and leather accents, you are not just making a box; you are crafting a personalized command center for his most prized possessions.
“A true upcycler sees not what an object is, but the rugged masterpiece it can become with a little elbow grease, some scrap materials, and a whole lot of imagination.”
Grab your exacto knife, fire up your creative engines, and let us dive into the step-by-step process of engineering the ultimate budget-friendly, highly-customized tactical organizer.
Scouting for Supplies: Sourcing the Perfect Ammo Can on a Dime
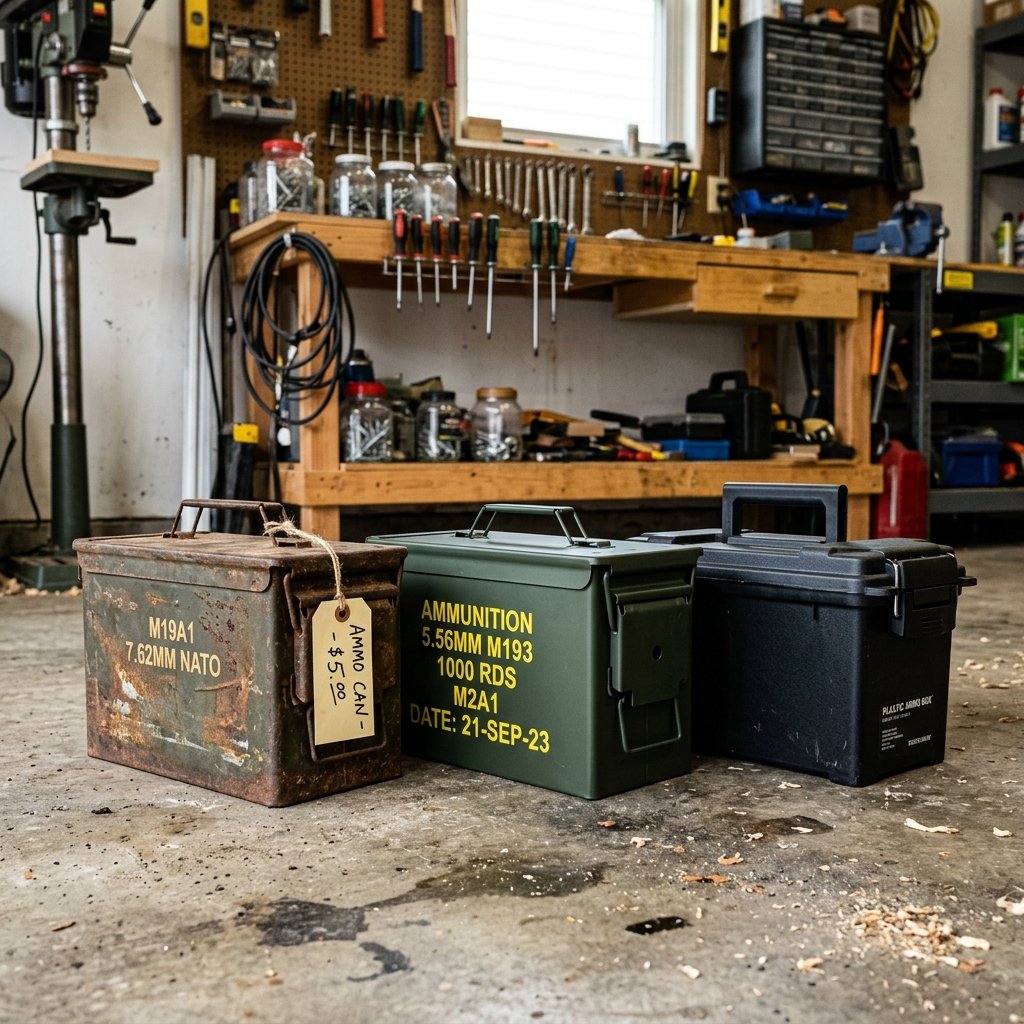
Before we can begin our rugged transformation, we need a canvas. The beauty of this project lies in its accessibility and low cost. You do not need to scour high-end antique shops; the best ammo cans are often found hiding in plain sight, covered in dust, waiting for a second life. When hunting for your base material, you generally have two choices: authentic metal military surplus cans or modern plastic replicas. For that true masculine-elegant, heavy-duty feel, I highly recommend tracking down a metal can (typically a .50 caliber or .30 caliber size).
Where to Hunt for Budget Ammo Cans
- Military Surplus Stores: The holy grail for authentic, battle-tested cans. They usually range from $10 to $20 depending on the condition. Look for ones with intact rubber gaskets to ensure they remain waterproof.
- Flea Markets and Garage Sales: This is where the frugal magic happens. You can often haggle a rusty but structurally sound can down to $5.
- Harbor Freight or Discount Tool Stores: If you cannot find a vintage one, stores like Harbor Freight sell brand-new metal and plastic ammo boxes for around $15. They lack the vintage patina but provide a clean, pristine slate.
Let us break down the costs and options so you can make the most budget-savvy decision for your build:
| Ammo Can Source & Type | Estimated Cost | Pros & Cons for Upcycling |
|---|---|---|
| Authentic Surplus (Metal, .50 Cal) | $12 – $20 | Ultimate rugged look, waterproof seal. May require rust removal. |
| Harbor Freight (Metal, New) | $15 – $18 | Clean, no prep work needed. Lacks vintage military patina. |
| Flea Market Find (Rusty/Used) | $5 – $10 | Cheapest option, great character. Requires heavy cleaning and sanding. |
| Discount Store (Plastic) | $6 – $9 | Very lightweight, easy to cut. Does not have that premium, heavy feel. |
Once you have secured your can, inspect the rubber gasket inside the lid. If it is dry-rotted, you can easily rejuvenate it by rubbing a small amount of silicone grease or even plain olive oil along the seal to restore its waterproofing capabilities.
Prepping and Restoring the Metal Shell
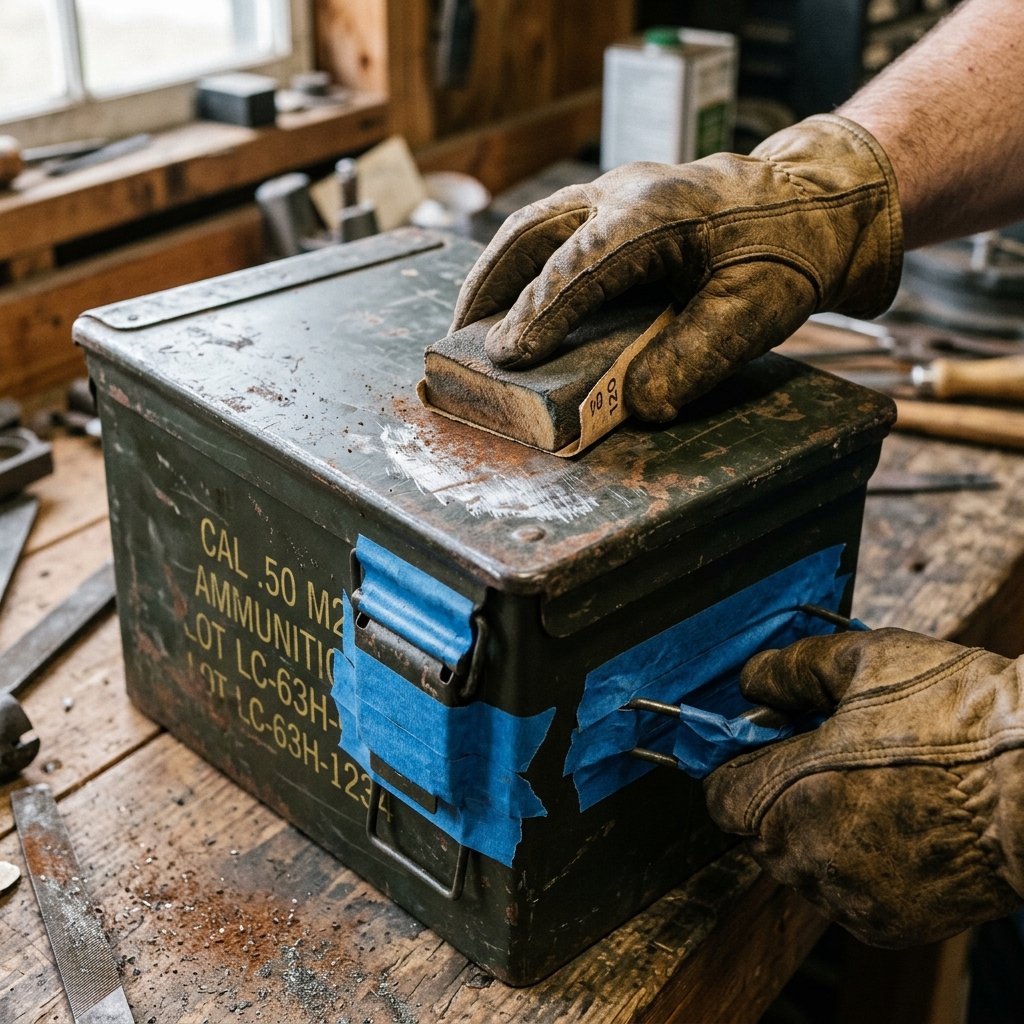
If you scored a vintage or used ammo can, it likely comes with a healthy dose of dirt, grease, and maybe a little surface rust. Do not let this intimidate you! Prepping the shell is a deeply satisfying process that sets the foundation for your high-end tactical organizer. We want to clean it up without erasing its rugged history.
Step-by-Step Restoration
- The Deep Clean: Start by washing the entire can with warm water and a heavy-duty degreaser (simple dish soap works wonders if you are on a strict budget). Use a stiff nylon brush to scrub away decades of grime. Dry it thoroughly with a microfiber cloth.
- Tackling the Rust: If your can has surface rust, grab a medium-grit sanding sponge (around 120-grit). Gently sand the rusted areas until they are smooth. You do not need to take it down to bare metal unless the rust is flaking.
- Taping and Protecting: Use blue painter’s tape to cover the rubber gasket inside the lid and the metal latch hardware on the front. We want to keep the mechanical parts functioning smoothly.
- Painting and Sealing: For a sleek, modern tactical look, I love using a matte black or flat olive drab spray paint. Hold the can 10 to 12 inches away and apply two to three light, even coats, allowing 15 minutes of drying time between each coat. If you love the original distressed look, skip the paint and simply seal the can with a clear matte enamel spray to prevent further rusting.
Safety First: When sanding rust or using spray paint, always work in a well-ventilated area and wear an N95 mask and protective eyewear. Metal dust and paint fumes are not the kind of DIY souvenirs you want to keep!
Allow the can to cure completely for at least 24 hours before moving on to the interior. Patience here ensures a durable finish that will withstand years of heavy use.
Engineering the Interior: Custom Foam Inserts for EDC Gear
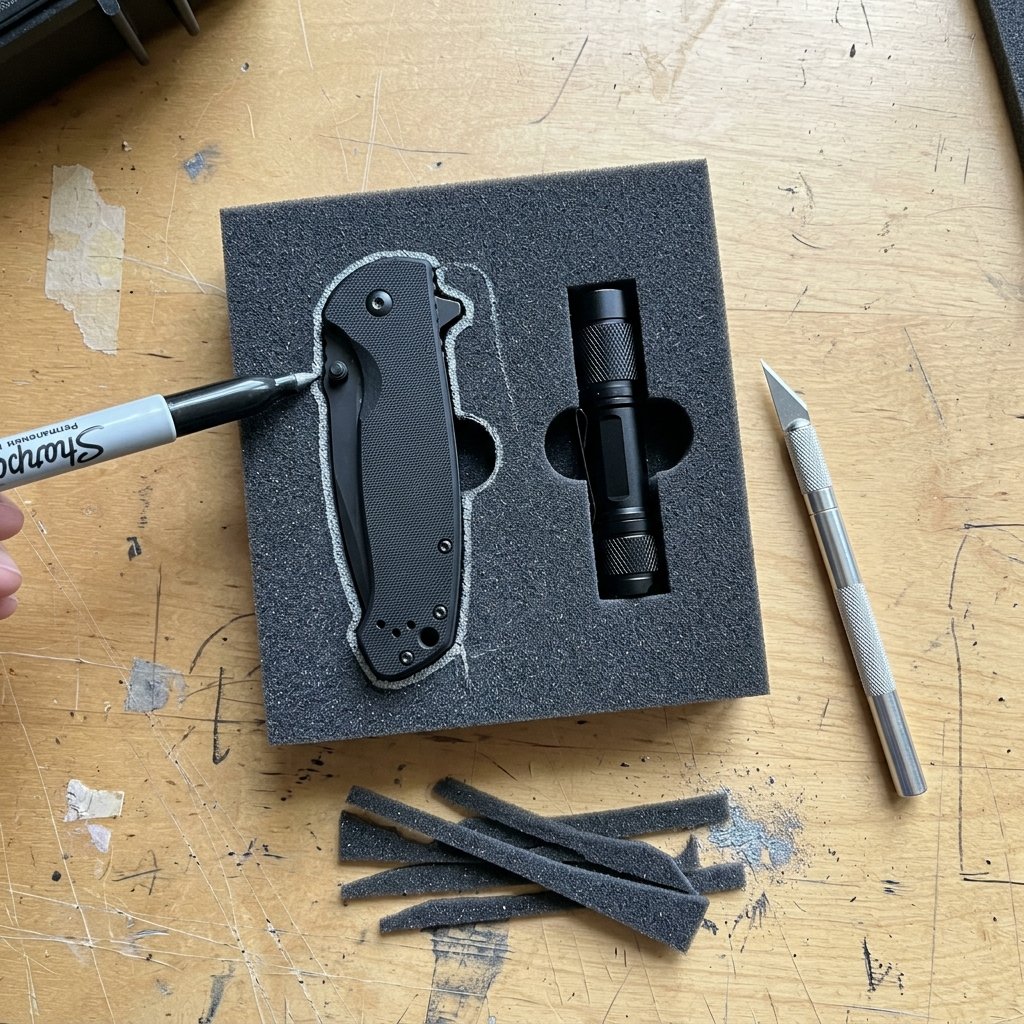
Here is where the magic truly happens. The interior of a standard ammo can is just a large, empty void. To elevate this from a simple box to a “Coolest DIY Tactical Organizer,” we are going to engineer custom-fit compartments using Kaizen foam (or budget-friendly alternative EVA floor mats). This is the secret to that expensive, James Bond-esque presentation where every tool, watch, and knife has its exact place.
Choosing Your Interior Material
While professional Kaizen foam (layered foam that you can peel away) is fantastic, it can cost upwards of $20 a sheet. For my frugal crafters, head to your local dollar store or hardware store and buy a cheap pack of EVA interlocking floor mats for about $5. They cut beautifully and provide the exact same high-end look for a fraction of the cost.
The Shadow-Boxing Technique
- Create a Template: Measure the interior dimensions of your ammo can. Cut a piece of cardboard to match this exact size. Test fit the cardboard inside the can to ensure it slides in easily.
- Cut the Foam Layers: Using your cardboard template, cut three to four layers of your EVA foam or Kaizen foam. You want enough layers to fill the bottom half of the can.
- Layout His Gear: Take the items you want to organize—perhaps his favorite pocket knife, a tactical flashlight, a nice watch, and a multi-tool. Arrange them on the top layer of foam until you find a visually pleasing layout. Ensure there is at least a 0.5-inch border between each item.
- Trace and Cut: Using a silver sharpie or a long-nosed marker, trace the outline of each item onto the foam. Next, take a fresh, incredibly sharp exacto knife. Extend the blade and carefully cut along your traced lines. If using EVA foam, cut completely through the top layer.
- Assemble the Layers: Glue the cut top layer to a solid bottom layer using a spray adhesive or hot glue. Now, when you place his gear into the cutouts, they will sit perfectly flush, protected and beautifully displayed.
To add an extra layer of masculine elegance, consider lining the very bottom of the cutouts with a scrap piece of felt or cheap faux leather. It takes an extra 10 minutes but makes the organizer look like it cost $200.
Lid Utilization: Magnetic Strips and Secret Compartments
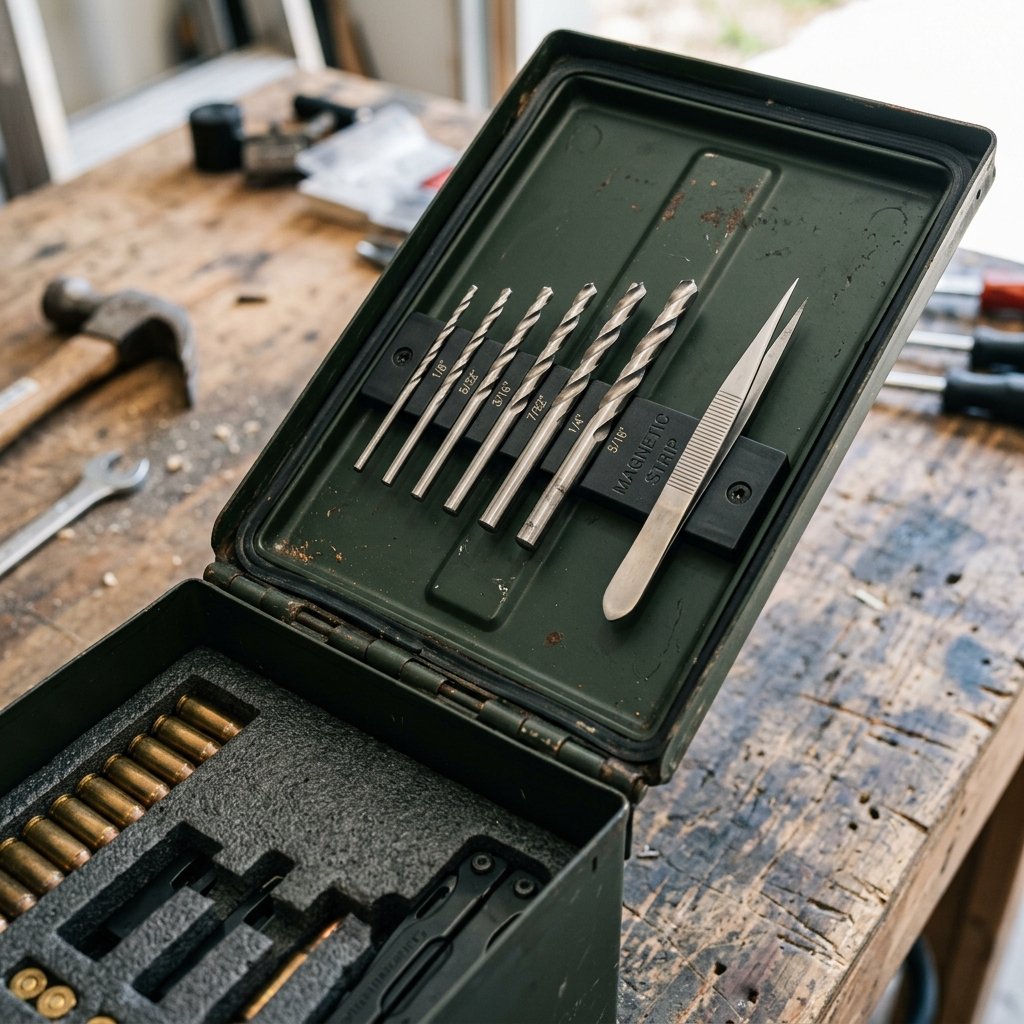
A hallmark of brilliant upcycling is utilizing every square inch of space. The deep lid of an ammo can is prime real estate that most people completely ignore. By adding magnetic strips or elastic webbing to the inside of the lid, we can double the storage capacity and create a highly functional workspace.
The Magnetic Tool Hack
If he plans to use this organizer for small tools, drill bits, or grooming tweezers, a magnetic strip is a game-changer. You can purchase a heavy-duty magnetic tool bar from a discount hardware store for about $4.
- Measure the inside length of the lid. Use a hacksaw to trim the magnetic strip to size if necessary.
- Instead of drilling holes through the waterproof lid (which would ruin the seal!), use a high-strength, two-part epoxy (like J-B Weld) to adhere the magnetic strip directly to the interior metal of the lid.
- Apply the epoxy, press the magnet firmly in place, and clamp it or weigh it down for 24 hours.
- Once cured, this magnet will securely hold metal nail clippers, small wrenches, or driver bits, keeping them instantly accessible when he pops the lid open.
Elastic Webbing for Cords and Pens
If his EDC includes charging cables, tactical pens, or small notebooks, elastic webbing is the perfect solution. Head to the craft store and grab a yard of thick black elastic band for $2.
- Cut a piece of sturdy cardboard or thin scrap wood to fit the inside of the lid.
- Wrap strips of the elastic band tightly around the board in a grid or horizontal pattern, stapling or hot-gluing the ends securely to the back of the board.
- Cover the back of the board with heavy-duty double-sided mounting tape.
- Press the board firmly into the recess of the ammo can lid.
Now he has a custom grid to slide in his sunglasses, charging cords, or field notes. It is a wildly practical addition that showcases your crafty-expert problem-solving skills.
Rugged Exterior Upgrades: Paracord Handles and Leather Accents

We have engineered the inside to be a masterpiece of organization, but the exterior needs to scream “bespoke tactical gear.” The standard metal handle on an ammo can is functional but uncomfortable and visually boring. We are going to upgrade it using the ultimate survivalist material: 550 Paracord.
The Cobra Weave Paracord Handle
Wrapping the handle in paracord not only makes the organizer much more comfortable to carry, but it also adds a thick, rugged, custom look. You will need about 10 feet of paracord (which costs around $3 at any craft or outdoor store).
“The Cobra weave is the duct tape of the knot world—infinitely useful, incredibly strong, and undeniably cool to look at.”
- Step 1: Find the center of your paracord and loop it around one side of the metal ammo can handle.
- Step 2: Take the left cord, cross it over the front of the handle to the right side.
- Step 3: Take the right cord, bring it over the tail of the left cord, behind the handle, and up through the loop created by the left cord. Pull tight.
- Step 4: Repeat the process, alternating the starting side (now start with the right cord crossing over).
- Step 5: Continue this alternating weave all the way across the handle. When you reach the end, snip the excess cord, leaving about a quarter-inch. Use a lighter to carefully melt the ends and press them flat against the weave to lock it in place.
Adding Masculine Leather Accents
To truly push this project into the “luxury” category, we need to introduce a contrasting texture. A small touch of leather elevates the entire piece from a garage project to a high-end boutique item.
If you have an old, worn-out leather belt from the thrift store (a classic frugal DIYer staple!), cut a small 3-inch section. Using a heavy-duty needle and some waxed thread, hand-stitch this leather piece around the front metal latch of the ammo can to serve as a soft-touch pull tab. If you have metal letter stamps, you can even stamp his initials into the leather before attaching it. This level of personalization is exactly what makes handmade gifts so incredibly special.
The Ultimate Cost Breakdown: DIY vs. Store-Bought
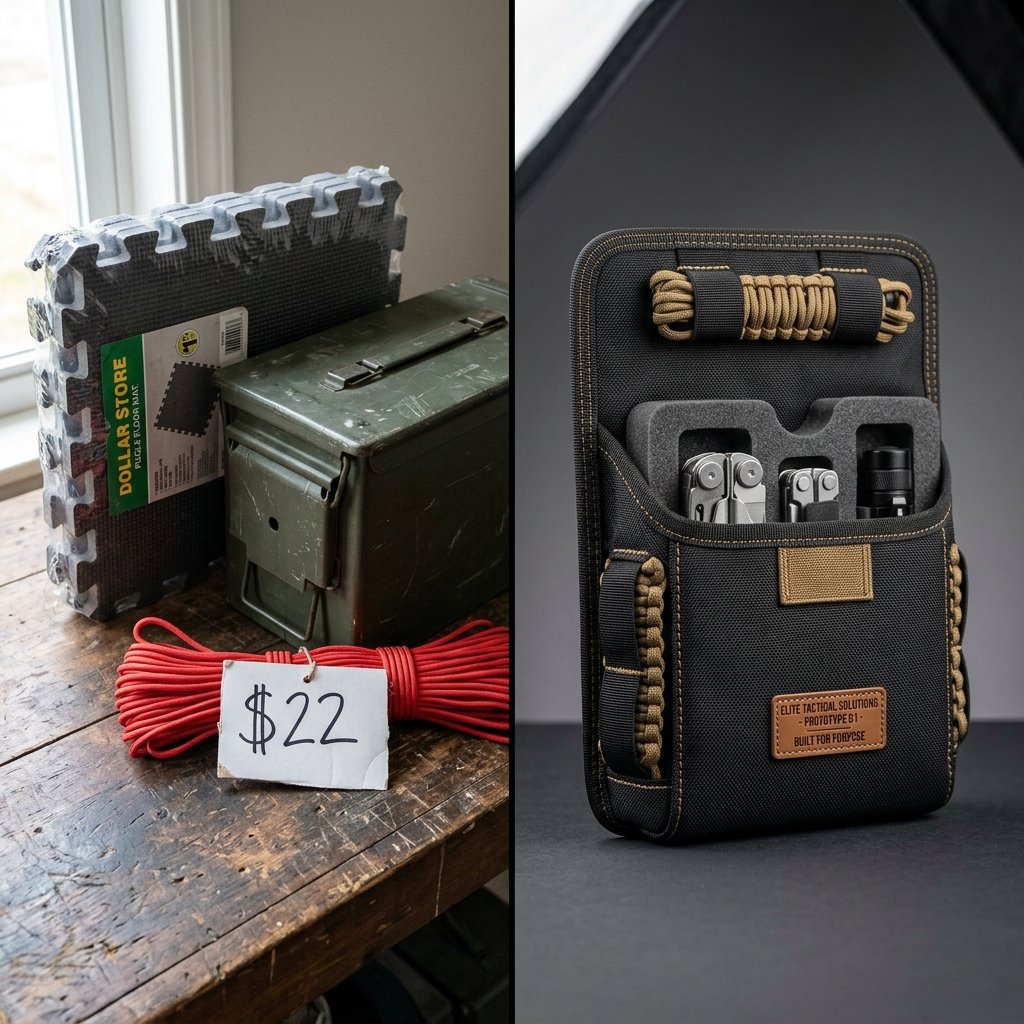
As frugal DIYers, we know that the true joy of crafting comes not just from the creative process, but from the immense savings we achieve. When you present this gift, he will be blown away by the quality, assuming you spent a small fortune. Let us look at the hard numbers to see exactly how much your crafty resourcefulness saved.
| Component / Material | DIY Frugal Cost | High-End Store Bought Equivalent |
|---|---|---|
| Base Structure (Ammo Can vs Tactical Box) | $10.00 (Surplus) | $85.00 (Brand Name Box) |
| Interior Customization (EVA Foam vs Kaizen) | $5.00 (Floor Mats) | $30.00 (Pre-cut Inserts) |
| Lid Organization (Magnets/Elastic) | $4.00 (DIY Grid) | $25.00 (Add-on Panel) |
| Exterior Upgrades (Paracord & Scrap Leather) | $3.00 (Craft Cord) | $40.00 (Custom Handle Upgrades) |
| Total Estimated Cost | $22.00 | $180.00 |
By utilizing upcycled materials, clever dollar-store substitutions, and your own two hands, you have successfully created a luxury-tier item for a fraction of the retail price. You are saving over $150 while delivering a gift that is infinitely more meaningful and perfectly tailored to his specific needs.
Conclusion
Transforming a cheap, forgotten ammo can into a bespoke tactical organizer is the absolute pinnacle of frugal, masculine upcycling. It is a project that requires very little money but yields an incredibly high visual and practical impact. By carefully prepping the metal shell, engineering custom foam compartments for his specific gear, and finishing it off with rugged paracord and leather details, you have crafted a masterpiece of functional design.
This isn’t just a box; it is a daily reminder of your thoughtfulness and crafty expertise. Every time he opens the lid to grab his favorite watch or trusty pocket knife, he will appreciate the precision and care you poured into it. So, head out to your local surplus store or flea market, grab that dusty metal can, and start engineering the coolest, most budget-savvy gift he will ever receive. Happy crafting, and remember: the best gifts are never bought; they are resourcefully built!

Makenzie is the founder and lead writer at MoneyHackTips.com — a personal finance blog dedicated to delivering street-smart financial wisdom for real people on real budgets. With 300+ published articles covering everything from debt management to investing fundamentals, Makenzie’s mission is to make every dollar work harder. When not writing about money hacks, Makenzie is testing frugal living strategies, optimizing side hustles, and helping readers build financial freedom from scratch.