
The Timeless Appeal of Leather and Literature
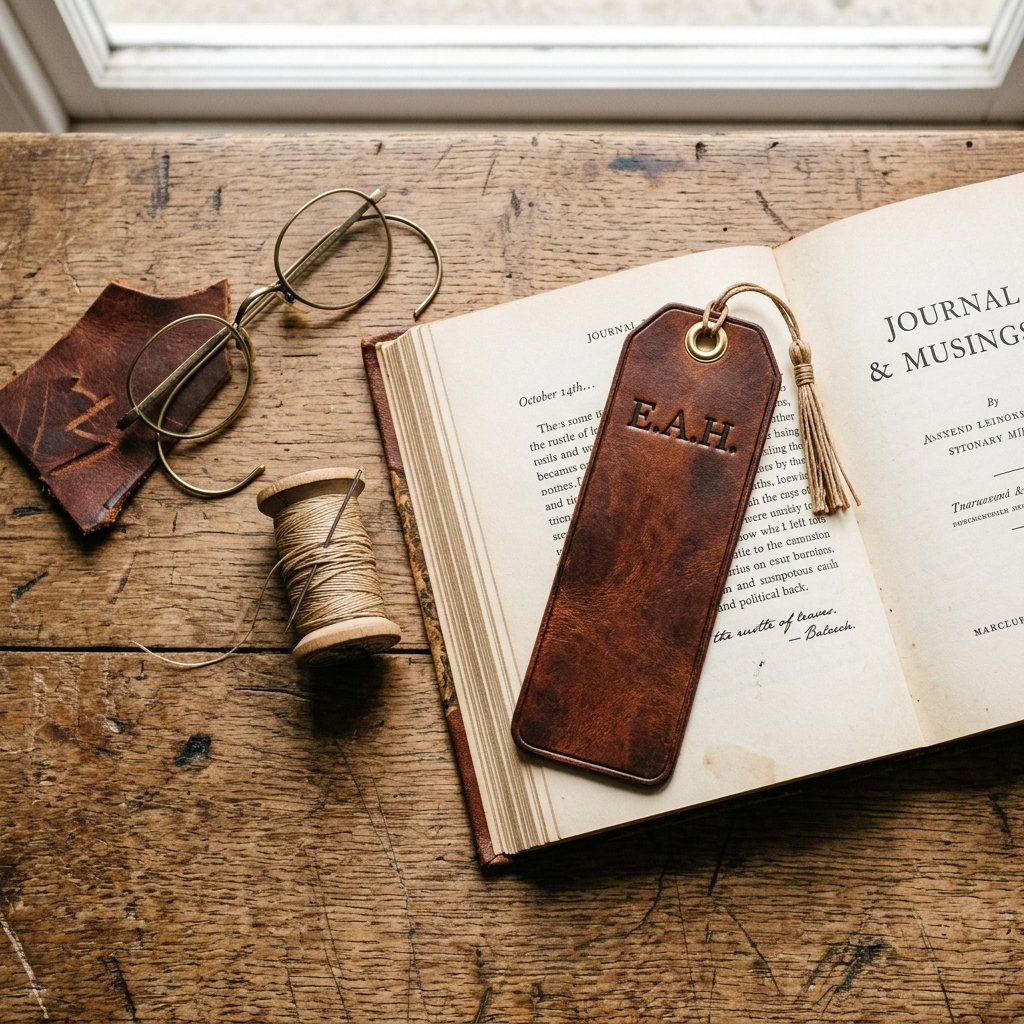
In a world of digital screens and fleeting notifications, there is something profoundly grounding about the weight of a physical book and the tactile scent of real leather. When you give a man a gift, you aren’t just giving him an object; you are giving him a companion for his quietest, most reflective moments. A custom leather bookmark is more than a placeholder; it is a rugged, masculine accessory that ages with him, developing a rich patina that tells the story of every chapter he has ever read. Whether it is for Father’s Day, a birthday, or a graduation, this project allows you to channel your inner craftsman to create a piece that looks like it was plucked from a high-end boutique in Florence, yet costs less than a cup of gourmet coffee.
As a frugal DIYer, you know that luxury is often just a matter of technique and attention to detail. We aren’t going to spend $50 on a designer bookmark when we can source the same high-quality vegetable-tanned leather for $2 or even free from upcycled scraps. This guide will walk you through the clever hacks of the leather-working trade, showing you how to achieve professional-grade edges, deep-set stamping, and a durable finish using tools you likely already have in your garage or kitchen drawer. Let’s roll up our sleeves and build something that lasts forever.
Sourcing Your Hide: The Secret to High-End Materials on a Shoestring Budget

Finding the Perfect Leather Scrap
The first rule of the budget-savvy crafter is: never buy a full hide for a small project. A full side of premium leather can cost upwards of $150, but for a bookmark, you only need a strip that is approximately 1.5 inches by 7 inches. To keep your costs near $0, look to your local thrift stores. An old leather jacket with a small tear, a discarded handbag, or even a pair of out-of-style boots can yield enough material for dozens of bookmarks. Look for vegetable-tanned leather if you want to stamp initials, as it holds impressions much better than chrome-tanned upholstery leather.
Material Comparison Table
| Leather Type | Best For… | Pros/Cons |
|---|---|---|
| Vegetable Tanned (Veg-Tan) | Stamping & Burnishing | Expensive to buy new, but takes a permanent stamp and ages beautifully. |
| Chrome Tanned (Upholstery) | Softness & Color | Cheap and plentiful in thrift stores; hard to stamp but very durable. |
| Suede Scraps | Tactile Grip | Very affordable; provides a rugged, textured feel but lacks the ‘luxury’ shine. |
Resourceful Tip: Visit a local upholstery shop or a custom furniture maker and ask if they have a ‘scrap bin.’ Most shops throw away pieces perfectly sized for bookmarks and will often give them to you for free if you ask nicely!
The Rugged Minimalist’s Tool Kit: Clever Substitutes for Professional Gear

Equipping Your Workspace Without the Expense
Professional leatherworkers use specialized tools like edge bevelers, burnishers, and wing dividers. While these are great, you can achieve 95% of the same look with household items. Instead of a $20 edge burnisher, you can use the smooth back of a metal spoon or a piece of hardwood scrap. Instead of a professional leather punch, a heavy-duty nail and a hammer can create your stitching holes if you are careful. The goal is to be crafty and resourceful, using the tools you have to create a rugged-elegant aesthetic.
The DIY Tool Substitution Guide
| Professional Tool | DIY Clever Substitute | Money Saved |
|---|---|---|
| Rotary Cutter | Sharp Utility Knife / Box Cutter | $15.00 |
| Edge Burnisher | Polishing with a Wooden Spatula | $12.00 |
| Pricking Iron | A Kitchen Fork (for spacing) | $25.00 |
| Leather Mallet | Rubber Mallet or Wrapped Hammer | $18.00 |
By using these substitutes, you can complete this project for the cost of the leather alone. If you decide to buy one tool, make it a basic alphabet stamp set. You can find these at craft stores for around $10, and they allow you to add that ‘bespoke’ touch that elevates the gift from ‘homemade’ to ‘custom-made.’
Step-by-Step: Crafting the Heirloom Bookmark
Precision Cutting and Shaping
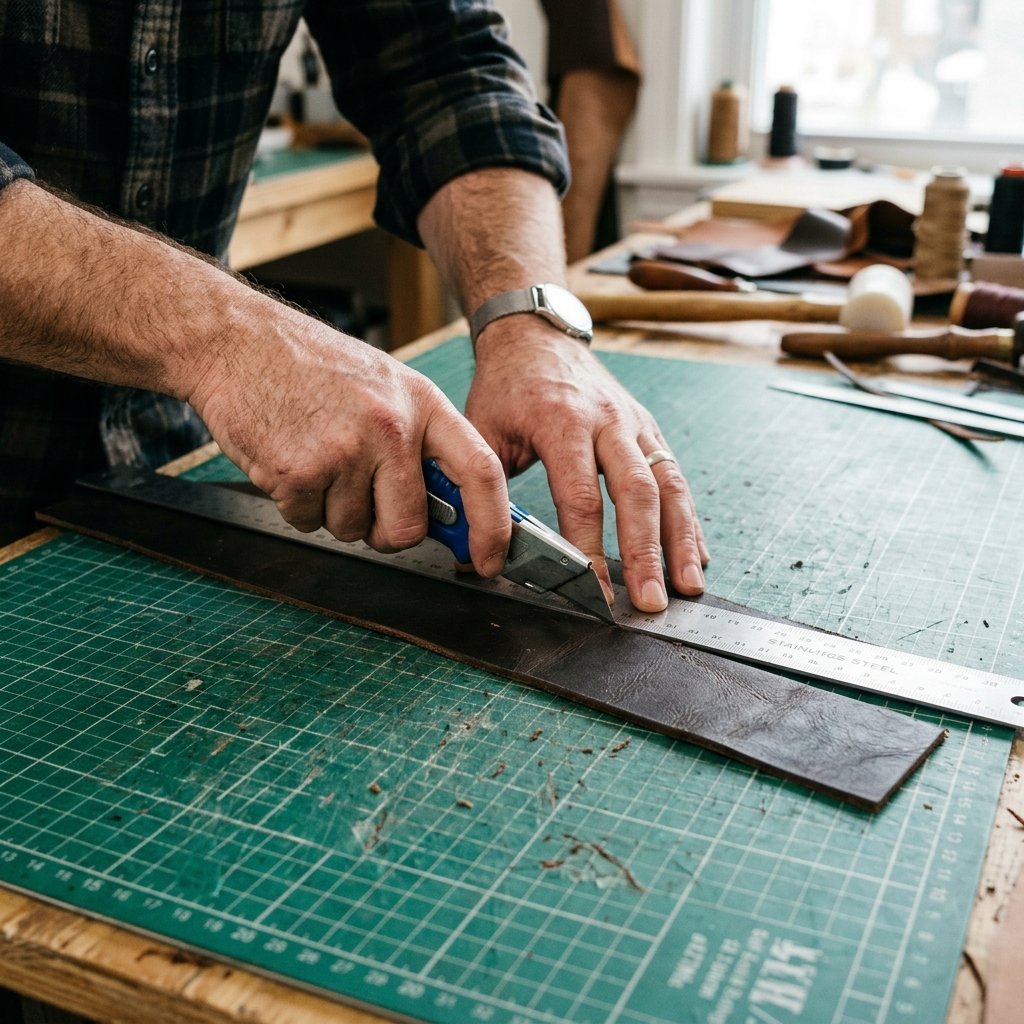
- Measure and Mark: Using your metal ruler, mark out a rectangle 1.5 inches wide by 7 inches long on the back (flesh side) of the leather. For a more sophisticated look, you can taper the top or bottom, or cut a ‘V’ shape into the tail.
- The Clean Cut: Place your ruler firmly on the line and make several shallow passes with your utility knife. Do not try to cut through in one go; multiple light passes ensure the leather doesn’t stretch or bunch, giving you a perfectly straight, professional edge.
- Rounding the Corners: To prevent the corners from fraying or curling over time, use a nickel or a quarter as a template to trace a curve on each corner, then carefully trim with your knife.
The Secret to Professional Edges: Burnishing
The difference between a cheap-looking DIY and a luxury heirloom is in the edges. Raw, fuzzy edges look unfinished. To fix this, dampen the edges of your leather with a tiny bit of water or saliva (an old-school saddlemaker’s trick). Take your wooden spoon or scrap wood and rub the edge vigorously back and forth. The heat from the friction will compress the fibers and create a smooth, shiny, dark edge. This process is called burnishing and it adds an instant ‘high-end’ feel to your work.
Mantra for the Maker: Friction is your friend. Rub until it shines, and the leather will reward you with a lifetime of durability.
Personalization: Stamping and Adding the Signature Patina
Making it His Own
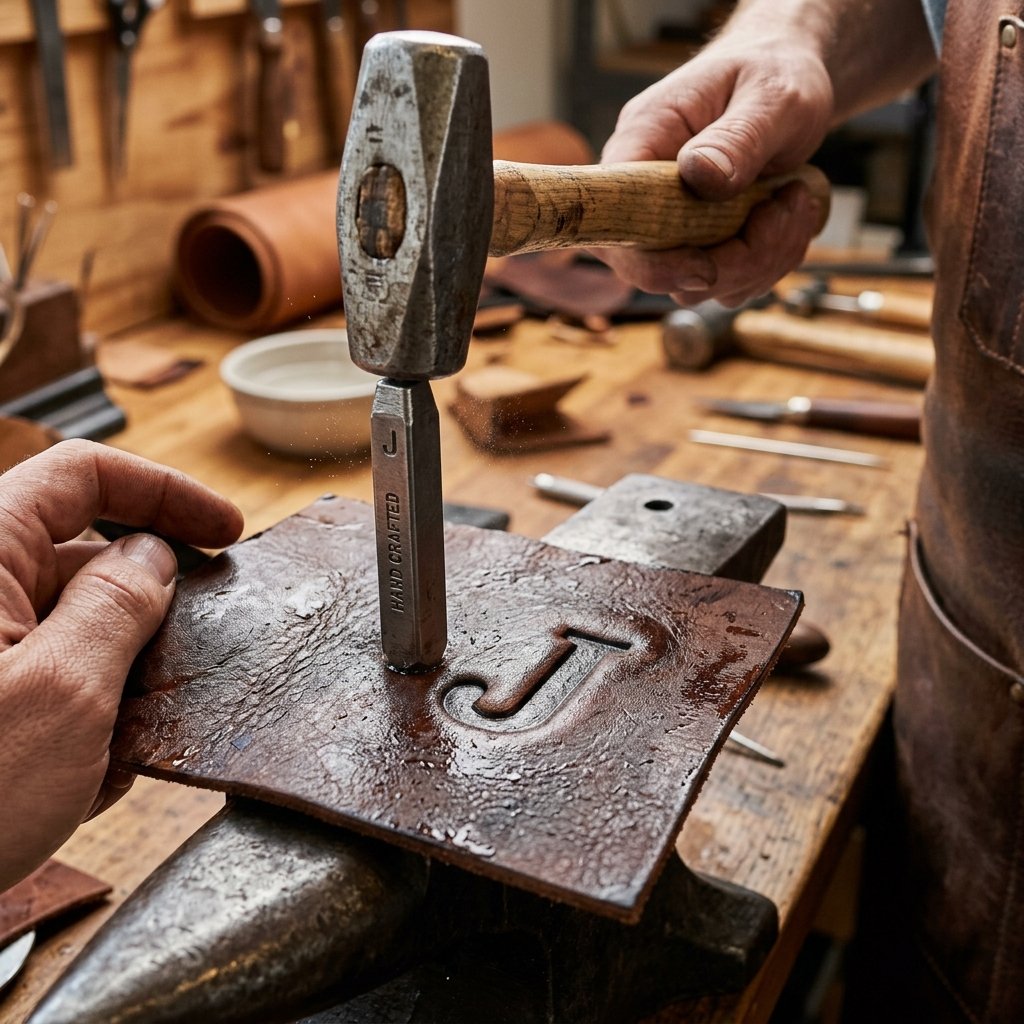
To make this a gift he’ll keep forever, you must personalize it. If you are using vegetable-tanned leather, lightly dampen the surface with a sponge. Wait a minute until the leather starts to return to its original color but still feels cool to the touch. This is the ‘sweet spot’ for stamping. Align your alphabet stamps and give them one firm, solid strike with your mallet. Do not double-hit, as this can cause a ‘ghosting’ effect where the stamp shifts slightly.
Adding the ‘Heirloom’ Finish
New leather can look a bit stark. To give it that rugged, ‘lived-in’ elegance, you need to condition it. You don’t need expensive oils; a small amount of olive oil or melted beeswax rubbed into the surface with a soft cloth will darken the leather and highlight the natural grain. This also protects the bookmark from moisture and skin oils. Over the years, as he handles the bookmark, it will absorb the oils from his hands, making it even more beautiful and supple—a true patina that cannot be faked.
The Final Flourish: Tassels and Packaging

Adding a Masculine Tassel
While optional, a tassel makes the bookmark easier to find in a thick volume. Skip the silky, feminine tassels found in craft aisles. Instead, use a leather cord or a piece of twine. Punch a single hole at the top of your bookmark using your nail or a leather punch. Loop a 3-inch piece of leather lace through the hole and secure it with a simple lark’s head knot. For a more ‘tactical’ or rugged look, use a piece of 550 paracord in a neutral tone like olive drab or coyote tan.
Presentation is Everything
A luxury gift deserves luxury packaging. Wrap the bookmark in a piece of brown kraft paper (an old grocery bag works perfectly). Tie it with black cotton twine and tuck a small sprig of dried cedar or rosemary under the knot. This presentation screams ‘thoughtful craftsman’ and costs you zero dollars.
| Packaging Element | DIY Source | Aesthetic Impact |
|---|---|---|
| Wrapping Paper | Inside of a Paper Grocery Bag | Rustic, eco-friendly, and rugged. |
| Tie / Ribbon | Jute Twine or Leather Scrap | Masculine and sturdy. |
| Accent | Dried Herb or Small Pinecone | Adds a premium, sensory experience. |
Conclusion
A Legacy in Every Page
By following this guide, you have transformed a simple piece of scrap material into a bespoke heirloom that rivals the quality of luxury leather goods stores. You’ve saved at least $40 in the process, but more importantly, you’ve created something with your own two hands. Every time he opens his favorite book, he will see your handiwork, feel the quality of the leather, and be reminded of the thought and effort you put into his gift. This is the essence of the Trash-to-Treasure philosophy: seeing the potential in the discarded and having the skill to bring it to life. Now, go find an old leather jacket and start your next project. The world of frugal, high-end crafting is waiting for you!

Makenzie is the founder and lead writer at MoneyHackTips.com — a personal finance blog dedicated to delivering street-smart financial wisdom for real people on real budgets. With 300+ published articles covering everything from debt management to investing fundamentals, Makenzie’s mission is to make every dollar work harder. When not writing about money hacks, Makenzie is testing frugal living strategies, optimizing side hustles, and helping readers build financial freedom from scratch.