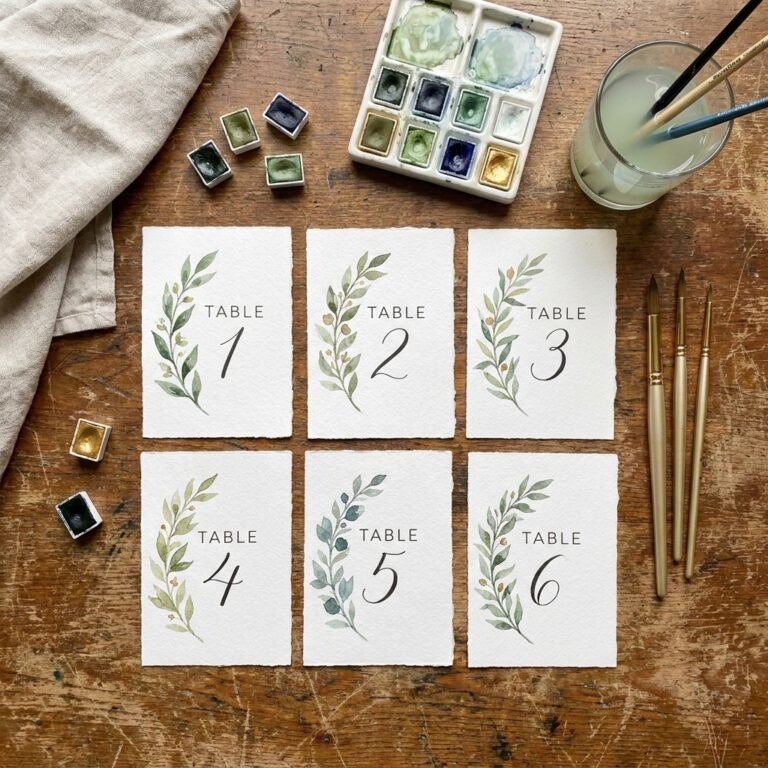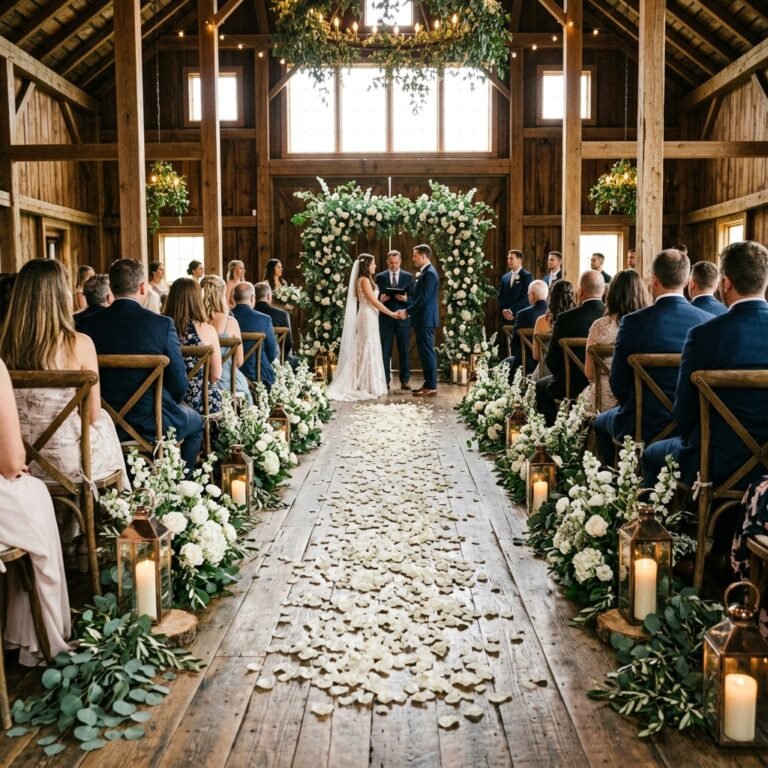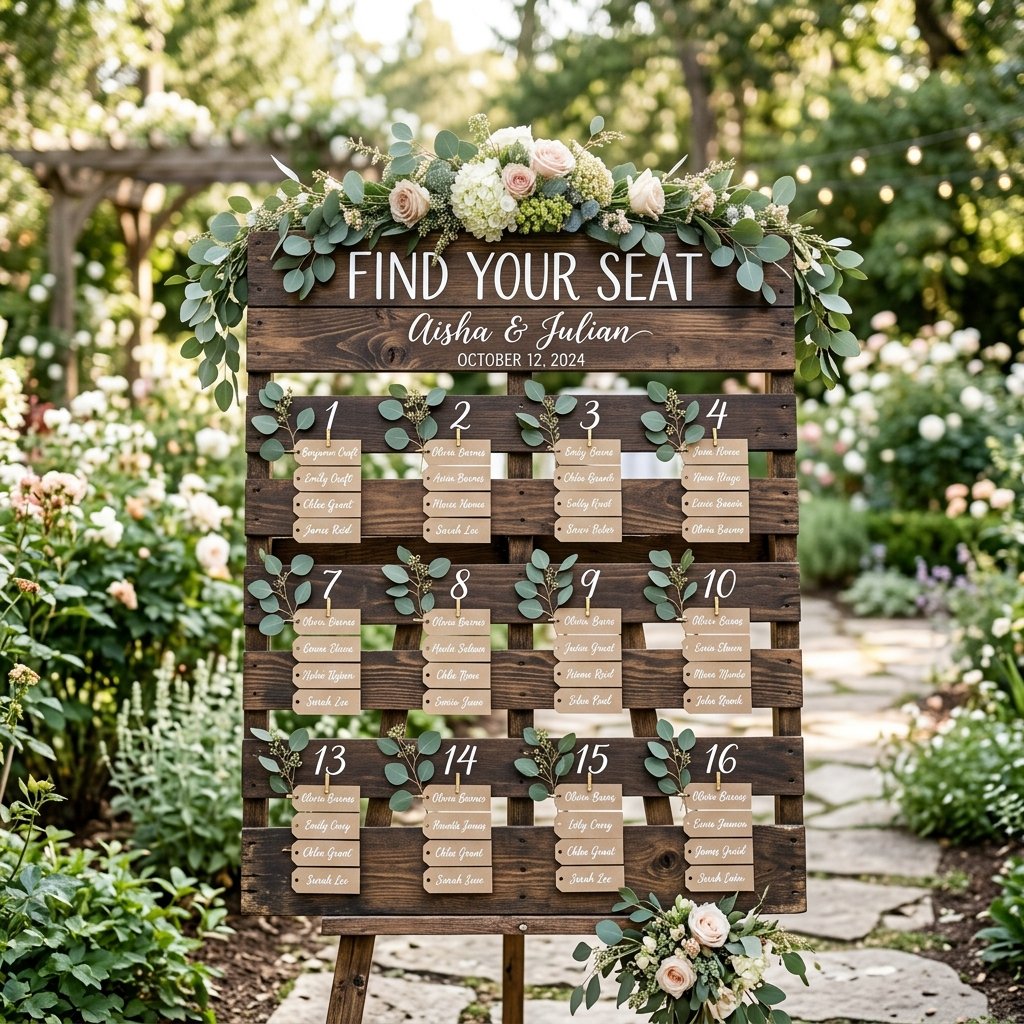

The infamous wedding tax is a reality every couple faces the moment they mention the ‘W’ word to a vendor. Suddenly, a simple wooden board triples in price. But for the resourceful DIYer, the budget-savvy groom, or the crafty maid-of-honor, a discarded shipping pallet isn’t trash—it is the skeleton of a $300 centerpiece waiting to be born. There is something profoundly satisfying about taking a rugged, industrial object and refining it into a piece of masculine-elegant decor that guides your guests to their seats. In this masterclass, we will walk through the process of sourcing, prepping, and styling a pallet seating chart that looks like it was plucked straight from a high-end bridal magazine, all while keeping your hard-earned cash in your pocket. Let’s turn some grit into grace.
Scavenging the Skeleton: Finding and Safety-Checking Your Pallet
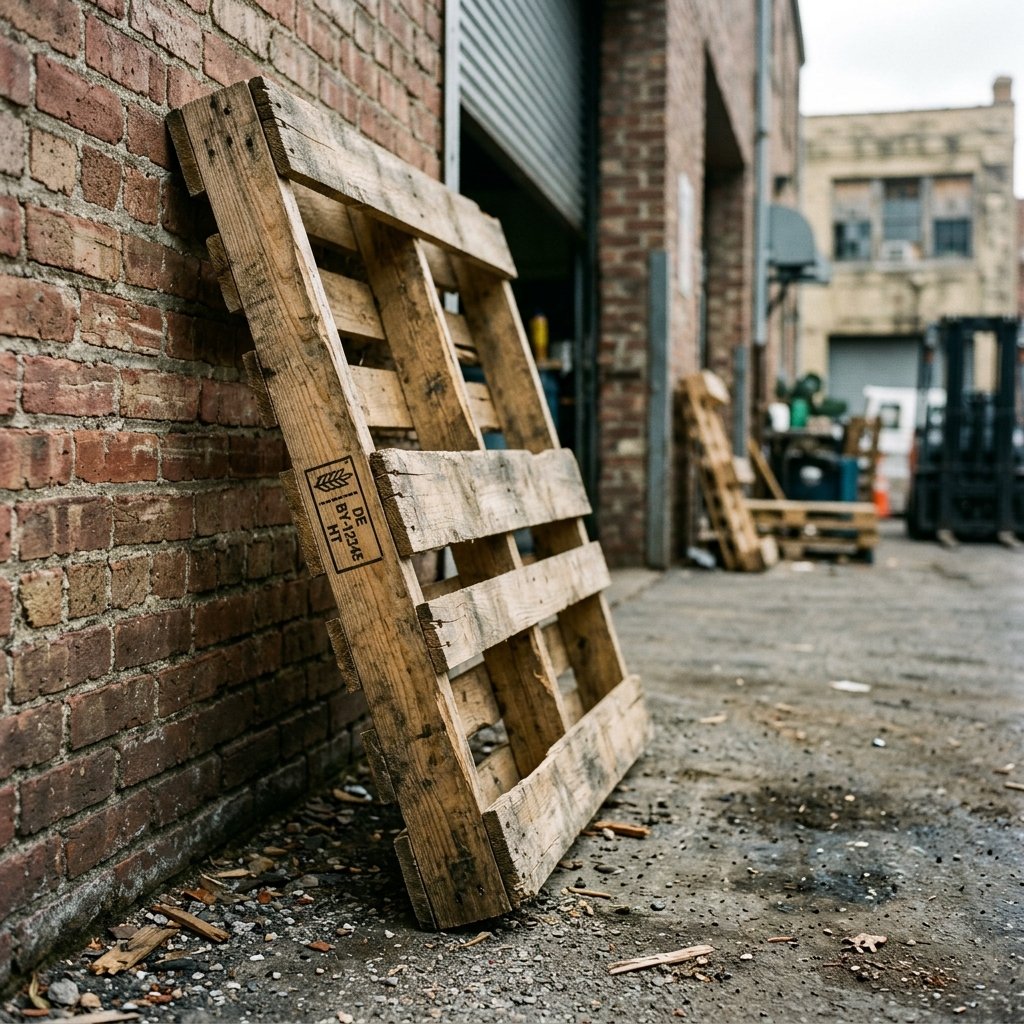
Your journey starts not at a boutique, but behind a local hardware store, a grocery outlet, or a small manufacturing plant. Most businesses are more than happy to give away pallets for free, saving them a trip to the dump. However, not all pallets are created equal. You are looking for ‘HT’ (Heat Treated) stamps, which mean the wood was treated with heat rather than chemicals like methyl bromide. Avoid any wood with ‘MB’ stamps or those with mysterious oil stains. Look for a pallet with all its slats intact and a beautiful, weathered grain. A standard pallet usually measures 48 by 40 inches, which is the perfect canvas for a wedding of 100 to 150 guests.
Pro-Tip: Look for ‘clean’ pallets used for dry goods. Avoid those used for chemicals or heavy machinery where spills may have soaked deep into the fibers.
| Pallet Type | Safety Rating | Best Use |
|---|---|---|
| HT (Heat Treated) | Safe | Indoor/Outdoor Decor |
| DB (Debarked) | Safe | General Crafting |
| MB (Methyl Bromide) | Unsafe | Do Not Use |
| Colored/Painted | Caution | Potentially Toxic |
The Refinement Phase: Sanding and Staining for a High-End Finish
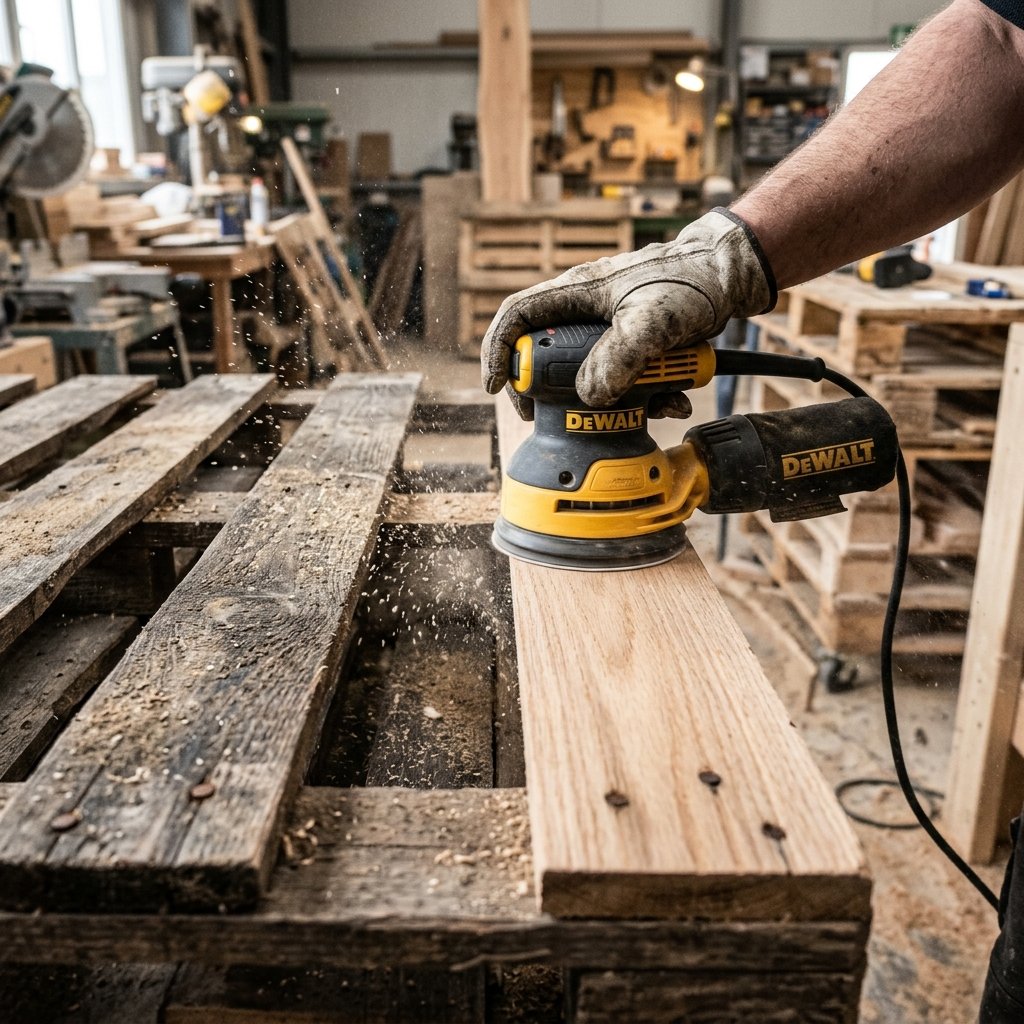
This is where the ‘trash’ becomes ‘treasure.’ A raw pallet is splintery and rough; your goal is to make it touchable without losing its rugged character. Start with a heavy 60-grit sandpaper to knock down the major burrs, then move to 120-grit, and finally 220-grit for a buttery smooth finish. Once sanded, wipe it down with a tack cloth to remove every speck of dust. For the finish, a dark walnut stain provides a classic, masculine-elegant look, while a weathered gray leans into the coastal or boho vibe. Apply the stain with a rag, working it deep into the grain, and let it cure for at least 24 hours. If you want a more ‘shabby-chic’ look, a light white-wash with watered-down acrylic paint works wonders.
- Sand with 60-grit to remove splinters.
- Transition to 120-grit for surface leveling.
- Finish with 220-grit for a professional feel.
- Apply wood conditioner to prevent blotchiness.
- Stain in the direction of the grain.
Typography and Layout: Designing Your Guest List with Precision
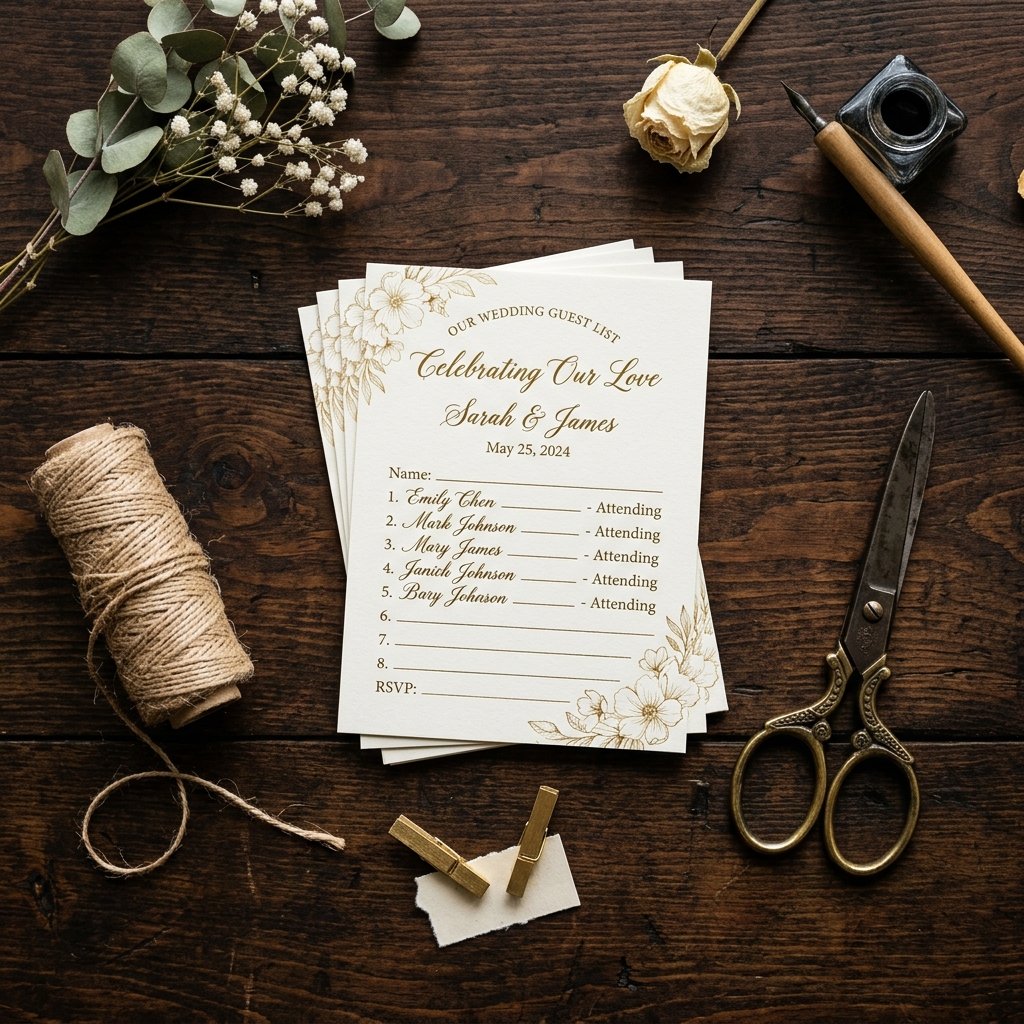
The layout is where most DIYers go wrong. You need a balance between the rugged wood and clean, legible text. You have three main options: hand-painting, vinyl decals, or clipping printed cards. For a truly high-end look, clipping individual cardstock guest lists to twine is both functional and aesthetically pleasing. It also allows for last-minute changes (because we all know someone will cancel 48 hours before the wedding). Use a heavyweight 110lb cardstock in cream or white. If you are painting the header (e.g., ‘Find Your Seat’), use a stencil or the ‘carbon paper’ transfer method to ensure your lettering is crisp and professional.
Mantra: ‘Measure twice, staple once.’ A crooked seating chart is the only thing guests will notice more than a beautiful one.
| Method | Cost | Time Required | Skill Level |
|---|---|---|---|
| Hand-Painted | $5 | 4-6 Hours | Advanced |
| Vinyl Decals | $25 | 1 Hour | Beginner |
| Printed Cards/Twine | $15 | 2 Hours | Intermediate |
The Greenery and Hardware: Adding the Finishing Elegant Touches
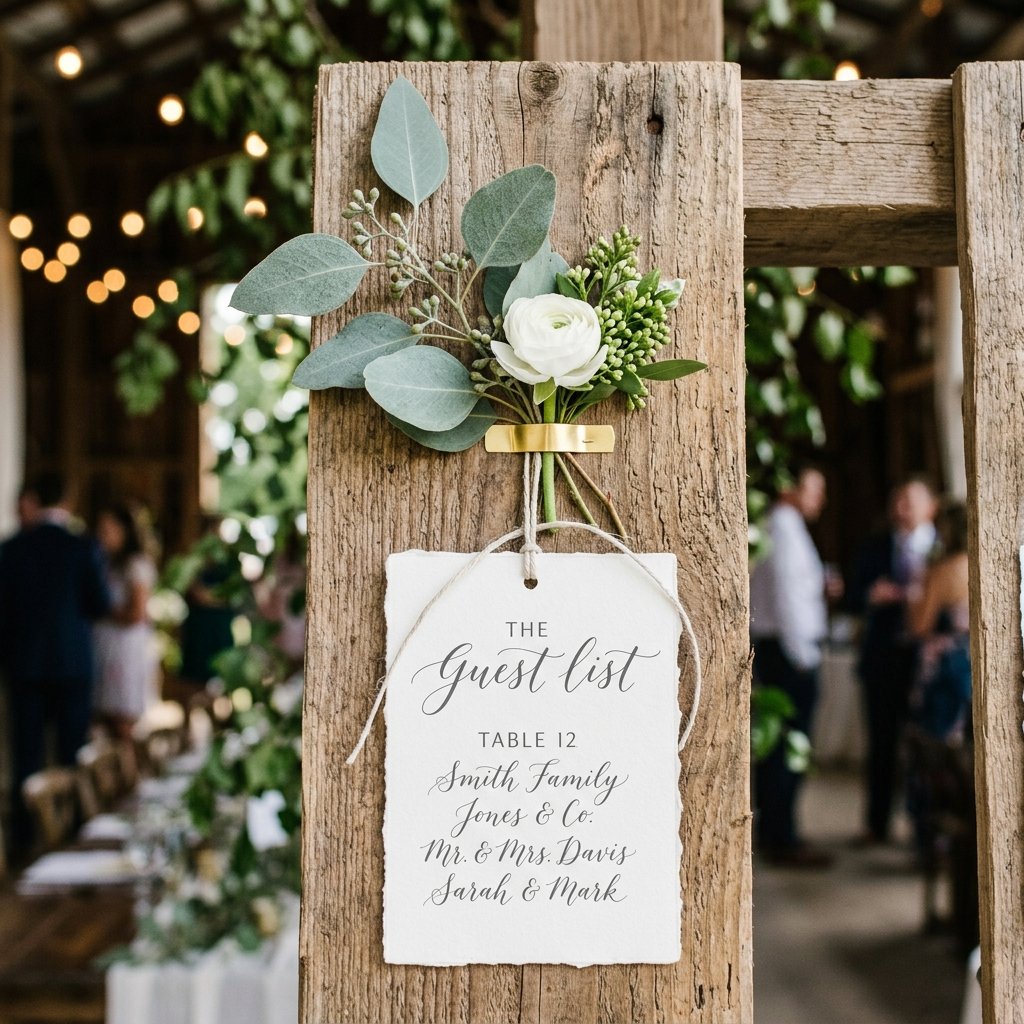
To elevate the pallet from a ‘garage project’ to ‘wedding decor,’ you must introduce organic elements. Eucalyptus, ruscus, or baby’s breath are excellent choices because they look beautiful even as they begin to dry. Use a heavy-duty staple gun to attach small bundles of greenery to the corners or across the top. For hardware, consider brass upholstery tacks or wrought iron hooks to hold the twine. If your wedding is in the evening, weaving a strand of warm white LED fairy lights behind the slats will create a magical glow that highlights the wood’s texture without being overpowering.
- Use floral wire to secure greenery bundles before stapling.
- Opt for matte gold hardware for a modern, sophisticated touch.
- Ensure the twine is taut to prevent cards from sagging in the middle.
Budget Breakdown: The Wedding Tax vs. Your Crafty Reality
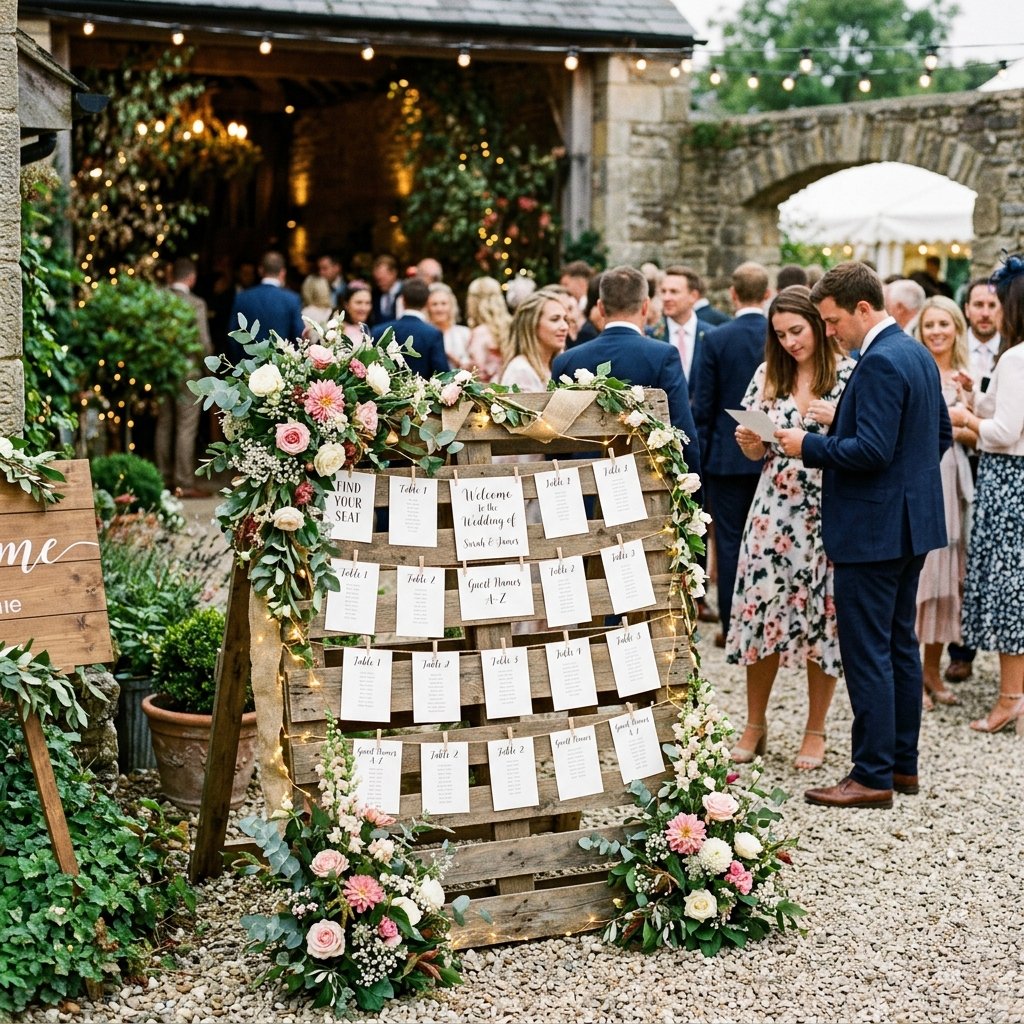
Let’s talk numbers. When you buy a custom seating chart from a boutique or hire a calligrapher to do a large-scale board, you aren’t just paying for materials; you’re paying for the ‘wedding’ label. By sourcing a pallet and doing the labor yourself, the savings are astronomical. This budget allows you to reallocate those hundreds of dollars toward something more impactful, like an open bar or a better photographer. Below is a comparison of what you might expect to pay a professional versus your DIY costs.
| Expense Item | Professional/Rental | DIY Pallet Project |
|---|---|---|
| Base Structure | $150 – $250 | $0 (Reclaimed) |
| Finishing (Stain/Paint) | Included | $12 |
| Calligraphy/Printing | $100 – $200 | $10 |
| Floral Accents | $75 – $100 | $15 |
| Total Estimated Cost | $325 – $550 | $37 |
By following this guide, you are effectively saving over $300. That is a resourceful win that any budget-savvy couple can get behind.
Conclusion
Creating a stunning wedding seating chart from a wooden pallet is more than just a way to save money; it is a statement of resourcefulness and personal style. It proves that with a bit of grit, a sander, and a clear vision, you can create something far more memorable than anything found in a catalog. Your guests will admire the craftsmanship, and you will walk into your marriage knowing you handled one of the biggest logistical pieces of the day with cleverness and creativity. Now, grab that pallet, get sanding, and make something beautiful. Happy crafting!

Makenzie is the founder and lead writer at MoneyHackTips.com — a personal finance blog dedicated to delivering street-smart financial wisdom for real people on real budgets. With 300+ published articles covering everything from debt management to investing fundamentals, Makenzie’s mission is to make every dollar work harder. When not writing about money hacks, Makenzie is testing frugal living strategies, optimizing side hustles, and helping readers build financial freedom from scratch.