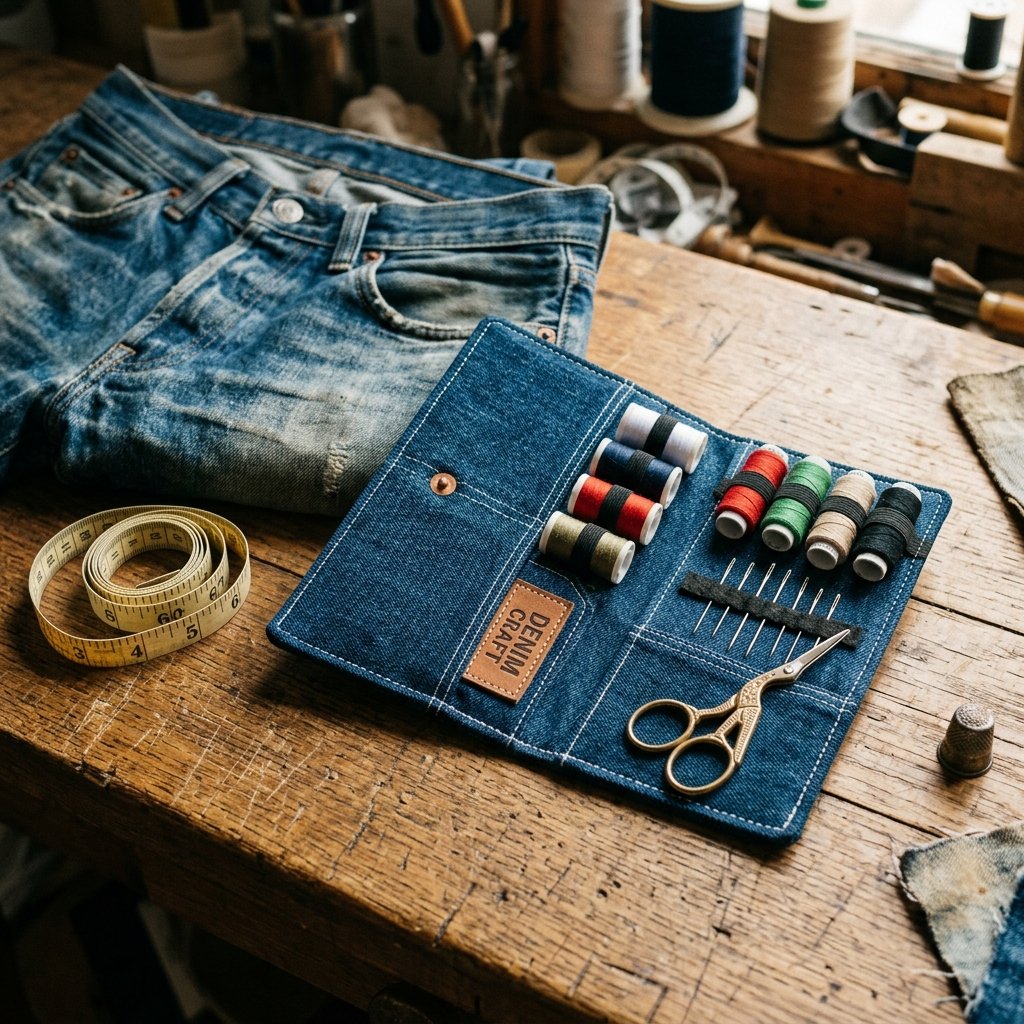

The Art of the Scrappy Survivalist
In a world of fast fashion and disposable gadgets, there is something profoundly satisfying about the ‘Trash-to-Treasure’ philosophy. As a frugal DIYer, you know that the most durable materials are often already sitting in your donation pile. Enter the humble denim pocket. It is the rugged, blue-collar king of textiles—built to withstand friction, weight, and the passage of time. When you transform a back pocket from a pair of retired Levi’s into a compact travel sewing kit, you aren’t just making a craft; you are creating a piece of functional gear that looks as good as it performs. This project is the ultimate clever hack for the budget-conscious traveler, the handy parent, or the stylish minimalist. We are going to take a zero-dollar material and turn it into a $25 boutique-style accessory. Whether you’re heading to a wedding and need to fix a sudden hem failure or you’re hiking and snag your favorite flannel, this upcycled kit is your rugged insurance policy. Let’s dive into how we can salvage that denim and build something truly impressive for under $2.
Inventory of the Upcycler: Materials and Costs
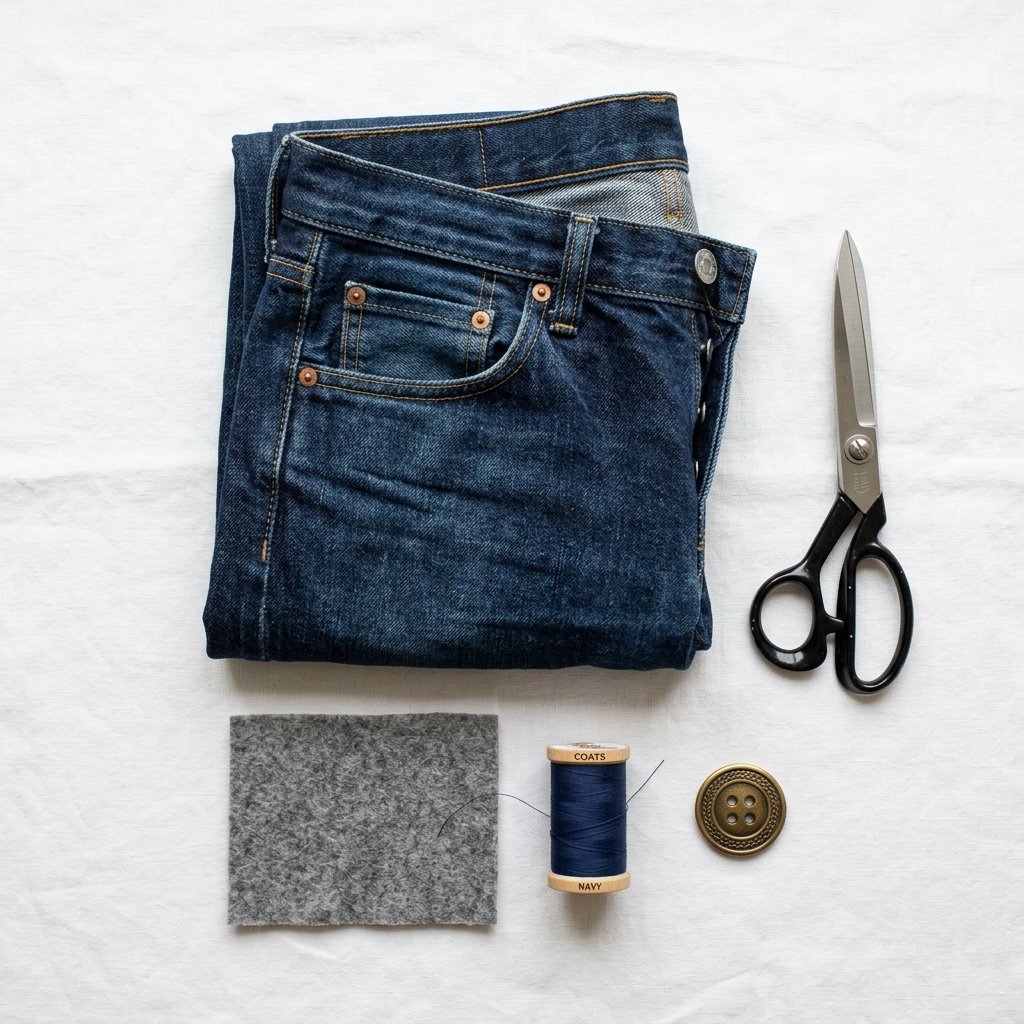
Before we start cutting, let’s look at what we need. The beauty of this project is that you likely already own 90% of the components. We are going for a Masculine-Elegant aesthetic—think dark indigo denim paired with metallic accents. If you don’t have old jeans, a quick trip to a thrift store’s ‘as-is’ bin will net you a pair for a couple of dollars. We want the back pocket specifically because it already has three sides pre-sewn, which saves us a massive amount of labor.
| Material Item | Source | Estimated Cost |
|---|---|---|
| Old Denim Jeans | Closet/Thrift Store | $0.00 – $2.00 |
| Heavy Duty Needle | Sewing Basket | $0.10 |
| Embroidery Floss or Twine | Craft Drawer | $0.25 |
| Scrap Felt or Flannel | Fabric Scraps | $0.00 |
| Small Button or Snap | Salvaged from old shirt | $0.00 |
| Total Project Cost | DIY Advantage | ~$2.35 |
Budget Guru Mantra: Never buy what you can salvage. A button from a discarded shirt is just as functional as a store-bought one, but it comes with a story.
When selecting your denim, look for 100% cotton without too much Lycra or spandex. Pure cotton denim has a better ‘patina’ and holds its shape much better when you are tucking in sharp needles and heavy thread. A dark wash provides a sophisticated, high-end look, while a distressed light wash offers a more bohemian, rugged vibe.
The Cut and Prep: Salvaging the Pocket
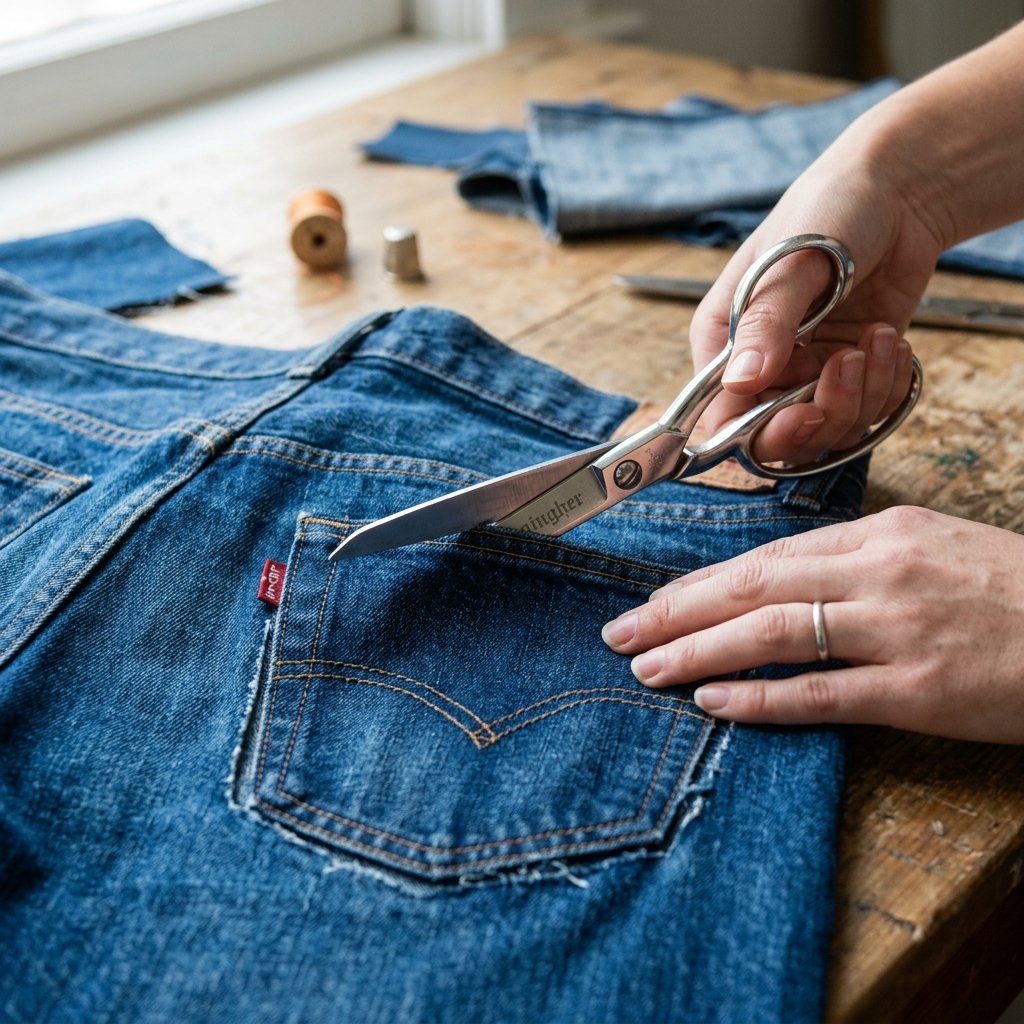
The first step is the most critical: the harvest. We aren’t just hacking away at the fabric; we are strategically removing the pocket to maintain its structural integrity. You want to cut approximately 1/2 inch outside the original stitching of the back pocket. This extra ‘seam allowance’ gives us room to create a clean, finished edge later on.
Step-by-Step Harvesting:
- Identify the ‘Good’ Pocket: Choose the pocket with the least amount of wear on the bottom corners.
- The Rough Cut: Use fabric shears to cut the pocket off the jeans, including the layer of denim behind the pocket. This creates a ‘pouch’ effect immediately.
- The Precision Trim: Once the pocket is free, trim the excess denim closer to the original factory stitching, but do not cut the factory stitches themselves.
- Cleaning the Edges: Use a small amount of clear nail polish or fabric glue on the very edges of your cut to prevent fraying, or embrace the rugged look and let it fringe naturally.
If your pocket has a leather brand patch (like the famous Levi’s red tab or leather waist patch), save it! We can use that later as a decorative closure or an internal needle-landing pad. This is where your resourceful creativity shines—every scrap of the original garment can be repurposed.
Internal Architecture: Organizing Your Essentials
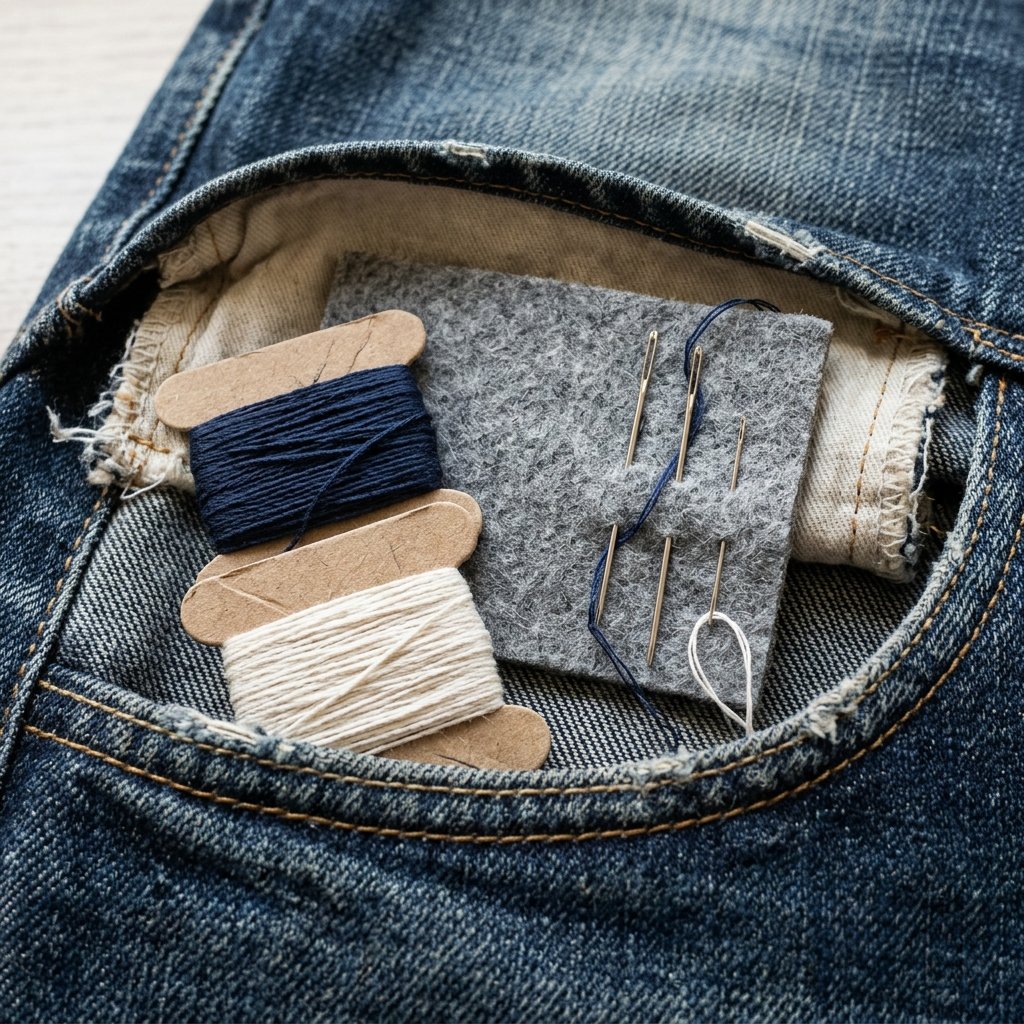
A sewing kit is only as good as its organization. Because a denim pocket is a single open space, we need to create ‘zones’ for our tools. We will use a piece of scrap felt to create a needle book that slides perfectly into the pocket. This prevents needles from getting lost at the bottom and poking your fingers when you reach in.
Creating the Needle Landing:
- Cut a rectangle of felt that is 1/4 inch smaller than the width of your pocket.
- Fold the felt in half and ‘tack’ it to the inside back of the denim pocket using a simple running stitch.
- This felt ‘page’ will hold your needles and safety pins securely.
The Essential Loadout:
- Three Needles: One heavy-duty for denim/canvas, one fine for silk/cotton, and one blunt-tipped for knits.
- Thread Bobbins: Instead of carrying full spools, wrap 5-10 yards of black, white, and navy thread around a small piece of cardboard or a flat plastic bread tag.
- Safety Pins: At least three sizes for emergency strap or zipper fixes.
- The ‘Pre-Threaded’ Trick: For the ultimate travel hack, pre-thread one needle with black thread and tie a knot at the end. In an emergency, you are ready to go in 2 seconds.
By keeping the interior organized, you turn a simple pouch into a professional-grade tool. The thickness of the denim acts as a natural shield, ensuring that even if a needle becomes unpinned, it won’t easily pierce through to your bag or pocket.
The Rugged Closure: Securing Your Gear
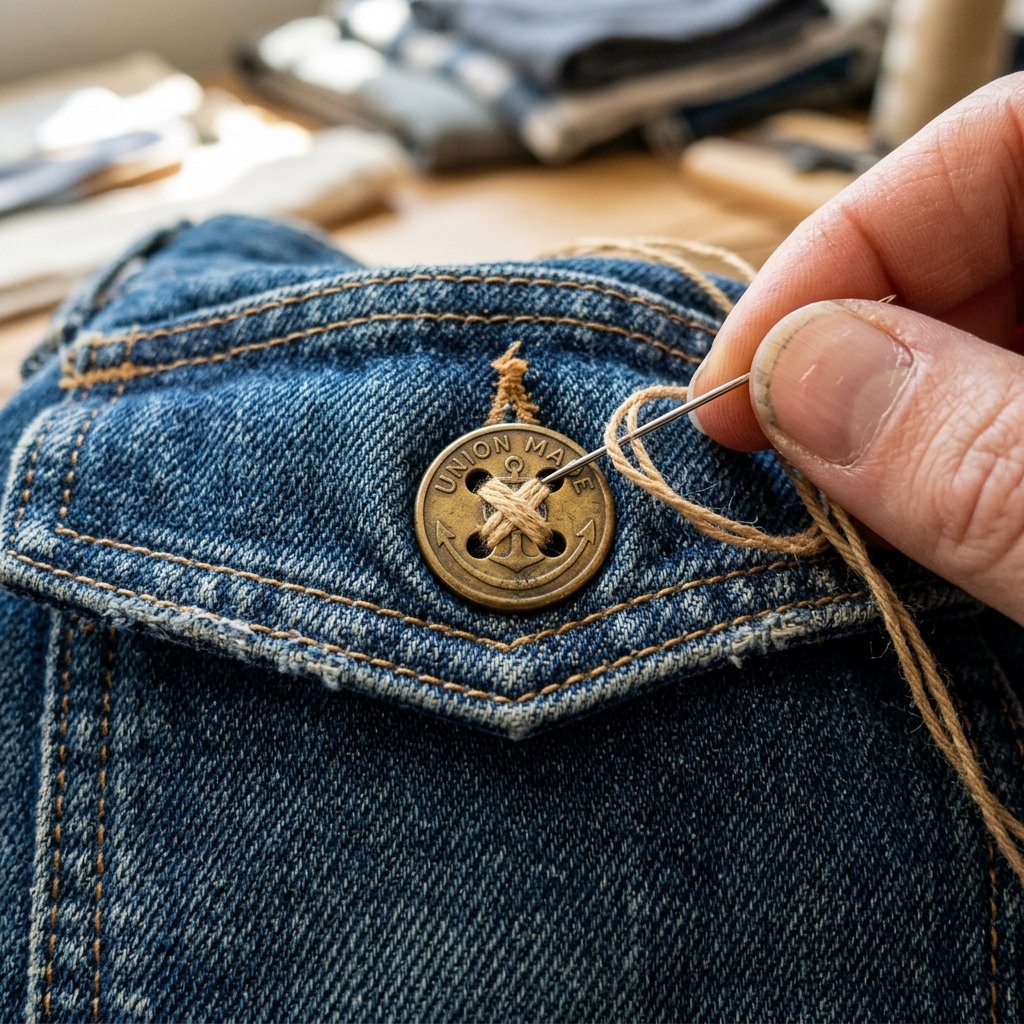
Since this is a travel kit, we need a way to keep the contents from spilling out in your suitcase or glove box. We have two budget-friendly options: the Button & Loop or the Leather Wrap. Both add a touch of ‘Masculine-Elegant’ style while being incredibly functional.
Option A: The Classic Button & Loop
Find a sturdy metal or wooden button. Sew it to the center-top of the front of the pocket. On the back side of the pocket, attach a 3-inch loop of elastic or braided twine. To close, simply flip the loop over the top and catch it on the button. This is 100% secure and costs $0.
Option B: The Leather Wrap (High-End Dupe)
If you have an old leather belt that is falling apart, cut a thin strip (about 1/4 inch wide and 10 inches long). Secure one end to the back of the pocket with a heavy X-stitch. To close the kit, wrap the leather cord around the pocket twice and tuck the end under itself. This gives the kit a ‘field notes’ or ‘explorer’ aesthetic that looks like it belongs in a high-end boutique.
Pro Tip: If you want a ‘No-Sew’ closure, use a heavy-duty binder clip or a large decorative safety pin. It’s scrappy, clever, and fits the utilitarian vibe perfectly.
The Emergency Mend Guide: Putting Your Kit to Work
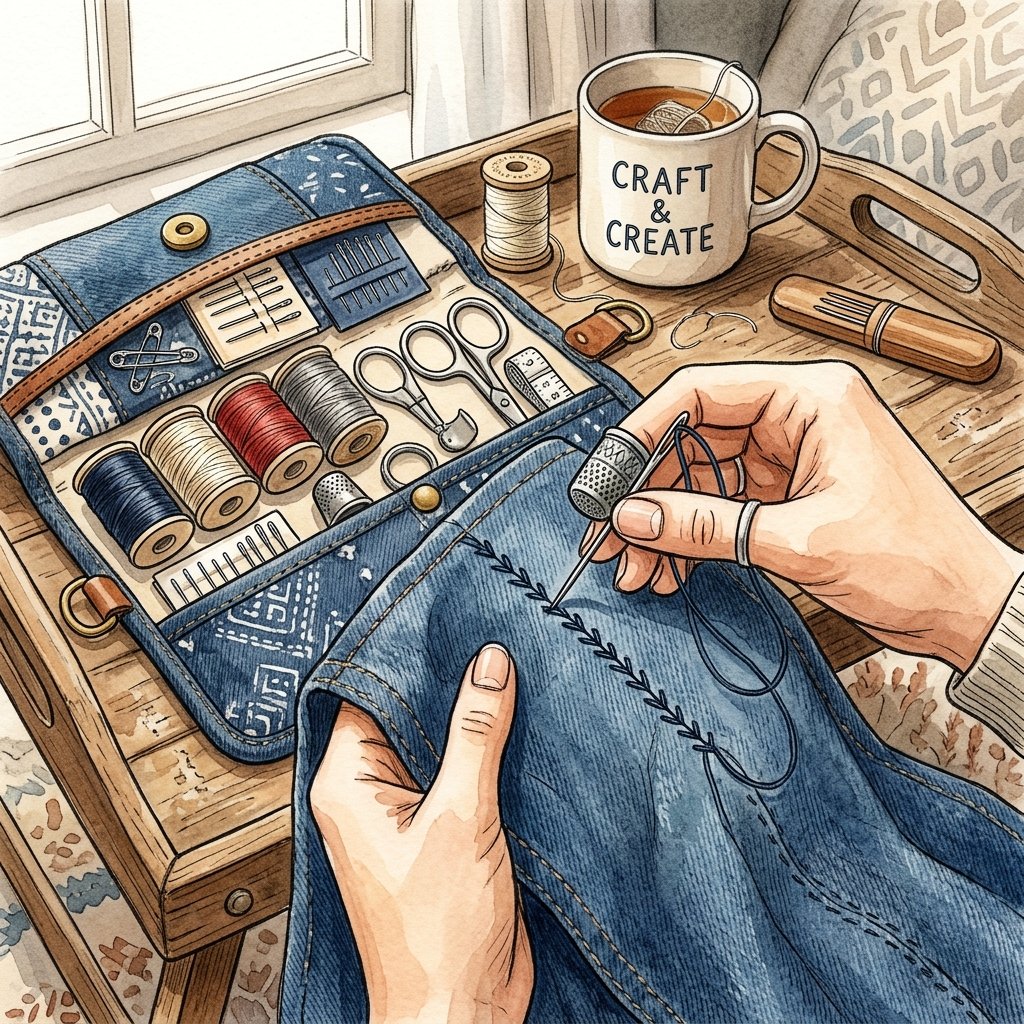
Now that your kit is built, you need to know how to use it. The most common travel emergencies involve popped buttons, fallen hems, or small tears. Your upcycled kit is the perfect vessel for these quick fixes. Here is a quick compatibility guide for common travel repairs:
| Repair Type | Stitch Solution | Time Required |
|---|---|---|
| Popped Button | Parallel or Cross Stitch | 3 Minutes |
| Fallen Hem | Blind Hem Stitch | 5 Minutes |
| Small Tear | Ladder Stitch (Invisible) | 7 Minutes |
| Ripped Seam | Backstitch (Strong) | 4 Minutes |
The Backstitch is your best friend for travel repairs. It is the strongest hand stitch and mimics the look of a sewing machine. When repairing a ripped seam in your luggage or jeans, the backstitch provides the tension needed to hold the fabric together under stress. Because you are using denim as your kit material, you can even use the kit itself as a ‘thimble’—if you’re pushing a needle through heavy fabric, use the thick denim of the pocket to help push the needle head through without hurting your thumb.
Customization: Making it a Thoughtful Gift
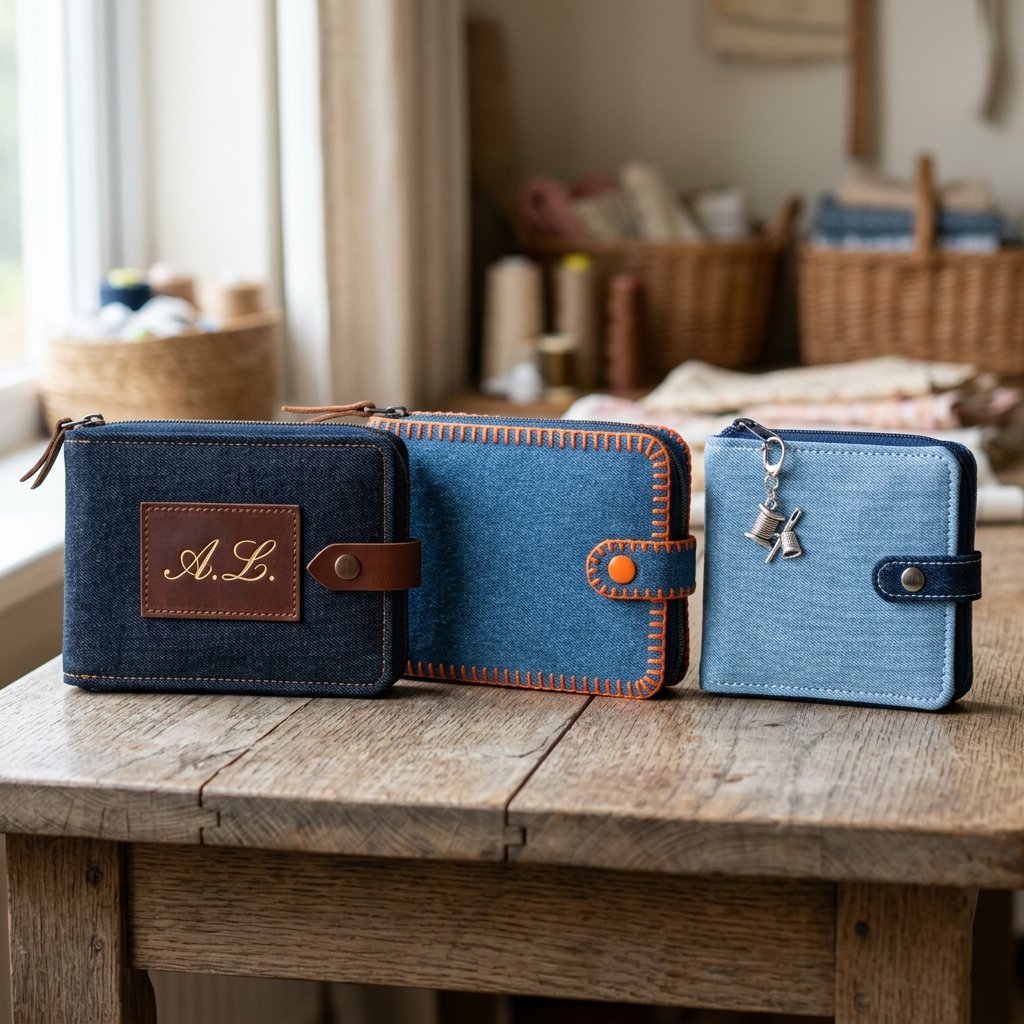
If you are making these as gifts for Father’s Day, bridesmaids, or graduates, a little personalization goes a long way. You can turn this free project into a cherished keepsake with just a few extra minutes of work.
- Monogramming: Use a simple stem stitch to embroider the recipient’s initials onto the corner of the pocket. Use a contrasting color like ‘Construction Orange’ or ‘Classic Gold’ to mimic the original jean stitching.
- The ‘Dad’ Version: Include a small multi-tool or a few heavy-duty zip ties inside. It’s the ultimate ‘Handy Dad’ survival kit.
- The ‘Budget Bride’ Version: Use a lighter wash denim and include white thread, clear buttons, and a few adhesive fashion tapes.
By tailoring the contents to the person, you show that you’ve put thought into their specific needs. It’s a Resourceful & Clever way to give a high-value gift without spending a fortune. The recipient will appreciate the durability of the denim and the ingenuity of the design.
Conclusion
Your Pocket-Sized Problem Solver
Congratulations! You have successfully turned a piece of ‘trash’ into a rugged, practical, and stylish travel companion. This upcycled denim pocket sewing kit is more than just a craft; it is a testament to your resourcefulness. For a total investment of nearly $0 and about 30 minutes of your time, you’ve created a tool that can save a vacation, a job interview, or a wedding day. You’ve embraced the ‘Trash-to-Treasure’ spirit, proving that with a little creativity and a sharp pair of scissors, the most mundane items can become extraordinary. So, the next time you see a pair of old jeans headed for the bin, remember: there’s a travel hack hiding in those pockets. Keep your needles sharp, your thread ready, and your budget intact. Happy crafting!

Makenzie is the founder and lead writer at MoneyHackTips.com — a personal finance blog dedicated to delivering street-smart financial wisdom for real people on real budgets. With 300+ published articles covering everything from debt management to investing fundamentals, Makenzie’s mission is to make every dollar work harder. When not writing about money hacks, Makenzie is testing frugal living strategies, optimizing side hustles, and helping readers build financial freedom from scratch.