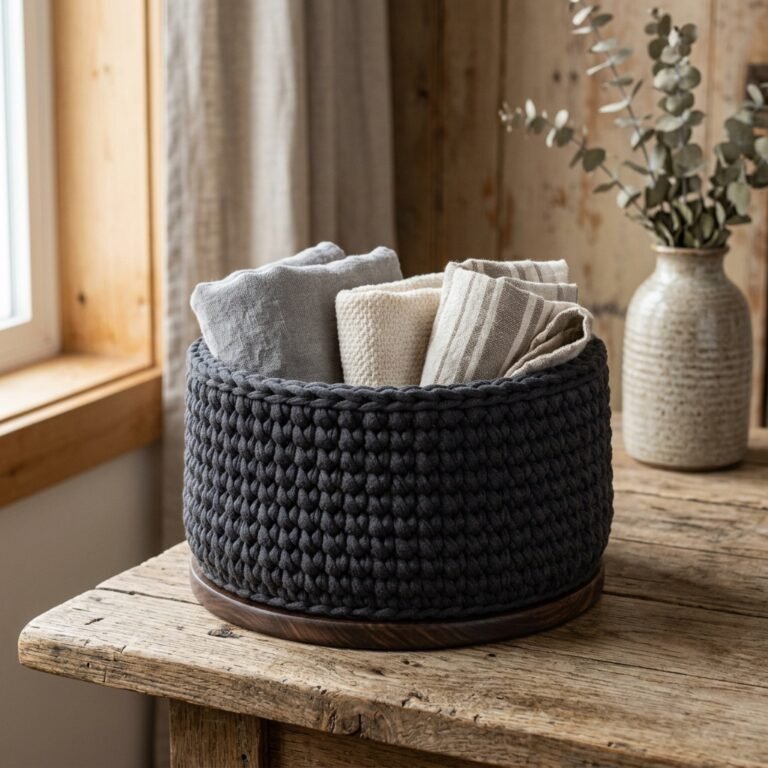
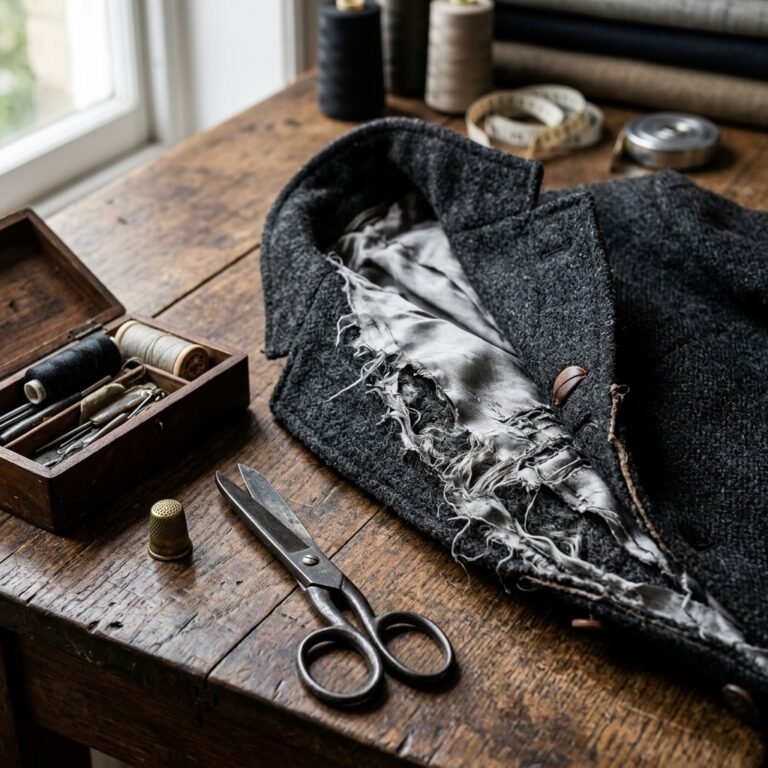
Embracing Autumn Textures on a Shoestring Budget
When the crisp autumn air rolls in, our nesting instincts kick into high gear. We crave tactile warmth, rich colors, and a home that feels like a rugged, cozy sanctuary. But if you have walked down the aisles of high-end home decor stores recently, you know that achieving that ‘curated fall aesthetic’ can quickly drain your wallet. Chunky knit planters, woven baskets, and artisanal hanging pots often carry price tags that are anything but budget-friendly. What if I told you that the ultimate fall decor hack is currently hiding in the back of your closet or sitting in the $1.00 clearance bin at your local thrift store?
Welcome to the resourceful art of sweater upcycling. As a frugal DIYer and crafty upcycler, I believe that the most brilliant home decor doesn’t come from a catalog; it comes from looking at everyday, discarded items with a fresh, creative perspective. Those moth-eaten, slightly shrunken, or outdated sweaters—especially the ones with gorgeous cable-knit patterns—are a goldmine of raw material waiting for a second life. Today, we are going to dive deep into a wildly clever, budget-savvy project: transforming old sweaters into handsome, functional hanging plant pockets for under $2.
“The most sustainable and stylish material is the one already sitting at the back of your closet. Upcycling isn’t just about saving pennies; it’s about giving forgotten textiles a rugged, functional second life that tells a story.”
This project is the perfect intersection of masculine-elegant design, practical plant care, and zero-waste crafting. We will cover everything from selecting the right knit and felting wool for structural integrity, to hand-sewing techniques that require absolutely zero machine experience, and finally, how to waterproof your creation so your beloved houseplants thrive. Grab your scissors, thread a heavy-duty needle, and let’s turn that old cardigan into a stunning botanical display.
The Anatomy of the Perfect Upcycling Sweater
Choosing Your Material: Wool vs. Acrylic
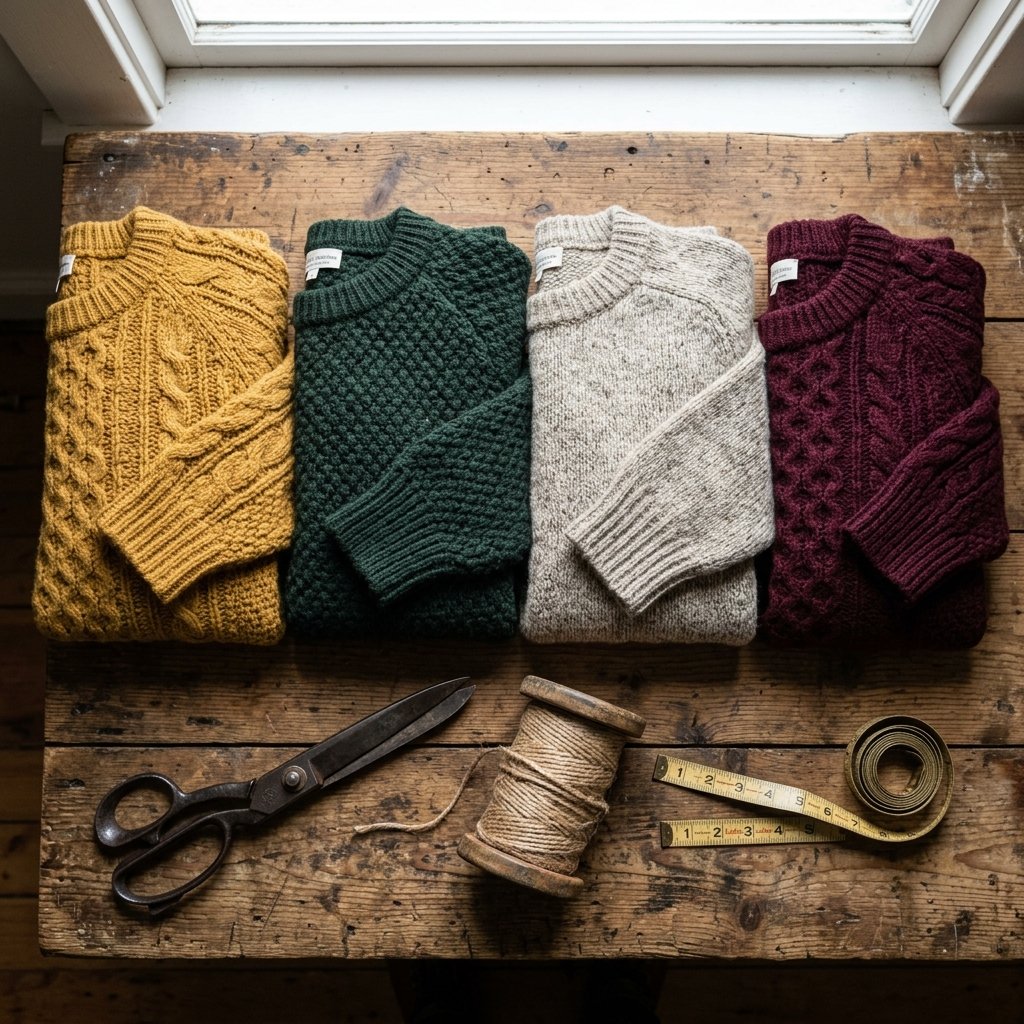
Not all sweaters are created equal when it comes to upcycling. The structural integrity of your hanging plant pocket depends heavily on the fiber content of the sweater you choose. If you want a rugged, durable planter that holds its shape beautifully, you need to understand your materials.
- 100% Wool or Animal Fiber: This is the holy grail of sweater upcycling. Wool can be ‘felted’—a process of washing it in hot water with high friction—which causes the fibers to bind together into a dense, sturdy, non-fraying fabric. It provides a highly tailored, masculine-elegant look.
- Acrylic and Synthetic Blends: These are incredibly common and budget-friendly. While they cannot be felted, they offer excellent stretch and are naturally resistant to mold and mildew, making them a highly practical choice for plant environments. You will just need to be slightly more careful with your cutting and stitching to prevent unraveling.
- Cotton Knits: Cotton provides a clean, crisp look but lacks the elasticity of wool or acrylic. If using cotton, opt for a tightly woven, heavy-gauge knit to ensure your plant pocket doesn’t sag under the weight of wet soil.
The Felting Process (For Wool Sweaters Only)
If you scored a 100% wool sweater (look for those $1.00 thrift store steals with a moth hole or two), you can felt it to create a thick, structural fabric that cuts like butter and never frays. This is a crafty-expert secret that elevates your DIY from ‘homemade’ to ‘artisanal.’
- Place the wool sweater in your washing machine.
- Add a small amount of heavy-duty detergent.
- Wash on the hottest, longest cycle available, alongside a pair of heavy jeans or tennis balls to increase friction.
- Once washed, dry it on the highest heat setting.
- The result? A shrunken, dense piece of boiled wool that is virtually indestructible and perfect for crafting.
Tools of the Trade & The $2 Budget Breakdown
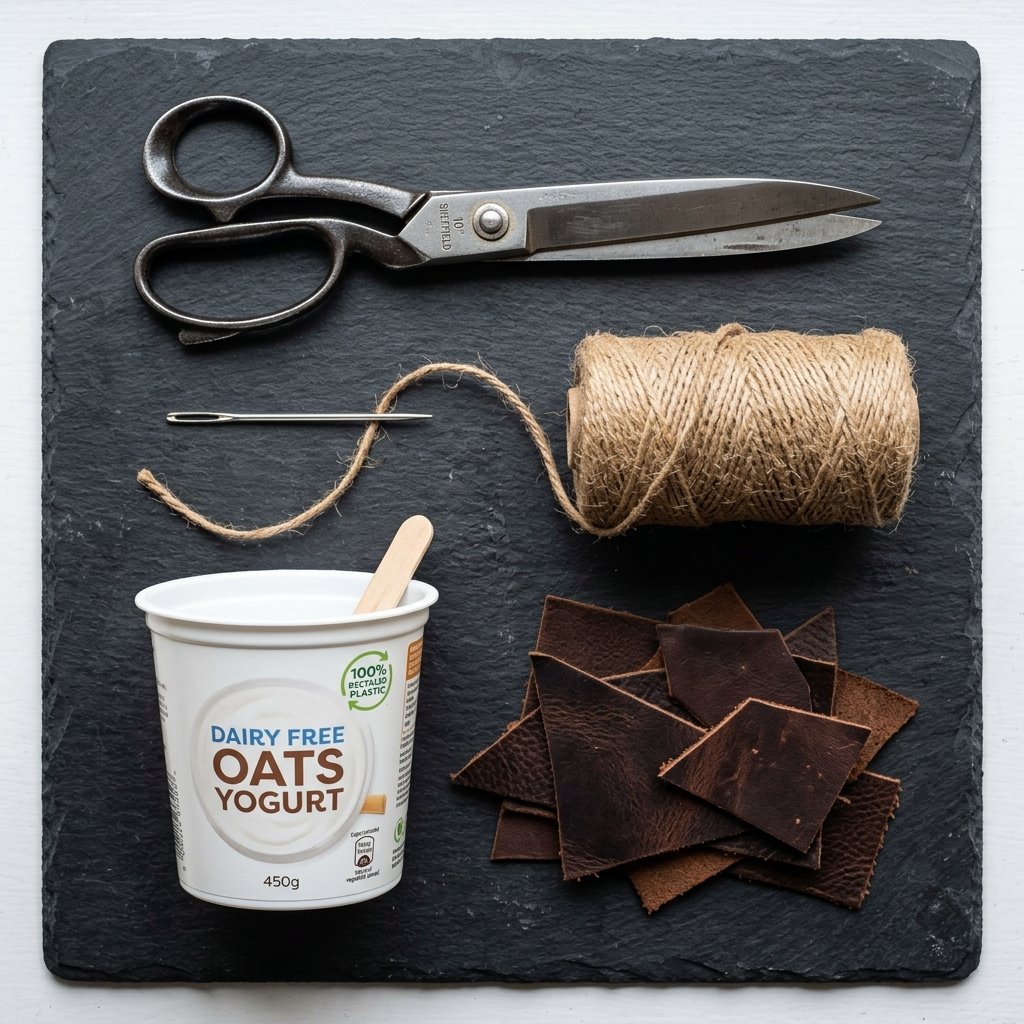
Resourceful Crafting: What You Need
The beauty of this project lies in its extreme frugality. We are bypassing the craft store almost entirely, relying on household staples and upcycled materials. Here is a breakdown of the rugged, practical tools you will need to execute this project flawlessly.
- An Old Sweater: From your closet or a thrift store. (Cost: $0 – $1.50)
- Heavy-Duty Scissors: Fabric shears are best, but any sharp scissors will do.
- Yarn, Twine, or Heavy Thread: For sewing the bottom seam. Jute twine adds a fantastic rustic, masculine touch. (Cost: $0.50)
- A Large-Eye Tapestry Needle: Essential for pushing thick yarn through chunky knits.
- A Recycled Plastic Container: A clean yogurt tub, large plastic cup, or the bottom of a plastic water bottle to serve as the waterproof liner. (Cost: 100% free)
- Leather Scraps or Macrame Cord: For hanging the pocket. Cut up an old belt or use spare rope.
The Financial Victory: DIY vs. Store-Bought
Let’s look at the hard numbers. When you apply clever, budget-savvy techniques to home decor, the savings are astronomical. Below is a realistic cost comparison between crafting this handsome fall decor hack yourself versus buying a comparable knit hanging planter from a boutique.
| Material / Item | DIY Upcycled Cost | Store-Bought Equivalent |
|---|---|---|
| Knit Planter Base | $0.00 – $1.50 (Thrifted/Owned) | $25.00 – $45.00 |
| Waterproof Liner | $0.00 (Recycled Yogurt Tub) | $5.00 (Plastic Insert) |
| Hanging Mechanism | $0.00 – $0.50 (Old Belt/Twine) | $10.00 (Leather/Rope Hanger) |
| Labor / Assembly | 15 Minutes of Crafty Joy | N/A |
| Total Estimated Cost | Under $2.00 | $40.00 – $60.00 |
By utilizing this resourceful approach, you are keeping textiles out of landfills and keeping hard-earned cash in your wallet.
Step-by-Step Construction: From Sweater Sleeve to Plant Sling
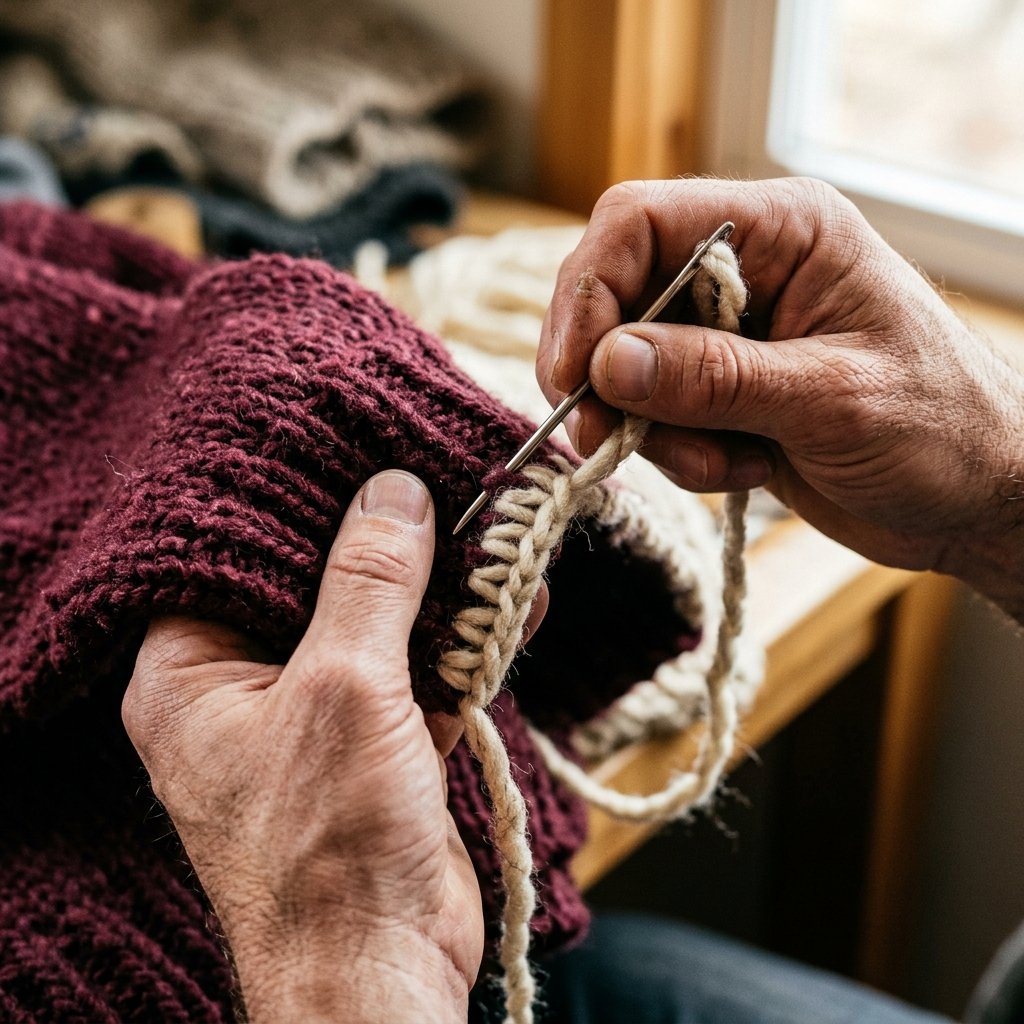
Step 1: Harvesting the Fabric
The smartest and easiest part of a sweater to upcycle for a plant pocket is the sleeve. The sleeve already exists as a seamless tube, which eliminates 50% of the sewing required. It also naturally tapers, creating a beautiful, organic shape for your planter.
- Lay your sweater completely flat on your workspace.
- Measure the height of your recycled plastic container (your waterproof liner). Add approximately 3 to 4 inches to this measurement to allow for a folded cuff at the top and seam allowance at the bottom.
- Using your heavy-duty scissors, cut straight across the sleeve. The cuff of the sleeve will become the top rim of your plant pocket.
“Safety Note: When cutting thick, fibrous materials, always cut away from your body and ensure your scissors are sharp. Dull scissors will cause synthetic knits to fray aggressively.”
Step 2: Closing the Bottom Seam
Now that you have a knitted tube, it is time to close the bottom to create the pocket. Turn the sleeve inside out. This ensures that your seam will be hidden inside the planter for a clean, professional finish.
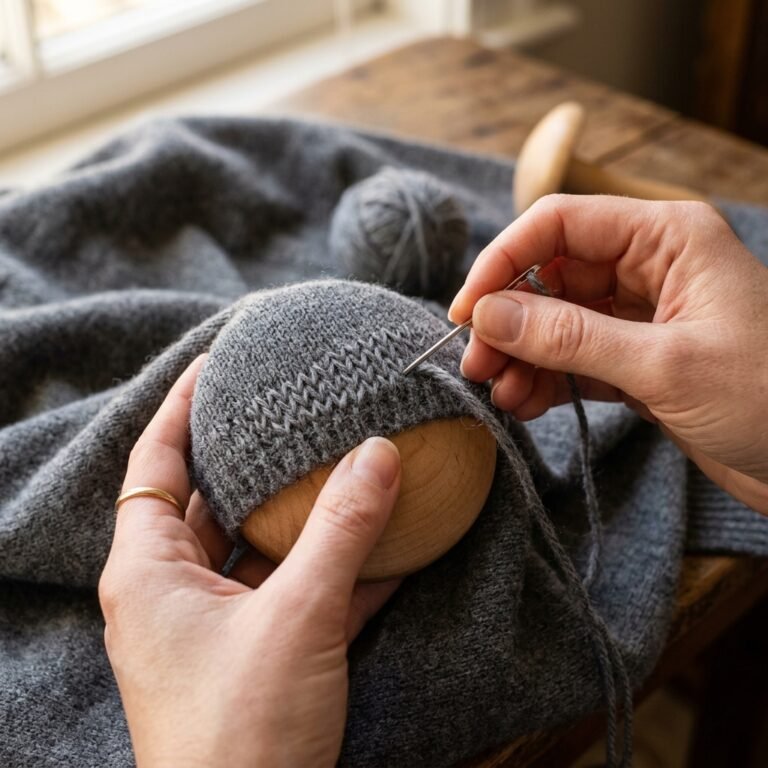
- The Whip Stitch Method: Thread your tapestry needle with a generous length of twine or heavy yarn. Pinch the raw, cut edges of the bottom of the sleeve together. Push the needle through both layers of fabric from back to front, looping over the top edge, and repeating. Keep your stitches tight and close together (about 1/4 inch apart) to ensure soil and the liner won’t slip through.
- The Blanket Stitch (For Added Durability): If you want an ultra-secure, rugged seam, use a blanket stitch. This stitch locks the edge of the fabric, which is highly recommended if you are using an unfelted acrylic sweater that is prone to unraveling.
Step 3: Creating the Cuff and Shaping
Once the bottom is securely sewn, tie off your thread with a sturdy double knot and trim the excess. Turn the sleeve right-side out. You now have a cozy little knit sack! Take the top edge (the original wrist cuff of the sweater) and fold it down over itself by about 1 to 2 inches. This folded brim adds structural stability to the top of the pocket and gives it that chunky, high-end, finished look.
Waterproofing & Plant Health Mechanics
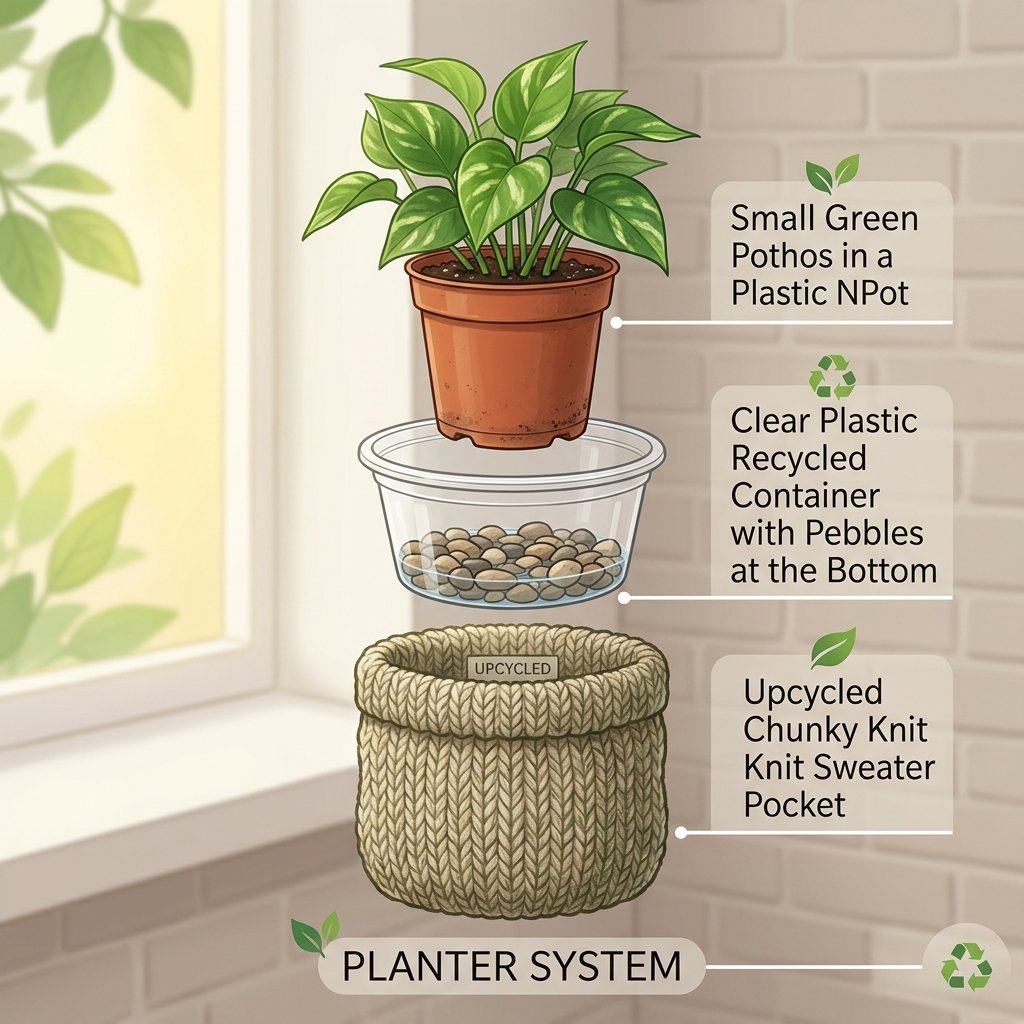
Protecting the Knit: The Inner Liner System
A common mistake novice crafters make is putting soil directly into a fabric planter. Water and organic matter will quickly rot the fibers, create mold, and ruin your beautiful upcycled creation. To make this a truly functional, long-lasting piece of home decor, we must implement a resourceful waterproofing system.
This is where your recycling bin becomes your best friend. A plastic yogurt tub, a large sour cream container, or the bottom half of a 2-liter soda bottle makes the perfect, zero-cost waterproof liner.
- Thoroughly wash and dry your chosen plastic container.
- Test the fit: Slide the container into your newly sewn sweater pocket. It should fit snugly. If the sweater is too loose, the pocket will look saggy. If it’s slightly tight, the knit will stretch nicely to accommodate it, creating a smooth, tailored appearance.
- Trim the top of the plastic container if necessary so that it sits about 1/2 inch below the folded cuff of your sweater pocket. You want the liner to be completely invisible from the outside.
Drainage: Keeping Your Greenery Alive
Plants need proper drainage to prevent root rot. Since our plastic liner does not have holes (to protect the sweater), we must use the ‘cachepot’ method or create an internal drainage layer.
- The Cachepot Method (Recommended): Keep your plant in its original, thin plastic nursery pot (which has drainage holes). Place a small layer of pebbles at the bottom of your upcycled plastic liner. Then, set the nursery pot inside the liner. When you water the plant, excess water will drain into the pebble layer, keeping the roots elevated and the sweater completely dry.
- Direct Planting with a False Bottom: If you choose to plant directly into the plastic liner, fill the bottom 1.5 inches with activated charcoal and gravel before adding potting soil. This creates a small reservoir for excess water.
Hardware and Hanging: A Masculine-Elegant Approach
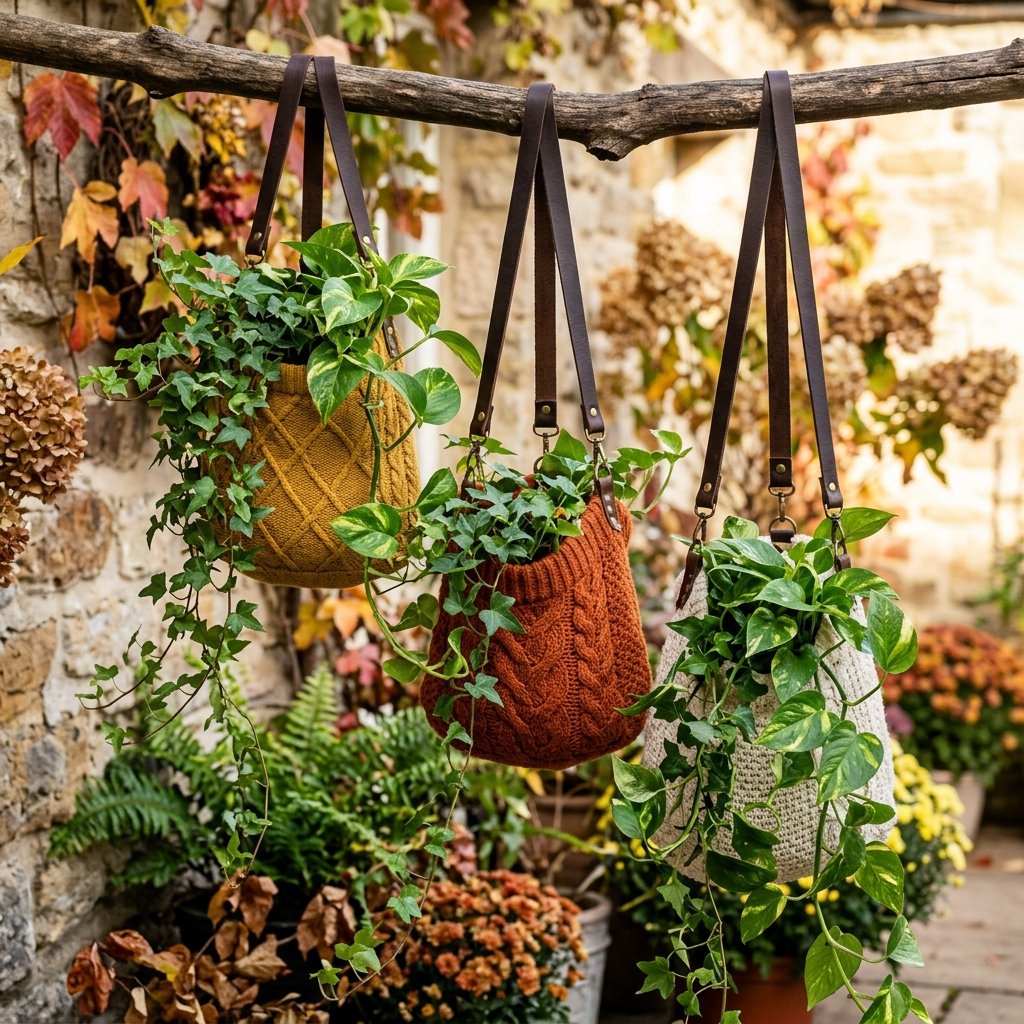
Crafting the Suspension System
How you hang your upcycled sweater pocket dictates the final vibe of the piece. To achieve that rugged, masculine-elegant, high-end catalog look, we are going to avoid flimsy ribbons and instead opt for materials with architectural weight and texture.
- Upcycled Leather Straps: Head to your closet (or the thrift store) and find an old, worn-out leather belt. Cut it into two or three equal lengths (about 18 to 24 inches each, depending on how low you want it to hang). Using a leather punch or a heavy nail, create a hole at the bottom of each strap. Use a heavy-duty needle and thick thread to securely sew the leather straps directly to the inside cuff of your sweater planter. Gather the top ends of the leather straps and secure them to an S-hook or a sturdy brass ring.
- Jute Twine or Paracord Macrame: For a more outdoorsy, crafty-expert aesthetic, cut four long pieces of heavy jute twine or dark paracord. Tie a large, secure knot at the bottom, creating a tassel. Spread the cords out and place your sweater pocket (with the liner inside) in the center. Tie knots halfway up the sides to cradle the pocket securely, then gather the cords at the top to hang.
Styling Your Autumn Indoor Jungle
Now that your brilliant $2 fall decor hack is complete, it’s time to style it. Grouping these hanging pockets in clusters of three, hung at varying heights, creates a stunning vertical garden that draws the eye upward and makes small spaces feel larger.
For the ultimate autumnal feel, pair rich, warm-toned sweater pockets (mustard, burnt orange, deep plum, forest green) with trailing plants that offer a wild, untamed look. Golden Pothos, Heartleaf Philodendron, and String of Pearls look absolutely breathtaking cascading over the soft, chunky texture of a cable-knit sweater.
Care, Maintenance, and Seasonal Transitions
Keeping Your Upcycled Decor Pristine
Functional art requires a bit of practical maintenance. Because your planter is wrapped in fabric, it will naturally attract dust over time. Here is how to keep your budget-savvy creation looking fresh and vibrant season after season.
- Watering Protocol: Never water your plant while it is hanging in the sweater pocket. Always remove the inner nursery pot, take it to the sink, water it thoroughly, and let it drain completely for at least 15 minutes before placing it back into the waterproof liner. This guarantees zero water damage to the knit.
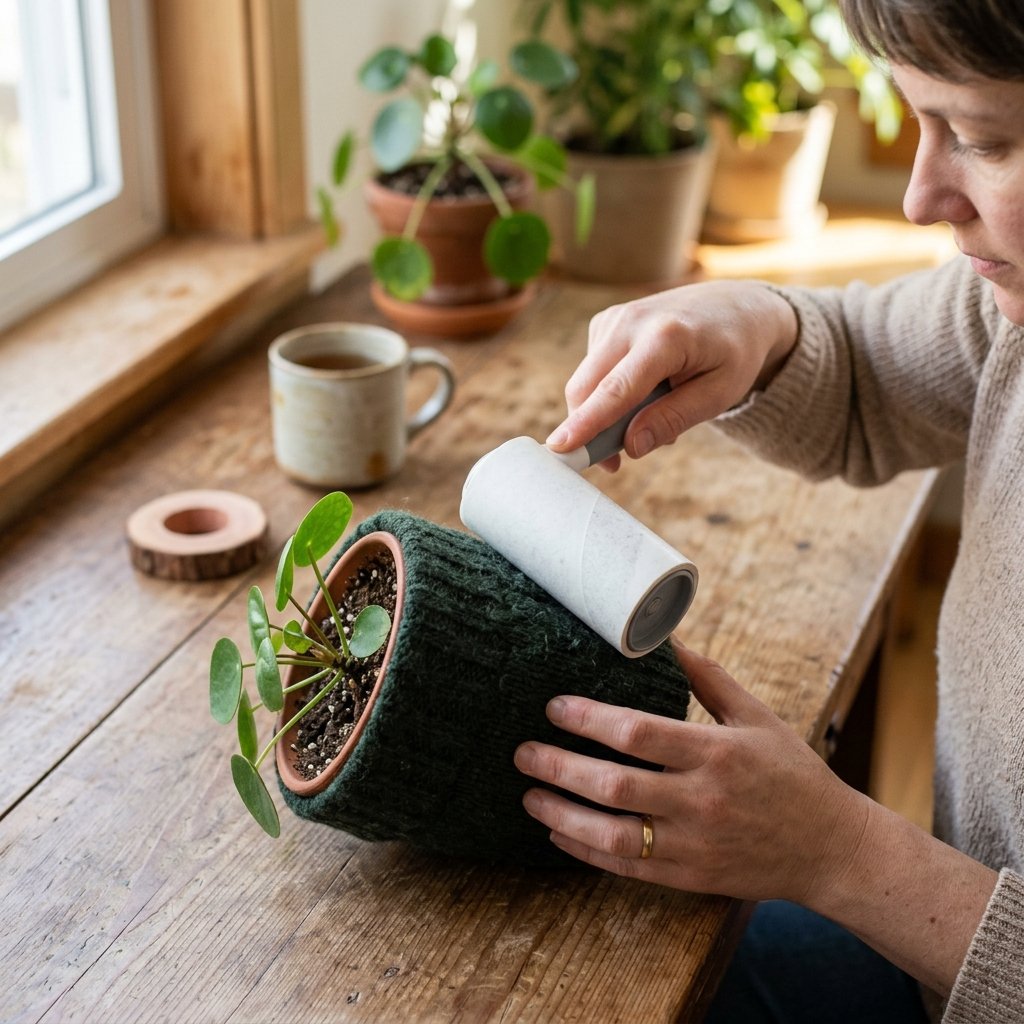
- Dusting and Cleaning: Once a month, use a lint roller or a piece of packing tape to gently lift dust and pet hair off the sweater fabric. If the pocket gets a stain, spot clean it with a damp cloth and a drop of mild dish soap. Do not put the finished pocket in the washing machine, as it may lose its shape.
- Pest Prevention: If you used a 100% wool sweater, be mindful of clothes moths. A brilliant, natural deterrent is to place a few cedar rings or a small sachet of dried lavender at the bottom of the pocket, between the knit fabric and the plastic liner. It smells amazing and keeps the bugs at bay.
“The genius of the cachepot method is versatility. When the seasons change, you don’t need to repot; simply lift the nursery pot out and drop in a new seasonal plant—a rich red Poinsettia for winter, or a vibrant Fern for spring.”
With just a little bit of resourceful ingenuity, you have taken a discarded garment destined for the landfill and transformed it into a piece of rugged, elegant home decor. This project proves that you don’t need a massive budget to create a warm, inviting, and beautifully styled home. You just need a little creativity, an old sweater, and a willingness to look at trash and see treasure.
Conclusion
The Power of Frugal Ingenuity
Upcycling an old sweater into a hanging plant pocket for under $2 is more than just a brilliant fall decor hack; it is a testament to the power of resourceful, budget-savvy crafting. By combining basic hand-sewing skills with a rugged, practical approach to materials, you have elevated a piece of ‘trash’ into a high-end botanical display. Whether you are a handy parent looking for a weekend zero-waste project, a frugal DIYer wanting to spruce up your home for autumn, or a creative gift-giver crafting thoughtful presents for loved ones, this technique is a game-changer.
So, the next time you are cleaning out your closet or browsing the aisles of a thrift store, don’t overlook those damaged or dated knits. With a pair of scissors, some heavy twine, and a recycled yogurt tub, you possess all the tools necessary to cultivate your own cozy, masculine-elegant indoor jungle. Stay crafty, stay resourceful, and happy upcycling!

Makenzie is the founder and lead writer at MoneyHackTips.com — a personal finance blog dedicated to delivering street-smart financial wisdom for real people on real budgets. With 300+ published articles covering everything from debt management to investing fundamentals, Makenzie’s mission is to make every dollar work harder. When not writing about money hacks, Makenzie is testing frugal living strategies, optimizing side hustles, and helping readers build financial freedom from scratch.