
The Art of the Invisible Salvage
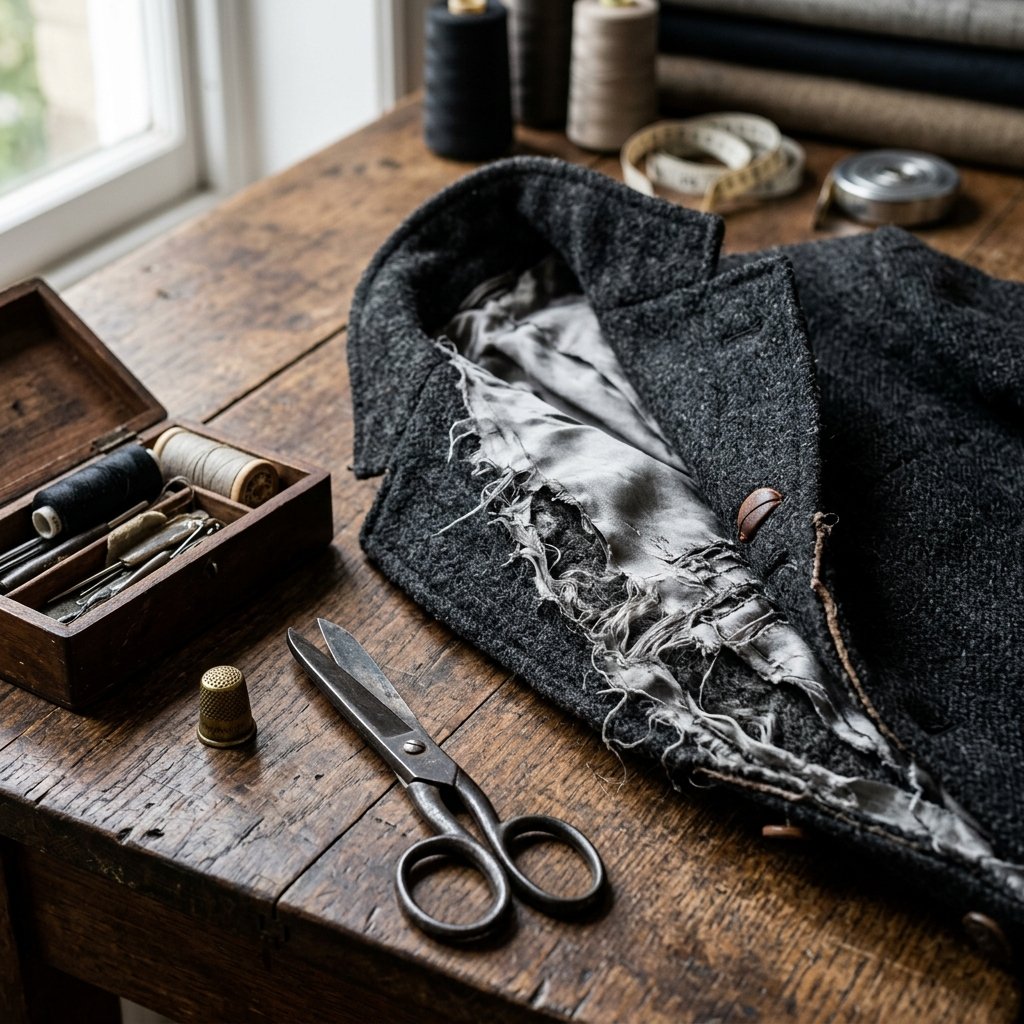
There is a specific kind of heartbreak that occurs when you reach for your favorite blazer or heavy winter coat, only to have your hand snag on a jagged tear in the lining. It feels like the garment is failing from the inside out. Most people assume this signals the end of the jacket’s life or, at the very least, an expensive trip to a professional tailor. But here is the clever secret: fixing a jacket lining is one of the most rewarding and straightforward skills in the frugal crafter’s arsenal. Whether it is a clean split at the seam or a complex ‘L’ shaped tear in the fabric itself, you can restore your garment to its former glory using nothing more than a needle, thread, and a bit of resourceful ingenuity. This guide will walk you through the professional techniques used in bespoke shops, adapted for the budget-savvy DIYer who demands a high-end finish without the high-end price tag.
The Scavenged Toolkit: Professional Gear on a Budget
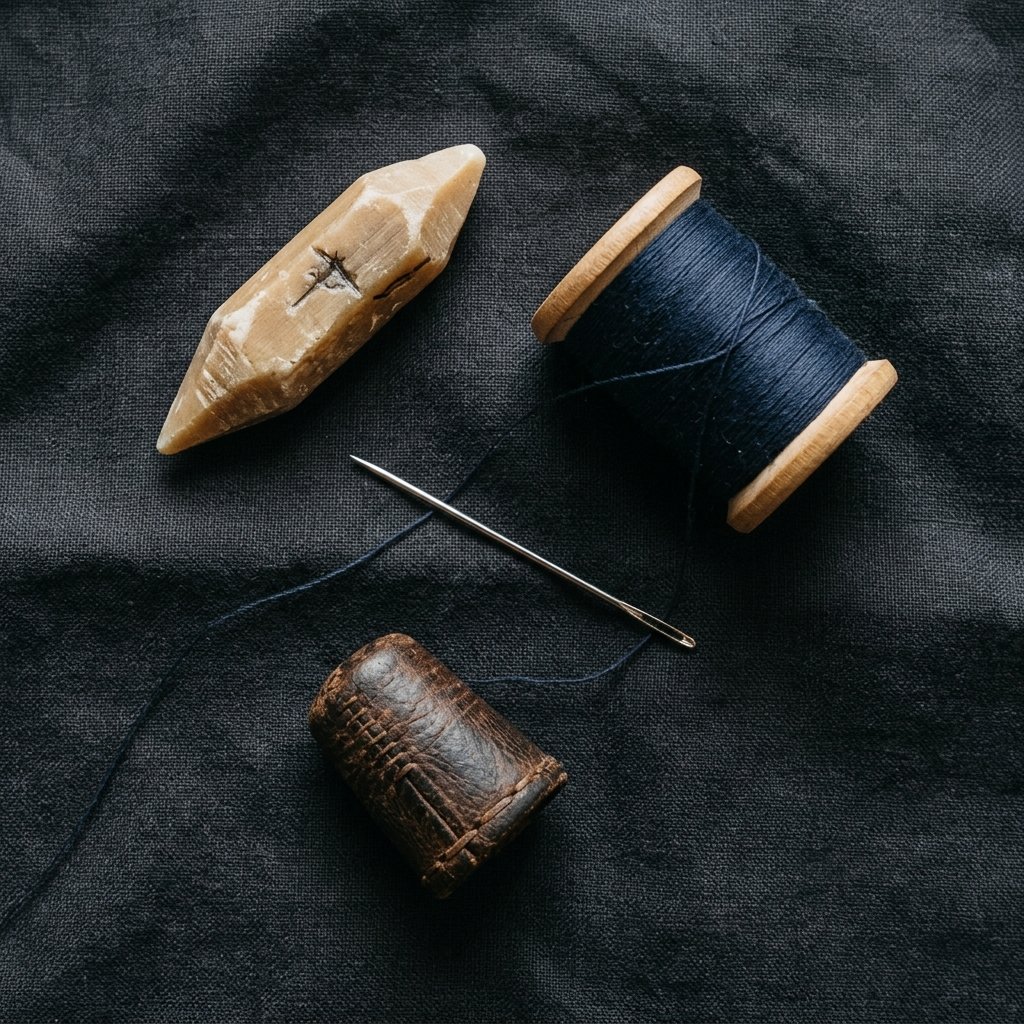
A professional finish starts with the right tools, but you do not need a fancy studio to achieve it. In fact, most of what you need can be found in a basic kit or scavenged from household items. The goal is precision and durability.
| Tool | Purpose | Budget Hack |
|---|---|---|
| Milliner’s Needle | Long and thin for delicate lining fabric. | Use the thinnest needle in your basic kit. |
| Polyester Thread | High tensile strength; won’t snap like cotton. | Scavenge from old, unwearable garments. |
| Tailor’s Chalk | Marking the repair area. | A sharpened piece of dried bar soap. |
| Thimble | Pushing through thick seams. | A small piece of leather or heavy tape on the fingertip. |
The mark of a true craftsman is not the cost of his tools, but the mastery of his hands and the resourcefulness of his spirit.
When selecting thread, always aim for a shade one tone darker than the lining fabric. Thread always looks lighter when pulled taut against the sheen of silk or polyester linings. If you are working on a vintage piece, look for 100% silk thread for a truly authentic, high-end feel.
Triage and Assessment: Knowing Your Tear
Identifying the Failure Point
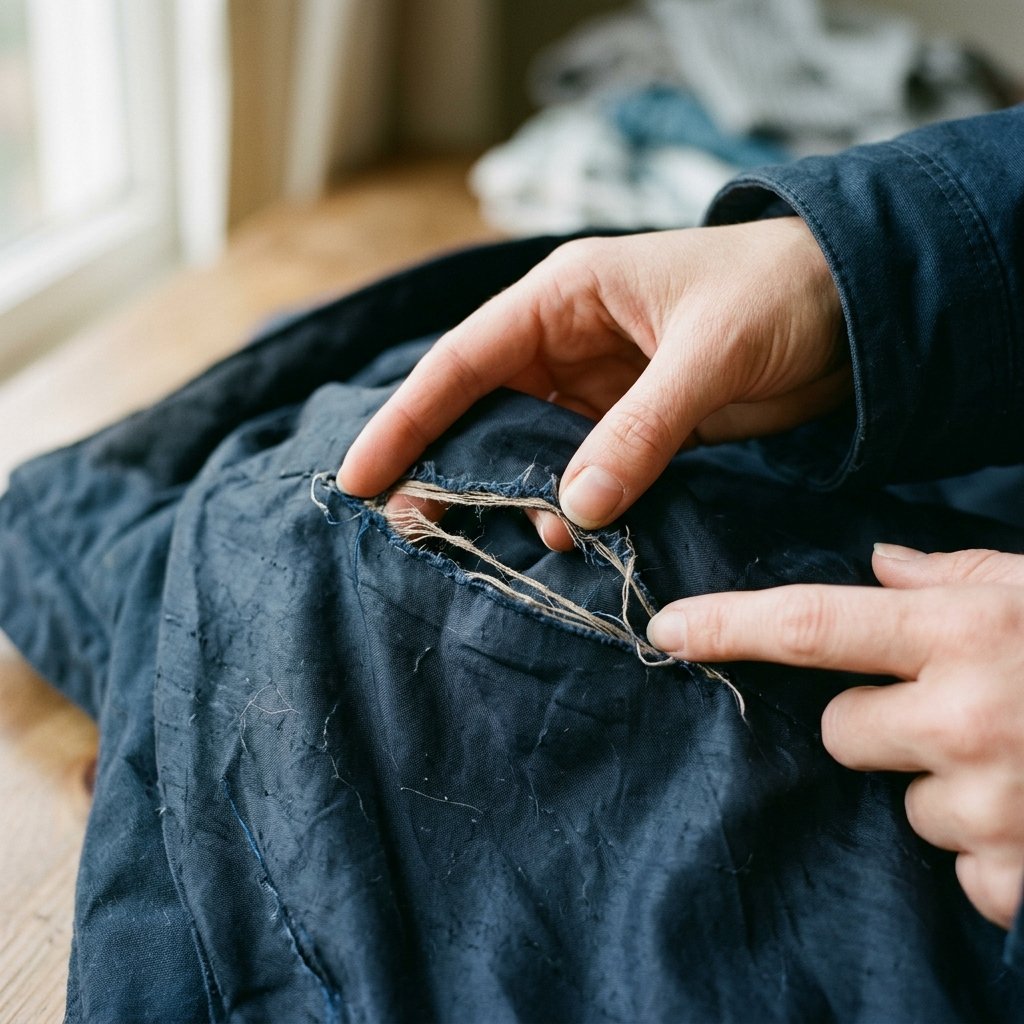
Before you take your first stitch, you must understand why the lining failed. This determines your strategy. Linings usually fail in three ways:
- The Seam Split: The thread has snapped along a structural line. This is the easiest fix.
- The Stress Tear: The fabric has shredded near a high-movement area like the armpit or center back.
- The Puncture: A sharp object (like keys in a pocket) has created a jagged hole.
For a professional-grade repair, you must stabilize the area first. If the fabric is fraying, use a tiny amount of clear nail polish or fray-check on the very edges of the tear. This prevents the repair from pulling through the weakened fibers later. Pro Tip: Always turn the jacket inside out and hang it on a sturdy hanger to see how the lining ‘falls’ naturally before pinning it.
The Ladder Stitch: The Secret to Invisible Seams
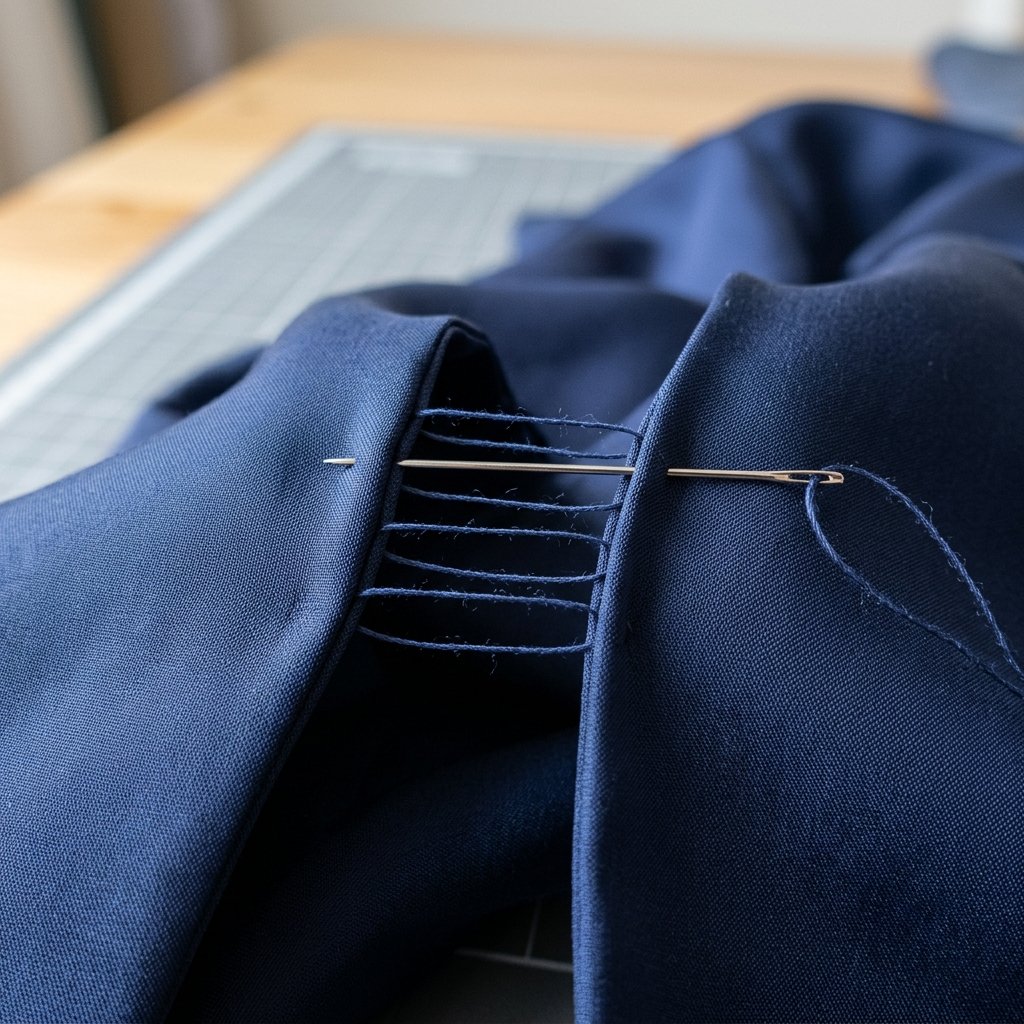
Mastering the Invisible Join
The ladder stitch (or slip stitch) is the ‘holy grail’ of hand-sewing. It allows you to join two pieces of fabric from the outside while keeping the thread completely hidden. This is how professional tailors close linings after a major alteration.
- Anchor the Thread: Knot your thread and bring the needle up through the fold of the seam from the inside, so the knot is hidden.
- The Bridge: Pass the needle across the gap and take a small horizontal stitch (about 1/8 inch) through the fold of the opposite side.
- The Ladder: Move back to the first side and take another small horizontal stitch. Your thread should look like the rungs of a ladder.
- The Reveal: After 4 or 5 ‘rungs,’ gently pull the thread taut. Watch as the two sides of the tear zip together perfectly, hiding the thread entirely.
Pull firmly but with grace; the goal is to marry the fabrics, not to choke them.
This technique is 100% free and adds years of life to a garment that might otherwise be discarded.
The Patch Protocol: Salvaging Large Rips
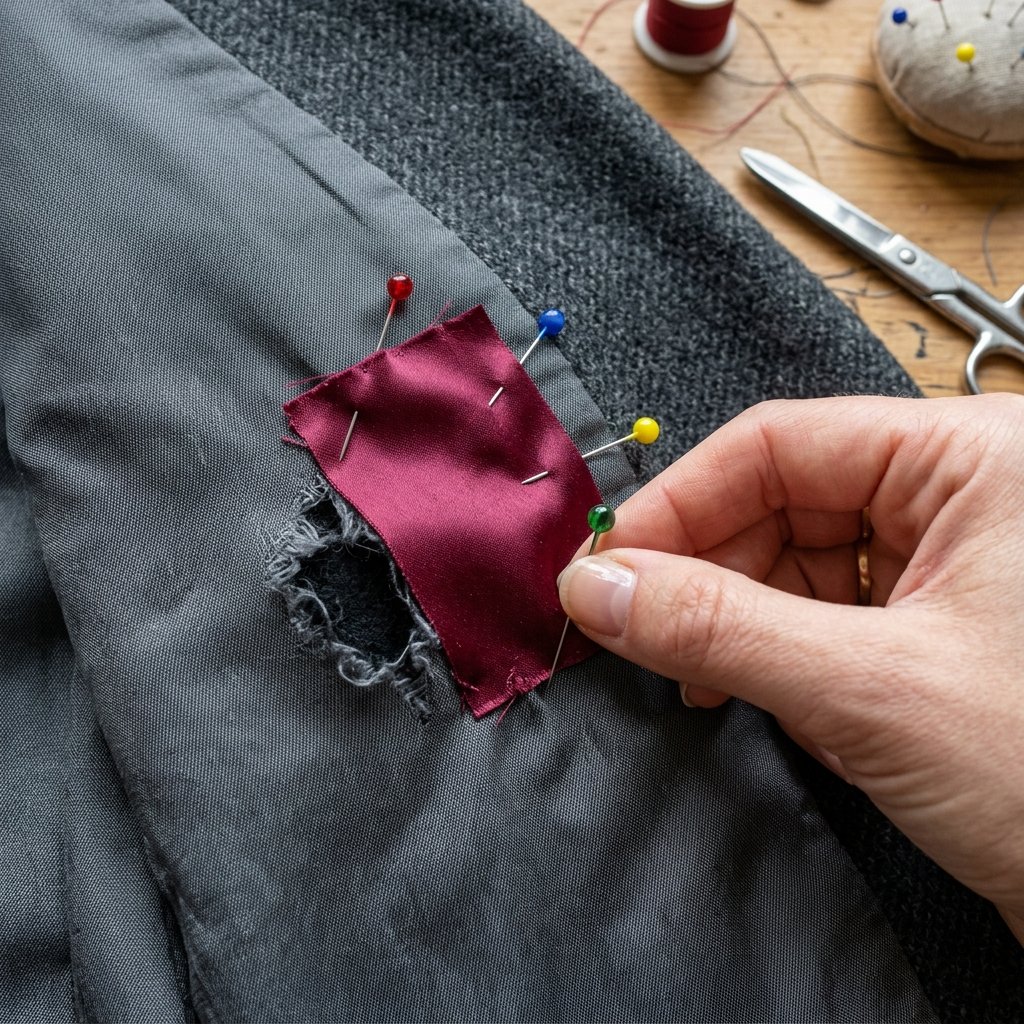
When the Fabric is Gone
Sometimes, the lining is too shredded to simply sew back together. This is where you get creative and resourceful. You need a patch. Instead of buying new fabric, look for an old silk scarf, a pocket square, or even a piece of ribbon in a coordinating color. This adds a ‘bespoke’ touch that looks intentional, like a designer detail.
| Fabric Type | Compatibility | Durability |
|---|---|---|
| Silk/Satin | Best for high-end blazers. | Medium |
| Polyester | Best for heavy winter coats. | High |
| Cotton Lawn | Great for breathable summer jackets. | High |
To apply a professional patch: cut the patch 1 inch larger than the hole on all sides. Fold the edges of the patch under by 1/4 inch and press them flat with an iron. Pin the patch over the hole and use the ladder stitch around the perimeter. This creates a clean, raised finish that protects the original garment from further wear.
Reinforcing High-Stress Zones
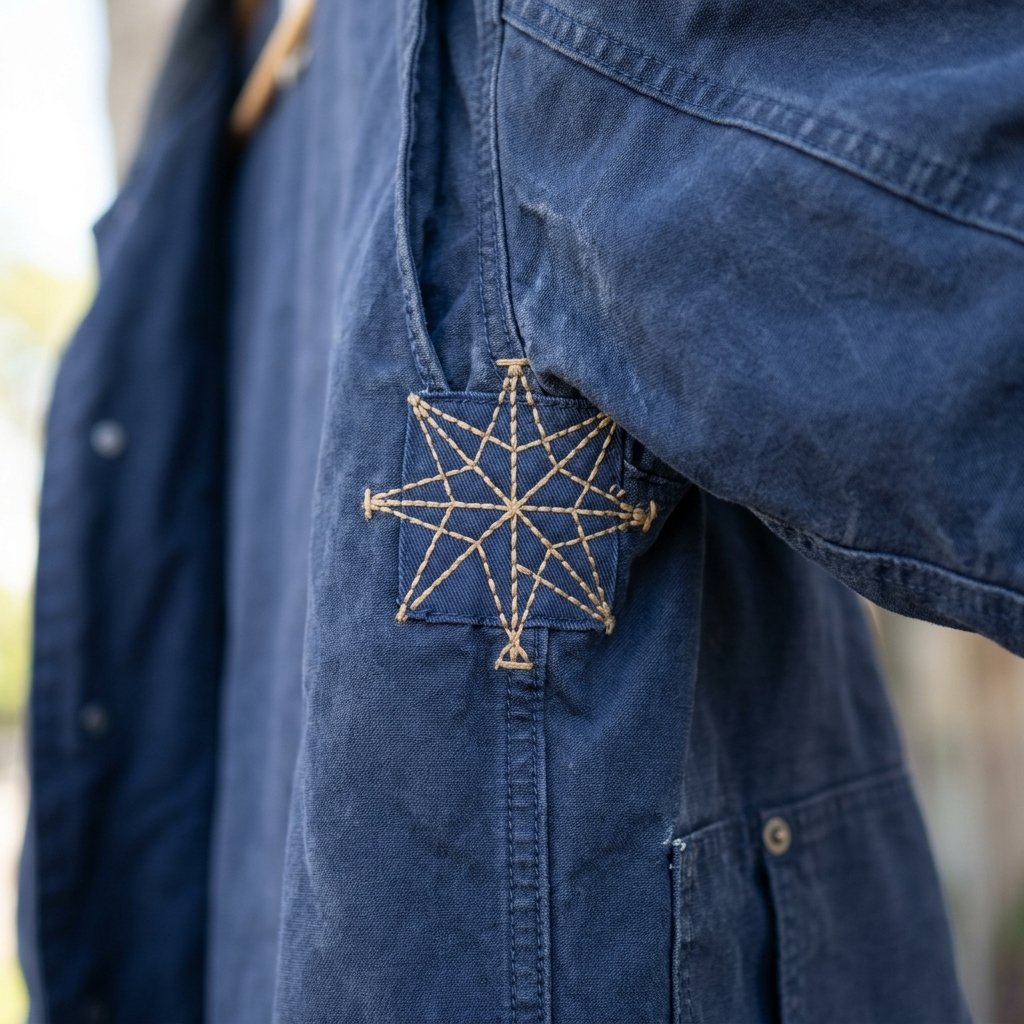
Armpits and Pockets
The most common area for a lining to fail is the armpit. This is due to the constant friction and moisture. A simple repair here will often fail again unless you fortify the area. Tailors use a ‘shield’ or a small gusset of fabric to provide extra room for movement.
- Step 1: Create a small diamond-shaped patch of matching fabric.
- Step 2: Sew this into the armpit junction using a reinforced backstitch for extra strength.
- Step 3: Ensure the stitches are loose enough to allow the fabric to flex; if they are too tight, the fabric will simply rip again next to your repair.
For pocket linings, use a double-run stitch. Since pockets hold weight (phones, keys, wallets), they require a heavy-duty approach. Turn the pocket inside out, sew the seam twice, and finish the edge with a whipstitch to prevent fraying. You’ve just saved $40-$60 in professional tailoring fees with 15 minutes of work.
The Final Polish: Pressing and Care
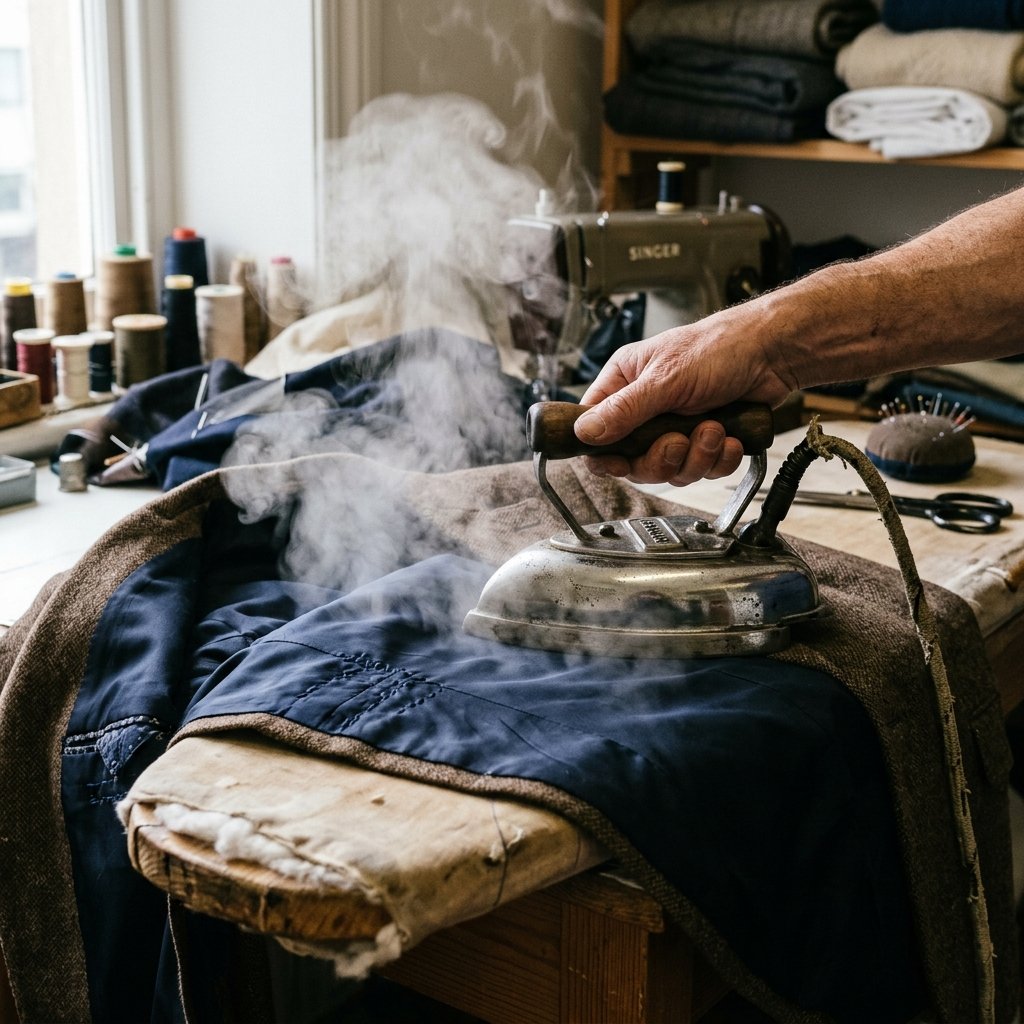
A repair isn’t finished until it is pressed. Steam is the secret weapon of the professional tailor. It ‘seats’ the stitches into the fabric, making the thread disappear and the fabric lay flat. Warning: Be extremely careful with synthetic linings; use a pressing cloth (a clean cotton rag) between the iron and the lining to prevent melting.
Treat your clothes like an investment, and they will pay dividends in confidence and style.
By taking the time to mend your own gear, you aren’t just saving money; you are participating in a sustainable, rugged tradition of self-reliance. Your jacket now has a story, and you have the skills to keep it in service for another decade.
Conclusion
The Master Tailor in You
Fixing a ripped jacket lining is more than just a chore; it is a masterclass in resourcefulness. You have taken a garment destined for the bin and, through the power of a few strategic stitches, restored it to professional standards. This budget-savvy approach not only saves you a significant amount of money but also builds a deeper connection with the items you own. Whether you are a frugal DIYer saving a thrift store find or a handy parent fixing a school blazer, the ability to mend is a superpower. Wear your repaired jacket with pride, knowing that the inside is just as refined and resilient as the outside. Happy mending!

Makenzie is the founder and lead writer at MoneyHackTips.com — a personal finance blog dedicated to delivering street-smart financial wisdom for real people on real budgets. With 300+ published articles covering everything from debt management to investing fundamentals, Makenzie’s mission is to make every dollar work harder. When not writing about money hacks, Makenzie is testing frugal living strategies, optimizing side hustles, and helping readers build financial freedom from scratch.