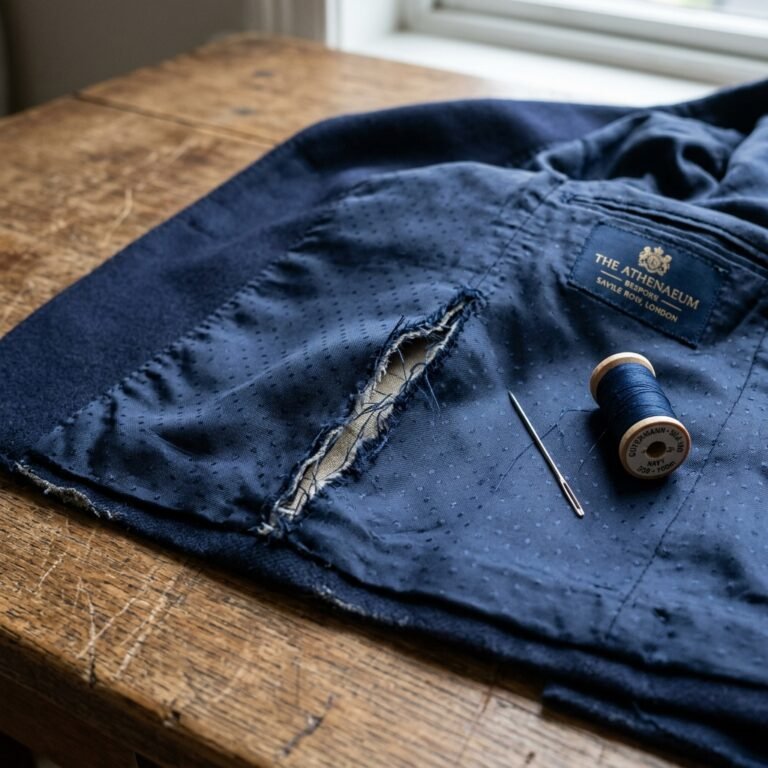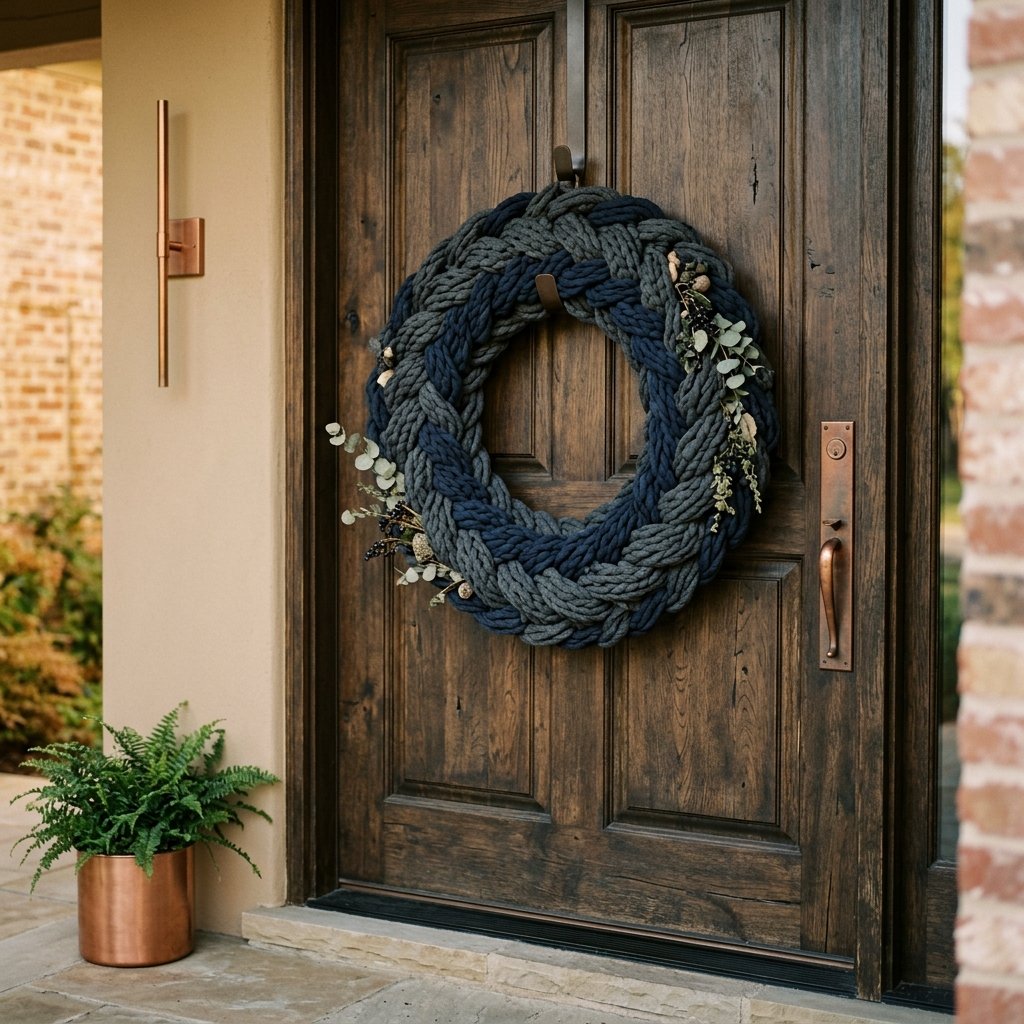

Let’s be honest: walking through the seasonal aisle of a high-end home store can be a soul-crushing experience for the budget-conscious decorator. You see a beautiful, textured wreath, reach for the tag, and realize they want $65 for what essentially amounts to fabric and wire. As a resourceful DIYer, your first instinct shouldn’t be to reach for your wallet—it should be to reach for that pile of old t-shirts sitting in the back of your closet. We are going to architect a stunning, ruggedly elegant door wreath for virtually $0. This isn’t just about saving money; it’s about a clever, crafty reclamation of materials that would otherwise end up in a landfill. By the end of this guide, you will have a bespoke piece of decor that looks like it was plucked from a boutique, but cost you nothing more than a few hours of creative focus.
The Closet Reconnaissance: Scouting Your Scraps

Before we start cutting, we need to select the right materials. Not all t-shirts are created equal when it comes to yarn production. For a wreath that looks sophisticated and masculine-elegant, we want to focus on 100% cotton or high-cotton blends. These fabrics have the right weight and ‘curl’ when cut into strips, creating that professional, tubular yarn look.
Fabric Selection Matrix
When scouting your closet or the local thrift store, look for shirts without side seams if possible. Side seams create lumps in your yarn. If you have to use them, we can work around it, but ‘tubular’ knit shirts are the gold standard for a smooth finish.
| Fabric Type | Wreath Result | Best Style |
|---|---|---|
| 100% Heavy Cotton | Thick, rugged loops | Industrial/Farmhouse |
| Jersey Blend | Soft, consistent drape | Modern Minimalist |
| Heathered Tri-blend | Textured, multi-tone look | Rustic Elegant |
| Old Flannel Scraps | Frayed, cozy texture | Winter Traditional |
“The secret to a high-end look is consistency. Choose 3-4 shirts in the same color family—like charcoal, slate, and navy—to create a sophisticated gradient that hides the fact that you’re using old laundry.”
Engineering the Strand: The Art of Continuous T-Shirt Yarn
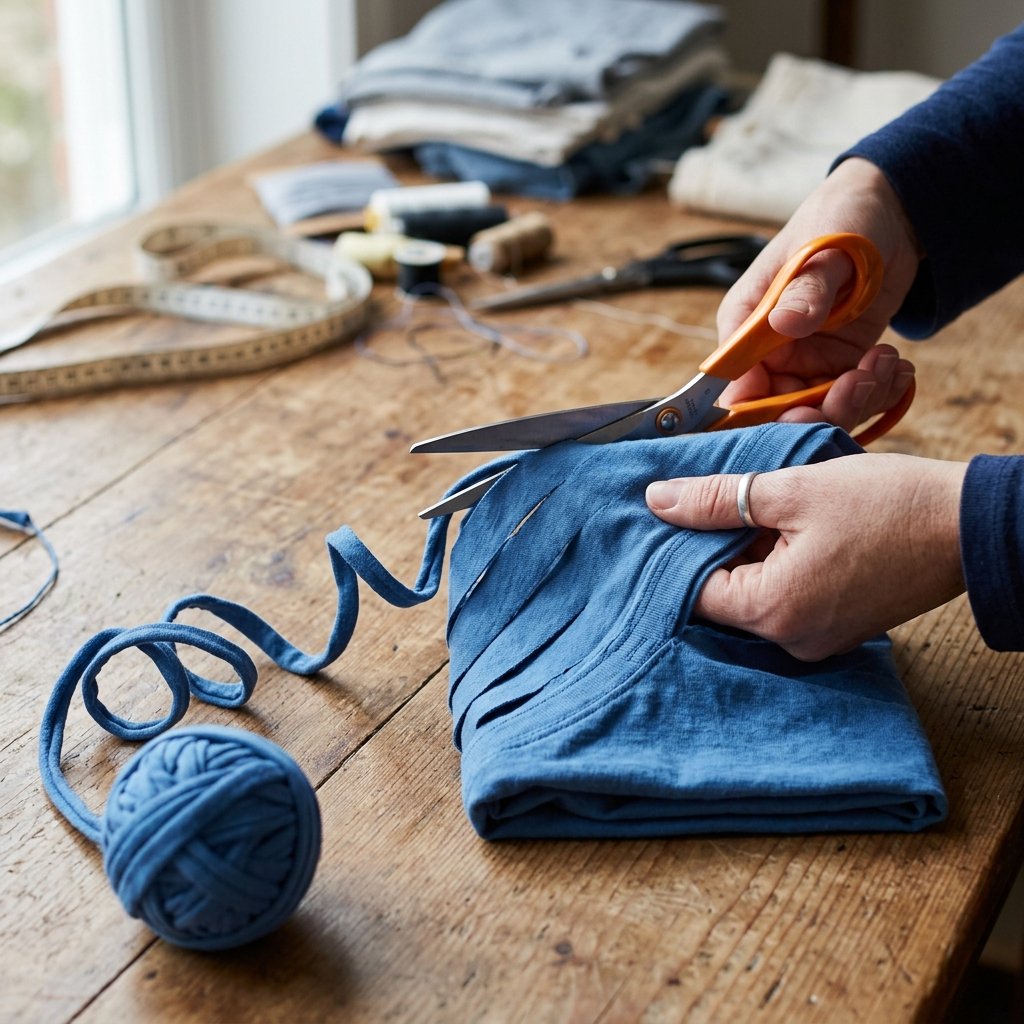
Creating the yarn is where most people fail by cutting short, useless strips. To make a wreath that lasts, we need long, continuous strands. This clever technique allows you to turn one single shirt into roughly 30 to 50 yards of yarn in under 10 minutes.
The Continuous Loop Method
- Lay the shirt flat on your workspace and cut off the bottom hem and the top section (from the armpits up). You are left with a fabric rectangle.
- Fold the rectangle in half vertically, but leave about 1 inch of the bottom layer protruding past the top layer.
- Cut strips approximately 1 inch wide starting from the folded edge, stopping just as you hit that 1-inch protrusion. Do not cut all the way through!
- Open the shirt so the uncut 1-inch center strip is facing you.
- Cut diagonally from the first slit to the second, the second to the third, and so on. This creates one long, unbroken spiral of fabric.
- The Magic Step: Grab the strand and pull it taut. The cotton will curl inward on itself, hiding the raw edges and creating a professional-grade ‘yarn’ cord.
Framework on a Dime: Creating a Sturdy Wreath Base
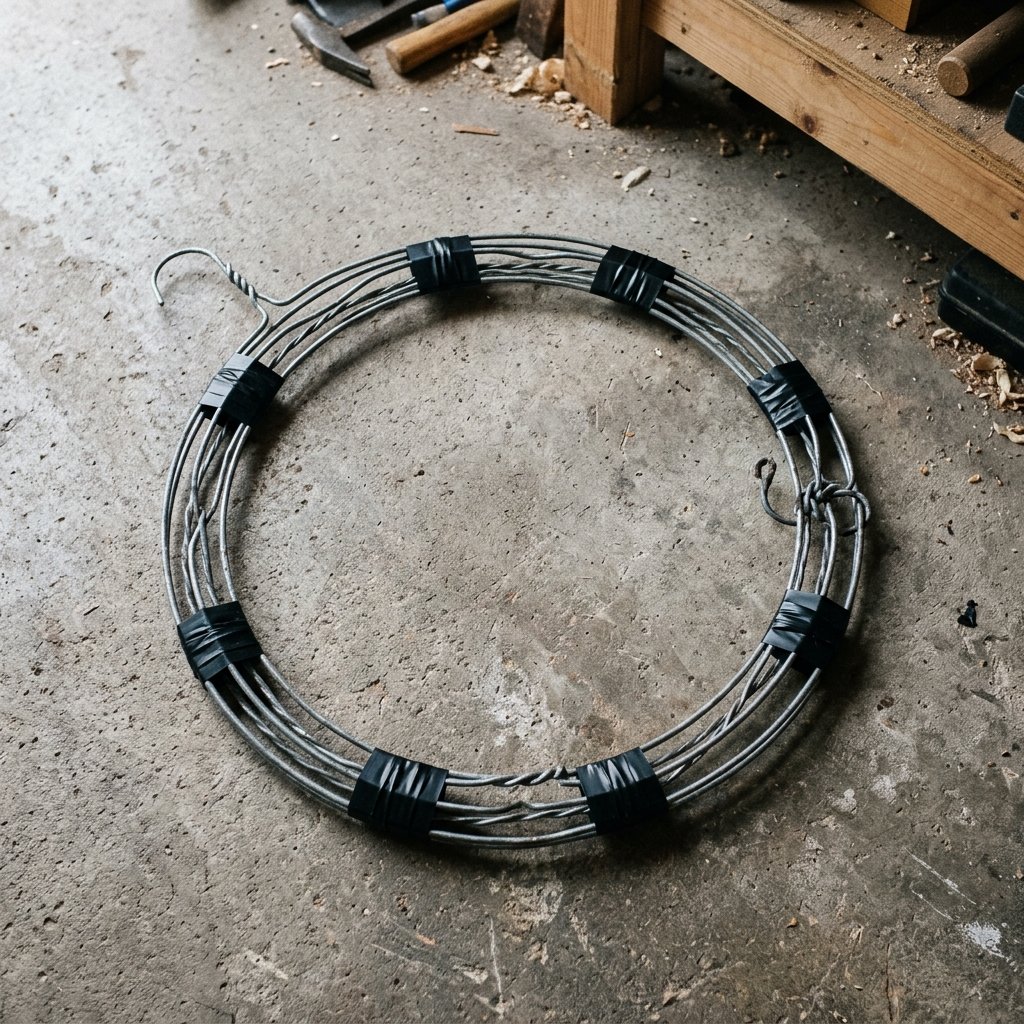
Stop buying $10 wire wreath forms. As a crafty expert, you know that the skeleton of your project can be salvaged from everyday household items. A sturdy base is the foundation of a rugged, long-lasting wreath.
Zero-Budget Base Alternatives
- The Wire Hanger Hack: Take two heavy-duty dry cleaning hangers, pull them into circles, and lash them together with floral wire or zip ties. This provides a rigid, slim profile.
- The Cardboard Core: Trace two large circles on a shipping box (use a trash can lid and a dinner plate for templates). Cut them out to create a flat, wide donut. This is perfect for a full, ‘shaggy’ style wreath.
- The Garden Vine: If you have invasive vines like honeysuckle or grapevine in your yard, twist them into a circle while green. It’s 100% free and adds an organic, masculine touch.
| Base Material | Cost | Durability |
|---|---|---|
| Store-bought Wire Form | $5.00 – $12.00 | High |
| Upcycled Wire Hangers | $0.00 | Medium-High |
| Reinforced Cardboard | $0.00 | Medium |
The Assembly Line: Weaving Your Masterpiece

Now we bring the vision to life. There are two primary ways to attach your yarn: the Lark’s Head Knot for a shaggy, modern look, or the Continuous Wrap for a sleek, architectural finish. We will focus on the knot method as it provides the most ‘high-end’ texture with the least amount of effort.
Step-by-Step Looping
- Cut your t-shirt yarn into 6-inch strips. You will need approximately 150-200 strips for a standard 12-inch wreath.
- Fold a strip in half to create a loop.
- Place the loop under your wreath form.
- Pull the two loose ends over the form and through the loop (the Lark’s Head Knot).
- Pull tight and slide the knot so it sits flush against the previous one.
- Repeat until the entire form is covered. Pro Tip: Pack them tightly! The denser the knots, the more expensive the wreath looks.
“Don’t worry about perfection. The beauty of the t-shirt yarn is its organic texture. If some strips are slightly longer, you can give the whole wreath a ‘haircut’ at the end to even it out.”
Elevated Aesthetics: Finishing with Masculine-Elegant Flair

To move from ‘craft project’ to ‘designer decor,’ we need to add a focal point. Avoid the cheap plastic flowers. Instead, opt for materials that suggest a rugged, sophisticated lifestyle.
Styling Add-ons
- Leather Accents: Use a scrap of an old leather belt to create a hanging loop. The contrast between the soft jersey knit and the tough leather is peak ‘masculine-elegant.’
- Natural Elements: Tuck in a few sprigs of dried eucalyptus or a single oversized pinecone.
- Metal Hardware: A large copper washer or a vintage skeleton key tied to the center with twine adds an industrial edge that balances the softness of the fabric.
By keeping your color palette tight and your accents high-quality, you ensure the piece looks intentional and bespoke.
Budget Comparison & Longevity Secrets
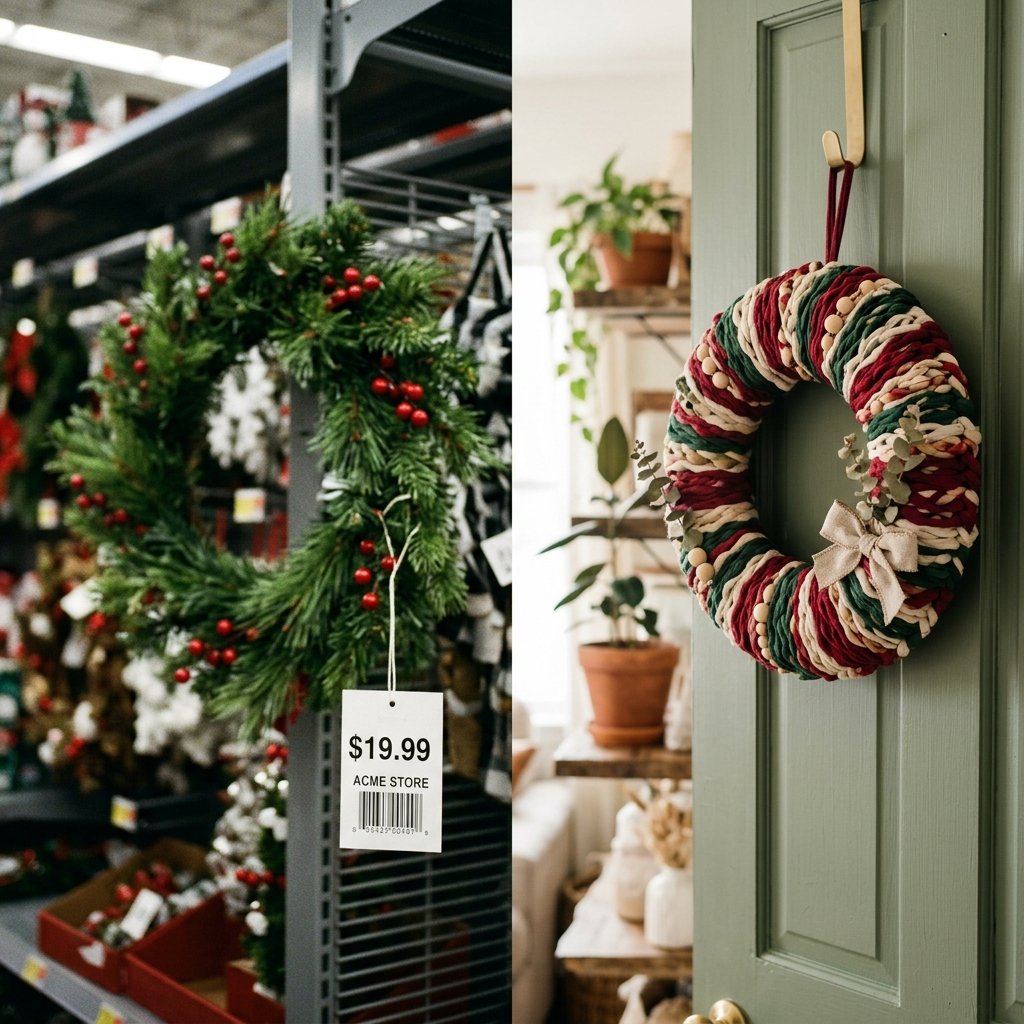
Let’s look at the cold, hard numbers. When you choose to be a resourceful creator, the savings are staggering. This project proves that style is about ingenuity, not your credit limit.
| Item | Retail Price (Boutique) | DIY Upcycled Cost |
|---|---|---|
| Wreath Form | $8.00 | $0.00 (Hanger) |
| Textured Yarn/Fabric | $35.00 | $0.00 (Old Shirts) |
| Decorative Accents | $15.00 | $0.00 (Salvaged) |
| Total | $58.00 | $0.00 |
Maintenance Tips
Because this is made of cotton, it is durable but can attract dust. Every few months, give it a quick shake outside or use a lint roller. If it’s hanging on a front door, ensure you have a storm door or a deep overhang; while cotton is tough, constant direct rain will cause it to lose its shape over time.
Conclusion
You’ve done it. You’ve successfully turned a pile of forgotten clothing into a striking piece of home decor that commands attention. This DIY T-Shirt Yarn Wreath is a testament to the power of the frugal mindset: seeing the potential in the discarded. Whether you’re gifting this to a friend or hanging it proudly on your own front door, you’ve saved nearly $60 and kept textiles out of the waste stream. Keep that clever, budget-savvy spirit alive—your home (and your wallet) will thank you. Now, go take a look at your closet; what other treasures are hiding in your ‘trash’ pile?

Makenzie is the founder and lead writer at MoneyHackTips.com — a personal finance blog dedicated to delivering street-smart financial wisdom for real people on real budgets. With 300+ published articles covering everything from debt management to investing fundamentals, Makenzie’s mission is to make every dollar work harder. When not writing about money hacks, Makenzie is testing frugal living strategies, optimizing side hustles, and helping readers build financial freedom from scratch.