
The Resurrection of the Well-Worn Wardrobe
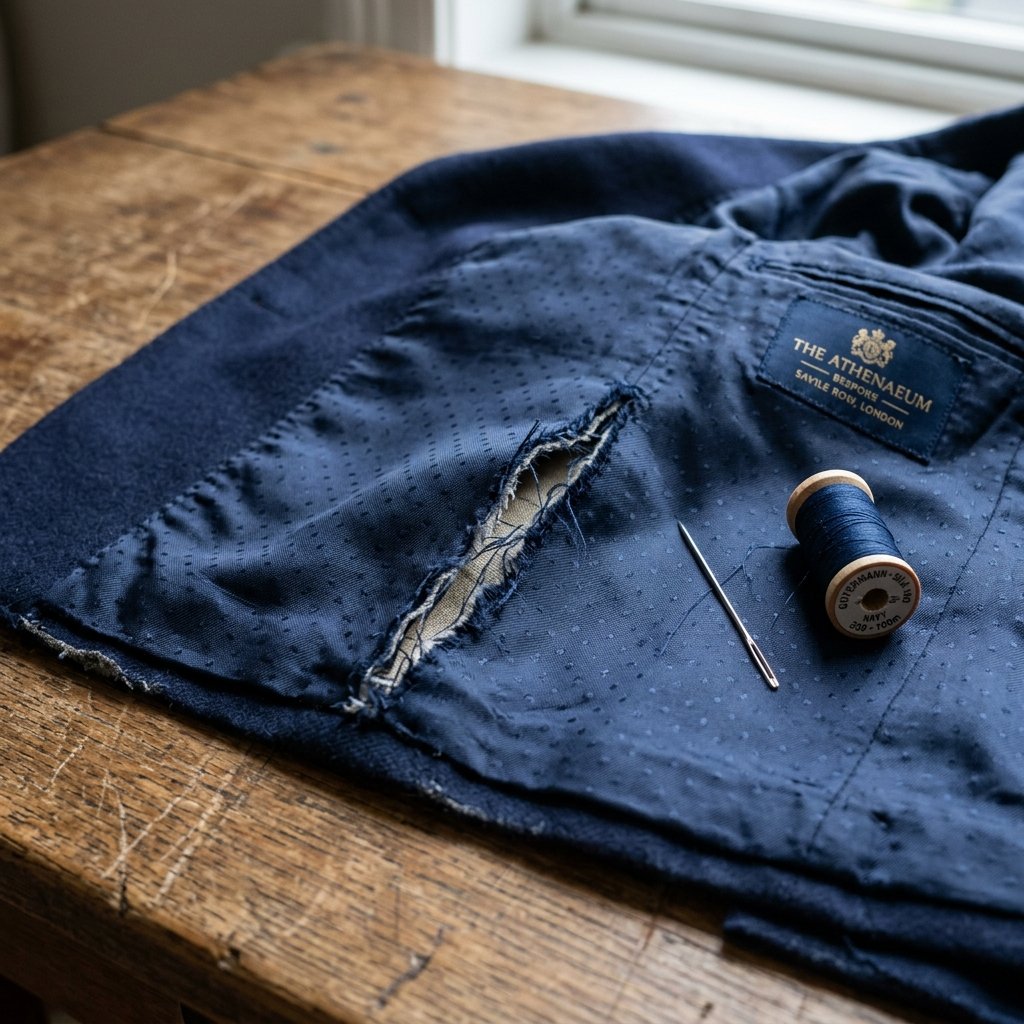
There is a specific kind of heartbreak that occurs when you reach for your favorite blazer—the one that fits like a second skin and makes you feel like a million bucks—only to find your hand snagging on a jagged tear in the lining. To the uninitiated, this looks like the end of the line. They see a trip to an expensive tailor or, worse, a perfectly good garment destined for the donation bin. But you? You are a resourceful DIYer. You know that a blazer is an investment, and a minor tear in the silk or acetate lining is merely a tactical challenge to be overcome.
Mending your own clothes is more than just a way to save $30 to $50 on professional tailoring; it is a rugged, practical skill that connects you to the craftsmen of old. Whether you are a busy parent keeping the family’s Sunday best in rotation or a budget-savvy professional maintaining a sharp silhouette on a dime, this 15-minute fix is your secret weapon. In this guide, we aren’t just ‘fixing a hole’; we are performing a precision invisible mend that will leave your blazer looking—and feeling—brand new. Let’s get your wardrobe back in fighting shape.
The Tactical Assessment: Diagnosing the Rip
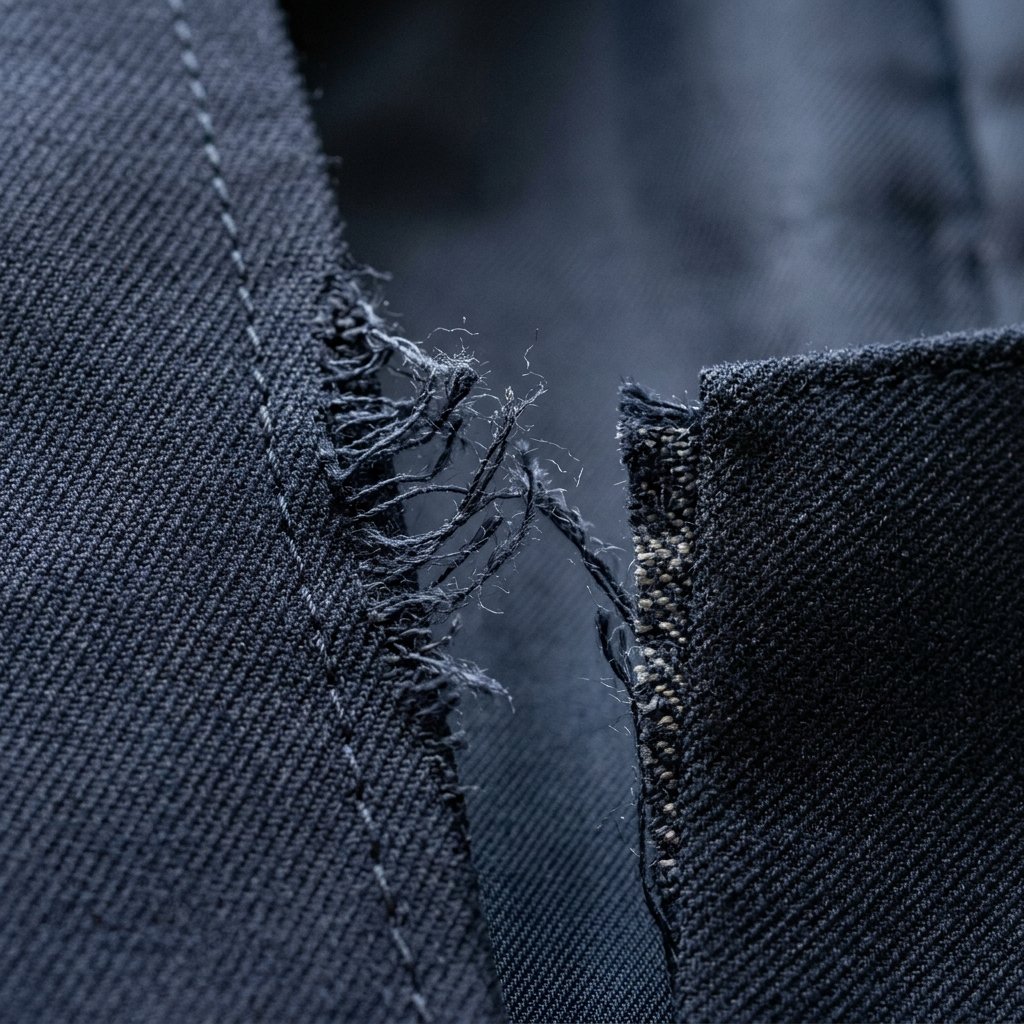
Before we pick up the needle, we need to understand what we are dealing with. Not all tears are created equal. Most lining failures happen at the ‘stress points’—the armpits, the center back seam, or the pockets. These are usually seam failures, where the thread has snapped but the fabric remains intact. If the fabric itself has shredded, we may need a slightly different approach, but for a standard 15-minute save, we are looking for that clean opening along a structural line.
| Damage Type | Identification | The Fix |
|---|---|---|
| Seam Pop | Clean separation where two panels meet. | Ladder Stitch |
| Fabric Shred | Frayed edges with missing material. | Patching or Darning |
| Corner Tear | An ‘L’ shaped rip near a pocket or vent. | Reinforced Catch Stitch |
The Mender’s Mantra: A stitch in time saves nine, but a clever stitch today saves a hundred-dollar blazer tomorrow.
The Bare-Bones Toolkit: What You Actually Need
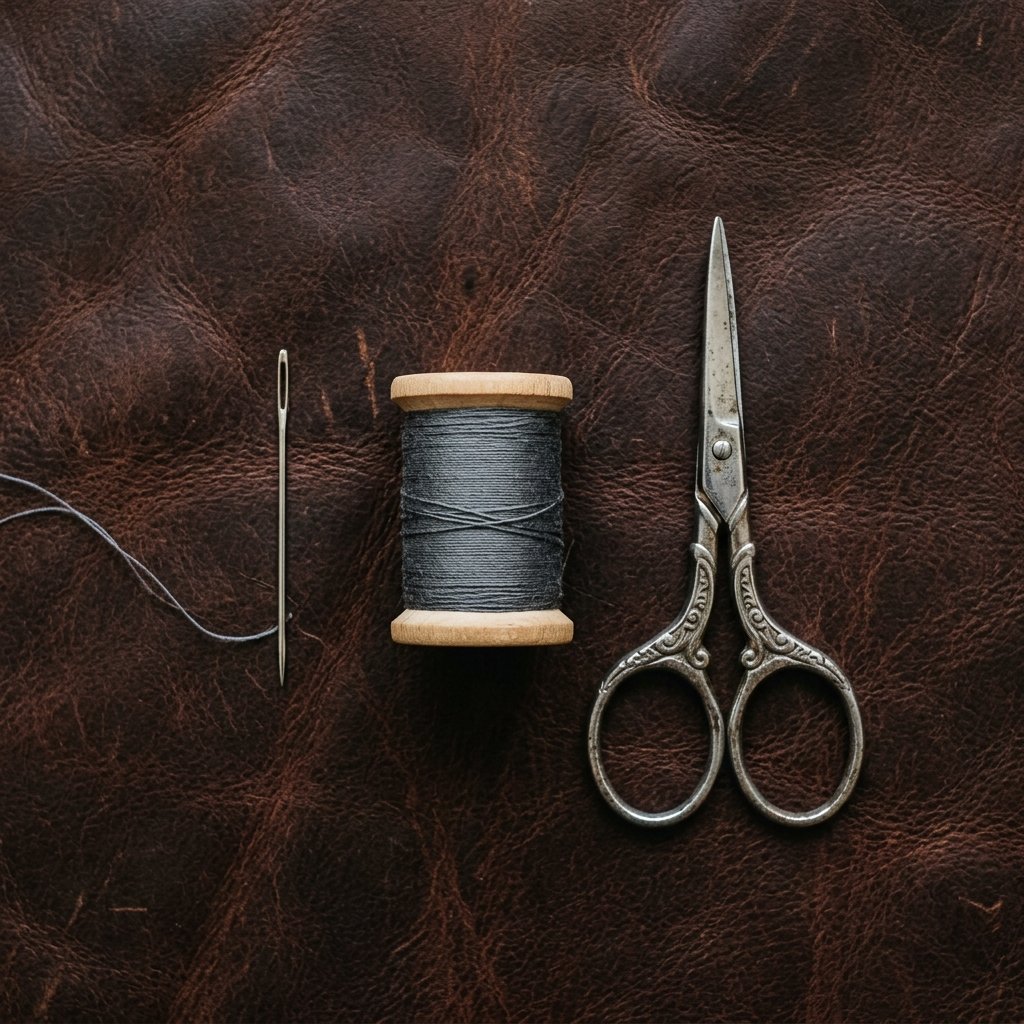
You don’t need a heavy-duty sewing machine or a dedicated craft room for this repair. A truly clever crafter keeps a minimal, high-quality kit ready for action. The goal here is precision and invisibility. If you choose the right thread, your repair will be virtually undetectable to the naked eye.
- Fine Hand-Sewing Needle: Look for a ‘sharp’ or ‘between’ in size 9 or 10. You want something thin enough to glide through delicate lining without leaving visible puncture marks.
- Matching Thread: This is critical. For most linings (acetate, polyester, or silk), a 100% polyester thread is actually better than cotton because it has a slight stretch and a high-sheen finish that matches the lining.
- Small Snips or Scissors: To cleanly trim away any ‘whiskers’ (loose threads) before you begin.
- A Thimble (Optional): If you’re working through a heavy wool layer underneath the lining, your fingertips will thank you.
| Item | Recommended Type | Estimated Cost |
|---|---|---|
| Needle | Size 9 Sharp | $0.15 |
| Thread | Polyester All-Purpose | $0.05 (per repair) |
| Scissors | Embroidery Snips | $0.00 (Owned) |
| Total Project Cost | – | $0.20 |
The Master Class: The Invisible Ladder Stitch
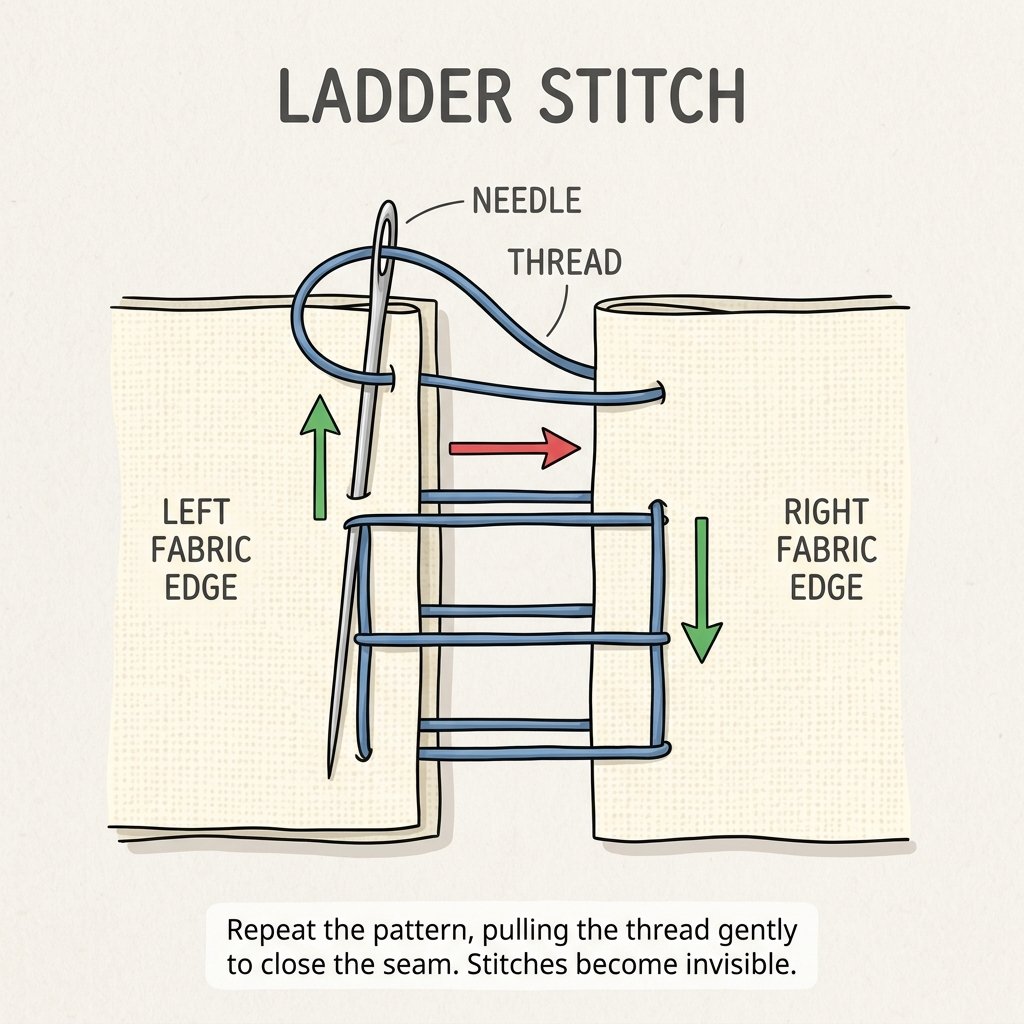
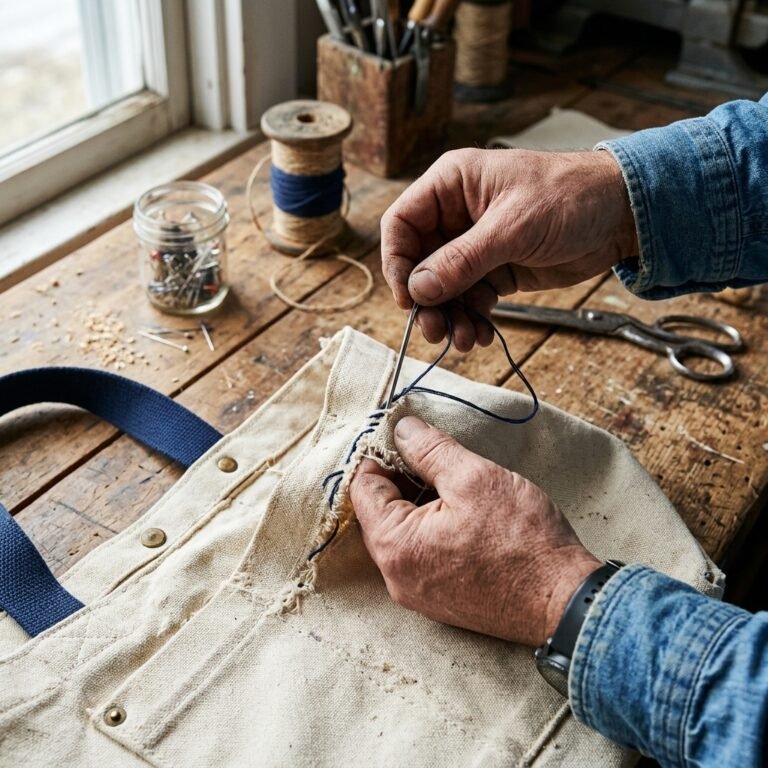
The Ladder Stitch (also known as a slip stitch) is the ‘ninja’ of the tailoring world. It allows you to join two folded edges of fabric from the outside while keeping the thread hidden inside the folds. It is the gold standard for blazer linings because it mimics the original machine construction.
Step-by-Step Execution:
- Prep the Area: Trim any loose, dangling threads from the rip. Fold the raw edges of the lining back to their original positions (following the crease of the seam).
- Anchor the Thread: Knot your thread and insert the needle 0.25 inches behind where the rip begins. Hide the knot inside the seam.
- The First ‘Rung’: Bring the needle out through the fold on ‘Side A’. Cross over to ‘Side B’ and insert the needle directly opposite. Slide the needle through the fold of ‘Side B’ for about 1/8th of an inch.
- Build the Ladder: Cross back to ‘Side A’ and repeat. Ensure your stitches are parallel, like the rungs of a ladder. Keep the tension loose as you work.
- The Magic Cinch: After every 4 or 5 rungs, gently pull the thread. You will see the two sides of the fabric zip together perfectly, hiding the thread entirely.
- The Final Lock: Once you reach the end of the rip, take a tiny backstitch and create a surgeon’s knot. Bury the tail of the thread inside the lining before snipping.
Pro Tip: Do not pull the thread too tight! Lining fabric needs to move. If you over-tighten, the fabric will pucker, and the tension will eventually cause a new rip. Aim for a firm but flexible finish.
Reinforcing the Stress Zones
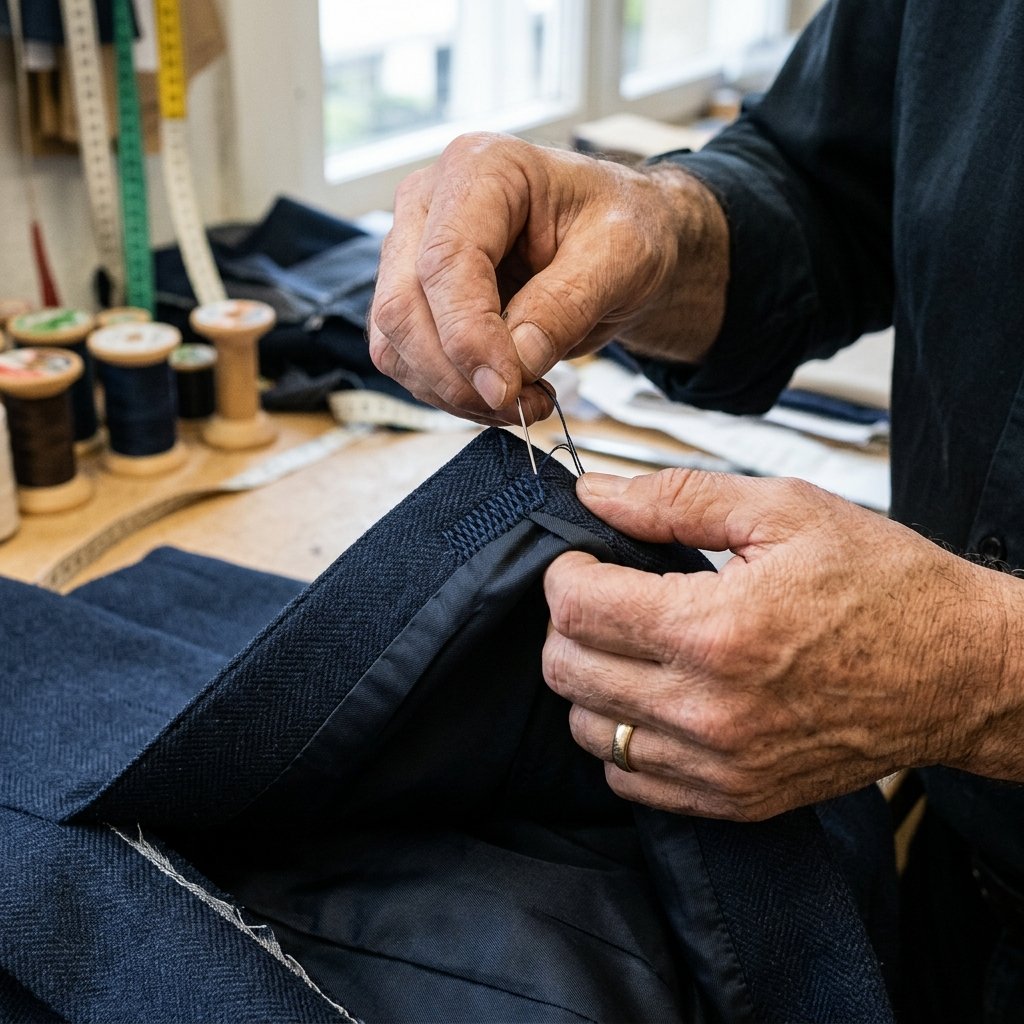
If your blazer lining ripped once, it’s likely a sign of stress. To prevent a repeat performance, we can add a bit of rugged reinforcement. This is where the ‘handy’ part of being a handy parent or professional comes in. We aren’t just fixing; we are improving.
If the fabric is particularly thin at the armpit, consider a ‘stay stitch’—a series of small, overlapping stitches at the very ends of your repair to act as a structural anchor. This distributes the weight of your movement across a larger area of fabric, preventing the ‘pop’ that happens when you reach for your coffee or hail a cab.
| Stress Zone | Common Cause | Reinforcement Strategy |
|---|---|---|
| Armpit | Friction & Moisture | Double-thread stay stitches |
| Back Vent | Sitting/Moving | Bar tack at the top of the vent |
| Pocket Bag | Heavy Items (Phones/Keys) | Whipstitch the corner joins |
The Economics of the 15-Minute Mend
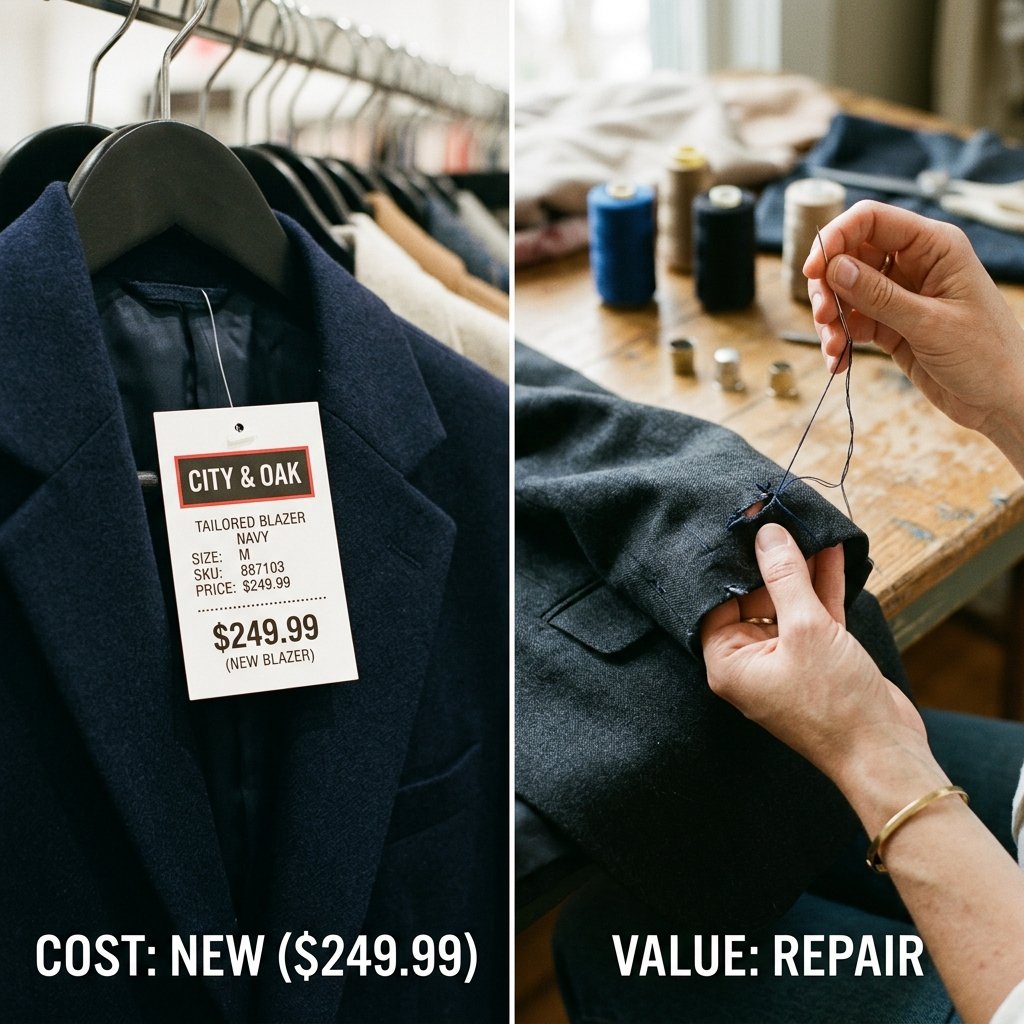
Let’s talk numbers. We live in a ‘disposable’ culture, but the budget-savvy individual knows that wealth is built by maintaining what you own. When you spend 15 minutes mending a blazer, you aren’t just saving the cost of a new jacket; you are preserving the value of your existing wardrobe.
Consider this: a high-quality wool blazer can cost anywhere from $200 to $600. A professional tailor will charge a minimum bench fee of $25 for even the smallest repair. By doing this yourself, you are essentially ‘paying’ yourself an hourly rate of $100/hour. Plus, you avoid the two-week wait time at the tailor’s shop. That is what we call a masculine-elegant win.
| Metric | Professional Tailor | DIY Mending |
|---|---|---|
| Financial Cost | $25 – $45 | ~$0.20 |
| Time Investment | 3-10 Days | 15 Minutes |
| Skill Level | Expert | Beginner (with this guide) |
| Satisfaction | Low (Transaction) | High (Craftsmanship) |
Conclusion
Wear Your Repair with Pride
There you have it—a perfectly mended blazer lining achieved in the time it takes to drink a cup of coffee. By mastering the ladder stitch and taking a resourceful approach to garment care, you’ve extended the life of your clothing and kept your hard-earned money in your pocket. This isn’t just about sewing; it’s about the crafty expertise that defines a truly self-reliant individual. Next time you see a loose thread or a small gap in a seam, don’t ignore it. Grab your needle, find your thread, and take those 15 minutes to ensure you always step out looking your absolute best. Stay sharp, stay frugal, and keep creating.

Makenzie is the founder and lead writer at MoneyHackTips.com — a personal finance blog dedicated to delivering street-smart financial wisdom for real people on real budgets. With 300+ published articles covering everything from debt management to investing fundamentals, Makenzie’s mission is to make every dollar work harder. When not writing about money hacks, Makenzie is testing frugal living strategies, optimizing side hustles, and helping readers build financial freedom from scratch.