
The Art of the Thousand-Crane Vow
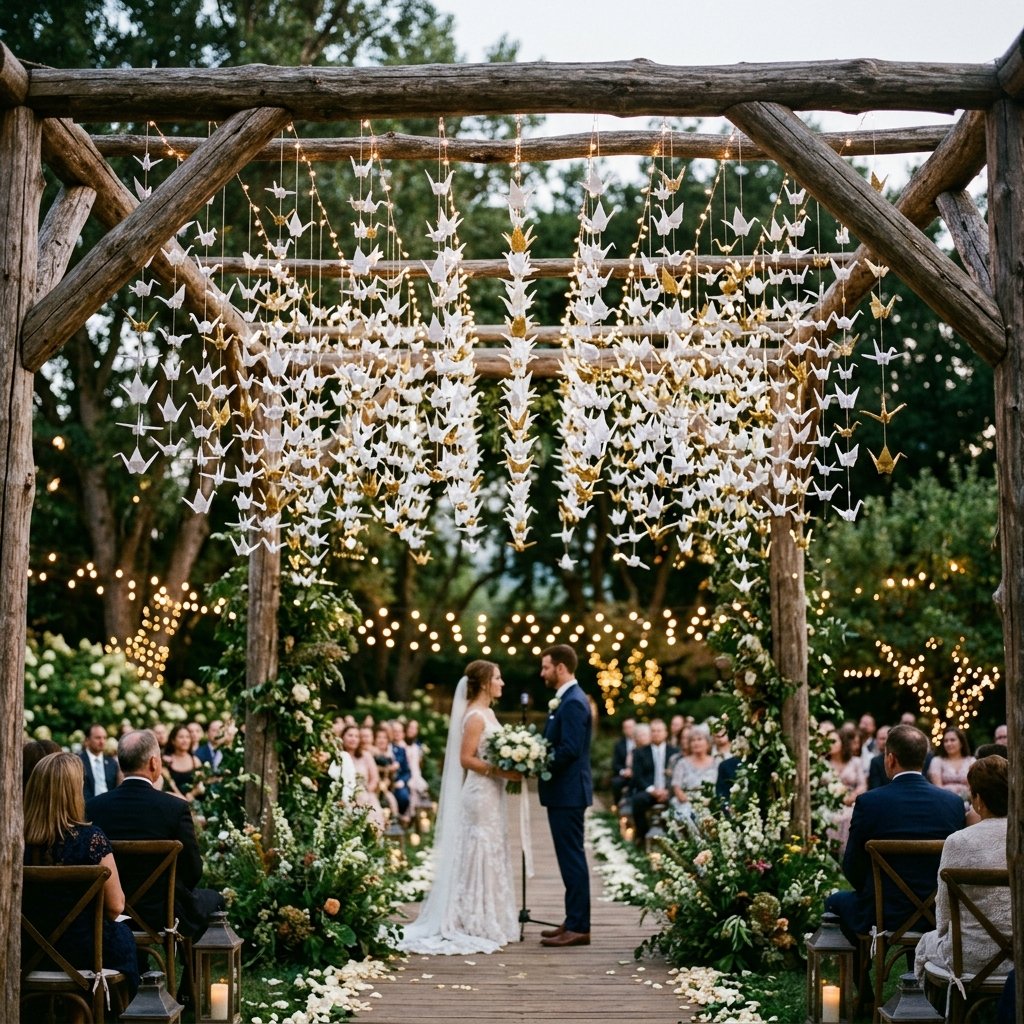
In Japanese tradition, folding one thousand paper cranes—known as Senbazuru—is said to grant the folder a single wish, often for recovery from illness or, in the case of weddings, a long and prosperous marriage. But beyond the beautiful symbolism, the origami crane curtain has become a staple for the resourceful DIYer looking to inject high-end, whimsical elegance into their ceremony without the high-end price tag. As a budget-savvy crafter, you know that the most impactful decor doesn’t come from a luxury rental catalog; it comes from hours of dedicated craft and clever material sourcing. This project is the ultimate ‘labor of love,’ turning literally $20 to $50 of paper and string into a $1,500 designer-style installation. Whether you are a handy groom looking to build a rugged frame or a crafty bride aiming for a delicate aesthetic, this guide will walk you through the precise mechanics of folding, stringing, and rigging a professional-grade crane backdrop.
Strategic Sourcing: High-Impact Materials on a Zero-Waste Budget
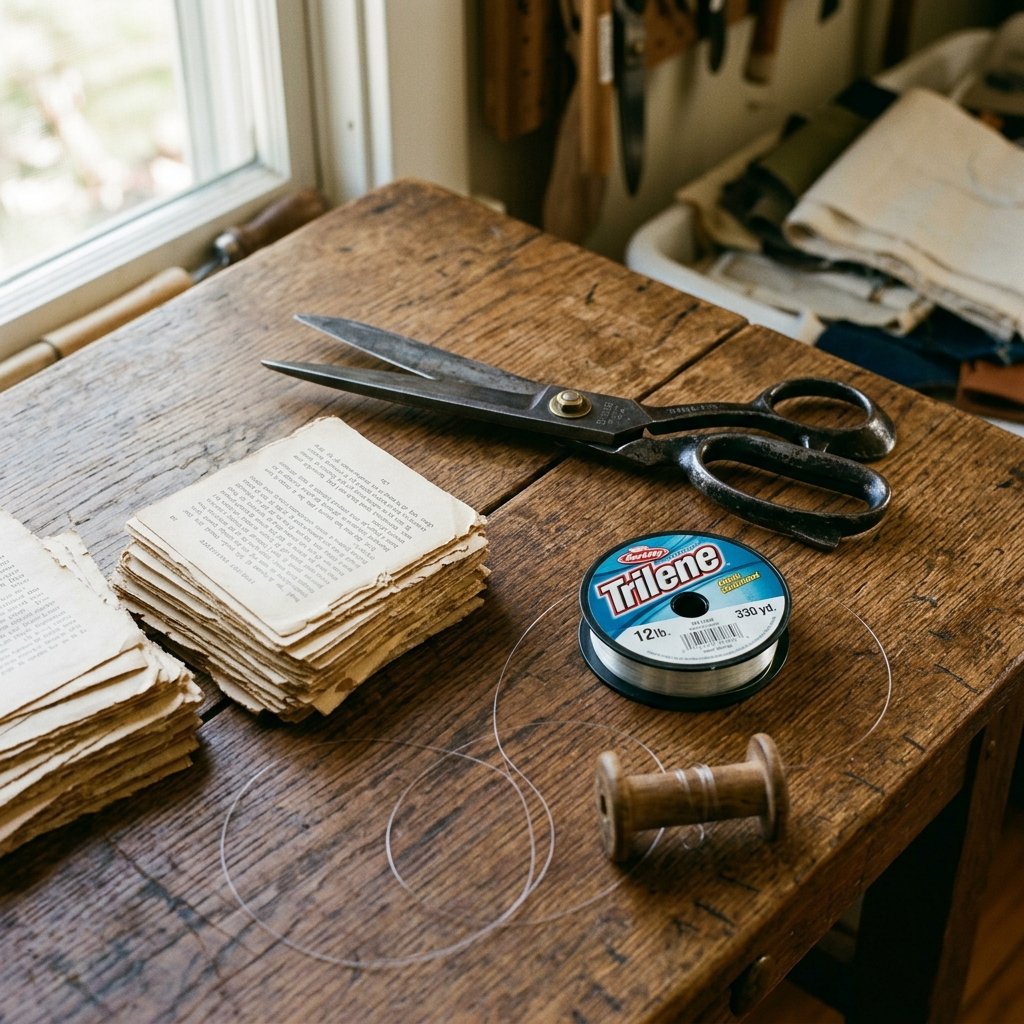
The first rule of the frugal crafter is to never pay full price for ‘specialty’ supplies when everyday items will do. To create a curtain that spans 6 to 8 feet, you will need approximately 1,000 cranes. Buying pre-cut origami paper can cost upwards of $100, but we can do better. Look for old hymnals, vintage maps, or even high-quality white butcher paper. The key is the weight; you want something between 60gsm and 80gsm for crisp, sharp folds that won’t wilt in humidity.
| Material | Frugal Source | Estimated Cost |
|---|---|---|
| Paper (1,000 sheets) | Old Books / Bulk Copy Paper | $0 – $15 |
| Stringing Line | 8lb Monofilament Fishing Line | $5 |
| Spacer Beads | Bulk Plastic or Glass Pearls | $8 |
| Support Rod | Found Driftwood or PVC Pipe | $0 – $10 |
| Total | The Budget Build | $13 – $48 |
The Pro-Tip for Uniformity
If you are using recycled books, ensure you use a rotary cutter and a self-healing mat to cut perfect 5×5 inch or 6×6 inch squares. Consistency is what separates a ‘school project’ look from a ‘luxury wedding’ look. Time-saving hack: Rent or borrow a paper guillotine from a local library or office to cut 50 sheets at once, saving you 3+ hours of manual labor.
The Master Fold: A Step-by-Step Guide to the Perfect Crane

Precision is your best friend here. A sloppy fold at the beginning leads to a crooked beak at the end. Follow these steps for a ruggedly perfect crane every time. We are aiming for the ‘Bird Base,’ the foundation of traditional origami.
- The Square Base: Fold your square diagonally both ways, then horizontally and vertically. Collapse the paper into a small square with open flaps at the bottom.
- The Petal Fold: Fold the bottom edges toward the center crease, then unfold. Pull the bottom corner up to the top, flattening the sides inward to create a long diamond shape. Flip and repeat.
- The Narrowing: Fold the outer edges of the diamond toward the center to thin out the ‘legs’ of the crane.
- The Neck and Tail: Use an inside reverse fold to flip the two thin points upward between the wings.
- The Finish: Fold down one tip to create the head. Gently pull the wings apart to ‘inflate’ the body.
“Focus on the crease, not the speed. A crisp edge is the hallmark of a master crafter. Fold 20 a day for 50 days, and you’ll have your thousand without the burnout.”
Expect each crane to take approximately 3 minutes initially, dropping to 90 seconds as you gain muscle memory. Total folding time for 1,000 cranes is roughly 25 to 30 hours—perfect for binging a podcast or wedding planning vlogs.
Assembly Logistics: Stringing for Maximum Visual Impact
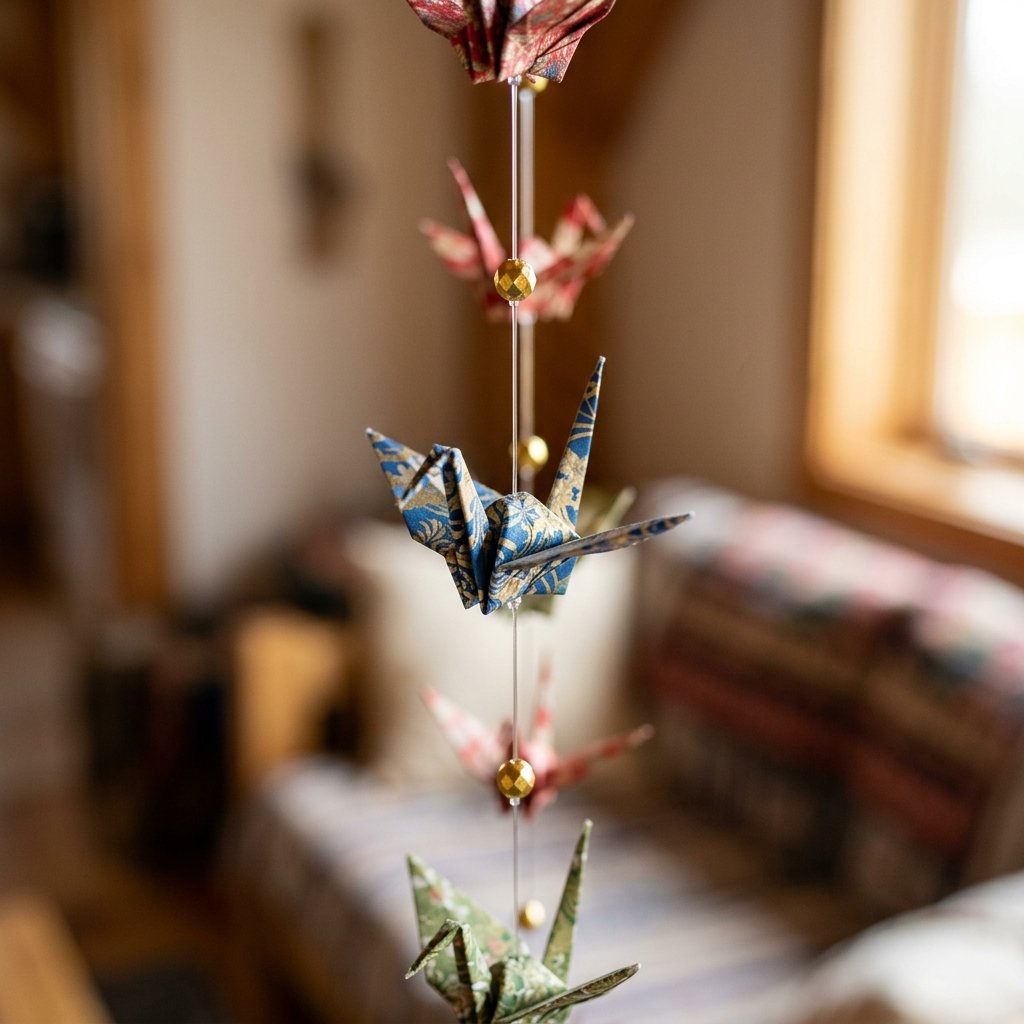
How you hang your cranes determines the ‘movement’ of the curtain. For a standard 8-foot wide backdrop, you want 40 to 50 vertical strands, each holding 20 to 25 cranes. This creates a dense, immersive wall of paper. Using 8lb clear fishing line is essential; it is strong enough to hold the weight but invisible enough to make the cranes look like they are floating.
The Spacing Formula
To prevent the cranes from sliding down the line, you have two options: the Knot Method or the Bead Method.
- The Knot Method: Tie a small double knot under each crane. This is 100% free but time-consuming.
- The Bead Method: Thread a small seed bead onto the line, loop the line back through it to lock it, and rest the crane on top. This adds a touch of elegance and sparkle.
| Backdrop Width | Number of Strands | Cranes Per Strand | Total Cranes |
|---|---|---|---|
| 4 Feet (Photo Booth) | 25 | 15 | 375 |
| 6 Feet (Standard Altar) | 40 | 20 | 800 |
| 8 Feet (Grand Statement) | 50 | 20 | 1,000 |
Pro-Tip: Leave 12 inches of extra line at the top of each strand for rigging to your frame. Store finished strands by taping the top of the line to a piece of cardboard to prevent a tangling nightmare.
Rugged Rigging: Building a Stable & Portable Frame
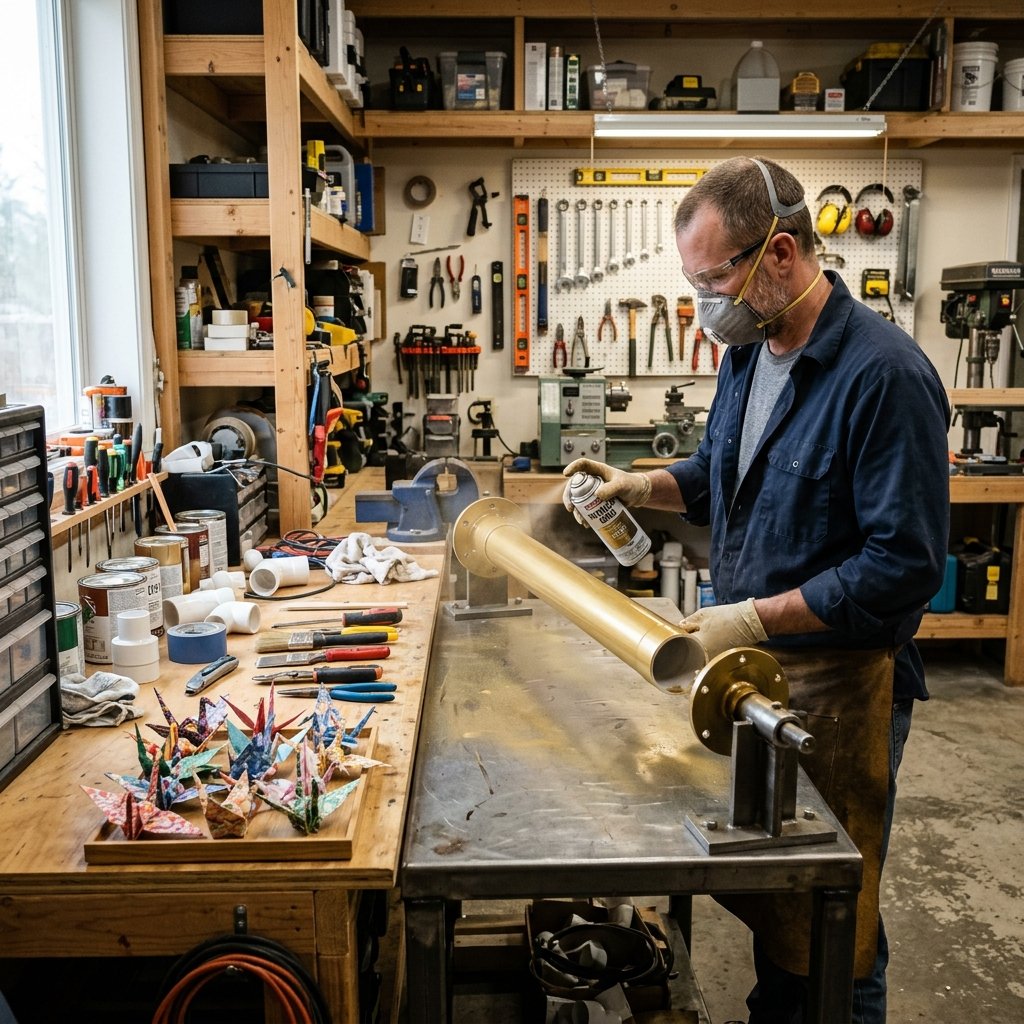
A whimsical curtain needs a sturdy backbone. You don’t want your hard work collapsing mid-vow. For a masculine-elegant look, use a 1-inch copper pipe or a large, sandblasted piece of driftwood. If you are on a strict budget, PVC pipe spray-painted with a metallic ‘hammered bronze’ finish looks surprisingly expensive from a distance.
Installation Steps:
- The Crossbar: Cut your pipe or wood to the desired width (e.g., 7 feet).
- The Uprights: If you aren’t hanging the bar from the ceiling, use two heavy-duty music stands or DIY wooden bases filled with quick-set concrete ($5 a bag).
- Attachment: Tie each crane strand to the crossbar using a clove hitch knot for security. Space them exactly 2 inches apart for the best density.
- Weighting: Tie a slightly heavier glass bead or a small metal washer to the bottom of each strand. This prevents the wind from tangling your curtain during an outdoor ceremony.
Safety Note: If using a heavy copper pipe, ensure your vertical supports are weighted with at least 20lbs of ballast to prevent tipping. Always test the stability on the actual flooring of the venue.
Styling for the ‘Wow’ Factor: Lighting and Color

To take your backdrop from ‘homemade’ to ‘haute couture,’ you must consider lighting. Paper is translucent, meaning it glows beautifully when backlit. Position LED up-lights ($15 rentals or cheap Amazon finds) at the base of the curtain, angled upward. This will catch the facets of the folds and create dramatic shadows on the floor.
Color Theory on a Budget
- The Ombre Effect: Use white paper for the top 1/3, light grey for the middle, and charcoal for the bottom. This adds depth and sophistication.
- The Metallic Touch: Use a gold paint pen to highlight only the beaks and wingtips of every 10th crane. It adds a subtle shimmer that mimics expensive gold-leafed decor.
- The Greenery Blend: Intertwine $1.25 Dollar Tree eucalyptus garlands across the top of the crossbar to hide the knots and add a natural, rugged texture.
By using these styling tricks, you create a multi-dimensional art piece. Total cost for these upgrades? Usually under $10 if you shop sales or use leftovers from other projects.
Conclusion
A Legacy of Craft
Creating a 1,000-crane curtain is more than just a budget-saving hack; it is a testament to your commitment and patience. By choosing to upcycle materials and invest your own sweat equity, you’ve created a focal point that guests will talk about for years—and one that costs less than a single bridesmaid’s bouquet. When the wedding is over, these strands can be gifted to guests as ornaments or hung in your home as a permanent reminder of your first collaborative project as a married couple. Remember: in the world of DIY, the cleverest solution is often the one that uses the simplest materials to the greatest effect. Happy folding!

Makenzie is the founder and lead writer at MoneyHackTips.com — a personal finance blog dedicated to delivering street-smart financial wisdom for real people on real budgets. With 300+ published articles covering everything from debt management to investing fundamentals, Makenzie’s mission is to make every dollar work harder. When not writing about money hacks, Makenzie is testing frugal living strategies, optimizing side hustles, and helping readers build financial freedom from scratch.