
The Mending Revolution: Why We Save, Not Scrap
In an era of disposable fashion and ‘fast’ everything, there is a quiet, rugged dignity in the act of repair. That canvas tote bag you’ve been carrying—the one that hauled groceries, beach gear, or heavy tools—isn’t trash just because it has a puncture. It’s a veteran of your daily life. Throwing it away isn’t just a waste of $15 to $40; it’s a missed opportunity to flex your resourceful muscles. Whether you’re a frugal DIYer looking to stretch a dollar or a crafty parent teaching your kids the value of maintenance, learning to patch canvas is a foundational skill. In just 5 minutes, you can transform a ‘garbage’ item back into a heavy-duty hauler. This guide isn’t about delicate embroidery; it’s about practical, masculine-elegant, and clever solutions that ensure your gear stays in the fight. Let’s look at the numbers before we thread the needle.
| Option | Initial Cost | Repair Cost | Lifetime Value |
|---|---|---|---|
| New Canvas Tote | $25.00 | $0.00 | 2-3 Years |
| Mended Canvas Tote | $0.00 (already owned) | $0.05 (scraps) | 10+ Years |
“A stitch in time saves nine, but a clever patch saves twenty bucks and a trip to the landfill.”
The Mender’s Arsenal: Essential Tools for Under $5
Sourcing Your Gear on a Dime
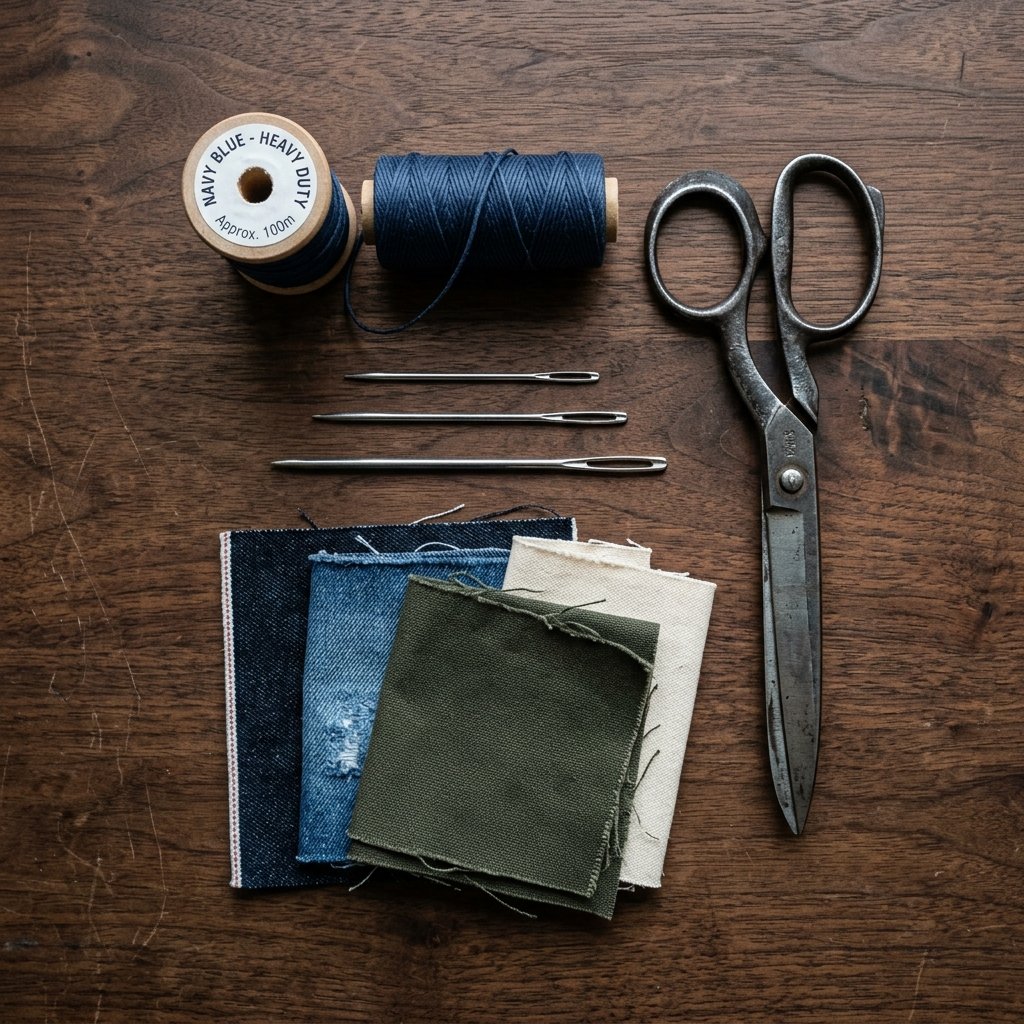
You don’t need a fancy sewing machine or a professional tailor’s kit to fix canvas. Because canvas is a heavy, plain-weave fabric, it requires tools that can handle its thickness without snapping. You likely already have these items in a junk drawer, or you can find them for pennies at a local thrift store. To keep this 100% budget-friendly, look for ‘upholstery needles’ or ’embroidery needles’ which have a larger eye and a sharper point for piercing dense fibers.
- Heavy-Duty Thread: Look for ‘Topstitch’ or ‘Upholstery’ thread. If you’re in a pinch, use dental floss—it is incredibly strong, nearly free, and gives a rugged, tactical look to the repair.
- The Needle: A size 18 or 22 tapestry or embroidery needle is best.
- The Patch: Use scraps from old jeans (denim is just heavy canvas’s cousin), an old canvas belt, or even a piece of a discarded reusable grocery bag.
- Thimble (Optional but Recommended): Pushing a needle through canvas is a workout for your thumb. A metal thimble or even a small piece of leather can save you from a sore finger.
| Material | Source | Estimated Cost |
|---|---|---|
| Heavy Thread | Thrift store/Leftovers | $0.50 |
| Needles | Dollar Store | $1.25 |
| Patch Fabric | Old Blue Jeans | $0.00 |
| Total Kit | – | $1.75 |
The 5-Minute ‘Emergency’ Whip Stitch: A Fast Fix for Small Tears
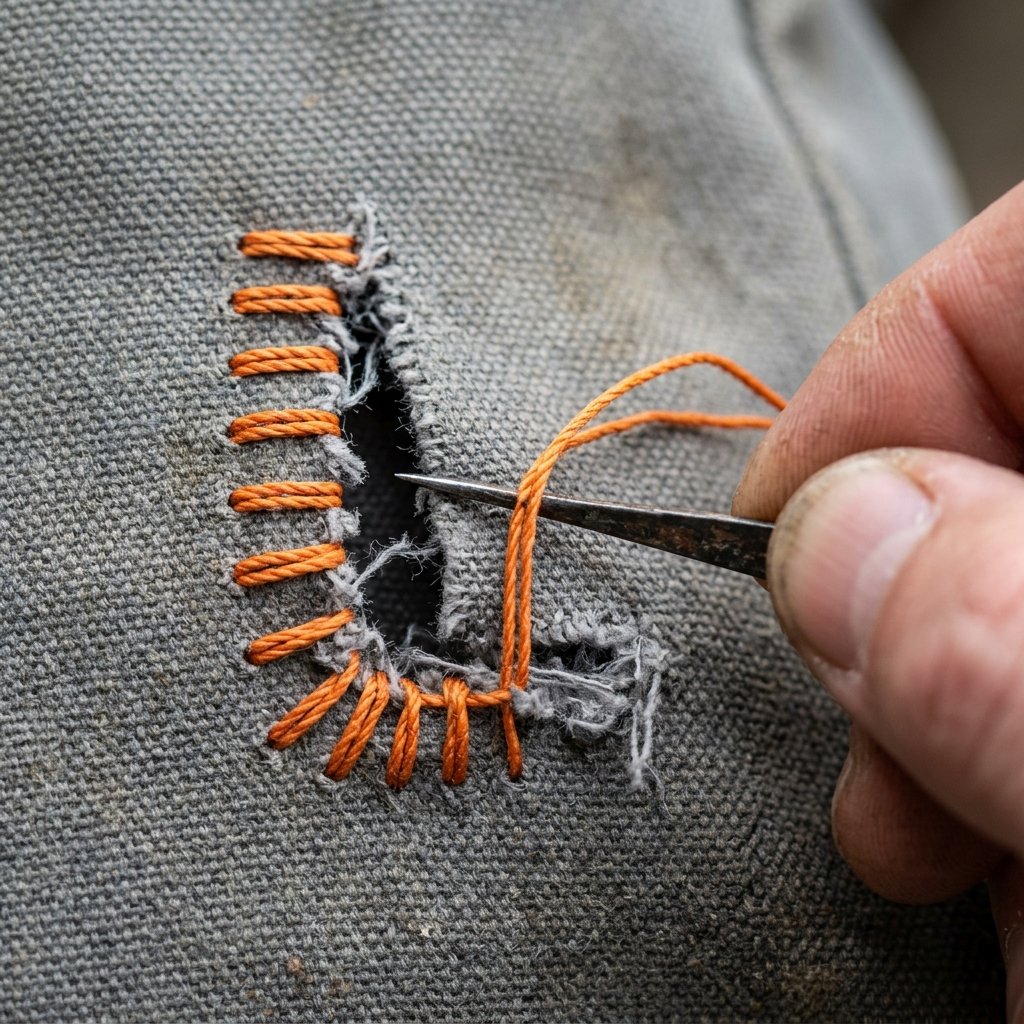
Speed and Efficiency for the Busy DIYer
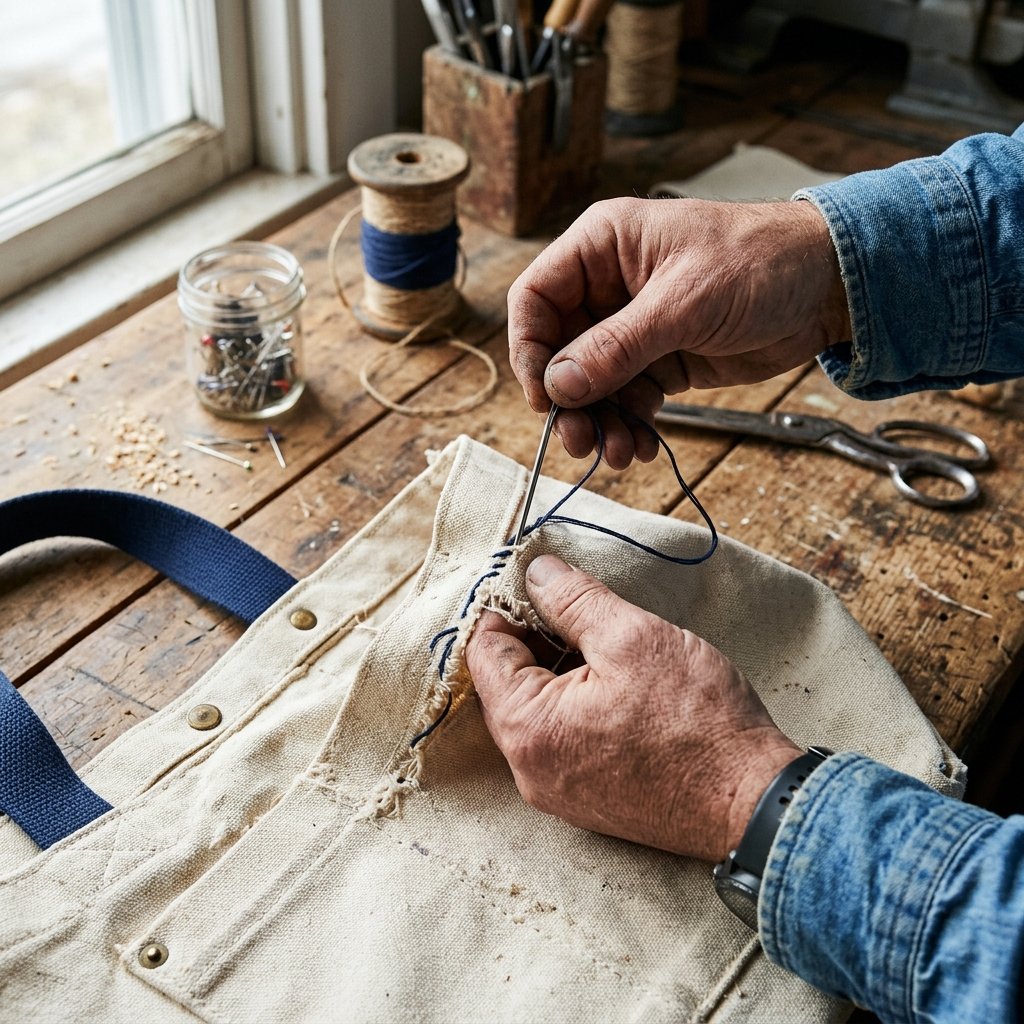
If you’ve discovered a small snag or a ‘L’ shaped tear while packing for a trip, the whip stitch is your best friend. This technique is designed for speed and structural integrity rather than invisibility. It’s the ‘field repair’ of the sewing world. This method works best for tears under 1 inch in length.
- Clean the Wound: Trim any loose, frayed threads from the hole with sharp scissors. This prevents the tear from expanding.
- Knot and Anchor: Thread your needle and tie a double knot at the end. Start your first stitch 1/4 inch behind where the tear starts to ensure you’re anchoring into healthy fabric.
- The ‘Whip’ Motion: Loop the thread over the edge of the tear, pushing the needle through both sides of the fabric. Pull tight, but not so tight that the canvas puckers.
- Repeat: Continue looping over the edge until you are 1/4 inch past the end of the tear.
- Lock It Down: Pass the needle through your last loop twice to create a surgical knot and snip the excess.
“The goal isn’t perfection; it’s performance. A visible mend is a badge of a life well-lived and a bag well-used.”
The Rugged Sashiko Patch: Turning Damage into a Design Statement
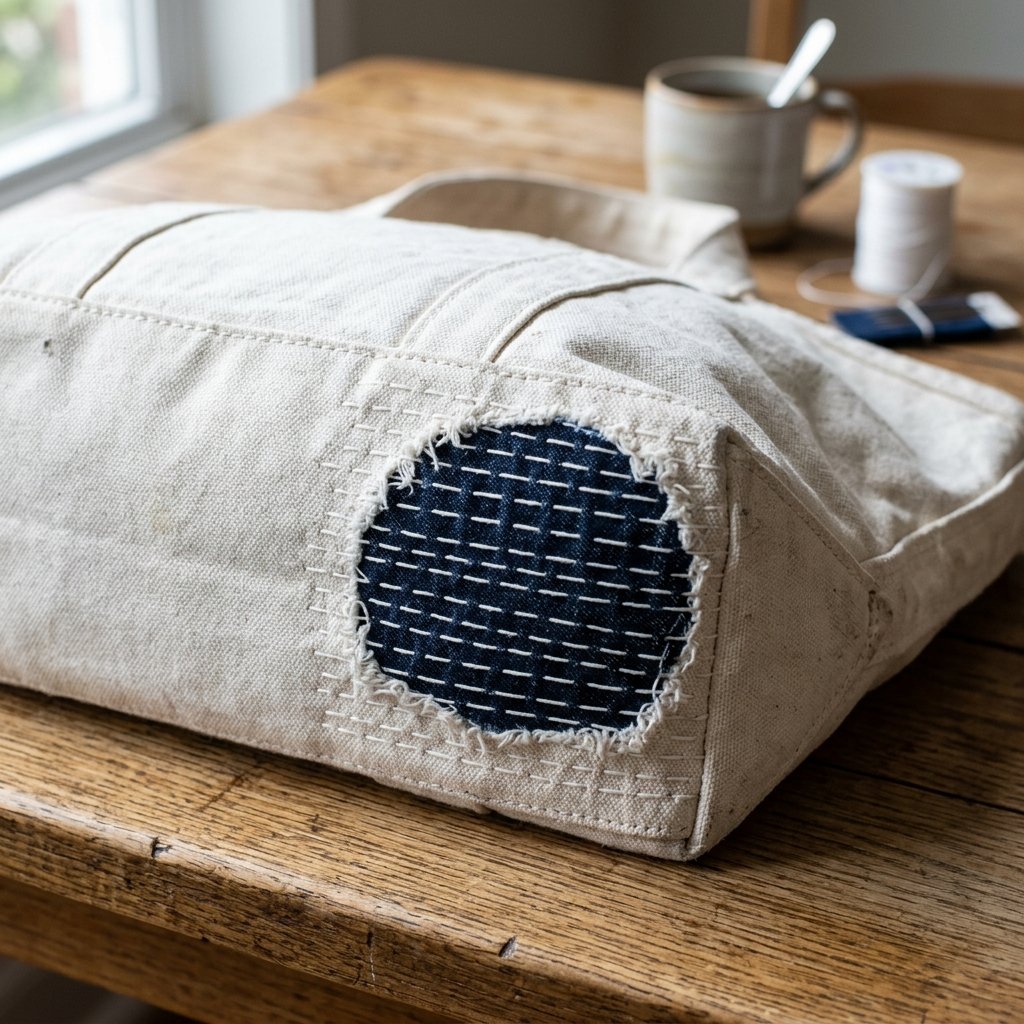
Elevated Upcycling for Larger Holes
When the hole is too large for a simple stitch (think a blowout in the bottom of the bag), we turn to the Japanese art of Sashiko. This is a form of decorative reinforcement that actually makes the bag stronger than it was when it was new. It’s clever, budget-savvy, and looks incredibly high-end—like something you’d buy at a boutique for $80.
The Step-by-Step Sashiko Method
- The Under-Patch: Cut a piece of scrap fabric (denim works beautifully here) that is 1 inch larger than the hole on all sides. Place it *inside* the bag, centered under the hole.
- Pin or Baste: Use a safety pin to hold the patch in place so it doesn’t shift while you work.
- The Running Stitch: Instead of just sewing the edges, sew parallel lines across the entire patch. These small, even stitches (about 1/8 inch long) bind the two layers of fabric into a single, reinforced unit.
- The Grid: If you want extra strength, turn the bag 90 degrees and sew more parallel lines to create a grid pattern. This ‘locks’ the weave of the canvas.
| Feature | Whip Stitch | Sashiko Patch |
|---|---|---|
| Time Required | 3-5 Minutes | 15-20 Minutes |
| Durability | Moderate | Maximum |
| Skill Level | Beginner | Intermediate-Creative |
| Aesthetic | Functional | High-End/Artisanal |
Reinforcing the ‘Heavy-Lifters’: Saving Straps and Bottom Seams
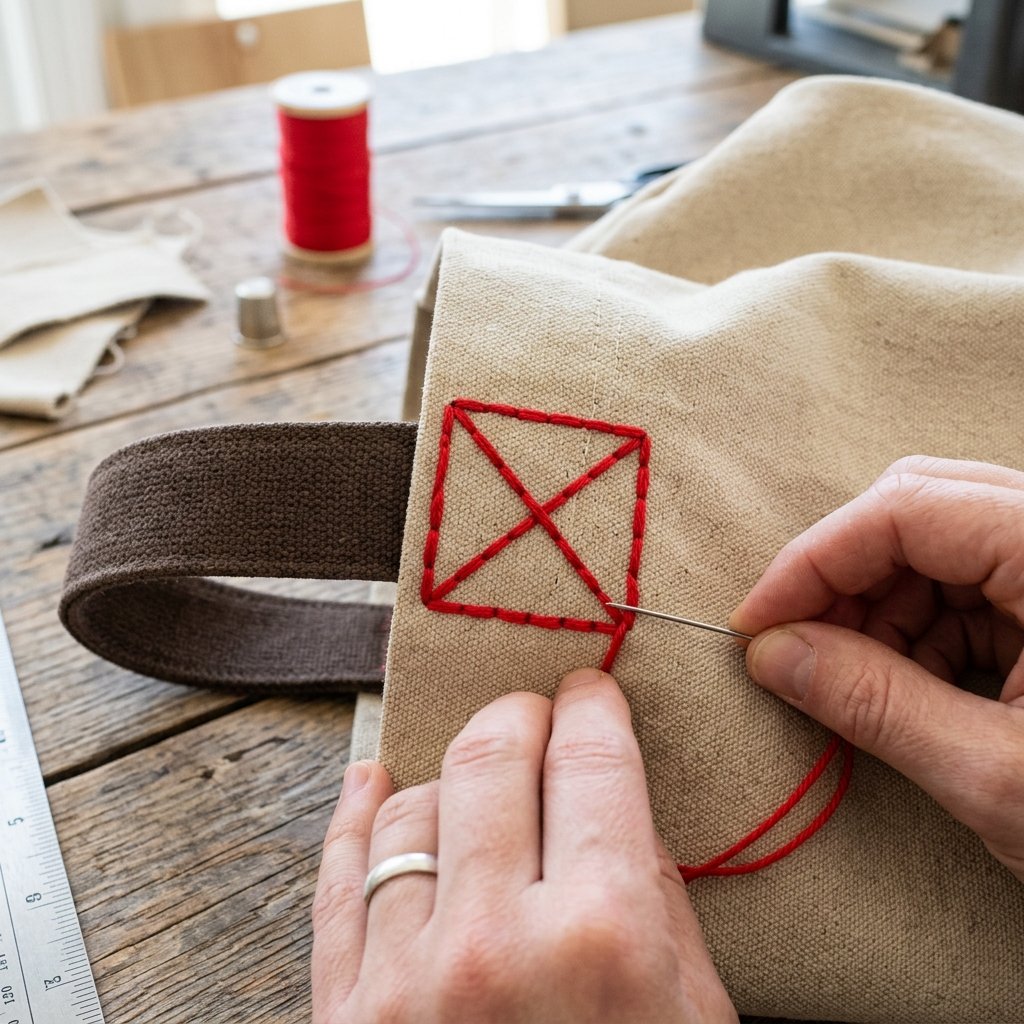
Practical Engineering for High-Stress Areas
The most common failure point for a canvas bag isn’t the middle of the side panel—it’s where the handle meets the body. This is where physics works against you. If your strap is pulling away, you need a ‘Box X’ stitch. This is the same stitch used on tactical gear and climbing harnesses because it distributes weight across a larger surface area.
The ‘Box X’ Technique
- Positioning: Place the strap end exactly where it needs to go, overlapping the bag by at least 1.5 inches.
- The Box: Sew a square around the perimeter of the overlapping area.
- The X: Sew a diagonal line from the top-left corner to the bottom-right, then another from the top-right to the bottom-left.
- Triple-Stitch: On the very top line (the one that takes the most weight when you lift the bag), go over your stitches three times.
“Don’t just fix the rip; out-engineer the original design. A Box X stitch turns a weak point into a fortress.”
The No-Sew ‘Lazy’ Solution: Using Adhesive Patches for Canvas
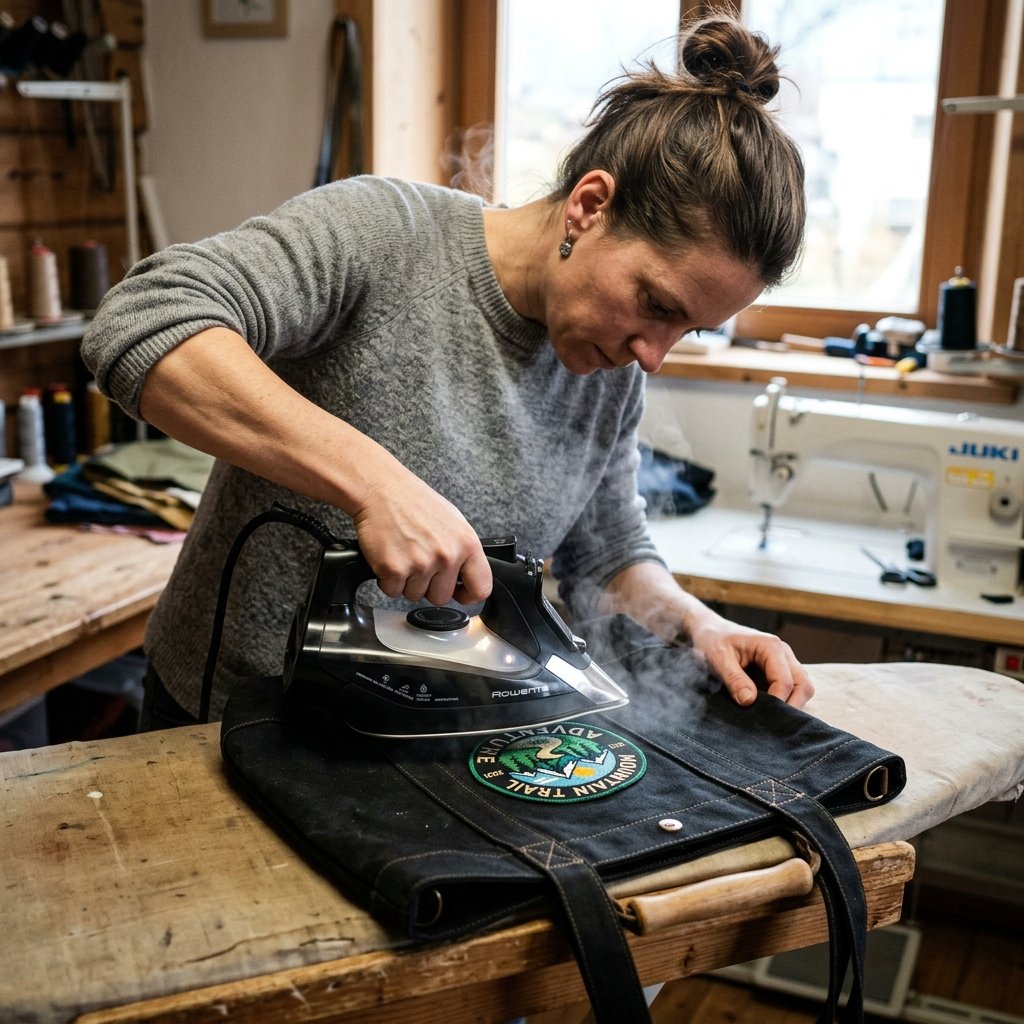
The Zero-Sewing Hack for the Time-Crunched Parent
We get it—sometimes you have 60 seconds before you have to leave for the soccer game and the gear bag just ripped. If you aren’t ready to pick up a needle, use the ‘Heat-Set’ method. This relies on iron-on mending tape or heat-activated adhesive. While less ‘rugged’ than a hand-sewn patch, it’s a perfectly valid $2 fix.
How to Ensure an Iron-On Patch Actually Stays
The secret to a long-lasting no-sew patch is heat and pressure. Most people don’t press hard enough or long enough.
- Clean the Canvas: Use a lint roller to remove any dust. Adhesive hates dust.
- Pre-Heat: Run your iron over the area for 10 seconds to warm the canvas fibers.
- Apply: Place the patch and cover it with a thin cloth (like a pillowcase) to prevent scorching.
- The Press: Press down with your full body weight for 45-60 seconds. Do not move the iron back and forth; just press.
- The Cool Down: Let it sit for 5 minutes until it is completely cold. This sets the ‘glue’ into the canvas weave.
Maintaining Your Canvas Fleet: Tips to Prevent Future Rips
The Frugal Expert’s Guide to Longevity
Once you’ve mended your bag, you want to keep it in service for years. Canvas is a natural fiber (usually cotton or linen), which means it can rot if left wet or become brittle if exposed to harsh chemicals. A little bit of ‘preventative maintenance’ goes a long way in saving you from future repairs.
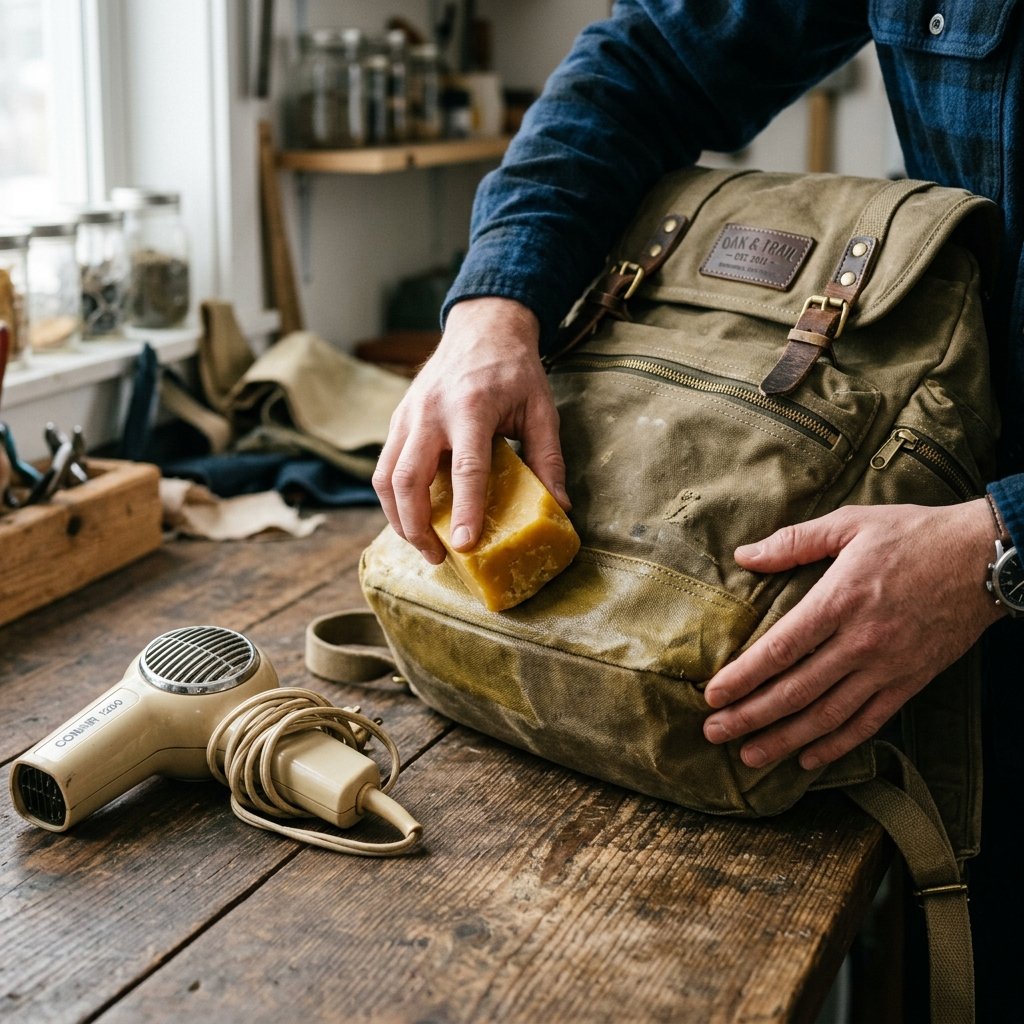
- Waxing for Water Resistance: Rub a bar of beeswax or paraffin over the bottom of your bag and hit it with a hair dryer. This creates a waterproof barrier that prevents the fibers from weakening when you set the bag on wet ground.
- Air Dry Only: Never put a canvas tote in the dryer. The high heat breaks down the fibers and causes the seams to shrink and pull, leading to—you guessed it—more holes.
- Spot Clean: Use a mixture of baking soda and water (the ultimate frugal cleaner) to scrub stains rather than a full machine wash.
| Maintenance Task | Frequency | Benefit |
|---|---|---|
| Beeswax Coating | Once a Year | Waterproofing & Durability |
| Strap Check | Every 6 Months | Prevents total strap failure |
| Baking Soda Scrub | As Needed | Removes odors/stains without damage |
Conclusion
Wear Your Mends with Pride
By taking 5 minutes to patch that hole in your canvas tote, you’ve done more than just save a few dollars. You’ve rebelled against the ‘throwaway’ culture and proven that you are resourceful, capable, and clever. Whether you chose the quick whip stitch for an emergency fix or the artistic Sashiko method for a high-end look, your bag now has a story to tell. It’s stronger, more unique, and 100% free to keep using. So, before you toss that torn bag, remember: a little bit of thread and a dash of DIY spirit are all you need to turn trash back into your most trusted treasure. Now, get out there and carry on!

Makenzie is the founder and lead writer at MoneyHackTips.com — a personal finance blog dedicated to delivering street-smart financial wisdom for real people on real budgets. With 300+ published articles covering everything from debt management to investing fundamentals, Makenzie’s mission is to make every dollar work harder. When not writing about money hacks, Makenzie is testing frugal living strategies, optimizing side hustles, and helping readers build financial freedom from scratch.