
The High Cost of Being a Creative
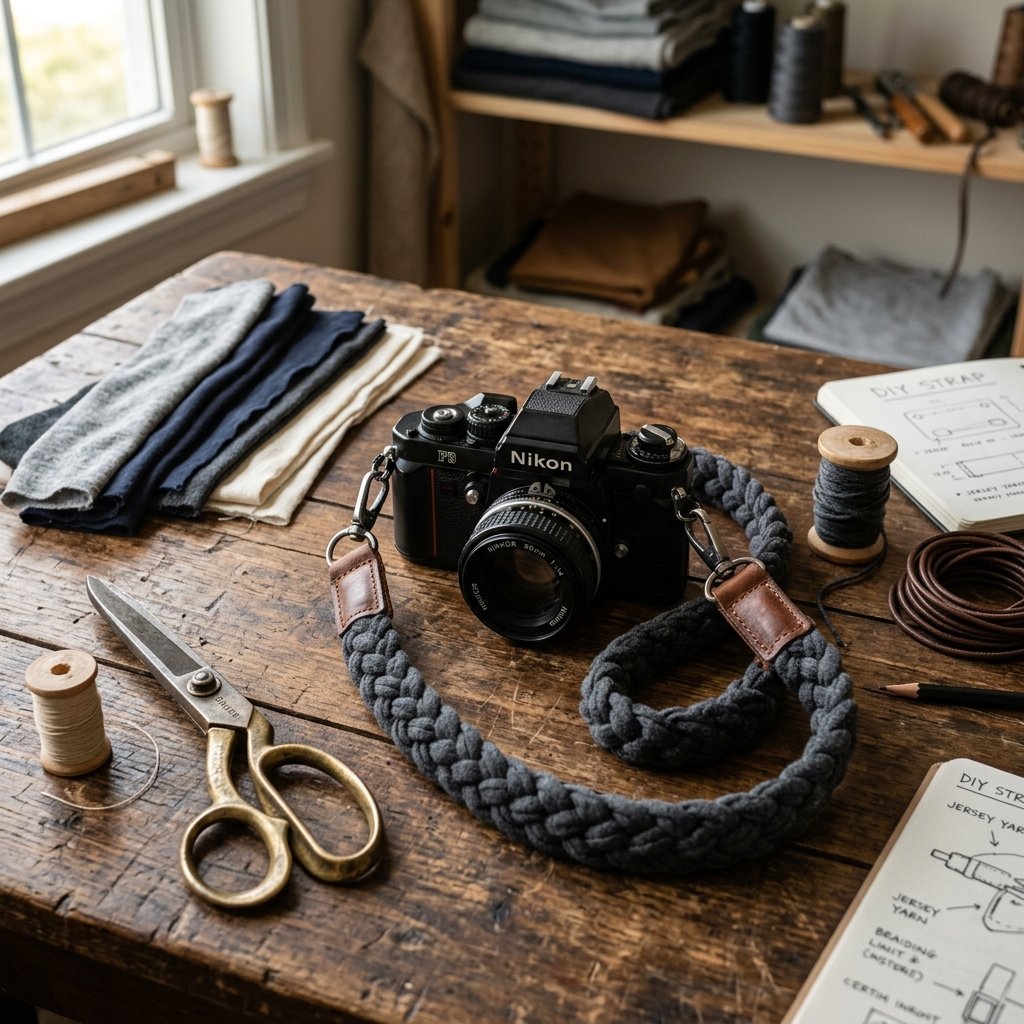
Let’s be honest: photography is an expensive pursuit. Between the glass, the bodies, and the software, your wallet takes a beating before you even step out for your first golden hour shoot. But here is the crafty expert’s secret: you don’t need to drop $50 to $100 on a ‘designer’ camera strap just to look the part. In fact, many of those high-end straps are less comfortable than what you can make with a single discarded item from your closet. This guide is for the resourceful DIYer who values rugged practicality and masculine-elegant aesthetics. We are going to take a humble, worn-out T-shirt and transform it into a professional-grade, shock-absorbing camera strap in exactly 10 minutes. Whether you are a budget bride looking for gifts for your wedding photographer or a handy dad wanting a more comfortable carry for the family vacation, this project is your ticket to high-end gear on a zero-dollar budget.
The Anatomy of a Better Strap: Why T-Shirt Yarn Wins
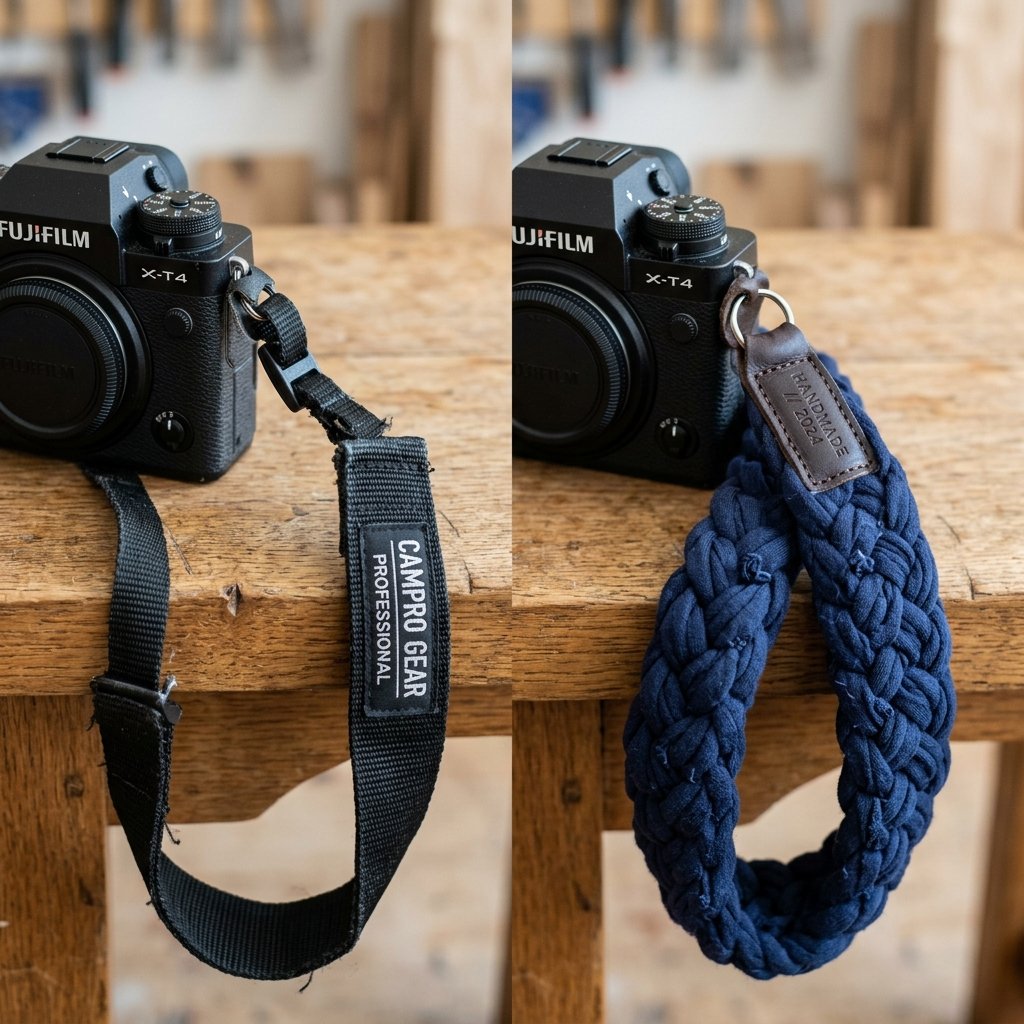
Standard-issue camera straps are notorious for being stiff, scratchy, and screaming the brand name of your camera in bright yellow or red letters. They are a billboard, not a tool. T-shirt yarn (often called ‘Tarn’) offers a level of comfort that nylon webbing simply cannot match. Because jersey fabric has a natural mechanical stretch, it acts as a built-in shock absorber for your neck and shoulders, especially during long 4-hour shoots.
Material Comparison: DIY vs. Retail
| Feature | Store-Bought Nylon Strap | DIY T-Shirt Yarn Strap |
|---|---|---|
| Cost | $25 – $60 | $0.00 (Upcycled) |
| Comfort | Chafes skin; stiff | Soft, breathable jersey |
| Durability | High | Very High (Braided) |
| Weight Distribution | Poor; narrow pressure points | Excellent; wide braid spread |
| Time to Acquire | Shipping time or store trip | 10 Minutes |
By choosing to upcycle, you aren’t just saving money; you’re keeping textiles out of the landfill and creating a piece of gear that is uniquely yours. For this project, look for a 100% cotton or 95% cotton/5% spandex blend shirt. The spandex mix provides the best ‘rebound’ for heavier DSLR setups.
Sourcing and Preparing Your ‘Tarn’ (T-Shirt Yarn)
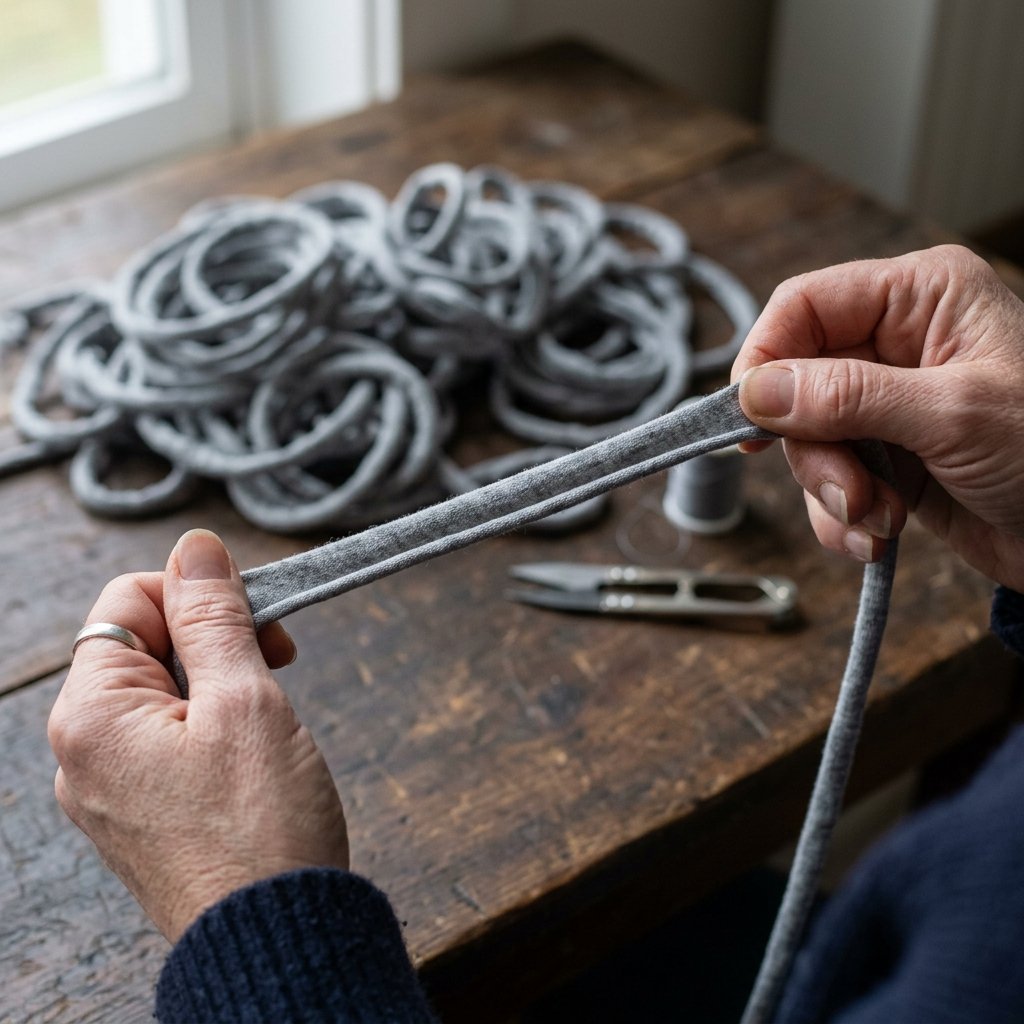
You don’t need a sewing machine or a degree in textile engineering for this. You just need a sharp pair of fabric shears and a shirt that has seen better days. Avoid shirts with side seams if possible, as they can create ‘weak points’ or lumps in your braid. If you only have seamed shirts, don’t worry—the braiding process hides most imperfections.
The 5-Step Cutting Guide
- Lay the shirt flat on a hard surface, smoothing out all wrinkles.
- Trim off the bottom hem. This part is too stiff and won’t curl properly.
- Cut horizontal strips approximately 1 to 1.5 inches wide from the body of the shirt, stopping just below the armpits.
- Stretch the loops. This is the ‘magic’ step. Pull each loop firmly between your hands. The raw edges will curl inward, creating a clean, tubular cord.
- Snip the loops once to create long, individual strands of yarn.
“The secret to a rugged, professional look is the ‘The Pull.’ When you stretch the jersey strips, do it with confidence. You want that fabric to reach its maximum curl so it doesn’t fray later in the field.”
The 10-Minute Assembly: Braiding for Strength
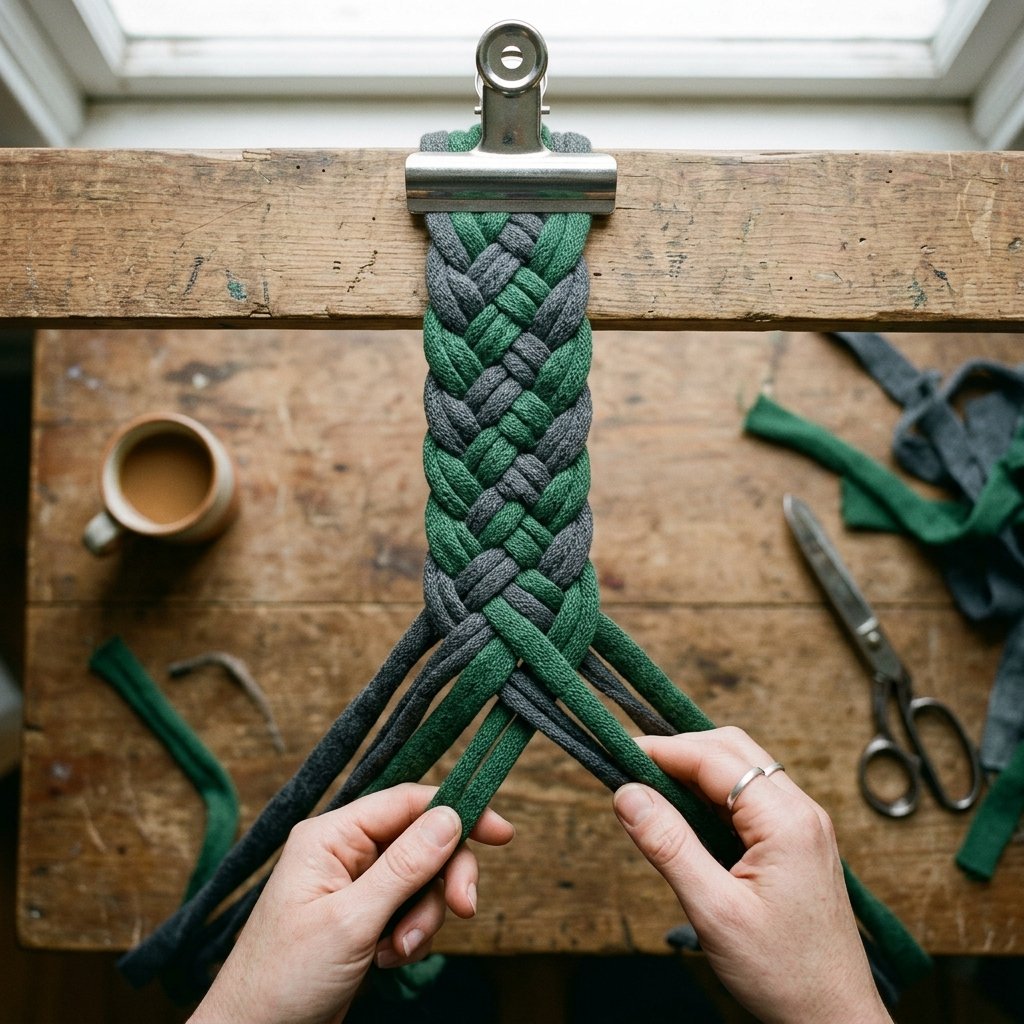
To ensure your camera is secure, we aren’t just using a single strand. We are using a 9-strand flat braid or a 3-strand jumbo braid (where each ‘strand’ is actually 3 strips of fabric). This provides the width needed to distribute the weight of a heavy lens across your trapezius muscles.
The Braid Sequence
For a standard 36-inch strap, you will need strands that are at least 50 inches long to account for the ‘shrinkage’ that happens during braiding. If your shirt isn’t long enough, you can easily knot two strands together using a Fisherman’s Knot for a secure, low-profile join.
- Step 1: Gather 9 strands of yarn. Group them into three bundles of three.
- Step 2: Secure the top with a heavy-duty clip or have a partner hold it.
- Step 3: Perform a standard braid: cross the right bundle over the center, then the left bundle over the center.
- Step 4: Keep your tension consistent. A tight braid is more durable; a loose braid is softer.
- Step 5: Stop when you reach 32-34 inches.
Safety Note: Always test the strength of your braid by giving it a vigorous ‘tug test’ before attaching it to your expensive gear. If you hear any snapping sounds, your fabric may be too degraded/old.
Rugged Finishing: Hardware and Attachment
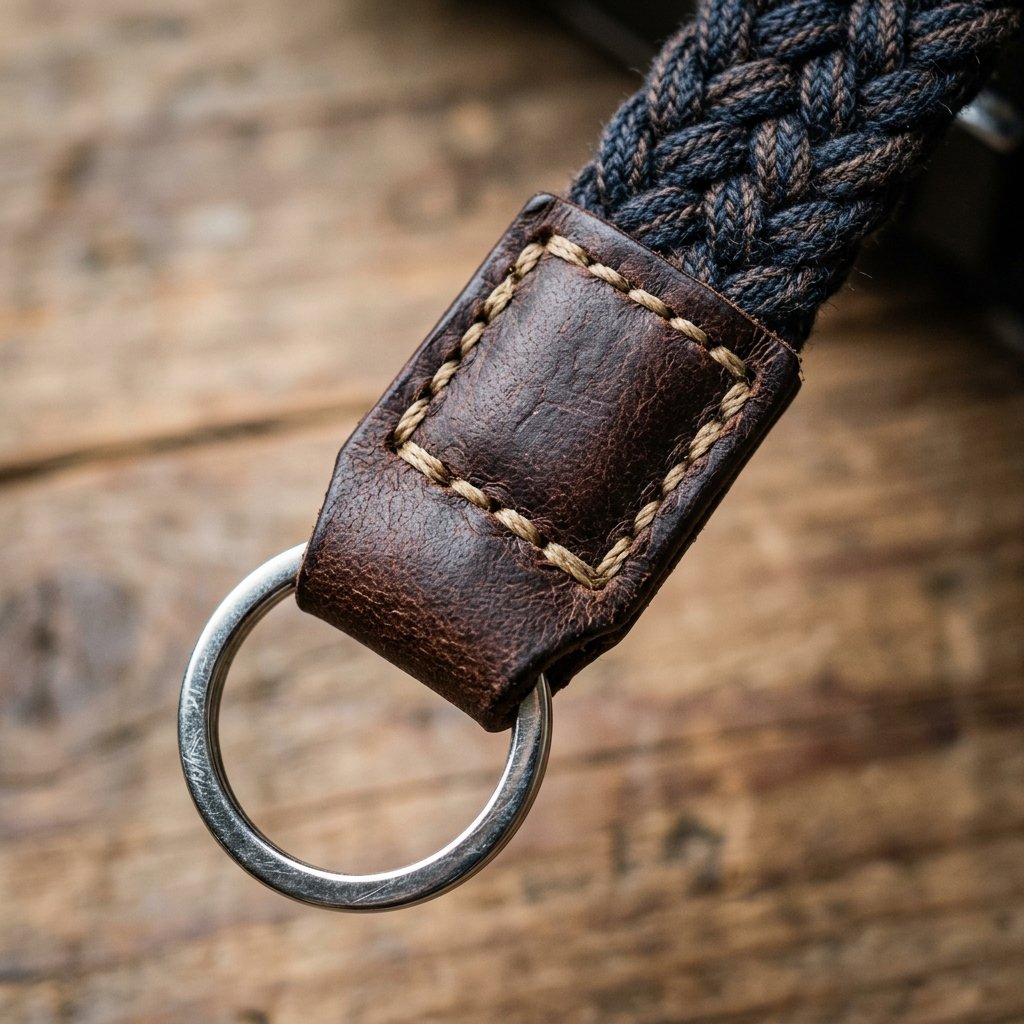
A camera strap is only as good as its connection points. While you could simply tie the yarn to your camera’s lugs, a savvy crafter knows that metal hardware adds a level of security and a ‘masculine-elegant’ finish that looks like a boutique purchase.
Recommended Hardware Ratios
| Component | Quantity | Estimated Cost | 2 | $0.50 | 2 small pieces | $0.00 | 1 spool | $1.50 |
|---|
To finish the ends, wrap the ends of your braid around the split ring. Use a ‘Whip Finish’ or a ‘Common Whipping’ technique with your upholstery thread. This involves wrapping the thread tightly around the fabric fold dozens of times, then pulling the end back through the loops. For an even more sophisticated look, glue a small rectangle of leather over the thread wraps and hand-stitch the edges using a saddle stitch. This hides the raw fabric ends and reinforces the joint.
Conclusion
Professional Gear Without the Professional Price Tag
Congratulations! You’ve just saved yourself a significant chunk of change and created a piece of gear that is more comfortable and stylish than anything found in a big-box electronics store. This 10-minute T-shirt yarn camera strap is the ultimate testament to the power of upcycling. It’s rugged enough for a mountain hike, elegant enough for a wedding shoot, and soft enough for all-day street photography. Remember, being a ‘frugal guru’ isn’t about having less—it’s about being clever enough to make exactly what you need from what you already have. Now, grab your camera, head outside, and put your new gear to the test!

Makenzie is the founder and lead writer at MoneyHackTips.com — a personal finance blog dedicated to delivering street-smart financial wisdom for real people on real budgets. With 300+ published articles covering everything from debt management to investing fundamentals, Makenzie’s mission is to make every dollar work harder. When not writing about money hacks, Makenzie is testing frugal living strategies, optimizing side hustles, and helping readers build financial freedom from scratch.