The Death of the Plastic Gift Card
Let’s be honest: handing someone a plastic gift card is the gifting equivalent of a firm, soulless handshake. It says, I thought of you, but only for the three seconds it took to grab this at the grocery store checkout. As frugal DIYers and creative makers, we can do better. We live in a world where resourcefulness is our greatest currency. Why settle for a boring envelope when you can transform a standard $20 or $50 bill into a miniature work of art? Money origami isn’t just about the cash; it’s about the 5 to 10 minutes of focused craftsmanship you invest in the presentation. It’s rugged, it’s practical, and it shows you have the hands of a maker. Today, we are mastering the Money Origami Kimono—a sophisticated, elegant fold that works for weddings, graduations, or even a clever tip for a service professional who has gone above and beyond. By the end of this guide, you’ll be the person everyone hopes to receive a gift from, not because of the amount, but because of the clever, budget-savvy delivery.
The Philosophy of the Tactile Tip: Why Effort Trumps Plastic
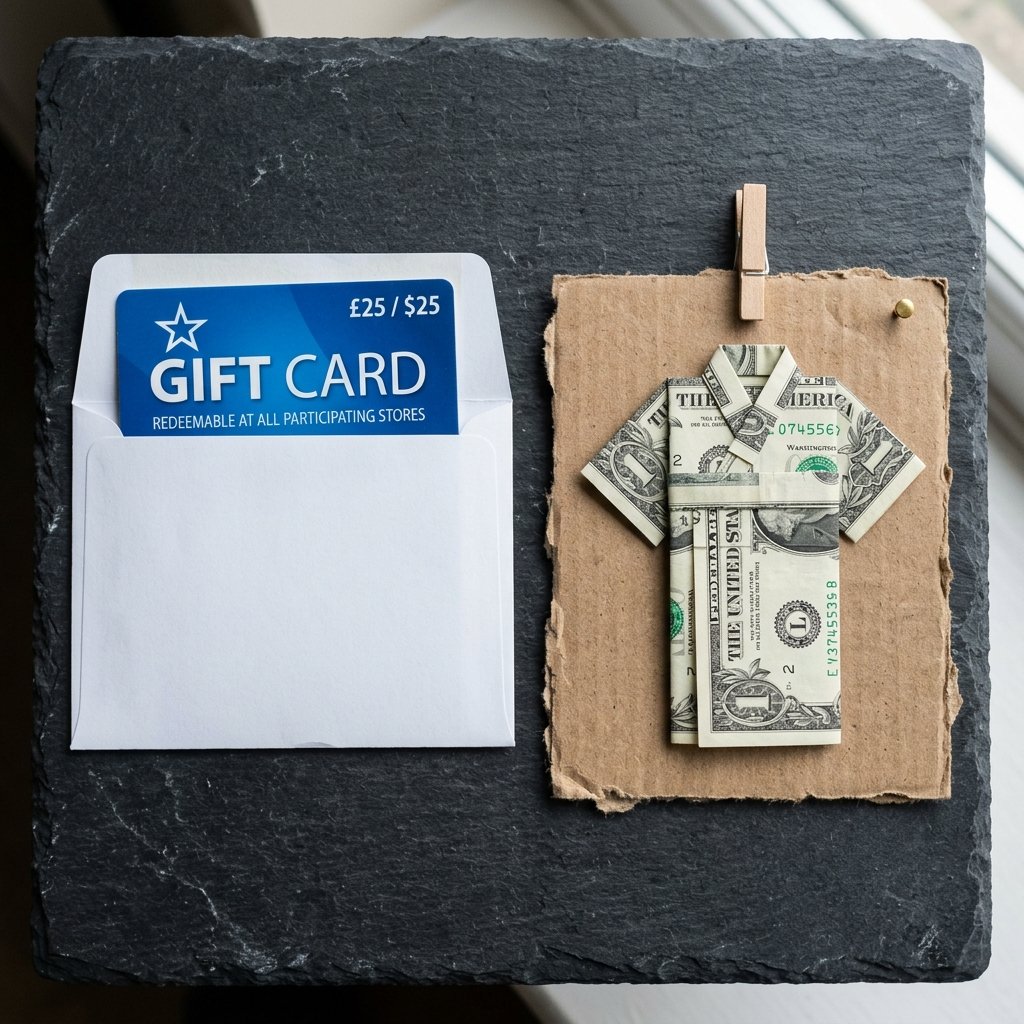
In our digital-heavy world, the tactile nature of a hand-folded gift carries immense weight. When you take a crisp bill and apply precise, geometric folds, you are practicing an ancient art form that communicates respect. For the handy parent or the frugal crafter, this is the ultimate zero-budget upgrade. You aren’t spending $5 on a glittery card that will be tossed in the recycling bin; you are using the gift itself as the medium. This approach is resourcefully creative and ensures that your gift stands out in a stack of envelopes. Whether you are using a $1 bill for a child’s tooth fairy visit or a $100 bill for a wedding, the impact remains the same: you cared enough to create.
The Currency Matrix: Choosing Your Canvas
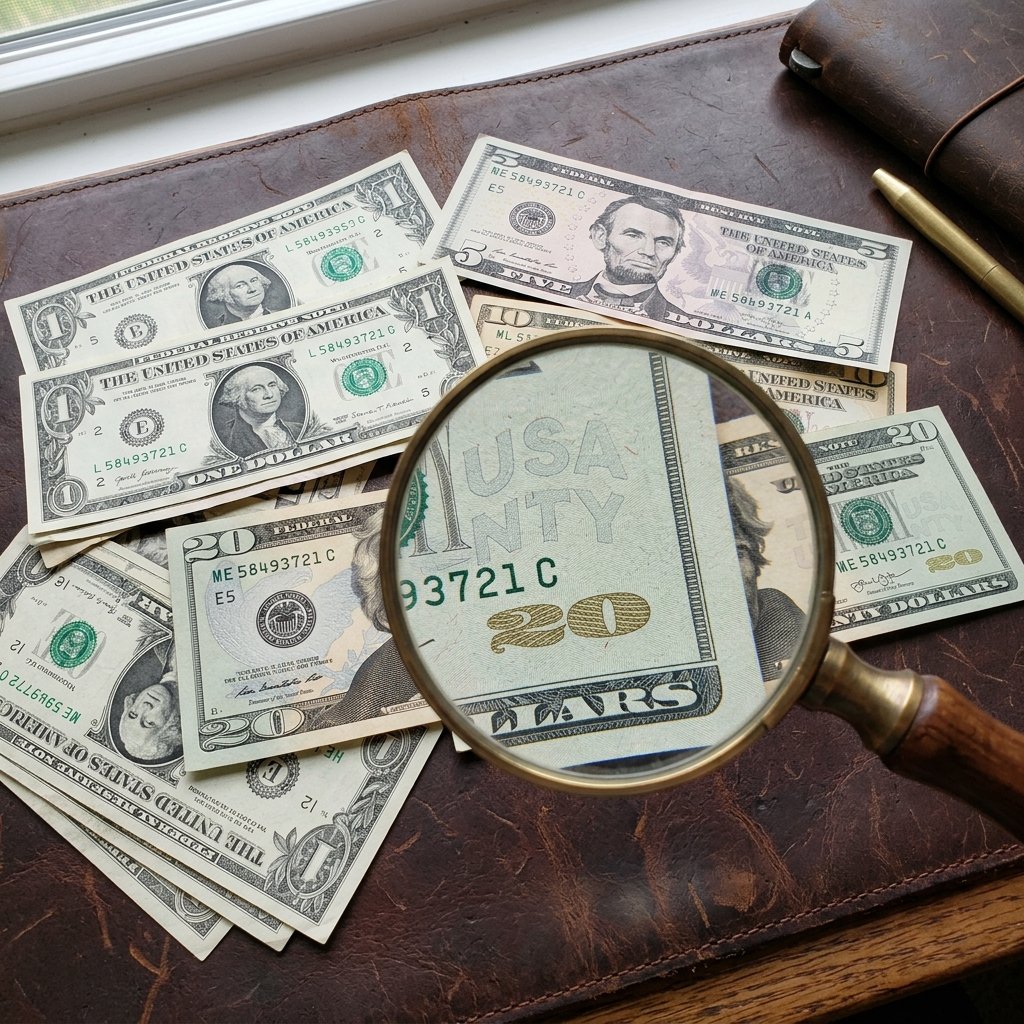
Not all bills are created equal when it comes to origami. While you can fold any denomination, the visual impact and the crispness of the paper play a huge role in the final result. US currency is actually a blend of 75% cotton and 25% linen, making it incredibly durable and perfect for holding sharp creases. If you’re a crafty expert, you know that a limp, dirty bill will never produce a high-end result. Always aim for uncirculated bills from the bank if possible. Use the table below to decide which denomination fits your specific gifting occasion.
| Denomination | Visual Impact | Occasion Suitability | Complexity Level |
|---|---|---|---|
| $1 Bill | Moderate | Kids’ Birthdays, Tooth Fairy, Small Tips | Beginner |
| $5 Bill | High (The purple hues pop) | Graduations, Coffee Shop Thanks | Intermediate |
| $10 Bill | Sophisticated | Dinner Parties, Hostess Gifts | Intermediate |
| $20 Bill | Professional / Elegant | Weddings, Significant Birthdays | Advanced |
| $50 / $100 Bill | Elite / Showstopper | Major Milestones, Retirement | Expert (High Stakes!) |
The Crafty Expert’s Toolkit: Preparation is Key

Before we dive into the folds, let’s talk about your setup. A rugged and practical maker doesn’t just wing it. You need a clean, flat surface—preferably wood or stone. Avoid textured tablecloths that can soften your creases. While your fingers are your primary tools, a few budget-savvy additions can make the process much smoother. If you have a bone folder from your scrapbooking kit, grab it. If not, the edge of a clean credit card or a smooth metal ruler works perfectly for sharpening those lines. Remember: in origami, a fold is only as good as its crease.
Pro-Tip: Wash and dry your hands thoroughly before starting. The natural oils and dirt on your skin can smudge the ink of a crisp bill, especially the lighter $1 and $5 denominations.
The Masterclass: Step-by-Step Kimono Folding Instructions
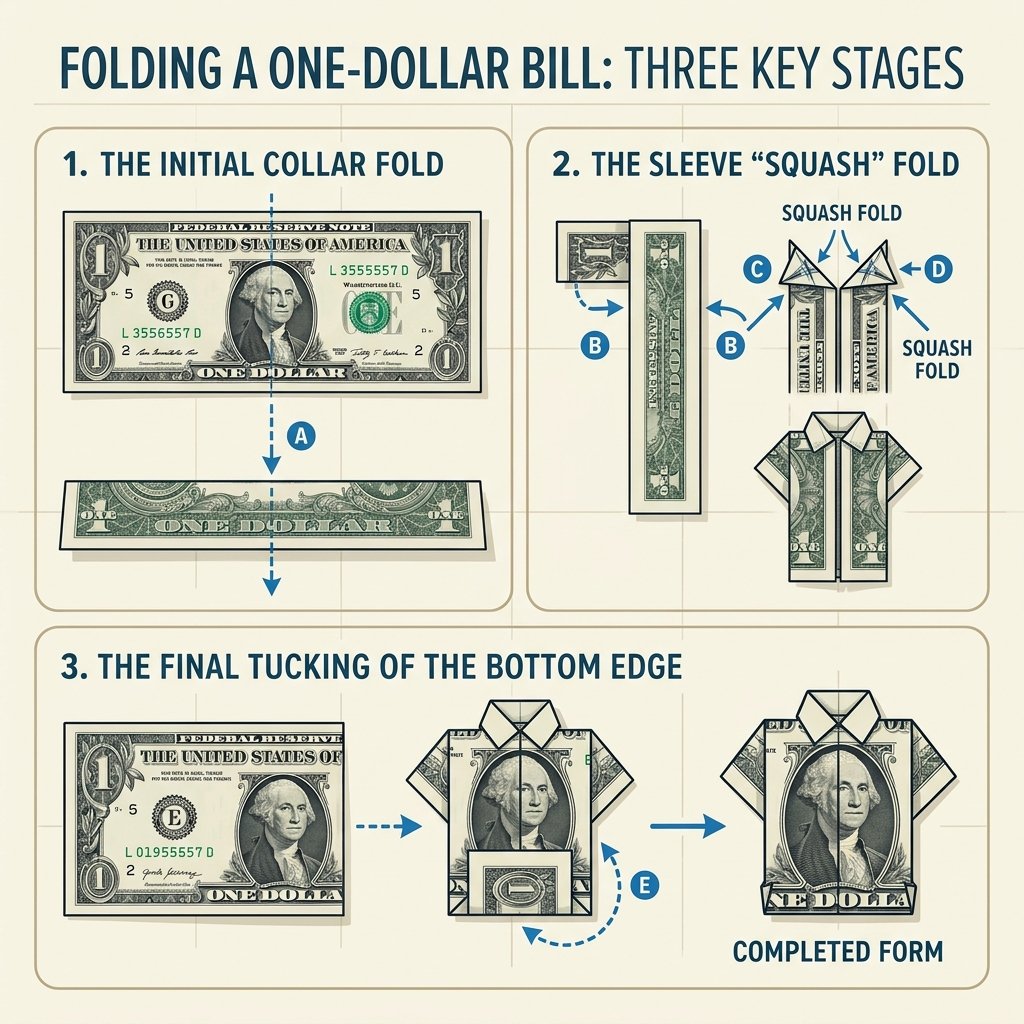
Follow these steps with high-precision. If you make a mistake, don’t panic—the linen-cotton blend of the bill is forgiving. Just flatten it out and try again. We are going for a masculine-elegant finish that looks like it belongs in a boutique.
- The Foundation: Place your bill face up on your workspace. Fold the top edge (the one with the ‘United States of America’ text) down about 1/4 inch. This will eventually become the white collar of the kimono.
- The Vertical Center: Fold the entire bill in half vertically to create a center crease, then unfold it. This is your guide line.
- The Body Wrap: Flip the bill over so the collar fold is face down at the top. Fold the left and right outer edges inward so they meet perfectly at that center crease you just made.
- The Lapels: At the top of the bill (where the collar is hidden underneath), fold the two inner corners outward at an angle. This creates the ‘V’ neck or lapels of the kimono. You should see the white edge of the bill peeking through.
- The Sleeves: This is the crafty-expert move. About 1/3 of the way down the bill, fold the inner edges back out toward the sides. As you do this, squash the paper flat to create two triangular ‘sleeves’ that extend past the body of the kimono.
- The Length Adjustment: Fold the bottom of the bill up to the back. The height of this fold determines how long the kimono is. For a traditional look, leave about 1/2 inch of the ‘skirt’ showing below the sleeves.
- The Final Lock: Tuck the bottom edge under the lapels you created in step 4 to secure the entire structure.
Mantra for the Maker: Fold once, crease twice. The sharper the edge, the more expensive the gift looks.
Beyond the Fold: Presentation and Styling on a Dime
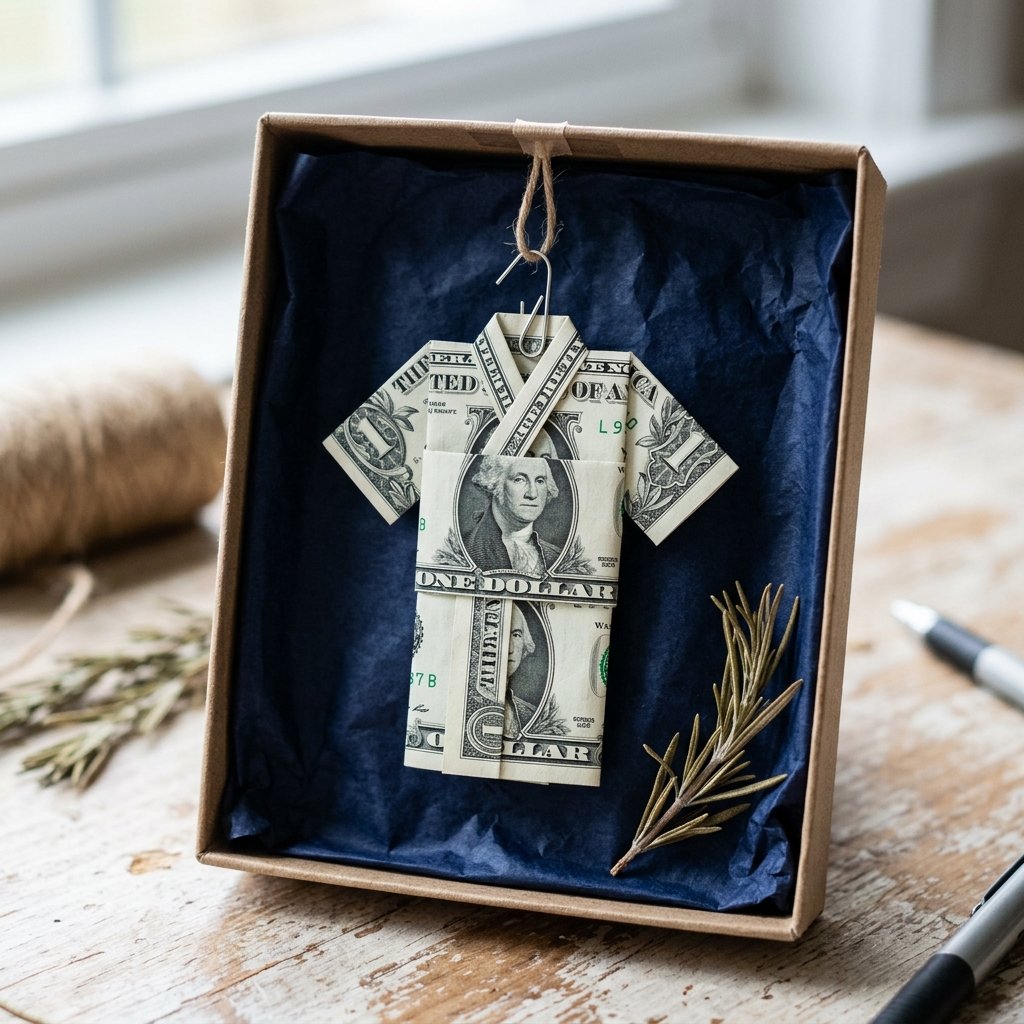
Now that you’ve mastered the fold, don’t just toss it in a card. Let’s use some upcycling magic to finish the presentation. A frugal DIYer knows that the packaging is 50% of the charm. You can create a miniature ‘hanger’ using a recycled paperclip bent into shape. Alternatively, mount the kimono inside a Dollar Tree shadow box or a simple card made from recycled kraft paper. Use a tiny piece of double-sided tape (the kind that doesn’t damage paper) to secure the kimono to the card. Add a handwritten note in a rugged, architectural script to complete the masculine-elegant aesthetic. Total cost for packaging? $0. Total perceived value? Priceless.
Troubleshooting and Pro-Tips for the Perfectionist
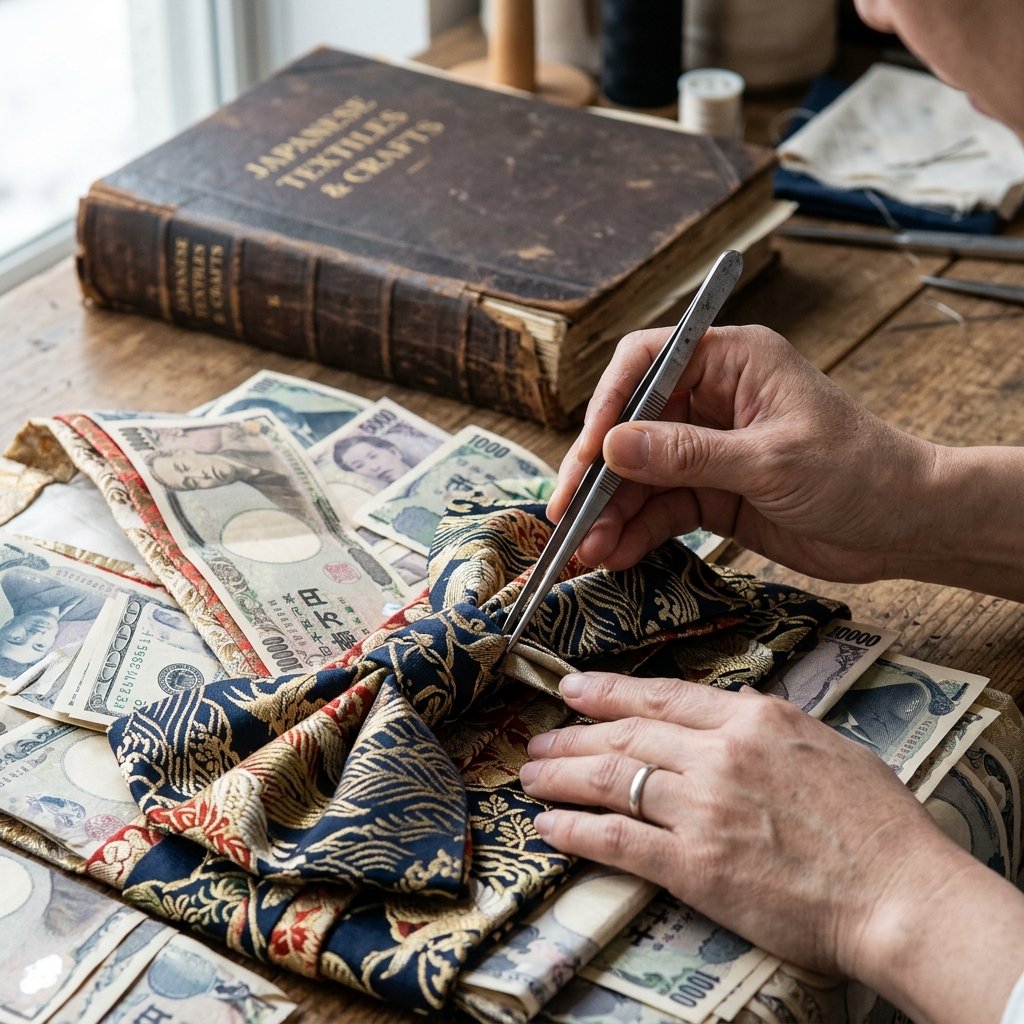
Even the most handy parents can run into issues. If your bill is too ‘springy’ and won’t stay folded, you can place it under a heavy book (like a thick DIY manual) for 30 minutes to set the creases. If you are working with an older, softer bill, a tiny bit of spray starch can give it the rigidity it needs—just be sure to let it dry completely before folding. For those looking for high-end replicas of Japanese styling, you can wrap a small strip of contrasting paper (or a $1 bill) around the waist of the kimono to act as an ‘Obi’ (the traditional sash). This adds a layer of sophisticated detail that truly sets your gift apart.
Conclusion
The Mark of a True Maker
Congratulations! You’ve just turned a standard piece of currency into a thoughtful, hand-crafted treasure. You’ve proven that being budget-savvy doesn’t mean being cheap—it means being resourceful and putting in the effort that others won’t. This money origami kimono is more than just a gift; it’s a conversation starter and a testament to your skills as a crafty gift-giver. The next time you’re tempted to grab a boring gift card, remember the power of the fold. Stay rugged, stay creative, and keep making the world a little more beautiful, one crisp crease at a time.

Makenzie is the founder and lead writer at MoneyHackTips.com — a personal finance blog dedicated to delivering street-smart financial wisdom for real people on real budgets. With 300+ published articles covering everything from debt management to investing fundamentals, Makenzie’s mission is to make every dollar work harder. When not writing about money hacks, Makenzie is testing frugal living strategies, optimizing side hustles, and helping readers build financial freedom from scratch.