
The Rugged Art of the Feline Upcycle
Let’s face it: the modern pet industry wants you to believe that keeping your cat warm requires a $25 designer fleece. As a resourceful DIYer, you know better. Your closet is likely harboring a ‘donor’ sweater—one with a moth hole in the chest or a permanent coffee stain—that is perfectly suited for a second life. By reclaiming a single sleeve, you aren’t just saving money; you are practicing the clever, masculine-elegant art of utility. This guide will show you how to take a discarded textile and, with a few strategic snips and stitches, turn it into a custom-fitted piece of feline outerwear that looks like it came from a high-end boutique.
Why a sweater sleeve? Because the hard work is already done for you. The sleeve is essentially a pre-sewn tube with a finished cuff that serves as a perfect turtleneck. It’s the ultimate zero-budget project for the handy parent or the craft-savvy minimalist. Whether you are prepping for a cold winter or just want your cat to look as dapper as you do in your favorite cardigan, this project is the gold standard of trash-to-treasure transformations.
The Anatomy of a Donor: Selecting Your Materials
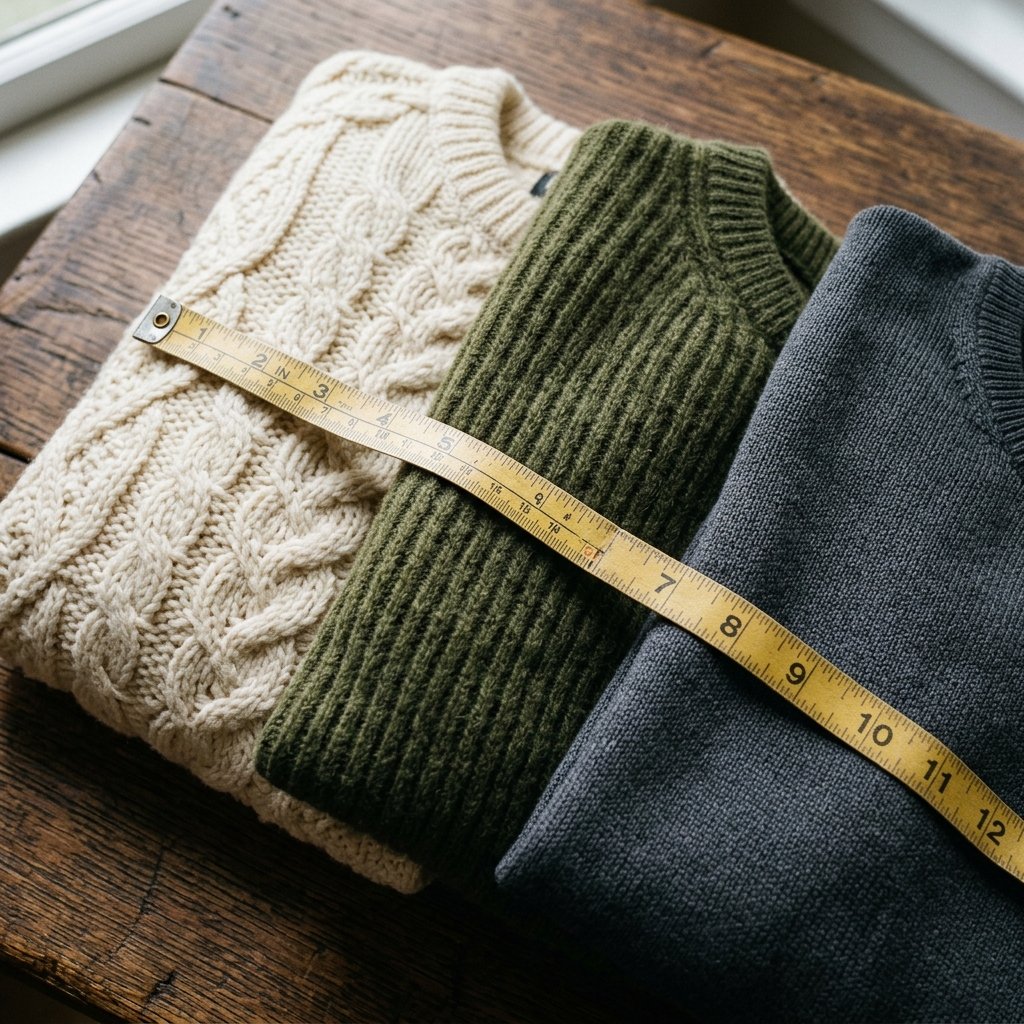
Before you grab the shears, you must select the right candidate. Not all sweaters are created equal. For a cat sweater, you want a fabric that offers stretch, breathability, and durability. Avoid loosely knit acrylics that will snag on claws instantly. Instead, look for tight-knit wool blends or heavy cotton knits.
Fabric Compatibility Guide
Use the following table to determine if your old sweater is a prime candidate for this upcycling mission:
| Fabric Type | Pros | Cons | Suitability |
|---|---|---|---|
| 100% Wool | Incredible warmth, rugged look, water-resistant. | Can shrink; some cats find it itchy. | High (if soft) |
| Cotton Knit | Breathable, easy to wash, very soft. | Less stretch; can lose shape over time. | High |
| Cashmere | Extreme luxury, lightweight, ultra-soft. | Fragile; expensive if buying new. | Premium |
| Acrylic | Cheap, widely available. | Pills easily; can cause static shocks. | Moderate |
The most important factor is the cuff diameter. The cuff of the sleeve will become the neck of the cat sweater. It needs to be snug enough to stay put but loose enough that you can easily fit two fingers between the fabric and your cat’s neck. Generally, a men’s medium or large sweater sleeve fits an average 10-12 lb cat perfectly.
The Tool Kit: Professional Results on a Dime
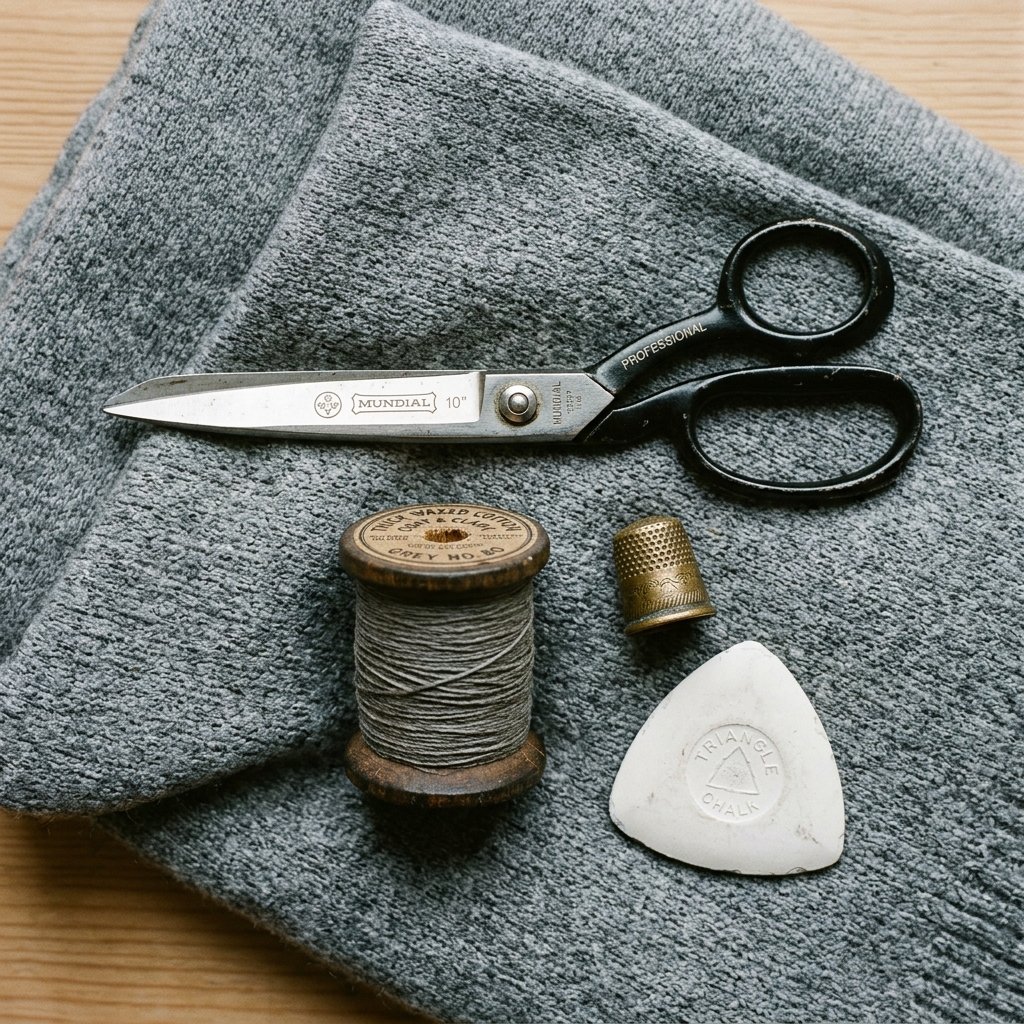
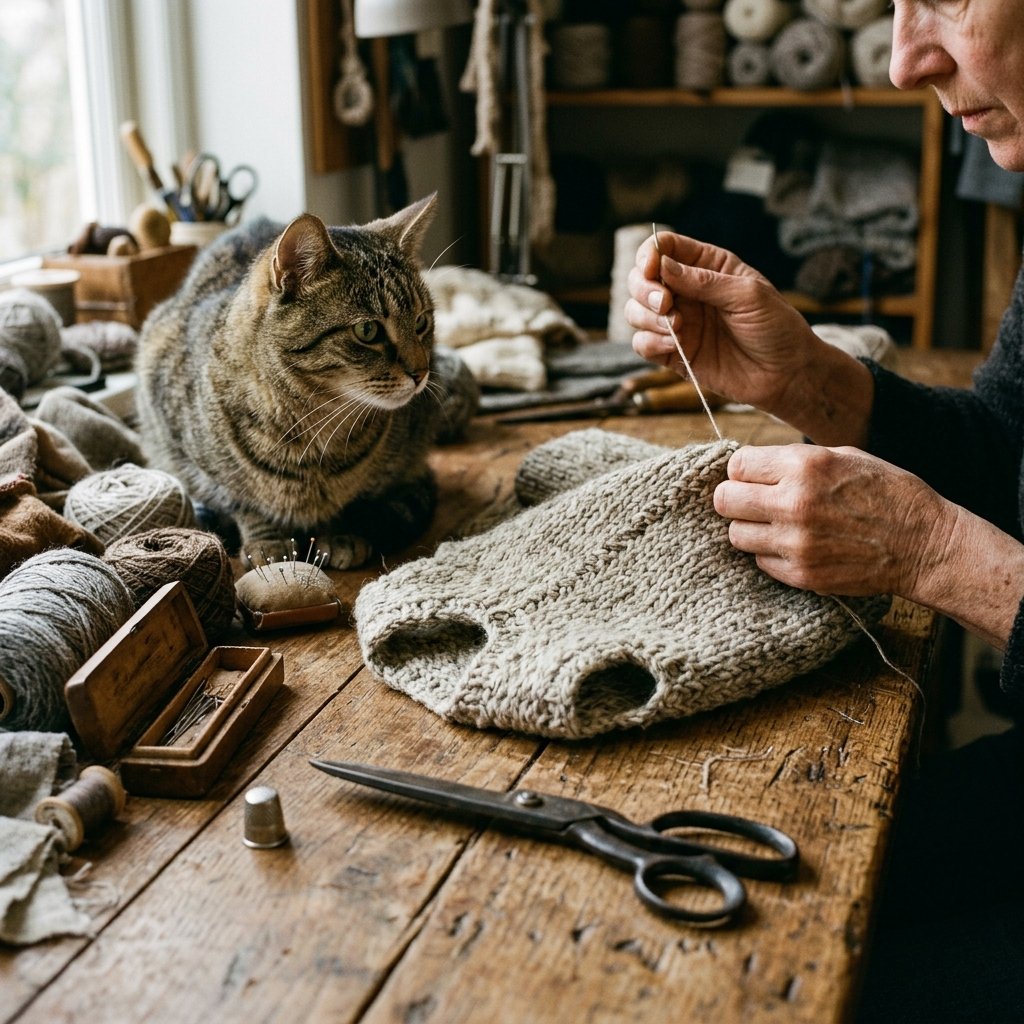
You don’t need a sewing machine to achieve a professional finish. In fact, hand-stitching provides a level of control that is superior for small-scale pet garments. Here is your inventory for success:
- Fabric Scissors: Must be sharp to prevent fraying.
- Large-Eye Darning Needle: For weaving through thick knit fibers.
- Embroidery Floss or Heavy-Duty Thread: Match the color or go for a rugged contrast.
- Chalk or a Sliver of Soap: To mark your cut lines without staining the fabric.
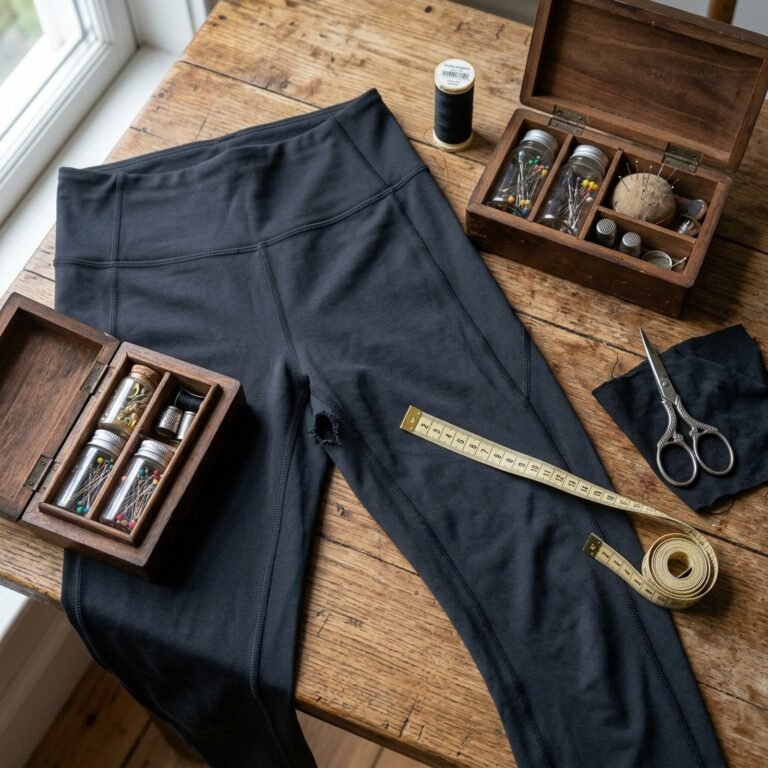
- Measuring Tape: To ensure a bespoke fit.
Cost Comparison: DIY vs. Store-Bought
| Item | Pet Store Price | DIY Upcycle Cost |
|---|---|---|
| Basic Cat Sweater | $15.00 – $25.00 | $0.00 |
| Custom Fitting | N/A | Included |
| Eco-Impact | High (Shipping/Packaging) | Zero Waste |
| Total | $20.00 average | $0.00 |
“The beauty of the upcycle lies in the utility of the unwanted. A sleeve is just a sweater waiting for a smaller occupant.”
The Blueprint: Measuring and Marking
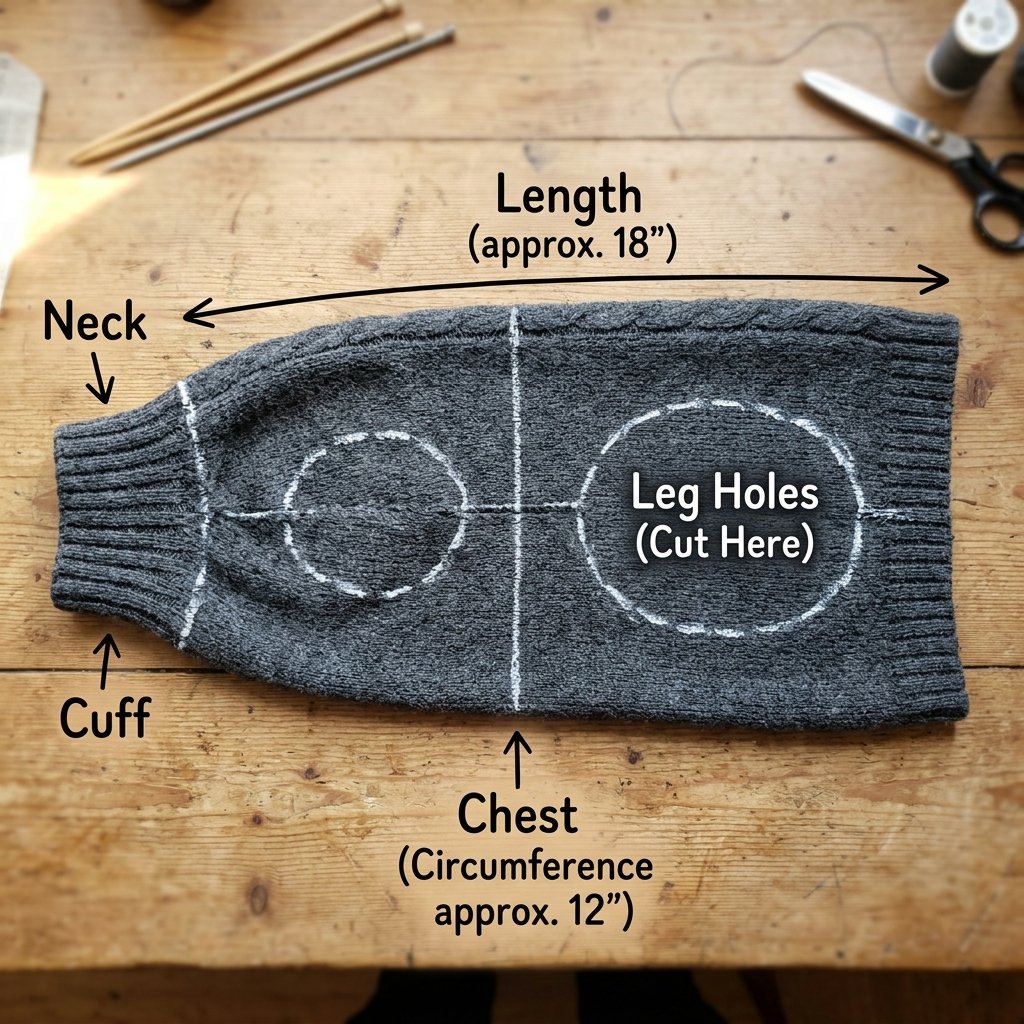
Precision is what separates a ‘craft project’ from a ‘garment.’ You need three key measurements from your cat to ensure the sleeve fits like a glove. If your cat is wiggly, use a piece of string to measure and then hold the string against a ruler.
- Neck Circumference: Measure where a collar usually sits.
- Chest Length: Measure from the base of the neck to just behind the front legs. This determines where your leg holes will go.
- Total Length: Measure from the neck to the mid-back. Do not go too far toward the tail, or the cat will have trouble using the litter box.
The Master Cut List
Once you have your measurements, lay the sleeve flat on your workspace. The cuff is the top. Mark a point from the cuff down to your ‘Chest Length’ measurement. This is the center point for your leg holes. Leg holes should be approximately 1.5 inches in diameter for an average cat. Use your chalk to draw two small ovals on the underside (the seam side) of the sleeve.
Execution: Cutting and The ‘Lock-Stitch’ Finish
The Critical Cut
When cutting into a knit, the greatest risk is ‘unraveling.’ To prevent this, we use a clever mending technique. Fold the sleeve in half lengthwise along the seam. Cut your marked ovals through one layer of the fabric only. Start small; you can always make the holes larger, but you can’t make them smaller.
The Blanket Stitch Reinforcement
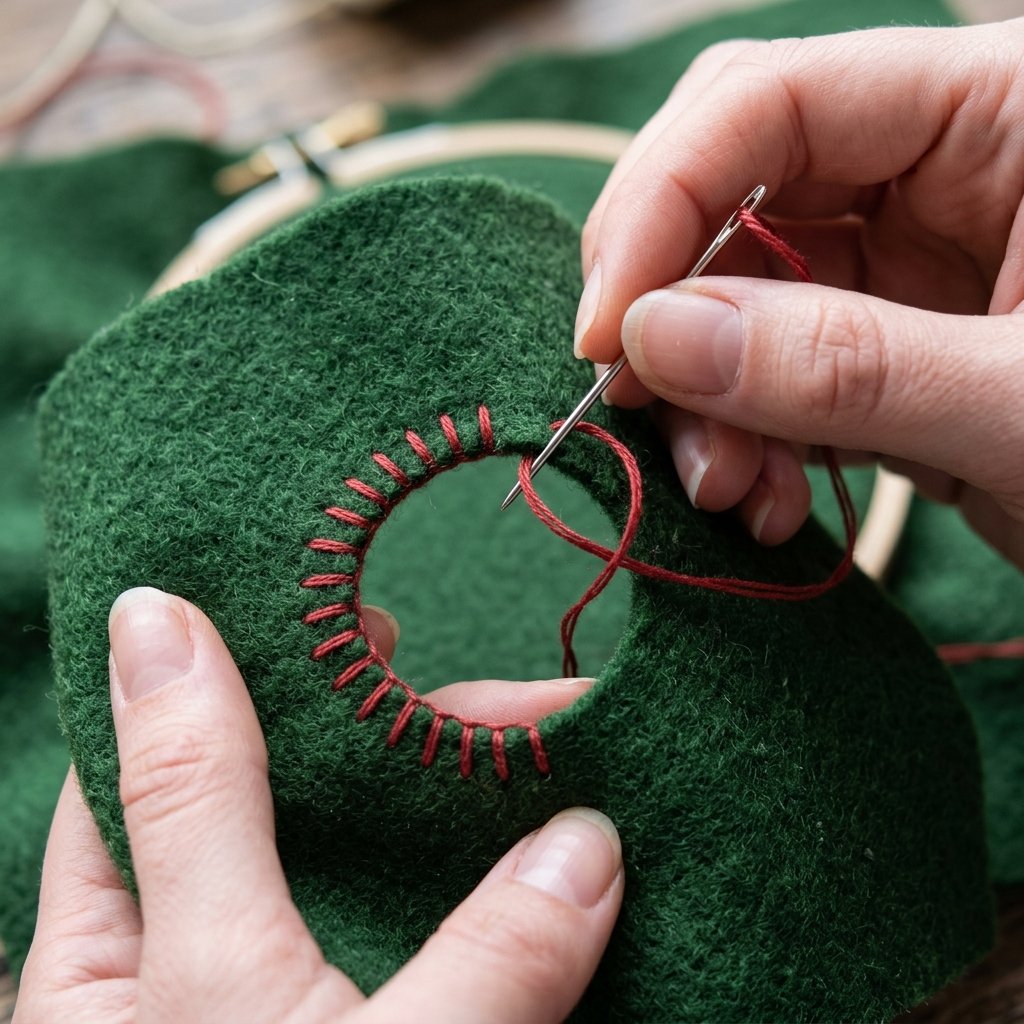
To ensure the leg holes don’t fray or stretch out of shape, you must finish the edges. This is where we apply a rugged, practical Blanket Stitch. This stitch wraps around the raw edge of the fabric, locking the knit loops in place.
- Thread your needle and tie a sturdy knot at the end.
- Push the needle through the fabric from the inside, about 1/4 inch from the edge.
- Before pulling the loop tight, pass the needle through the loop.
- Pull snug to create a ‘bind’ on the edge of the hole.
- Repeat every 1/8 inch around the entire circumference of both leg holes.
This not only adds durability but gives the sweater a handcrafted, high-end look reminiscent of heritage outdoor gear.
Refining the Fit: The Underbelly Taper

Cats have a unique physiology; they are wider at the chest and narrower at the waist. A straight sleeve can sometimes be too baggy around the stomach, causing the cat to trip. To fix this, we perform a clever tailoring hack.
Turn the sleeve inside out. Along the existing seam, starting from behind the leg holes, sew a diagonal line toward the bottom edge, tapering the fabric inward by about 1 inch on each side. Use a Backstitch for maximum strength. This creates a ‘contoured’ fit that keeps the sweater snug against the body.
“Tailoring is the difference between wearing a bag and wearing a suit. Even a cat deserves a custom silhouette.”
After sewing the taper, trim the excess fabric, leaving a 1/2 inch seam allowance. Use your blanket stitch again to finish this raw edge, ensuring the new seam is as strong as the original.
Style and Safety: The Final Flourish

Now that the structure is complete, you can add a touch of ‘Masculine-Elegant’ flair. Consider adding felt elbow patches or a small embroidered initial near the hem. However, safety is paramount. Follow these rules to ensure your cat remains happy:
- No Loose Threads: Check the interior for any stray loops that could catch a claw.
- The Two-Finger Rule: Always ensure the neck and leg holes allow for easy movement.
- Supervised Wear: Never leave a cat in a sweater unattended for the first few hours. Ensure they can jump and run normally.
- Texture Check: If your cat starts over-grooming or ‘freezing’ in place, the fabric might be too heavy or itchy.
For maintenance, treat this as you would your own fine knits. Hand wash in cool water with a drop of mild detergent and lay flat to dry. This prevents the ‘cat-size’ sweater from becoming ‘kitten-size’ after one wash.
Conclusion
A Masterpiece of Thrift and Heart
In less than an hour, you have successfully diverted textile waste from a landfill and provided your pet with a layer of warmth that is as stylish as it is functional. This project embodies the spirit of the Resourceful DIYer: taking what is available, applying a bit of craft-expert knowledge, and creating something of genuine value for $0. Your cat may not be able to thank you in words, but their purrs and cozy naps will speak volumes. Now, take that leftover scrap fabric and see what else you can create—perhaps a matching bow tie? The possibilities are as endless as your creativity.

Makenzie is the founder and lead writer at MoneyHackTips.com — a personal finance blog dedicated to delivering street-smart financial wisdom for real people on real budgets. With 300+ published articles covering everything from debt management to investing fundamentals, Makenzie’s mission is to make every dollar work harder. When not writing about money hacks, Makenzie is testing frugal living strategies, optimizing side hustles, and helping readers build financial freedom from scratch.