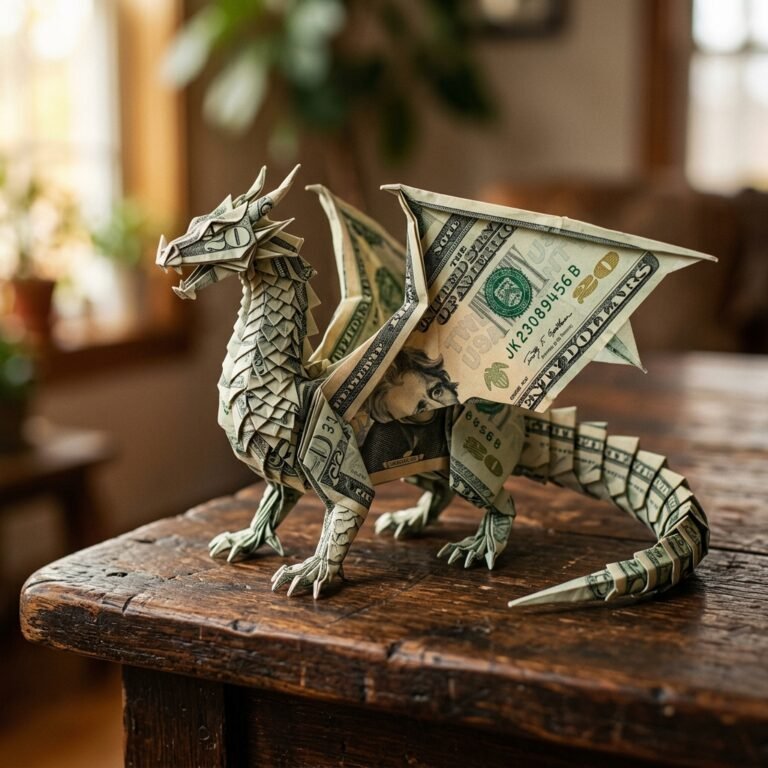
The Art of the Financial Gesture
Let’s be honest: everyone loves receiving cash, but nobody particularly enjoys the sterile experience of sliding a twenty-dollar bill out of a generic drugstore card. It lacks soul. It lacks the ‘wow’ factor. As a resourceful DIYer, you know that the best gifts aren’t just about the monetary value—they are about the intentionality behind the presentation. Enter the world of money origami. By taking a few moments to apply precision folds to a standard bill, you transform a cold transaction into a handcrafted token of affection.
The money origami fan is the quintessential ‘entry-level’ masterpiece. It is rugged in its simplicity yet elegant in its final form. Whether you are prepping for a graduation, a wedding, or a milestone birthday, this technique ensures your gift stands out in a sea of envelopes. In this guide, we will dive deep into the mechanics of the accordion fold, the selection of the perfect currency, and how to style your finished fan with a masculine-elegant aesthetic that screams ‘high-end’ without spending an extra dime.
The Strategic Selection: Choosing Your Currency

Why Crispness is King
Before you make your first crease, you must evaluate your materials. Not all bills are created equal in the world of origami. A limp, wrinkled bill that has survived a decade of pocket-dwelling will not hold a sharp edge. For a professional, ‘store-bought’ look, you need uncirculated bills. Visit your local bank teller and specifically request new, crisp notes. The high fiber content in fresh currency allows for a ‘memory’ in the paper—once you fold it, it stays folded.
The Impact Matrix
The denomination you choose sets the tone for the gift. While a single fan made from a $100 bill is impressive, a ‘bouquet’ of fans made from $1 bills can often look more substantial and artistic. Use the table below to strategize your visual impact versus your total budget.
| Bill Denomination | Visual Impact (1-10) | Best Occasion | Styling Tip |
|---|---|---|---|
| $1 Bill | 5 | Casual Birthdays | Group 5-10 together in a circle. |
| $5 Bill | 6 | Graduation Tassels | Pair with a contrasting ribbon. |
| $20 Bill | 8 | Weddings/Anniversaries | Use a single, perfectly centered fan. |
| $100 Bill | 10 | Major Milestones | Keep it minimalist; let the bill speak. |
“The secret to a ruggedly handsome gift is the contrast between the precision of the fold and the raw texture of the presentation materials.”
The Master Blueprint: Folding the Accordion Fan

Step-by-Step Precision
The fan relies on the accordion fold, a series of alternating mountain and valley folds. The goal is symmetry. If your folds are uneven, the fan will lean to one side like a poorly constructed fence. Follow these steps with the focus of a master tailor.
- The Horizontal Alignment: Lay the bill flat on a hard surface (a cutting mat or wooden desk works best). Ensure the face of the bill is pointing up.
- The Initial Crease: Fold the short edge of the bill over about 1/4 to 1/2 inch. Use your fingernail or a bone folder to create a sharp, crisp edge. This first fold determines the width of all subsequent pleats.
- The Flip: Turn the bill over so the folded edge is now underneath.
- The Alternating Fold: Fold the bill back over itself, matching the width of the first fold exactly. You are essentially creating a ‘Z’ shape if viewed from the side.
- Repeat to the End: Continue flipping and folding until the entire length of the bill is a tight, pleated strip. You should have roughly 10 to 12 pleats depending on your initial width.
- The Center Pinch: Find the exact midpoint of your pleated strip. Pinch it firmly.
- The Final Flare: While holding the center, gently pull the top edges outward. The bill will blossom into a semicircular fan.
“Precision is the difference between a crumpled bill and a work of art. Take your time with the first three folds; they set the rhythm for the entire piece.”
Presentation & Styling: The Masculine-Elegant Touch

Elevating the Aesthetic
A paper fan on its own is a clever trick; a paper fan presented in a reclaimed cigar box or attached to a hand-stamped card is a statement. To keep the gift from looking too ‘crafty’ or juvenile, we lean into rugged, natural materials like jute, leather, and heavy cardstock.
Budget-Savvy Material List
| Material | Estimated Cost | Source |
|---|---|---|
| Natural Jute Twine | $1.25 | Dollar Tree / Hardware Store |
| Kraft Cardstock | $0.50 per sheet | Craft Store / Upcycled Grocery Bag |
| Mini Wooden Clothespins | $1.00 (pack) | Craft Aisle |
| Dried Greenery | $0.00 | Your Backyard |
How to Assemble Your Presentation
- The Twine Tie: Instead of using tape (which can damage the bill), wrap a small piece of jute twine around the center pinch of your fan. Tie it in a simple square knot.
- The Card Mount: Use a tiny drop of removable adhesive or a mini clothespin to attach the fan to a piece of dark navy or forest green cardstock.
- The Box Method: For a truly high-end feel, place 3-5 fans inside a small wooden box lined with black tissue paper. It mimics the look of an expensive watch or cigar set.
Advanced Variations: The Double Fan and the Peacock

Leveling Up Your Craft
Once you have mastered the basic fan, you can experiment with more complex structures. These variations require more bills but offer a significantly higher ‘wow’ factor for major events like weddings.
The Double-Sided Fan
Fold two bills into identical fans. Place them back-to-back so they form a full circle (a rosette). Secure them in the center with a single gold paperclip. This is perfect for hanging on a gift tree or as a unique ‘ornament’ for a holiday cash gift.
The Peacock Tail
This requires three bills. Fold each into a fan. Join them at the base, but fan the tops out at different angles (roughly 45 degrees apart). Tie the bases together with a single piece of wire or twine. This creates a wide, sweeping arc that looks incredibly expensive when placed inside a shadow box.
“Don’t be afraid to mix denominations. A $20 bill as the center of a peacock tail flanked by two $5 bills creates a beautiful color gradient of greens and purples.”
Conclusion
The Lasting Impression of a Handcrafted Gift
Folding a money origami fan is more than just a clever way to hand over some cash; it’s a testament to your resourcefulness and your eye for detail. In a world of digital transfers and instant gratification, taking five minutes to sit down, focus your hands, and create something beautiful from a piece of paper is a powerful gesture. You’ve taken a budget-friendly gift and given it a premium, masculine-elegant upgrade that the recipient will likely hesitate to even unfold.
Remember, the key to success lies in the crispness of your bills and the precision of your pleats. Keep your materials simple, your edges sharp, and your presentation rugged. You are no longer just giving money—you are giving a conversation piece. Now go forth, grab some crisp notes from the bank, and start folding your way to the ultimate ‘surprise’ gift!

Makenzie is the founder and lead writer at MoneyHackTips.com — a personal finance blog dedicated to delivering street-smart financial wisdom for real people on real budgets. With 300+ published articles covering everything from debt management to investing fundamentals, Makenzie’s mission is to make every dollar work harder. When not writing about money hacks, Makenzie is testing frugal living strategies, optimizing side hustles, and helping readers build financial freedom from scratch.